Setting Up Dynamic Discount Codes
To provide you a step-by-step guide in setting up your dynamic discount code for your email marketing campaigns.
Prefer a shortcut? 16 free tools do parts of this for you.

Aim: To provide you a step-by-step guide in setting up your dynamic discount code for your email marketing campaigns.
Optimal Outcome: You will have a complete guide in configuring your dynamic discount code you can use for your marketing strategies.
What do you need to start: Marketing automation platform
Why is this SOP Important: Using dynamic discount codes in your email campaigns can help to improve customer satisfaction, increase sales, and enhance your overall marketing strategy.
When and Where to execute: You can use discount codes to nurture and reward your subscribers, encourage brand loyalty from your VIP customers, and if there are delays in shipping. You can set this up using marketing automation platforms such as Klaviyo.
Who Should Be Doing This: Marketing staff, person responsible for setting up automation
What is dynamic discount code?
A dynamic discount code is a type of promotional code that is generated automatically and can be personalized for each recipient. Unlike static discount codes that offer a fixed discount to all customers, dynamic discount codes can vary based on factors such as the customer's purchase history, behavior on the website, or other customer data. This allows businesses to offer more targeted and personalized discounts to customers, which can be more effective in motivating them to make a purchase. Dynamic discount codes can be used in email campaigns, on websites, or in other marketing channels to incentivize customers to take action, such as making a purchase, signing up for a service, or referring a friend.
Execution
Resources/Tools & Set up
Connect your Shopify account with Klaviyo
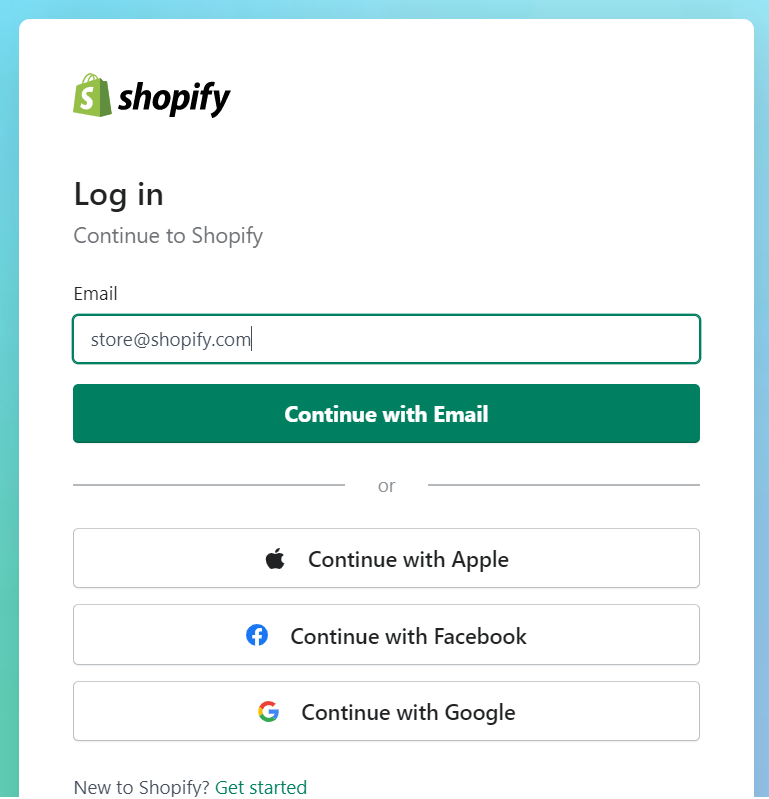
- Login to your Shopify account.
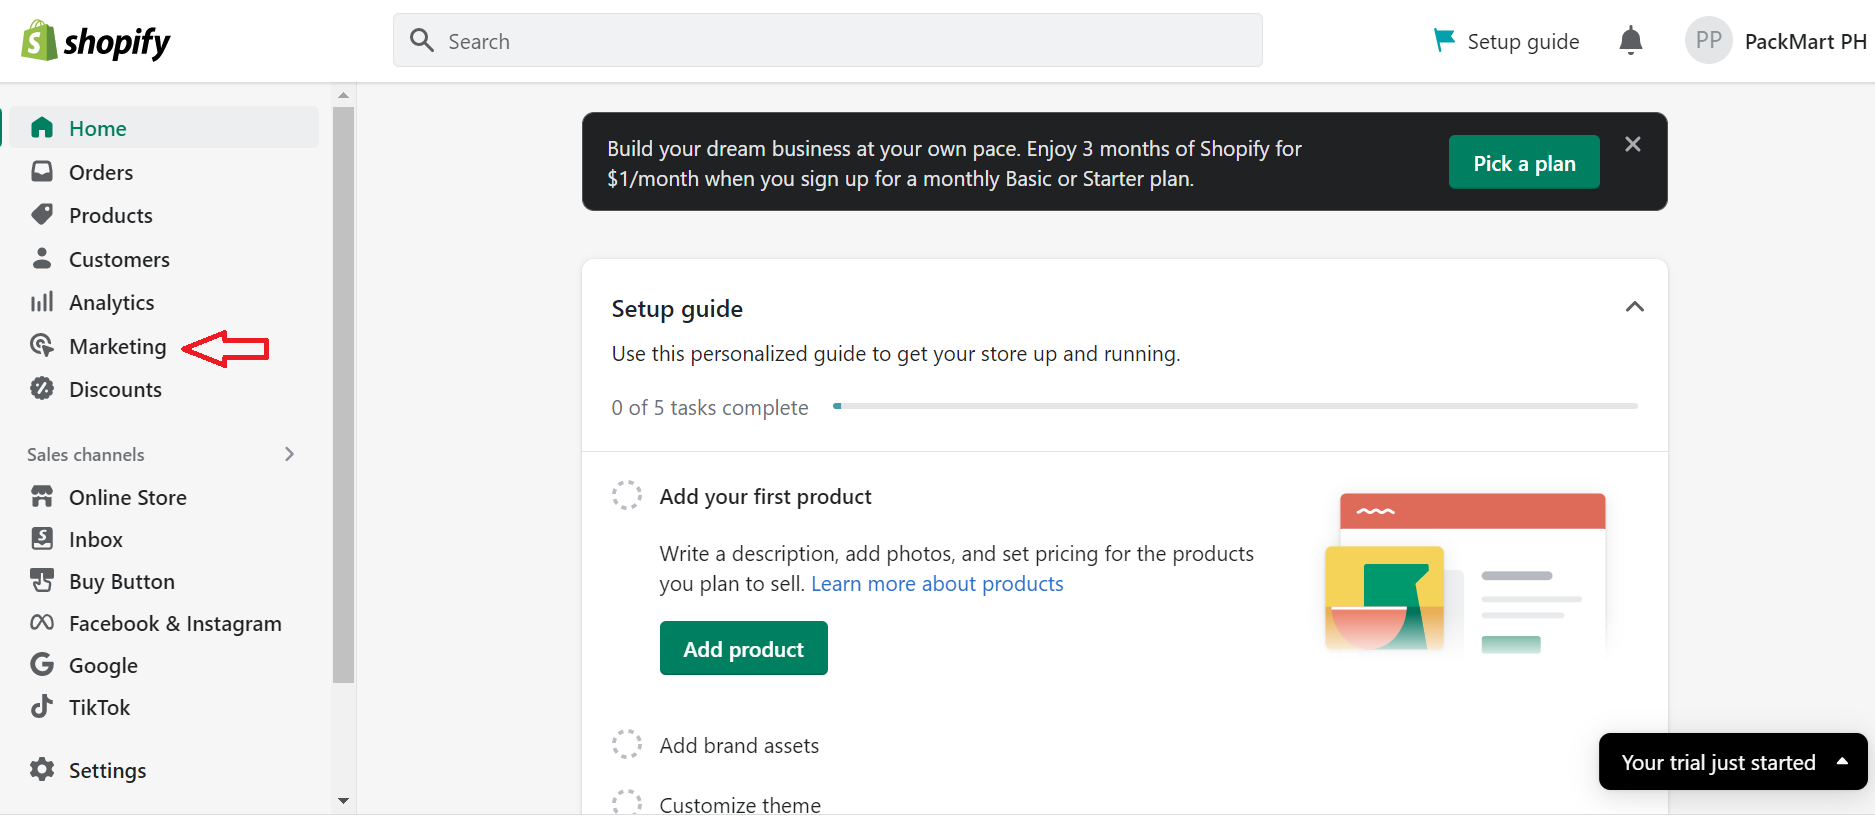
- Select Marketing from the left menu.
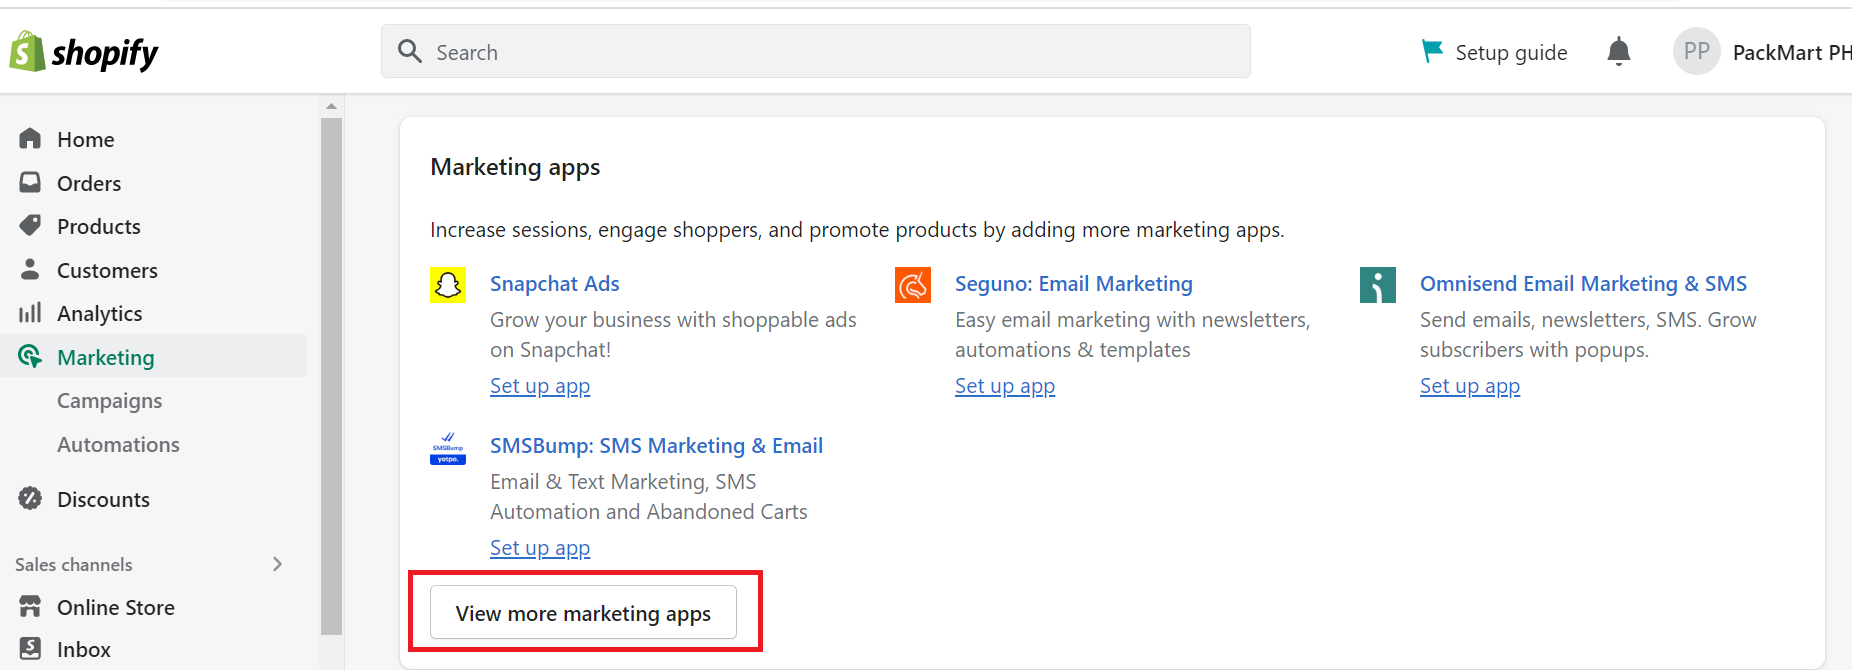
- Select View more marketing apps in the Marketing apps section.
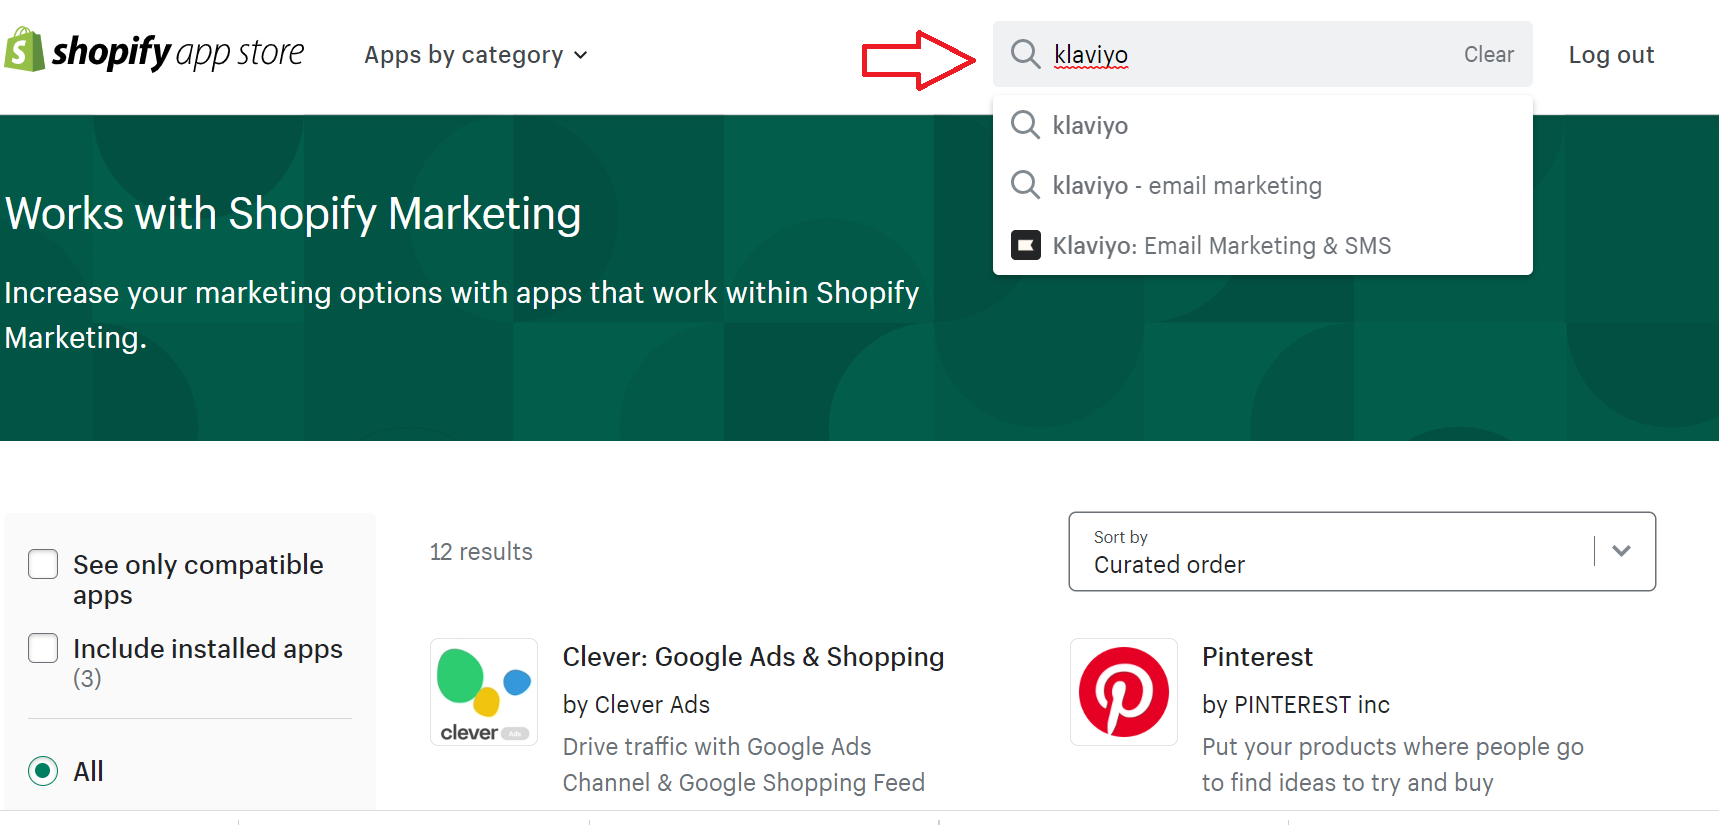
- Search Klaviyo from the search bar at the top-left section of the page.
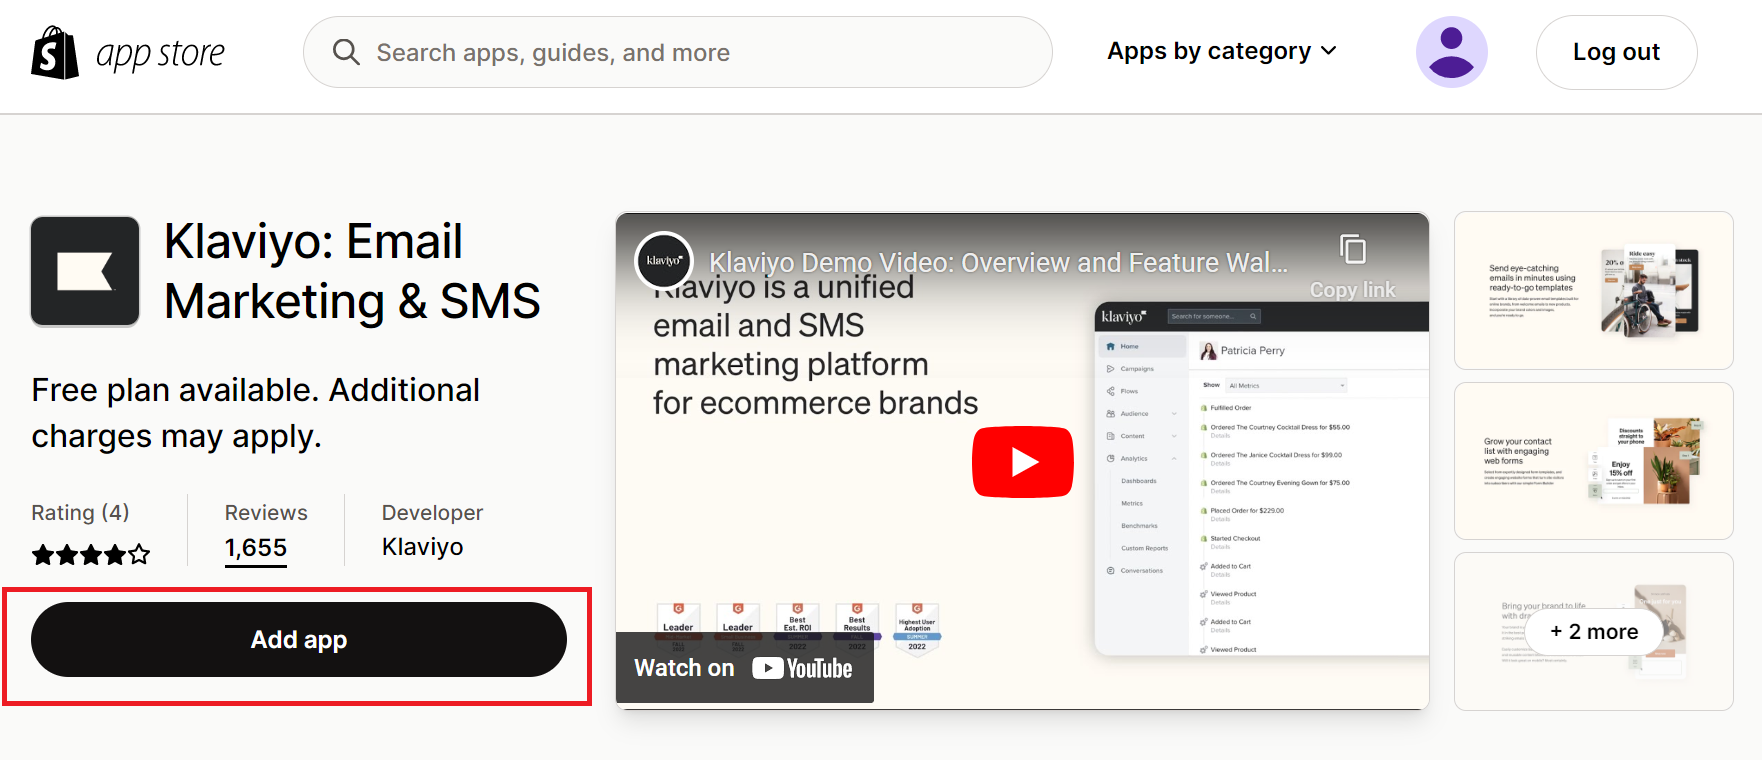
- Click on Add app.
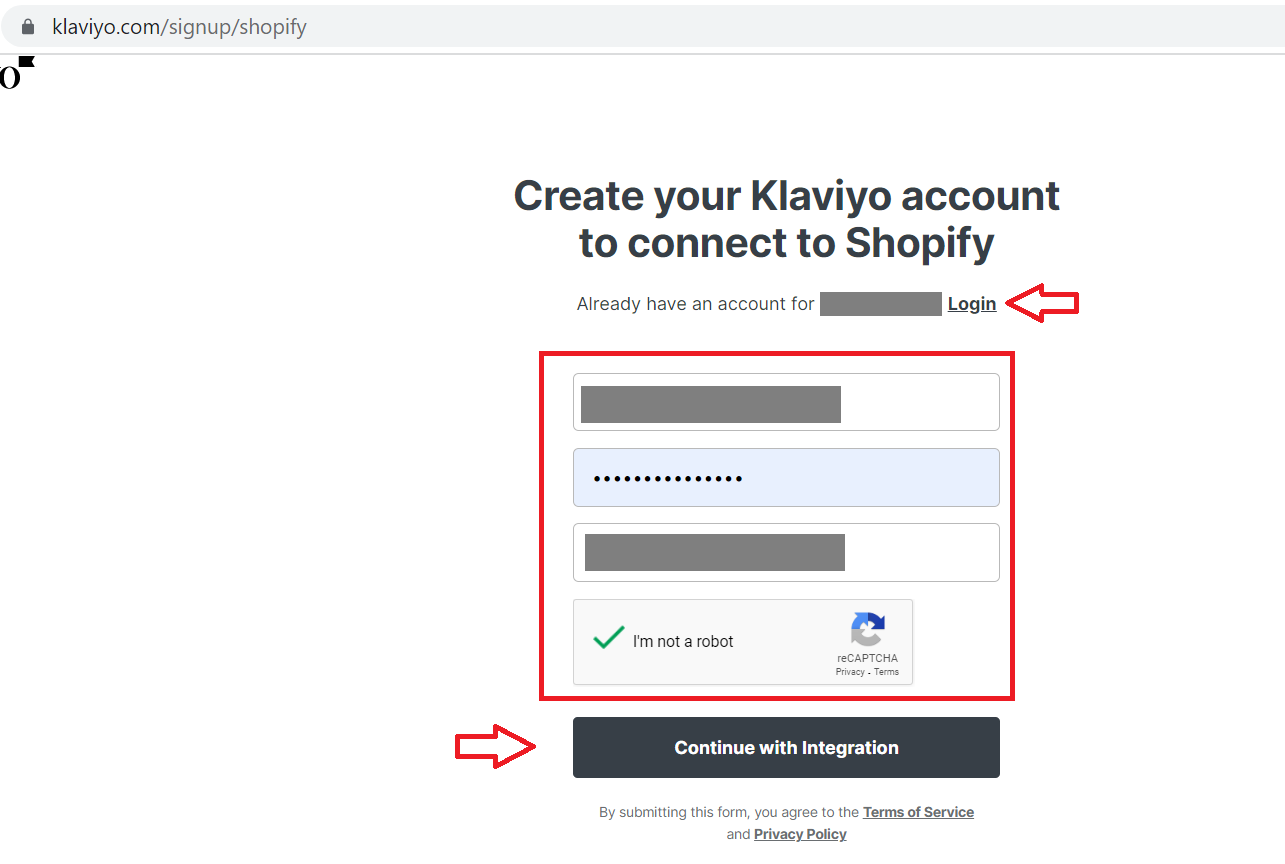
- Create or log in to your Klaviyo account, then click on Continue with Integration.
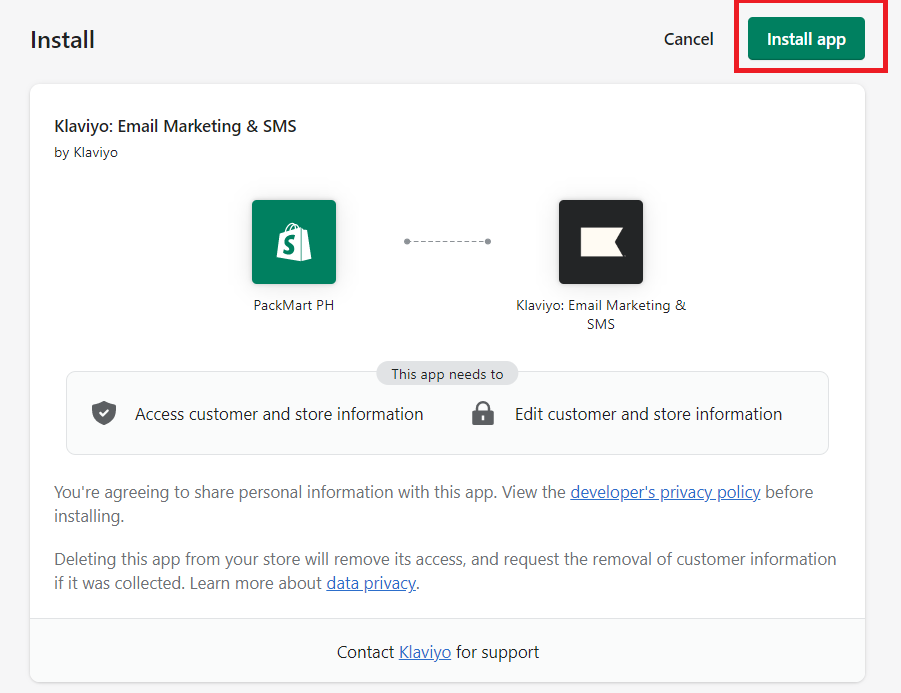
- Review permissions required.
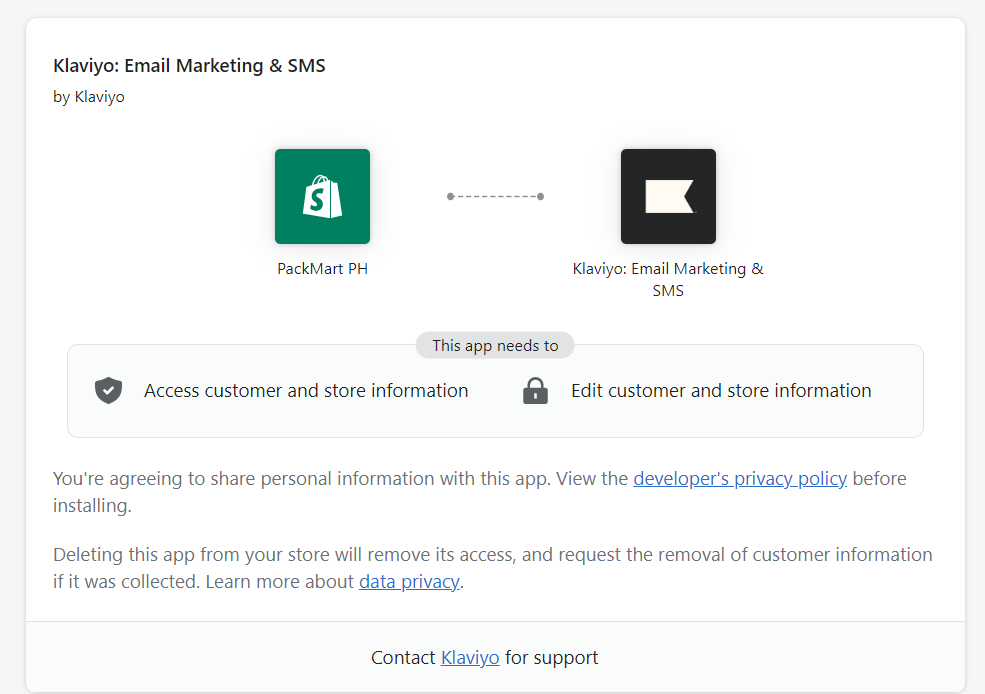
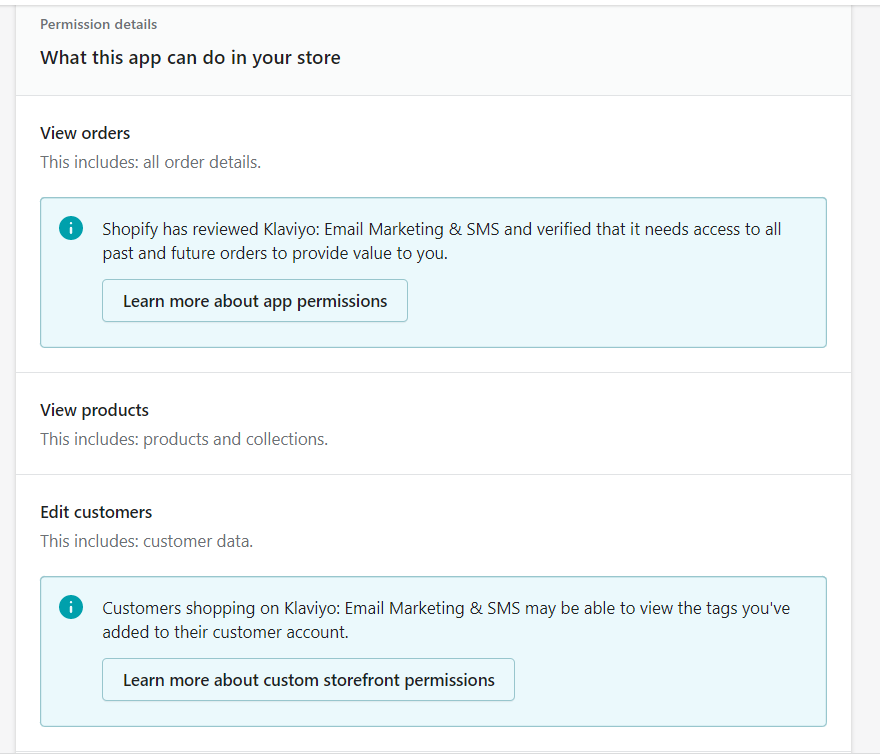
- Click the Install button at the upper-right corner of the page.
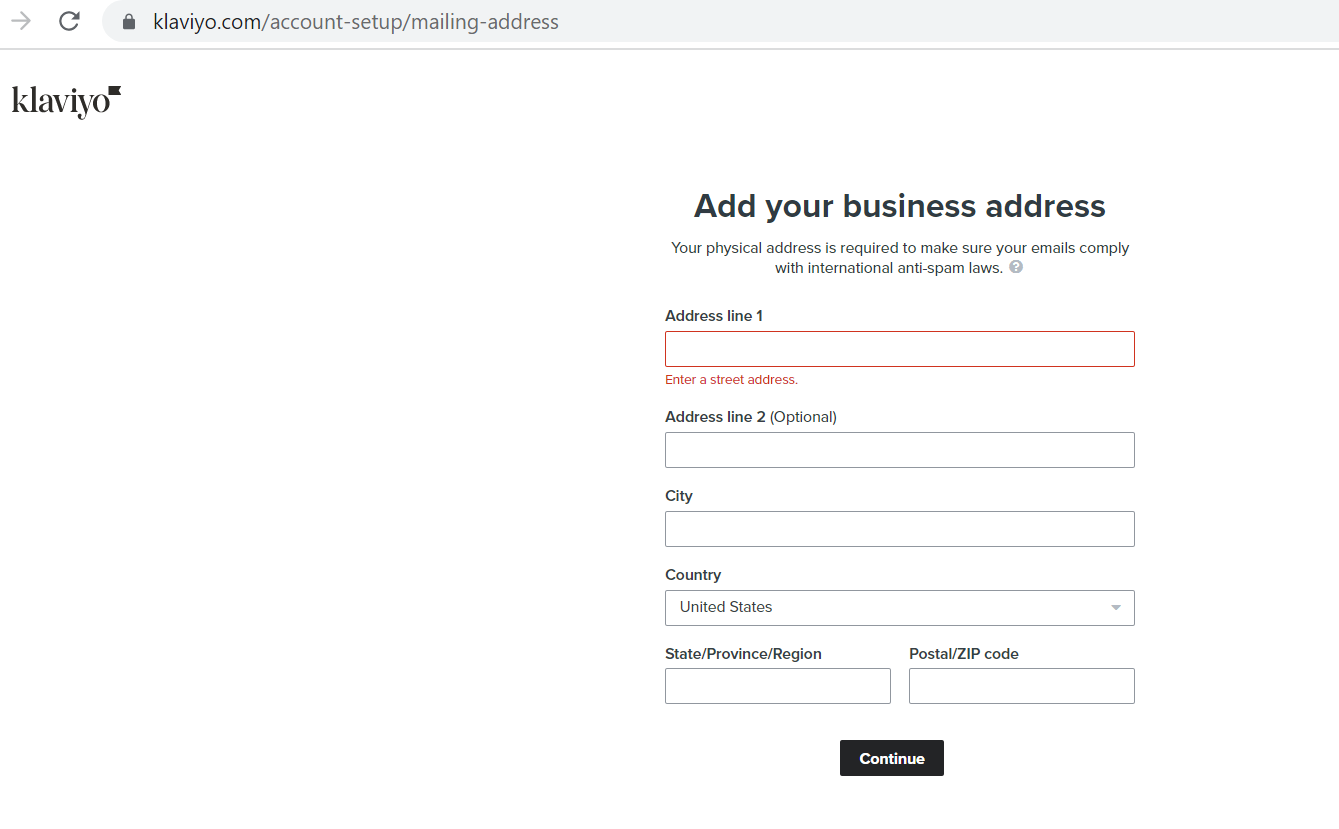
- Add your business info then click Continue.
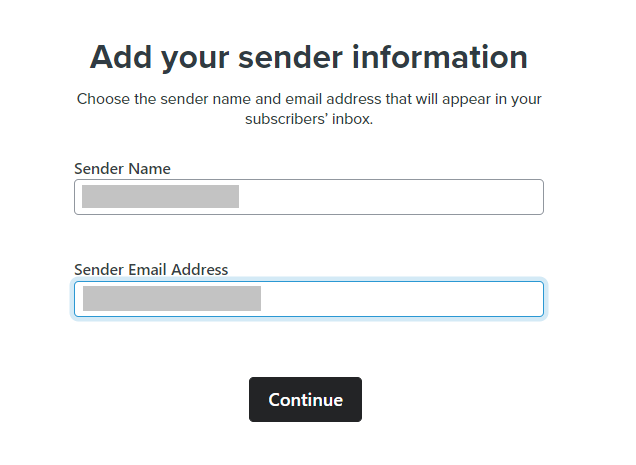
- Fill out the Sender Name and Sender Email Address. This information will appear on your subscriber’s inbox.
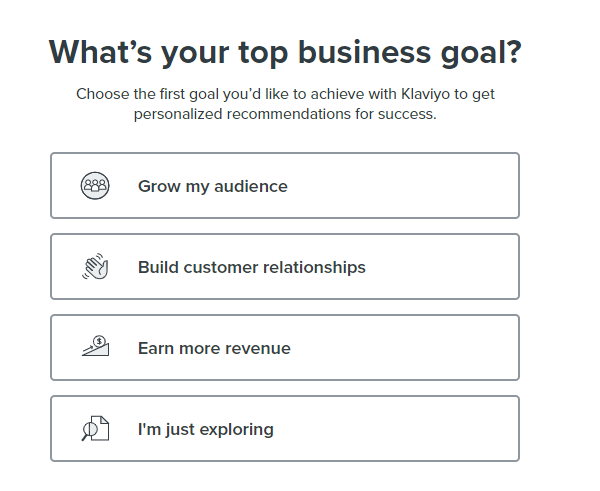
- Choose your top business goal.
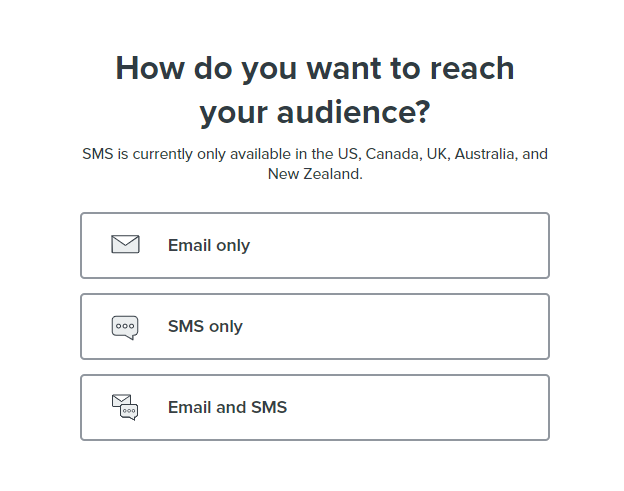
- Choose how you want to reach your audience.
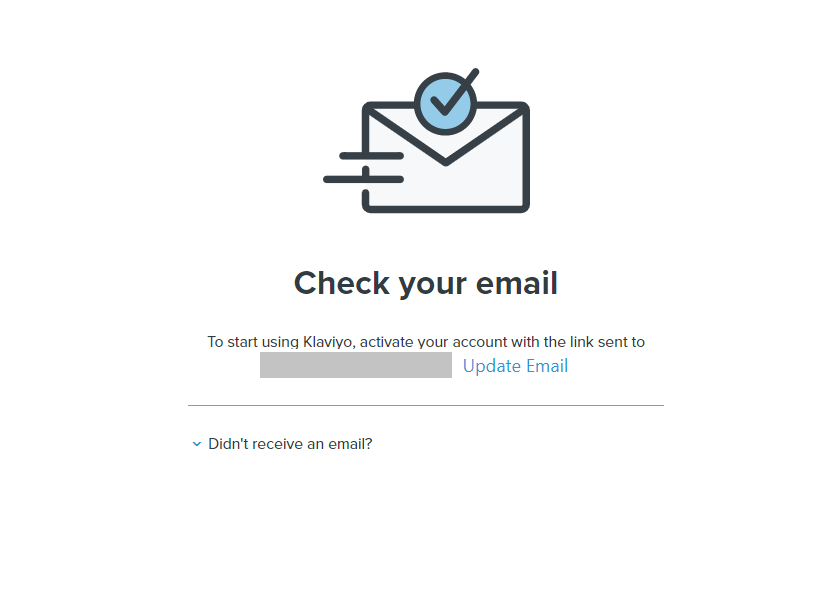
- You will then be prompted to confirm your email. Log in to your email and click the link to confirm your account.
Set up dynamic coupon code
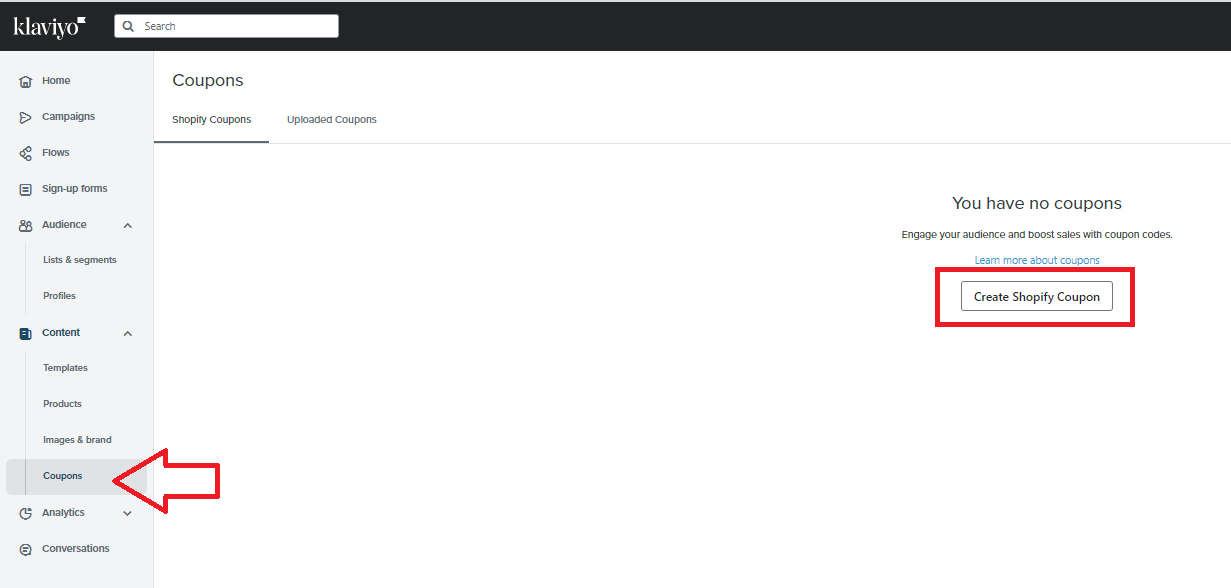
- You can add a coupon code within your email template. To do this, you must first set up your dynamic coupon code within Klaviyo. To do this, go back to the main Klaviyo page and click Coupons, and click Create Shopify Coupon.
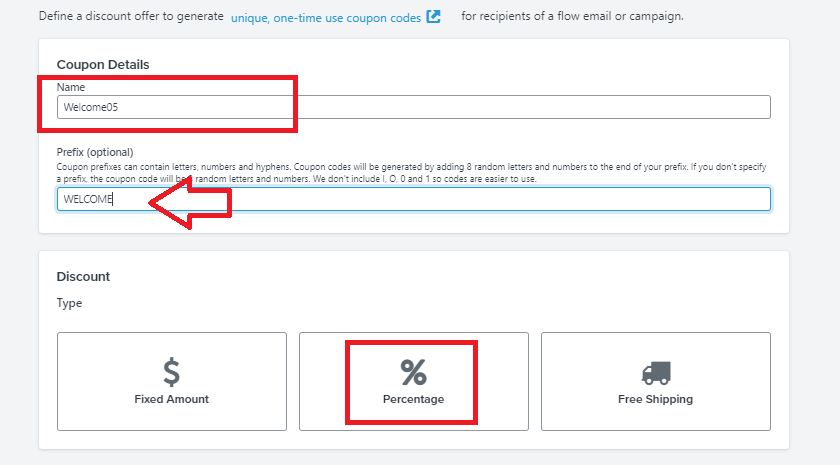
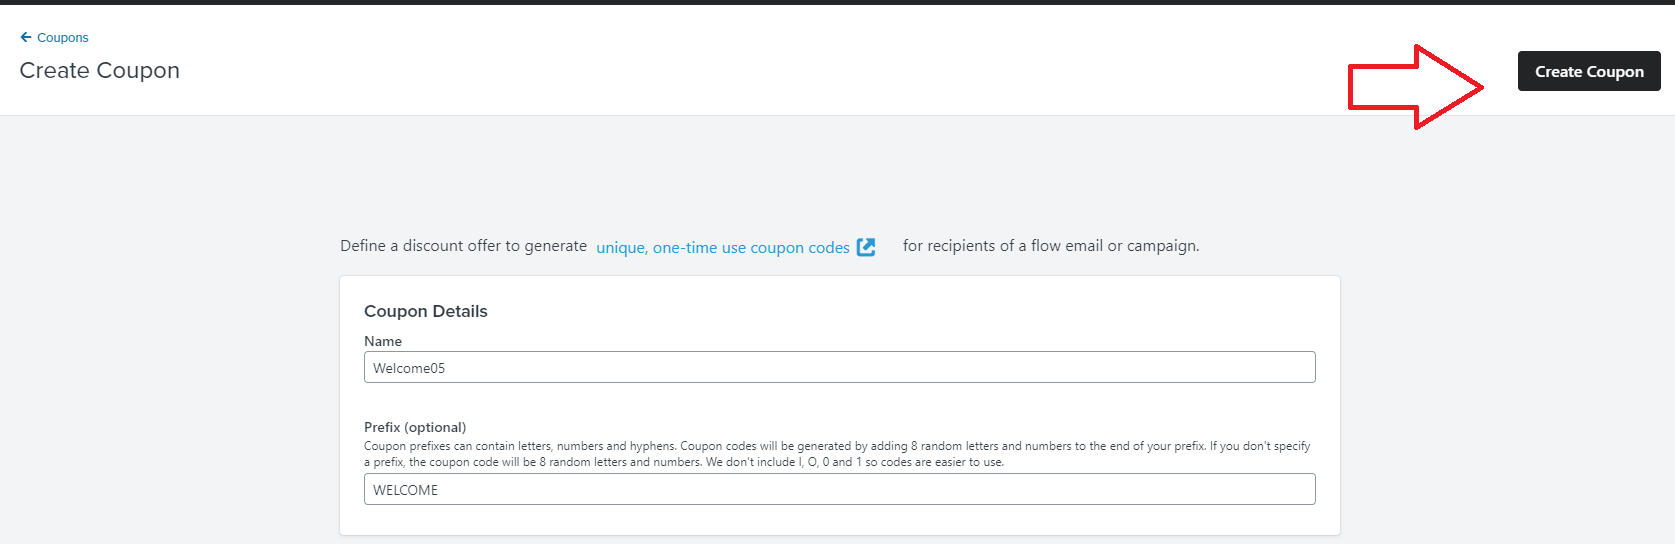
- Provide a name and prefix for your code. Next, select the discount type you want to provide. Typically, it’s Percentage.
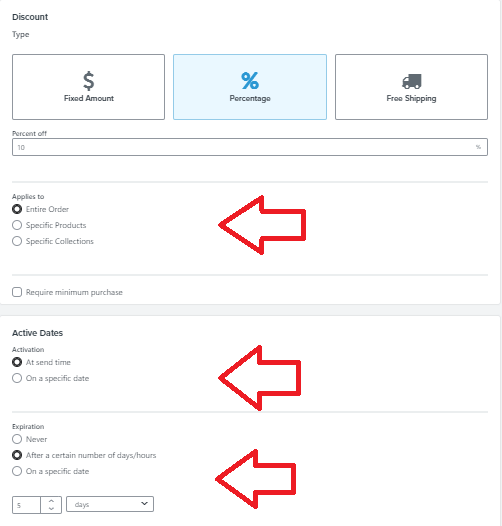
- Configure the settings of your discount.
-
Name - This will help you identify the coupon in Klaviyo. You will use this exact name when including the coupon in a message.
-
Prefix - a random code will be generated for each person, but you can also specify a prefix to be included in every code (for example: WELCOME).
-
Discount type - Choose if the coupon is a fixed amount off, a percentage off, or free shipping.
-
Free shipping - You can limit the coupon so that it only applies to certain shipping rates or specific countries.
-
Fixed amount and percentage - You can specify that the coupon only applies to certain products or collections.
-
-
Applies to - Choose if customers can apply the coupon to the entire order, specific products, or specific collections.
-
Require minimum purchase - If the coupon code is designated for a particular product, the minimum purchase amount will only be applicable to that specific item. However, if the coupon code is not restricted to any specific product, it can only be redeemed if the customer's cart reaches a certain total amount.
-
Activation date - You have the option to select a specific date or choose an option where the generated coupon codes become active at the time of sending. It's important to note that the dates are configured in the UTC time zone, which may result in a different activation date in Shopify.
-
Expiration - You can select the expiration date of your coupon. Keep in mind that there are separate options for coupons used in campaign messages and flow messages. It's worth noting that Klaviyo sets dates in the UTC time zone, whereas Shopify sets expiration dates based on the store's time zone. You may notice different expiration dates for the same coupon in Klaviyo and Shopify.
-
Coupons with expiration based on a certain number of days or hours will have varying expiration dates. While it's possible to create coupons with variable expiration dates for flows, it's not possible to do so for campaigns.
-
Coupons set to never expire will still show an expiry date of one year listed in Klaviyo, however they will not expire.
-
- Once done, click Create Coupon.
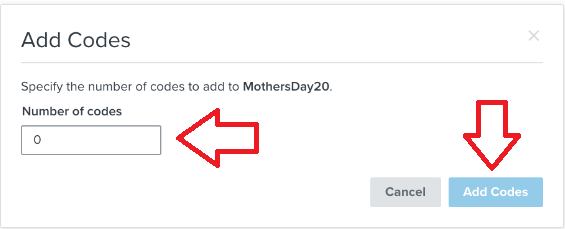
- To generate the discount codes, click the three dots then click Add Codes.

- Enter the number of codes you want to generate then click Add Codes.
Notes:
-
To ensure successful campaign scheduling and delivery, generate at least as many codes as estimated recipients. If the number of actual recipients exceeds the number of codes generated, extra recipients will be skipped and not receive the email.
-
To avoid issues, allocate enough time for generating a large number of coupon codes, using the estimated number of recipients as a framework, and refraining from significantly overestimating the number of codes needed.
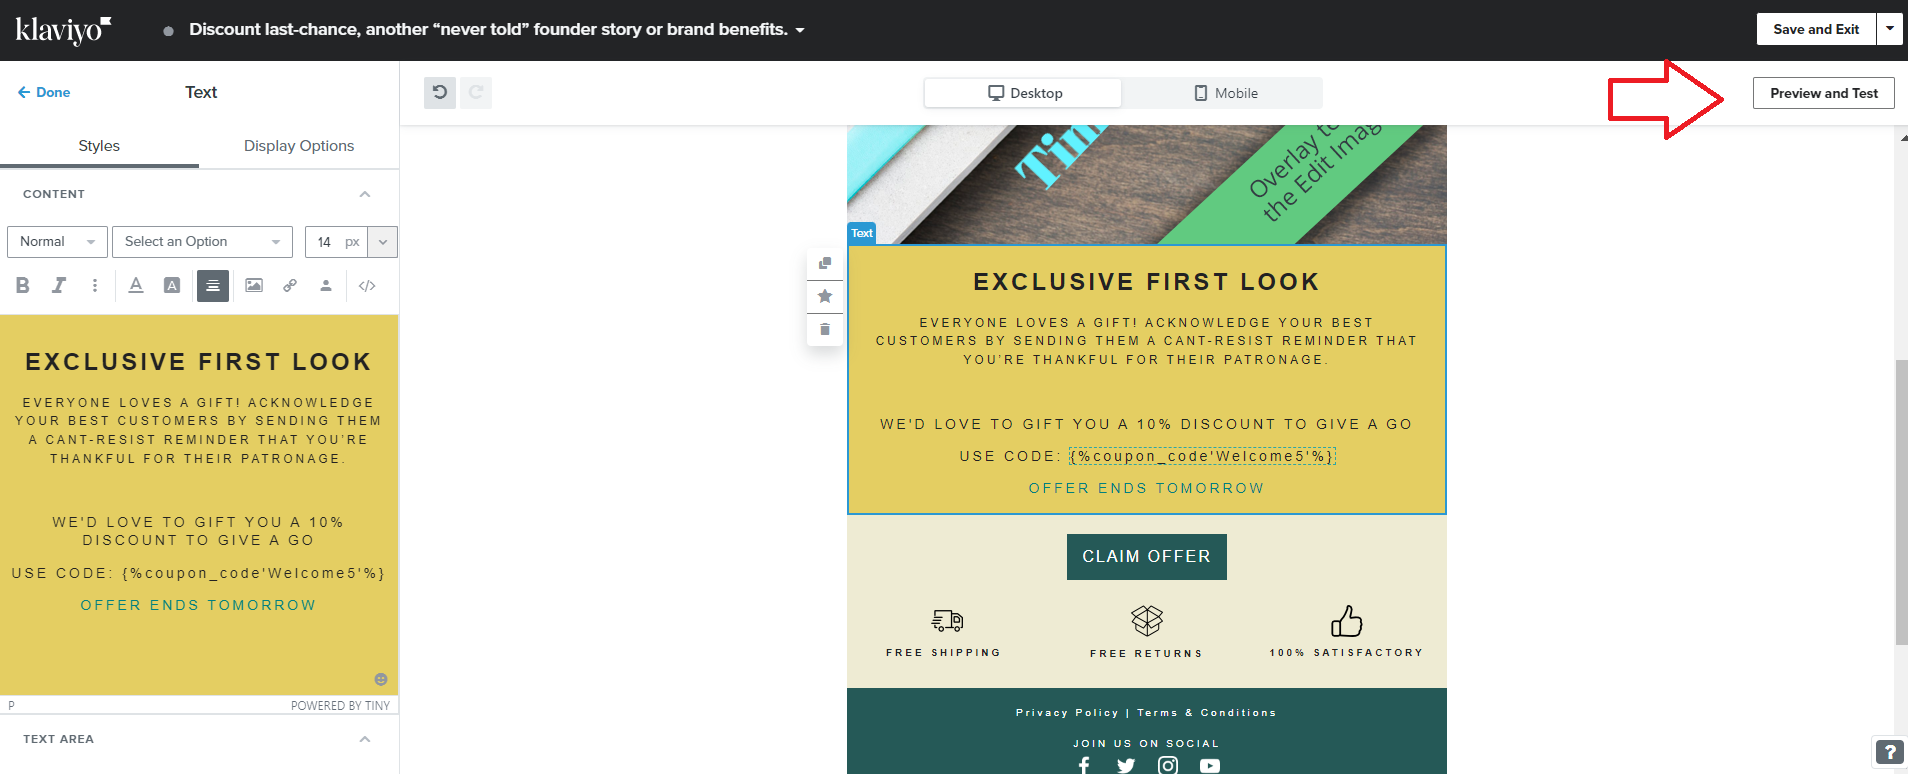
- To add your coupon to your email template using the following format:
{%coupon_code’couponname’%}. Replace ‘couponname’ with the coupon name you created in Step 2. It must be an exact match of the name, including capitalization.
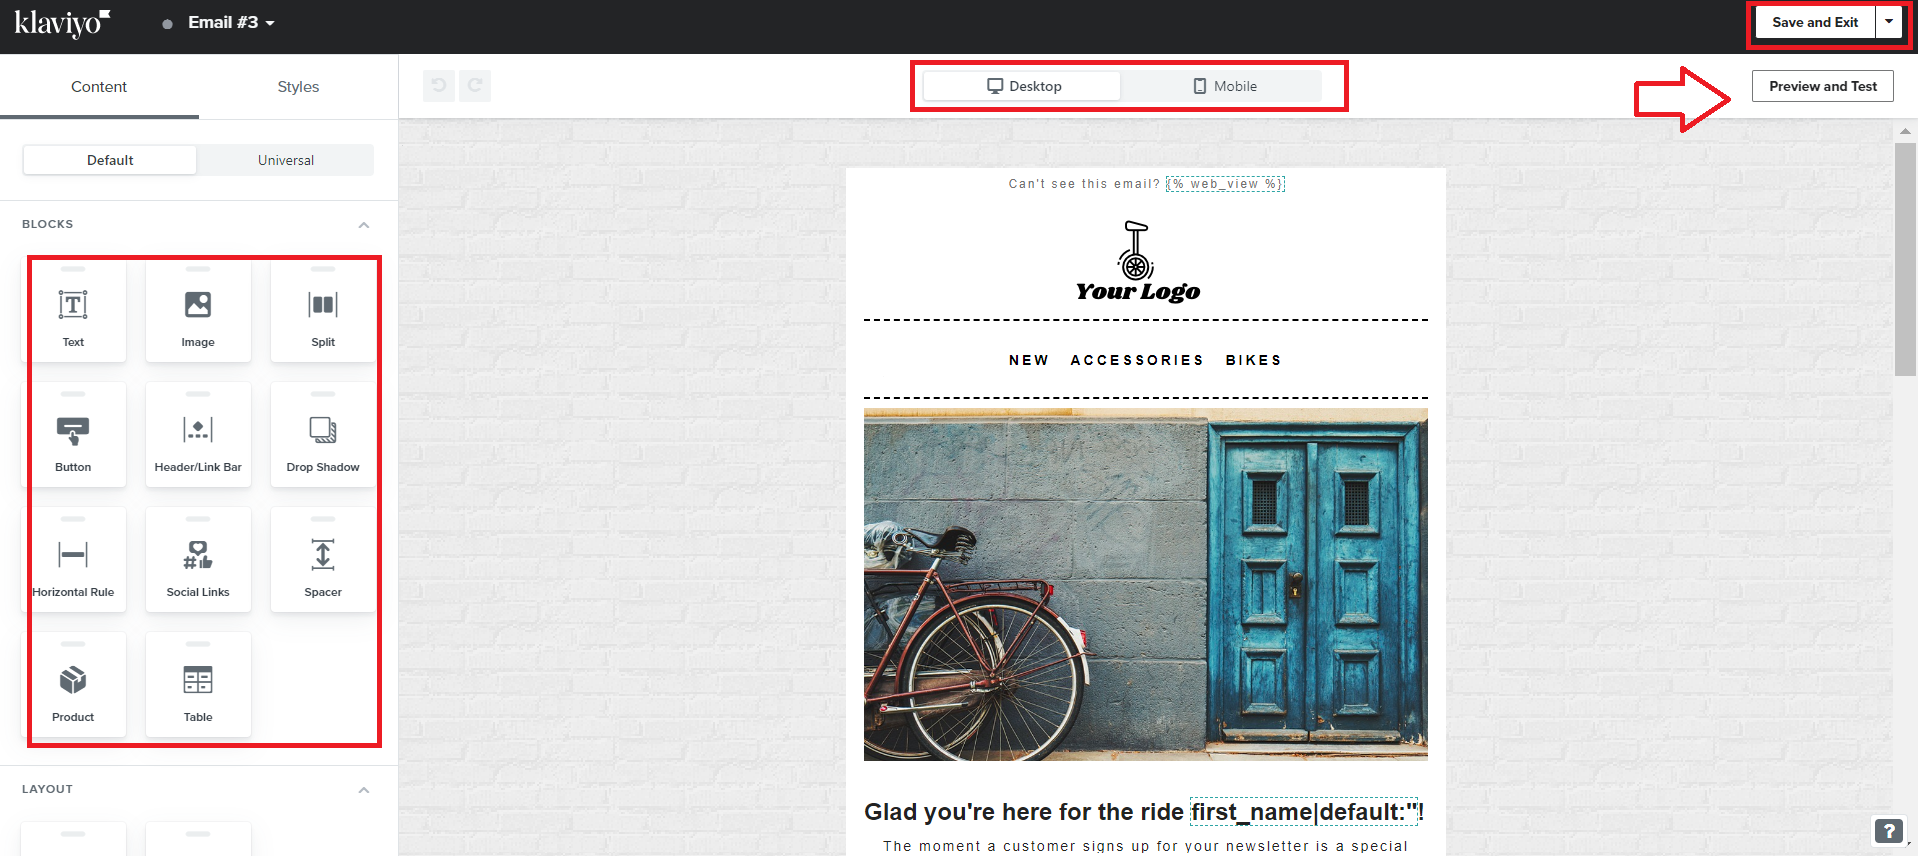
- Select Preview and Test.
Note: When you preview the email from Klaviyo, you will not see a unique coupon code populate. If you want to test if the actual code is working, send a test email to one or more emails. A live code will be generated, so make sure that you’ll take these test codes into account when adding codes in Step 6.
- Continue updating your email template and make sure to check how the layout would look like in both Desktop and Mobile. Once you’re done, click Save and Exit.
Conclusion
Execution Checklist:
-
Connect Shopify to Klaviyo
-
When adding codes, estimate the number of recipients and ensure a buffer is added for test emails.
-
Make sure to send test emails with you code to check if the code is working.