Creating a Successful Browse Abandonment Flow on Klaviyo
Provide you with a step-by-step guide in setting up your browse abandonment flow on Klaviyo.
Prefer a shortcut? 16 free tools do parts of this for you.
Aim: Provide you with a step-by-step guide in setting up your browse abandonment flow on Klaviyo.
Optimal Outcome: To have automated email messages sent to customers who browsed your products but didn’t add items to their cart or didn’t purchase from your store.
What do you need to start:
-
Your Shopify store or website should be linked to your Klaviyo account.
-
Klaviyo account
Why is this SOP Important: Setting up the browse abandonment flow is a powerful way for you to recover lost sales, improve customer engagement, increase revenue, and enhance the overall customer experience.
When and Where to execute: Klaviyo platform
Who Should Be Doing This: Marketing staff, people responsible for managing automation
What is Browse abandonment flow?
Browse abandonment flow is a process of engaging with users who visited a website but did not make a purchase or take any action. The goal is to re-engage these users through targeted marketing efforts and encourage them to complete a purchase or take another desired action.
Execution
Resources/Tools & Set up
-
Enable onsite tracking for your store or website (Follow this guide, SOP 249: Setting Up a Trigger for Customer Views on a Product)
-
Set up dynamic coupon code (Follow this guide, SOP 251: Setting Up Dynamic Discount Codes.)
Set up your browse abandonment email strategy
Here’s an example of a WINNER browse abandonment email flow sequence:
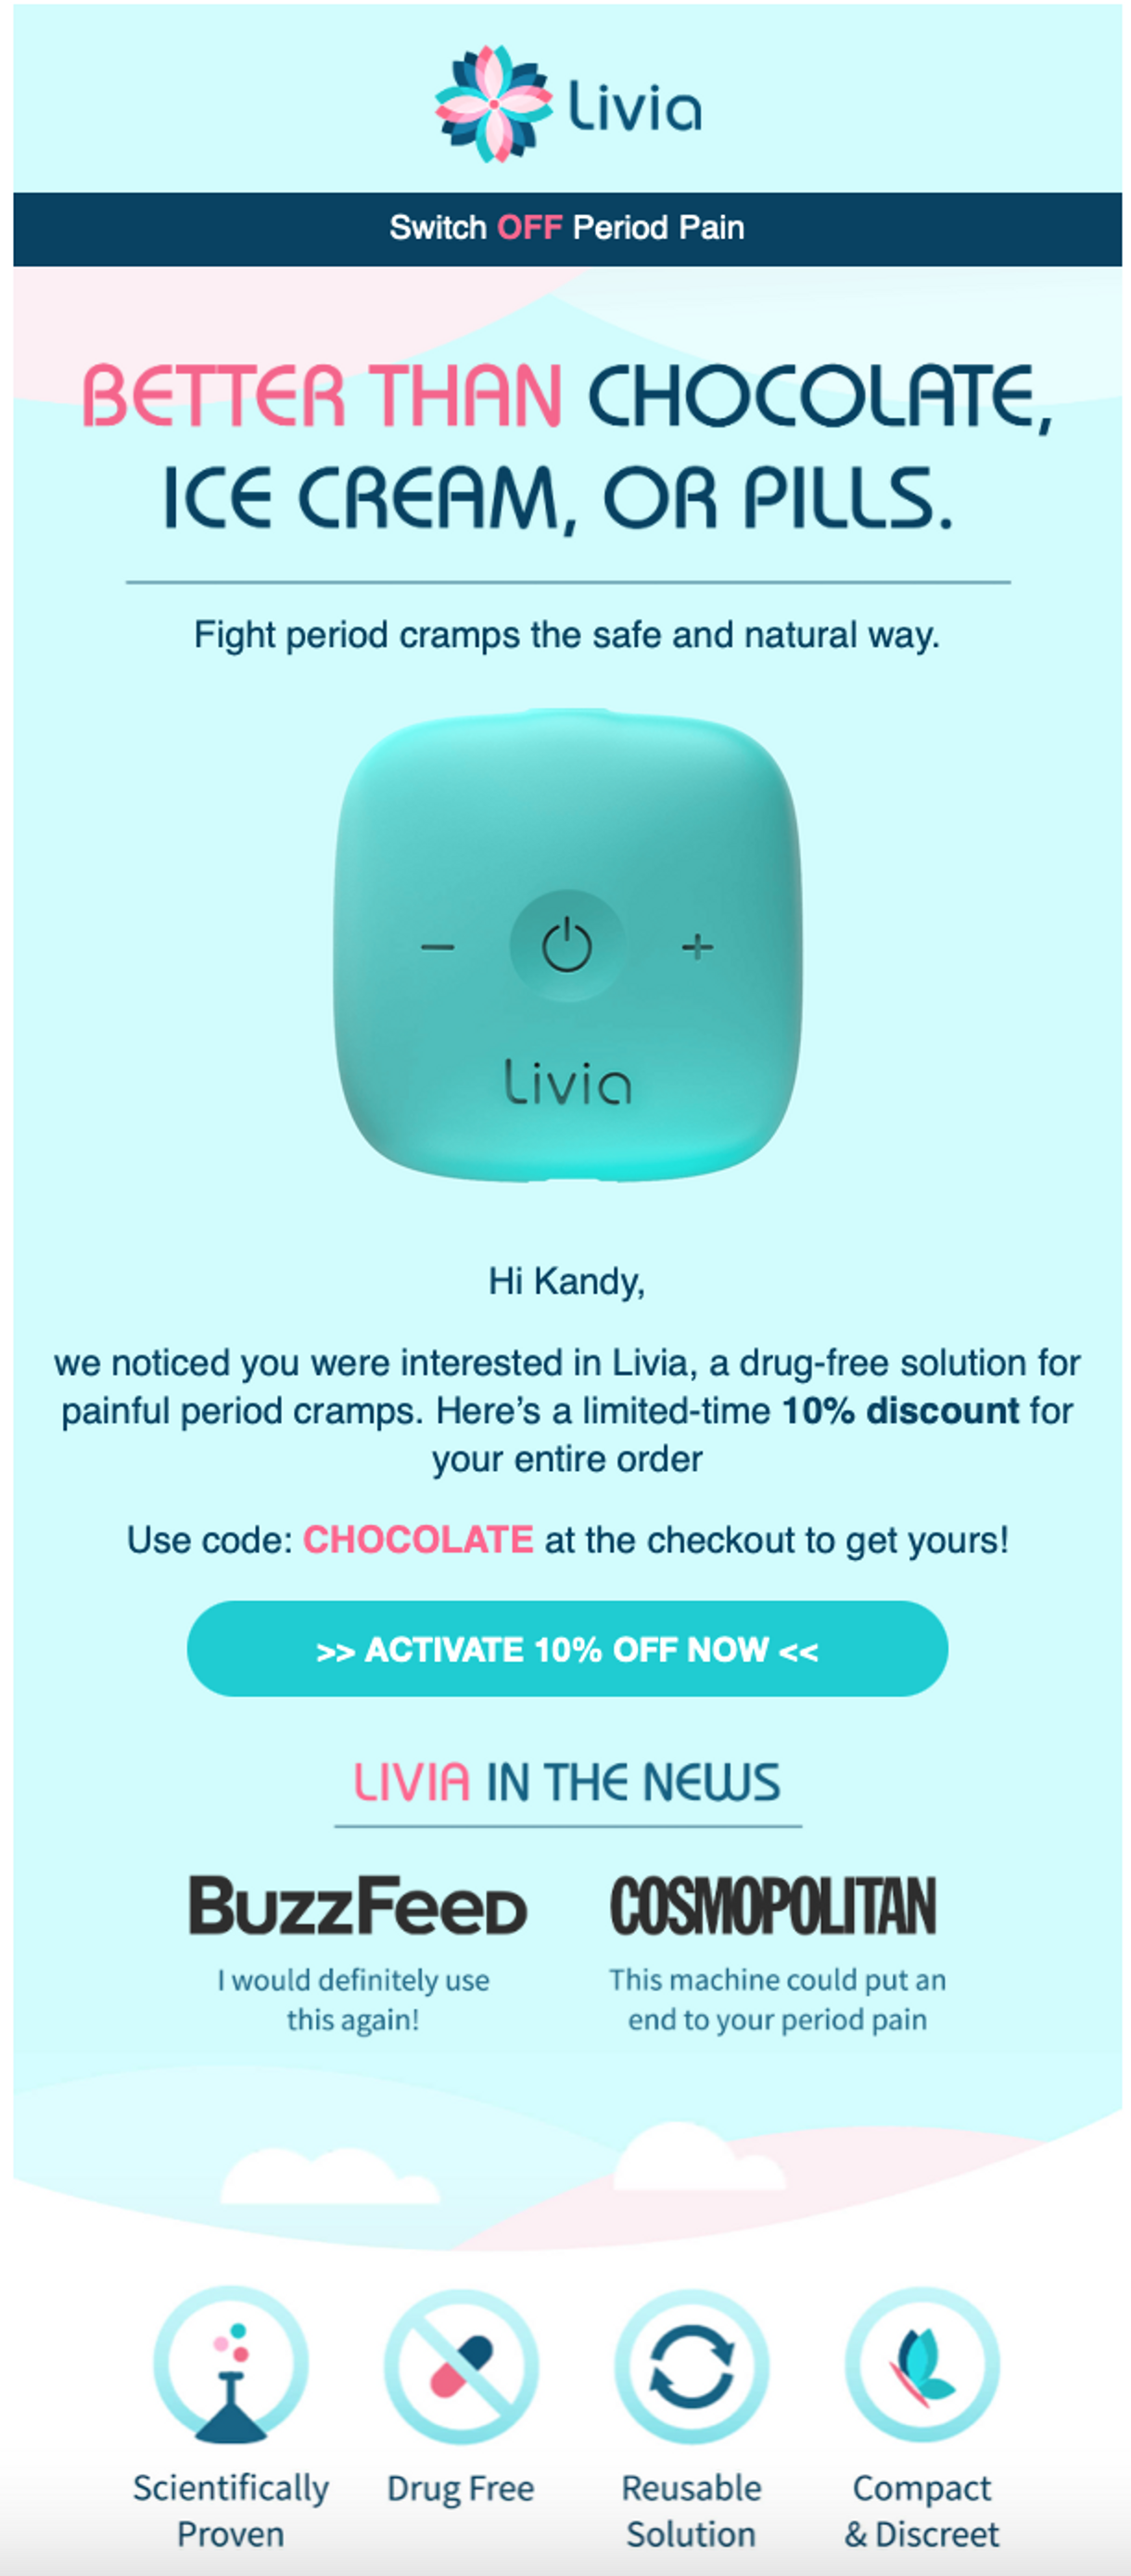
Email #1 - Reminder about the product they viewed with "selling fast" urgency and short copy & 10% OFF
Example:
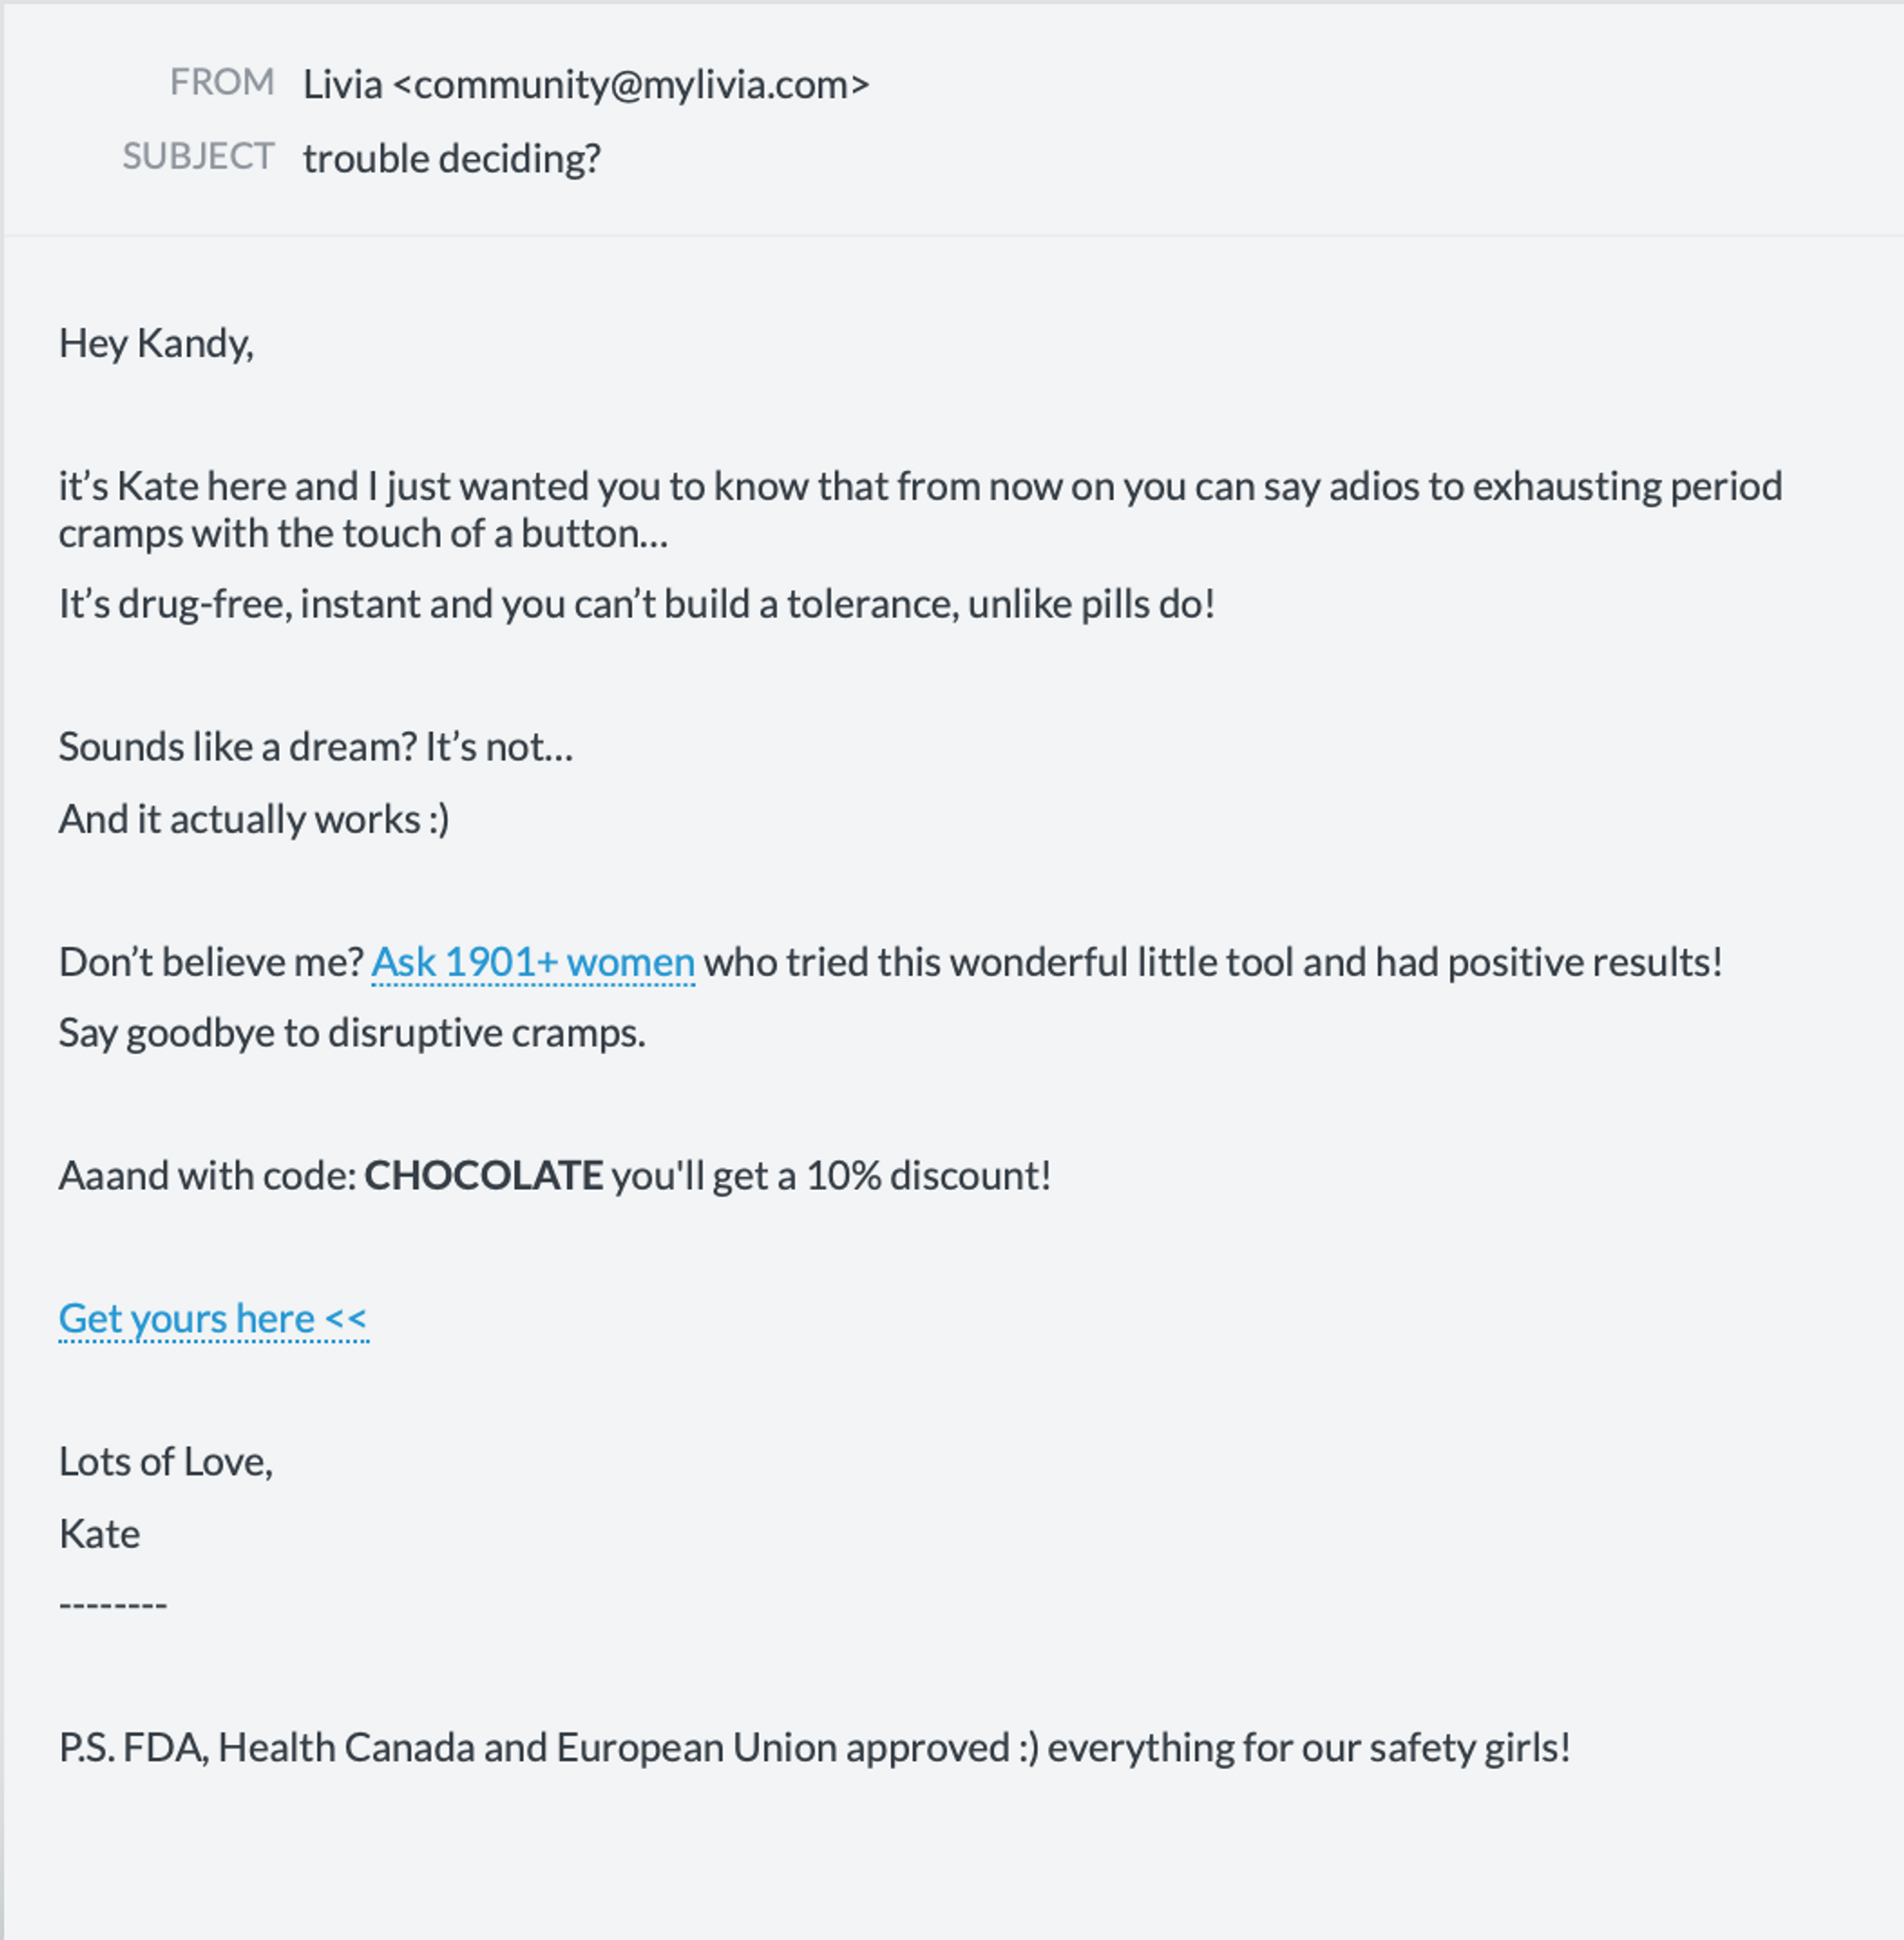
Email #2 - Plain text email from founder reminder. Use some sort of an owner's story highlighting product benefits and link it to the product they viewed. Discount follow-up
Example:
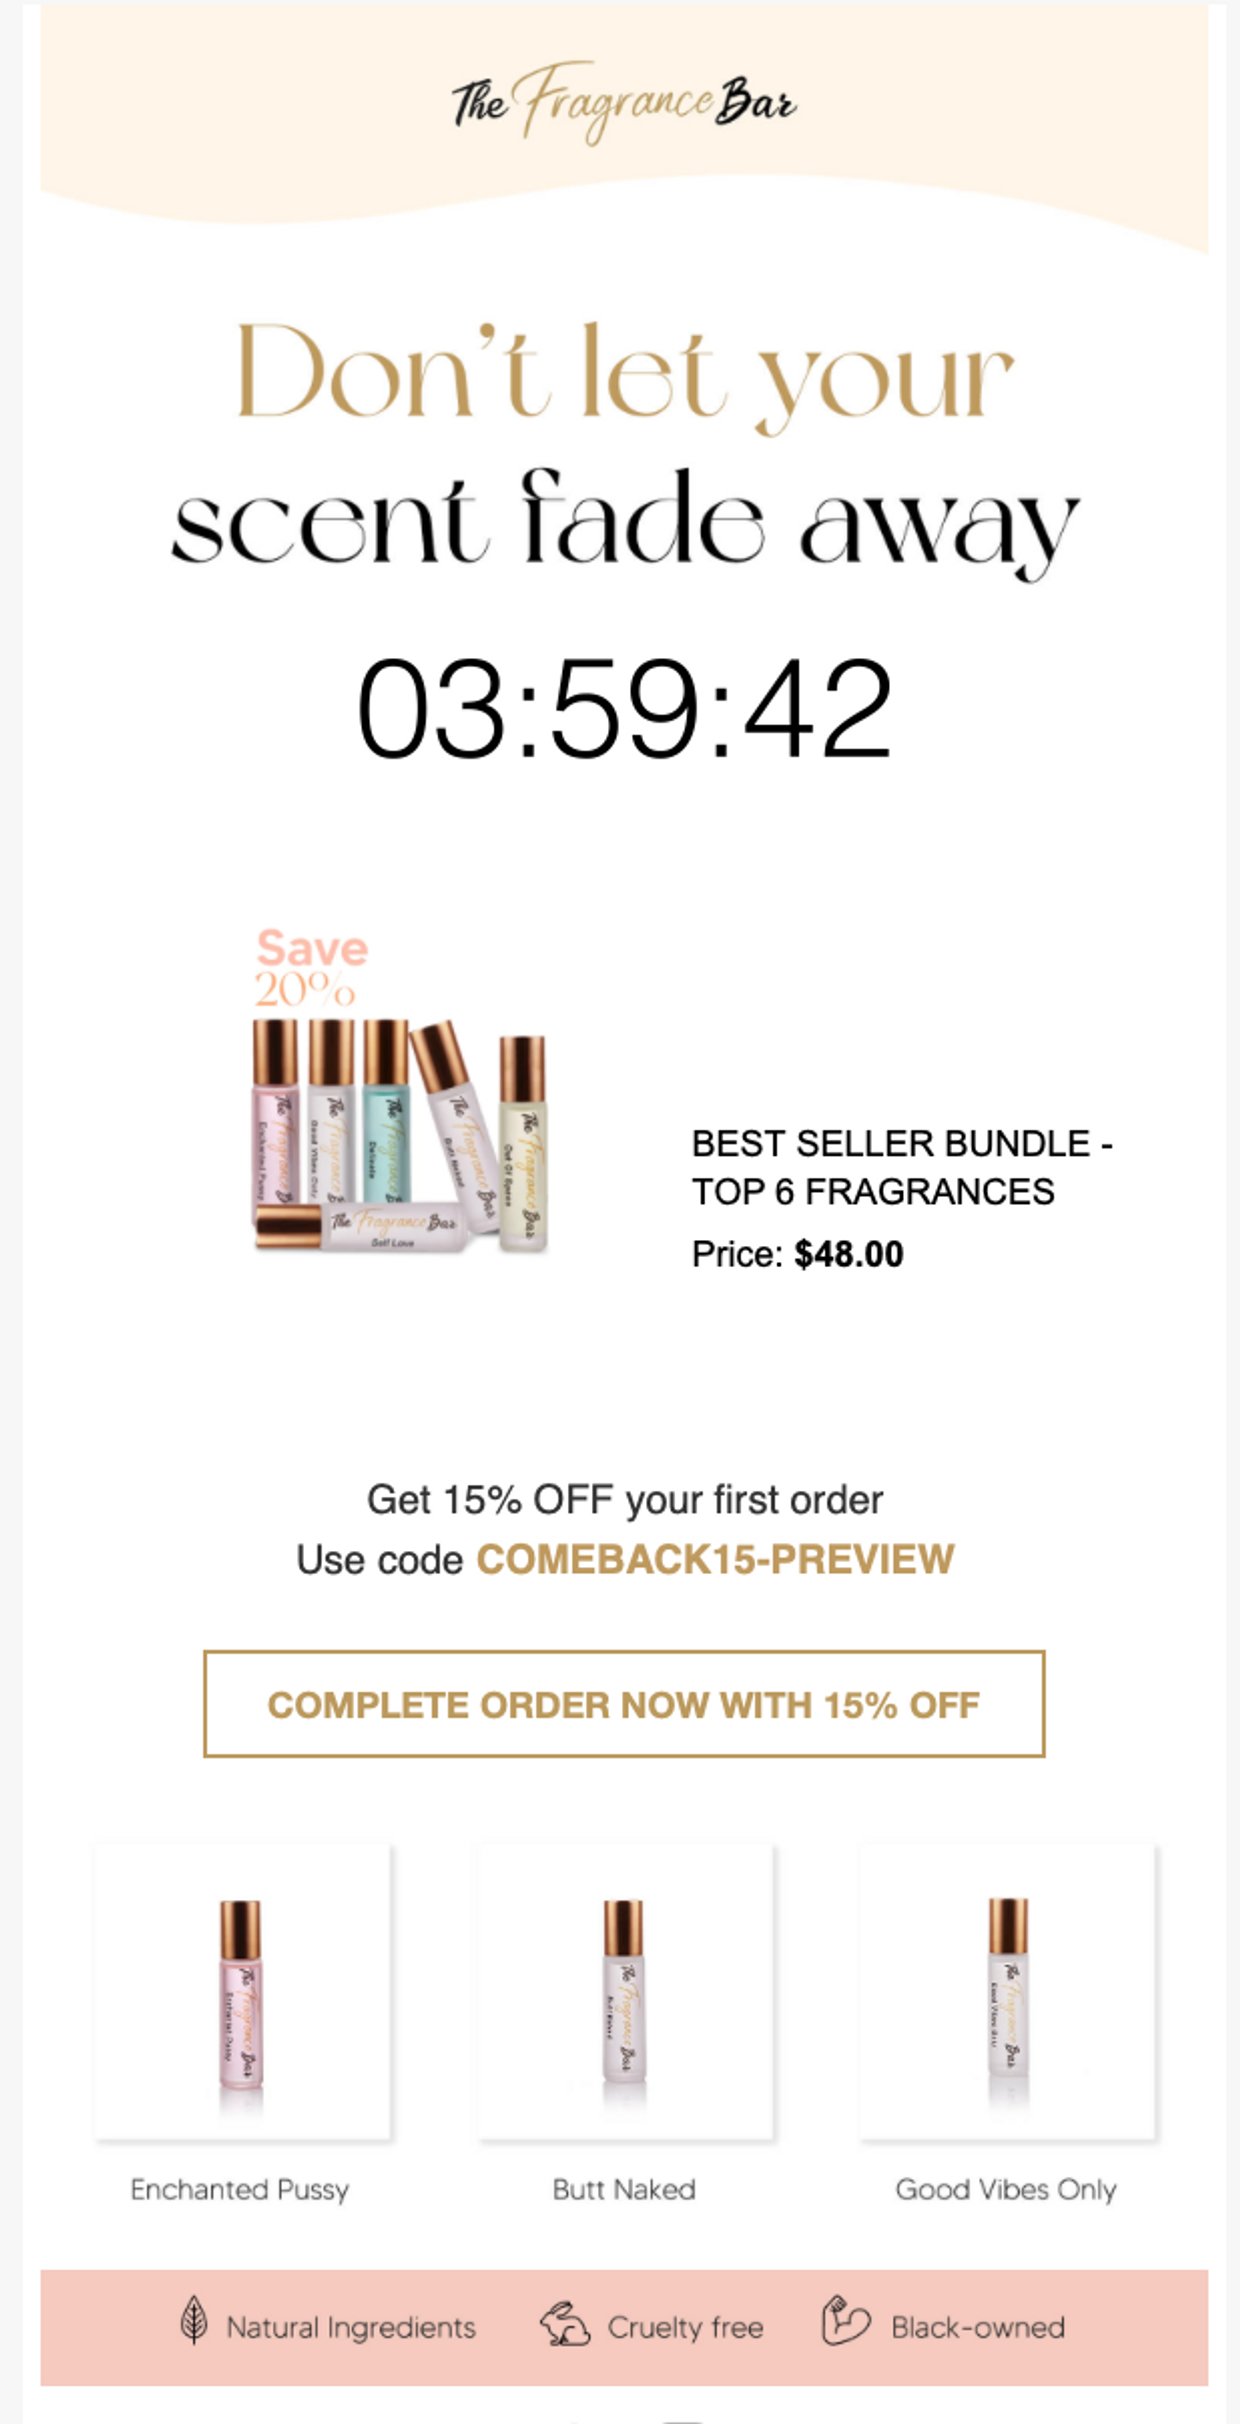
Email #3 - Discount last chance urgency with timer + offer to check out best-selling products
Example:
Set up browse abandonment flow
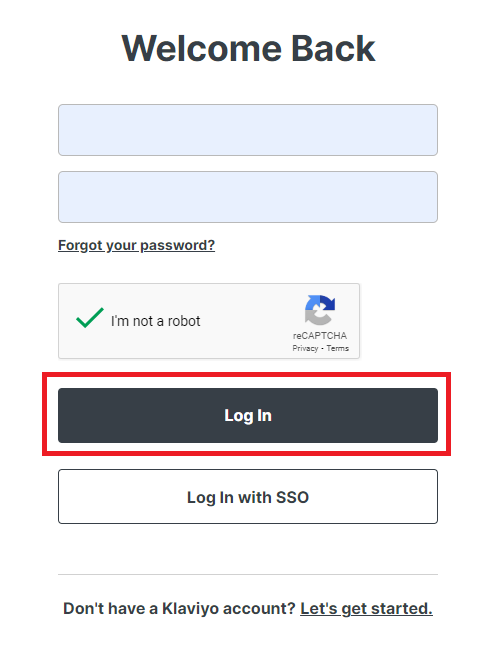
- Login to Klaviyo.
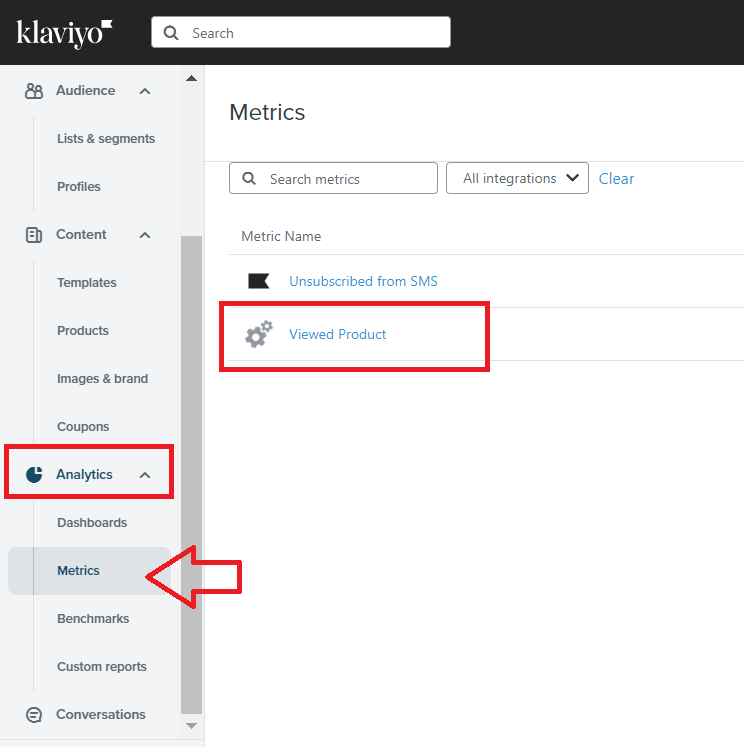
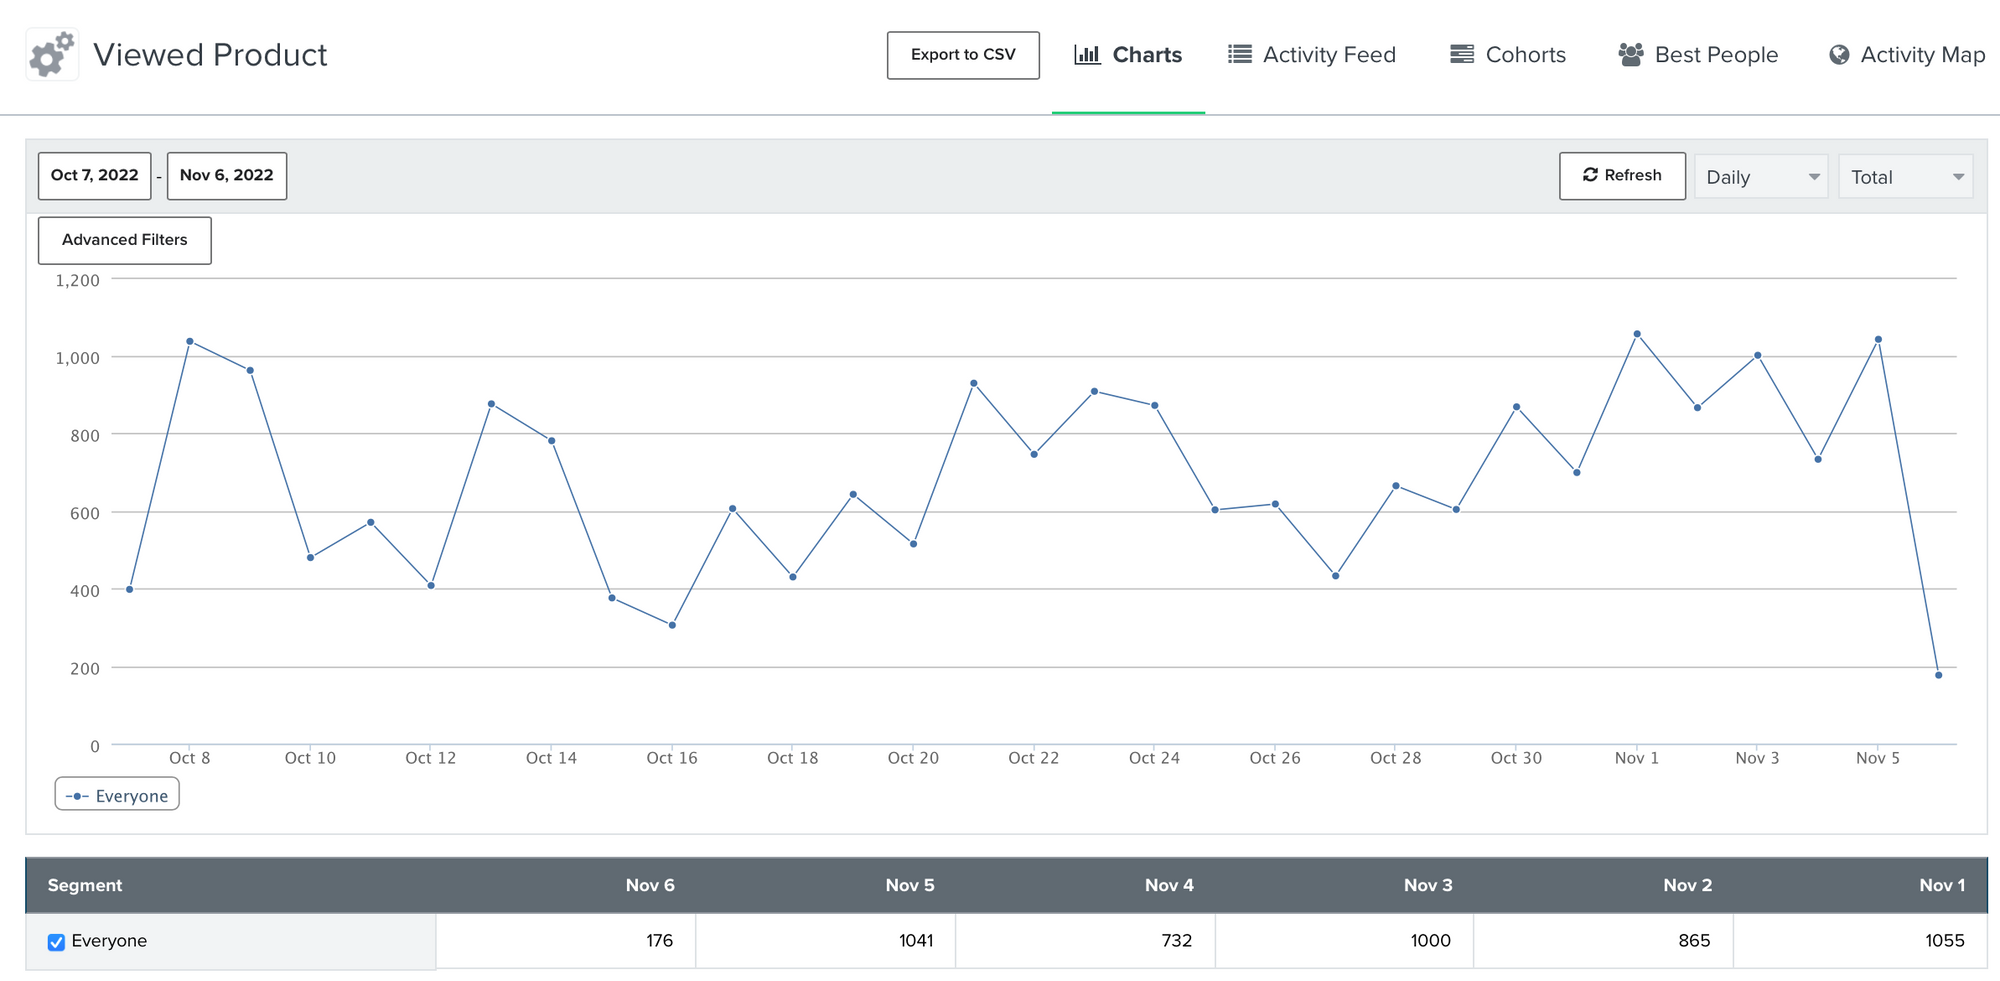
- First, you want to make sure that your Viewed Product metric is working properly.
For Shopify stores, this is usually embedded automatically but if you’re using a different platform for your store, it’s worth checking if you’re getting data.
To do this, navigate to the left menu, under Analytics, click Metrics.
- Check if there's data available in this metric.
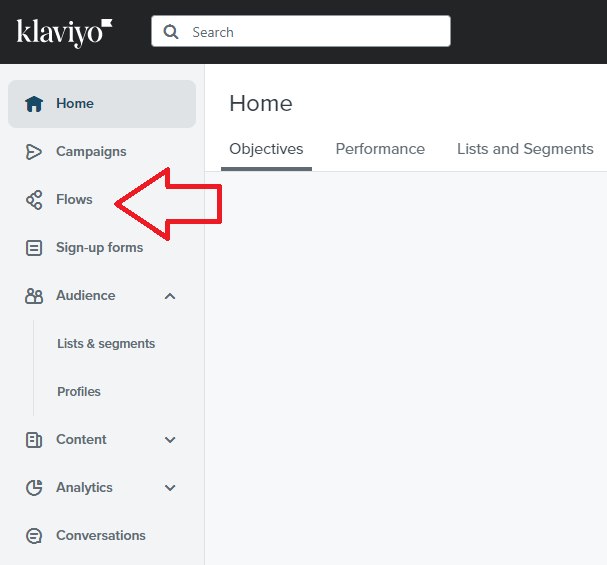
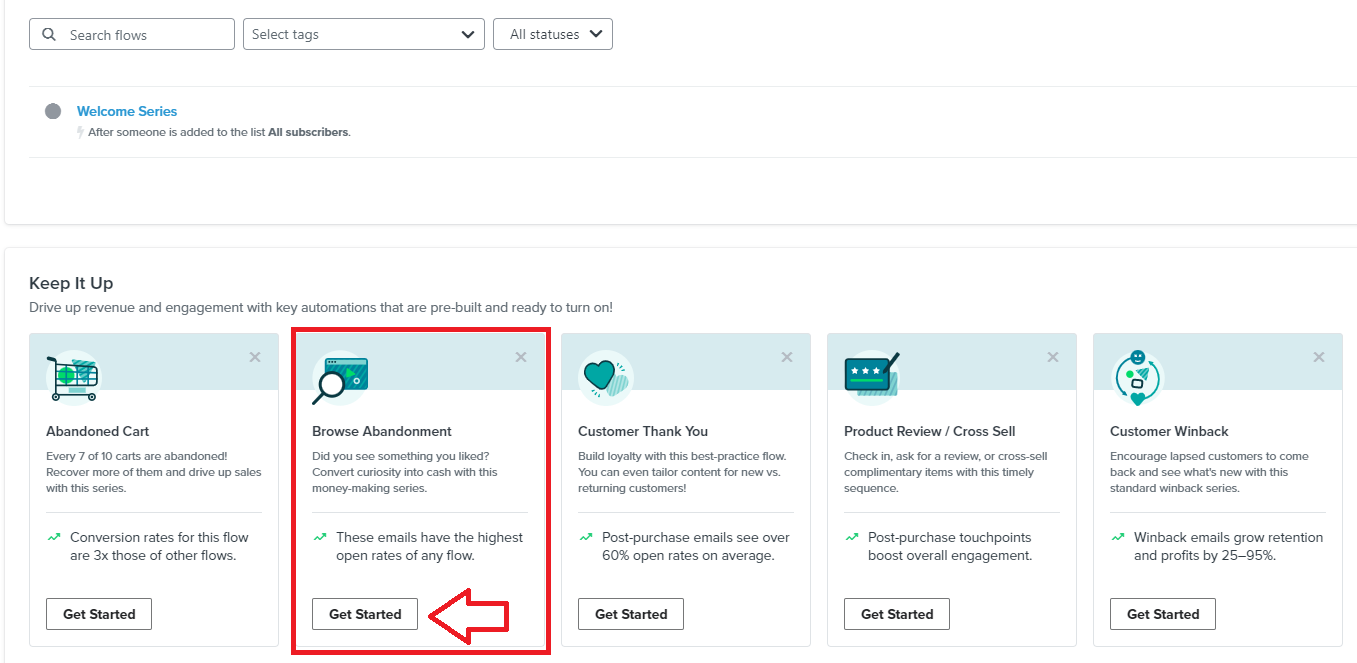
- Navigate to the left menu and click Flows.
- Select Browse Abandonment card, then click Get Started.
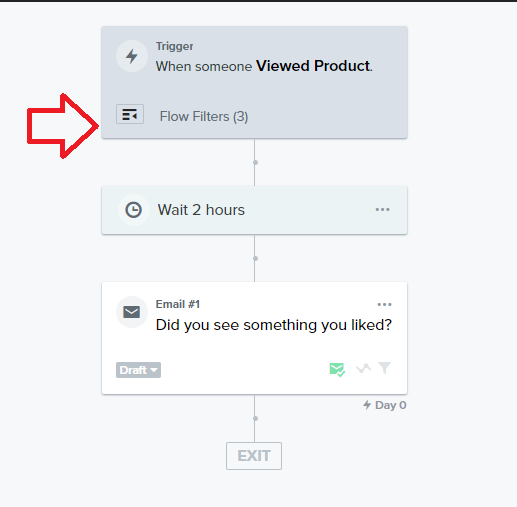
- The next page will show you the browse abandonment flow template from Klaviyo. You can customize each of these cards to fit your preferences. Click the Filter icon to check the trigger configuration.
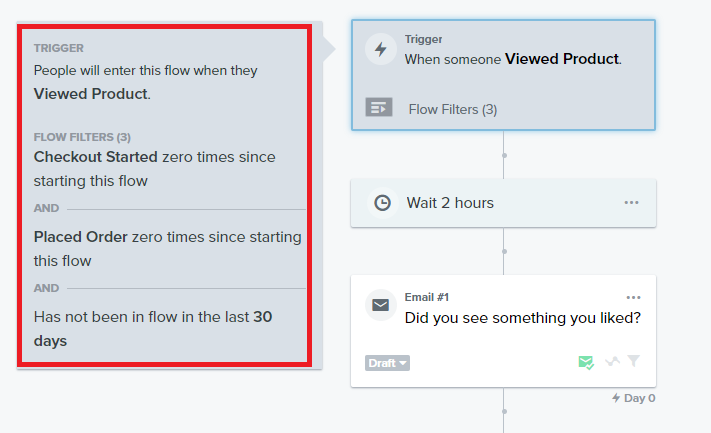
- Review the settings that will trigger the email flow.
-
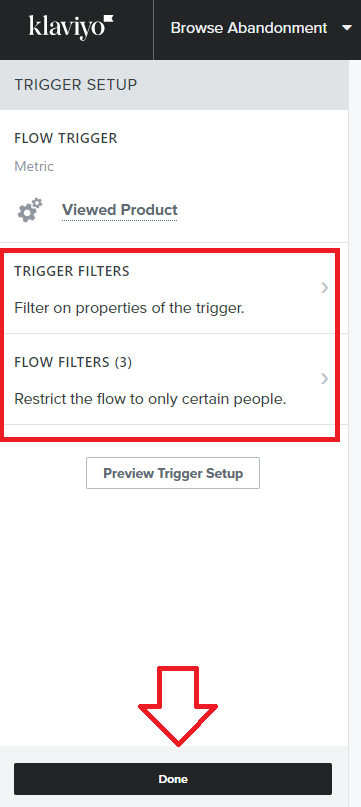
In the left menu, you can customize the event that will trigger the browse abandon setup. Once this is done, scroll to the bottom then click Done.
-
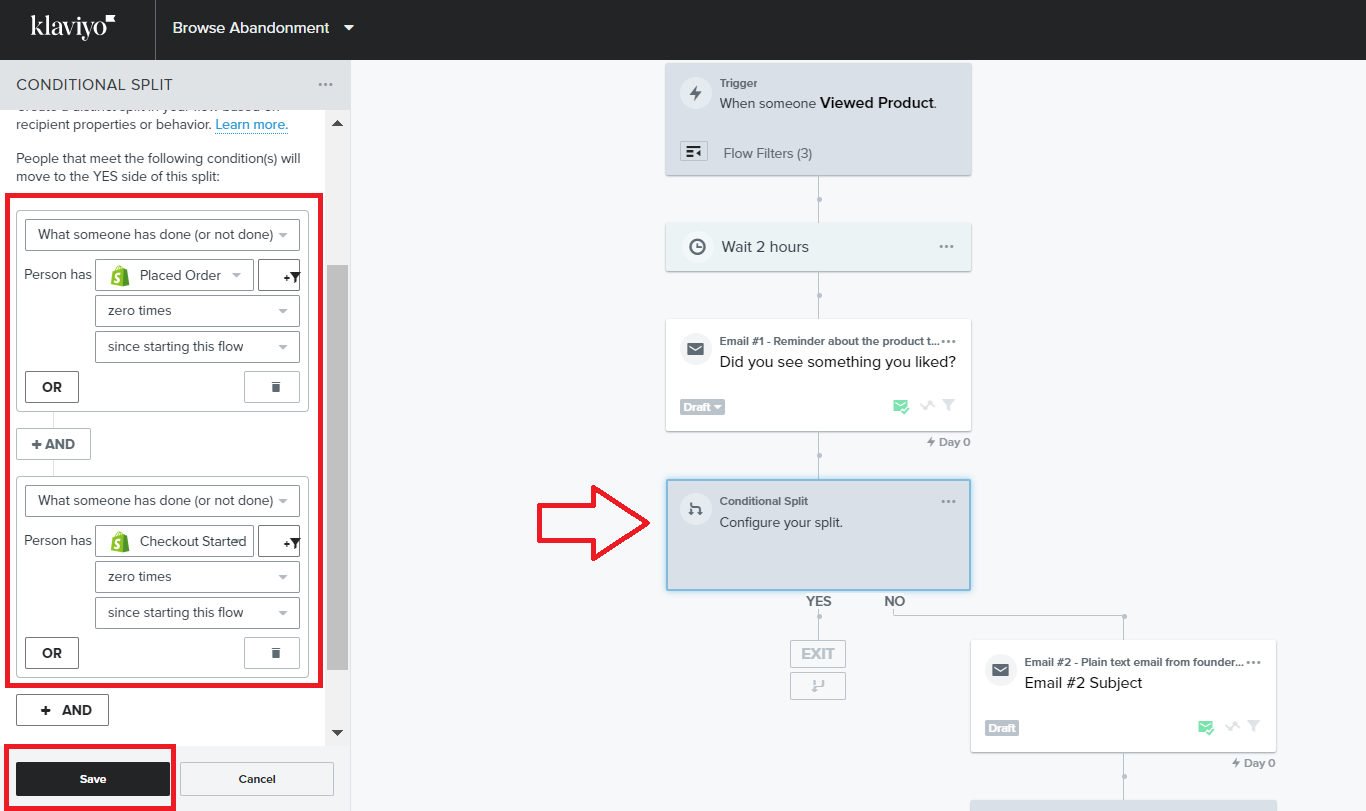
Insert Conditional Split every after email card and set up flow exclusions as follows:
-
What someone has done (or not done) →Placed order→zero times→since starting this flow
-
What someone has done (or not done)→Placed order→zero times→since starting this flow
-
Has not been in this flow for 7 days
-
Placed order zero times in the last 7 days
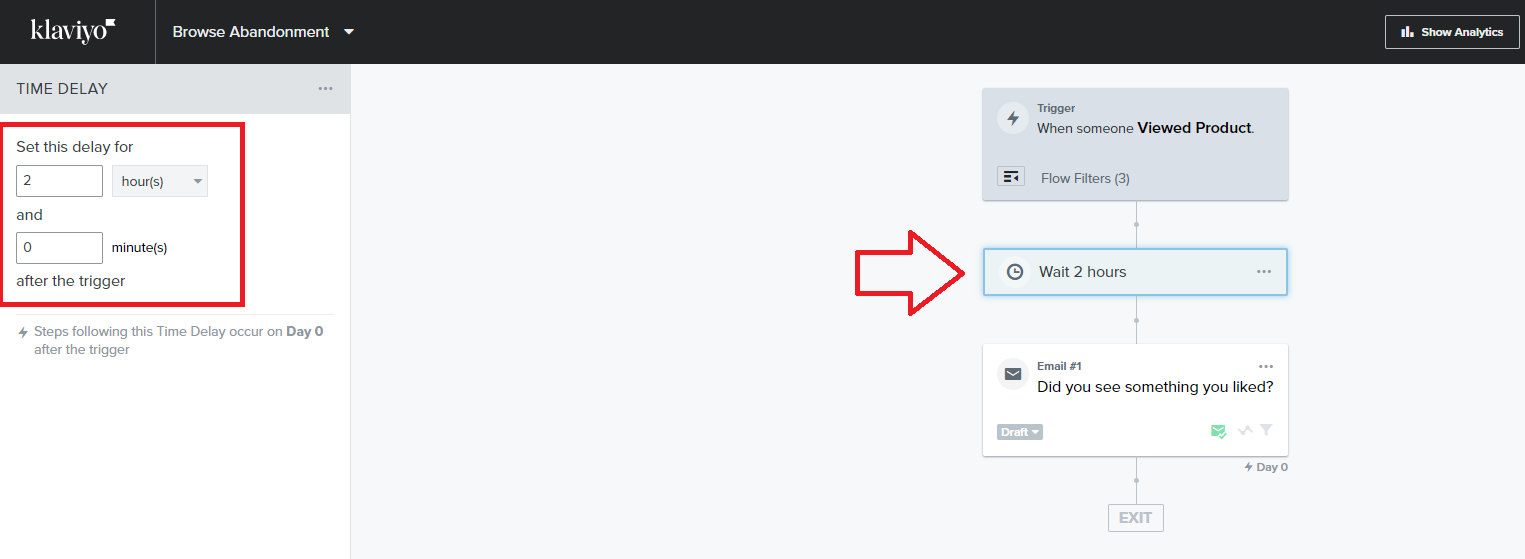
- Next, customize the time delay between the event (viewed the product or added to cart but did not purchase) and the email being sent.
-
Set up A/B testing for sending schedules. To do this, follow this detailed guide, SOP 243: A Guide to A/B Testing Email Schedules.
-
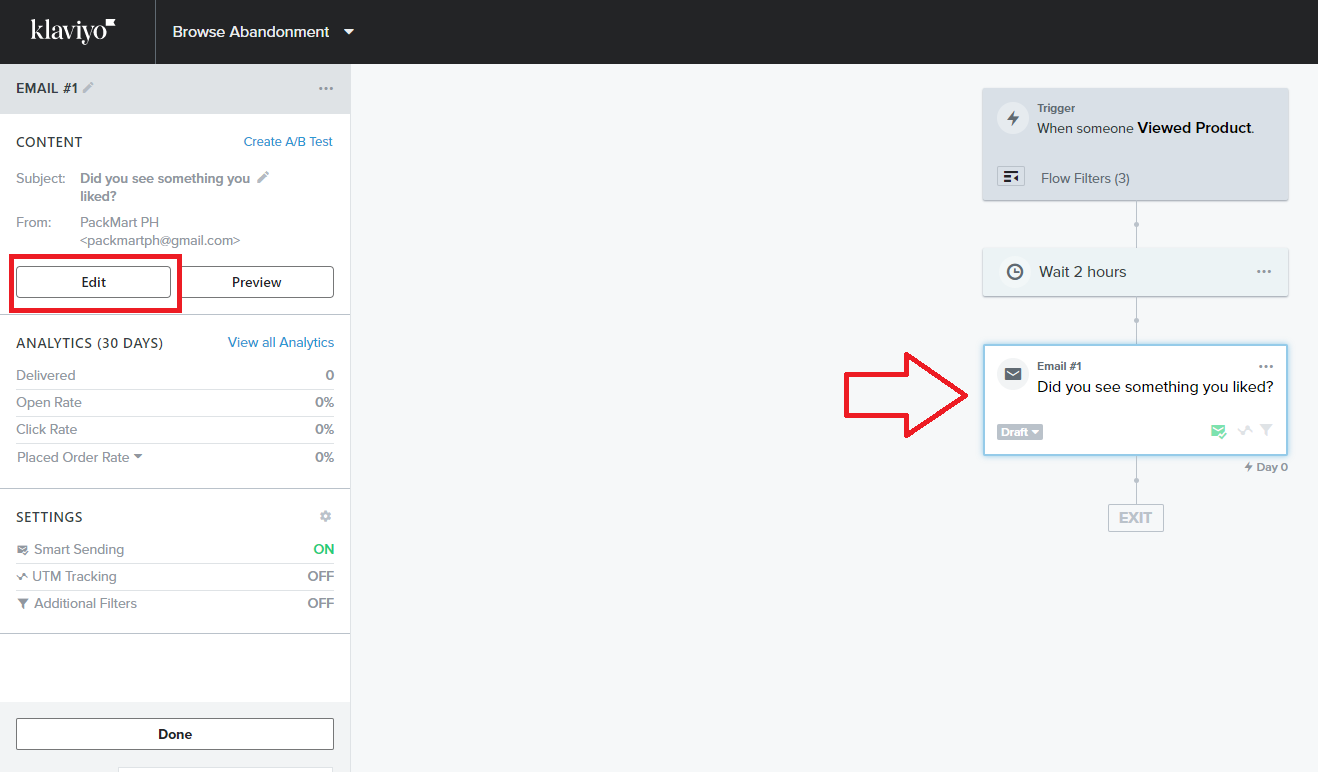
Click the Email card, then navigate to the left menu and click Edit.
-
It’s a good practice to run A/B testing on the subject line for every email inside the flow. To do this, follow this detailed guide SOP 244: A Guide to A/B Testing Subject Lines.
-
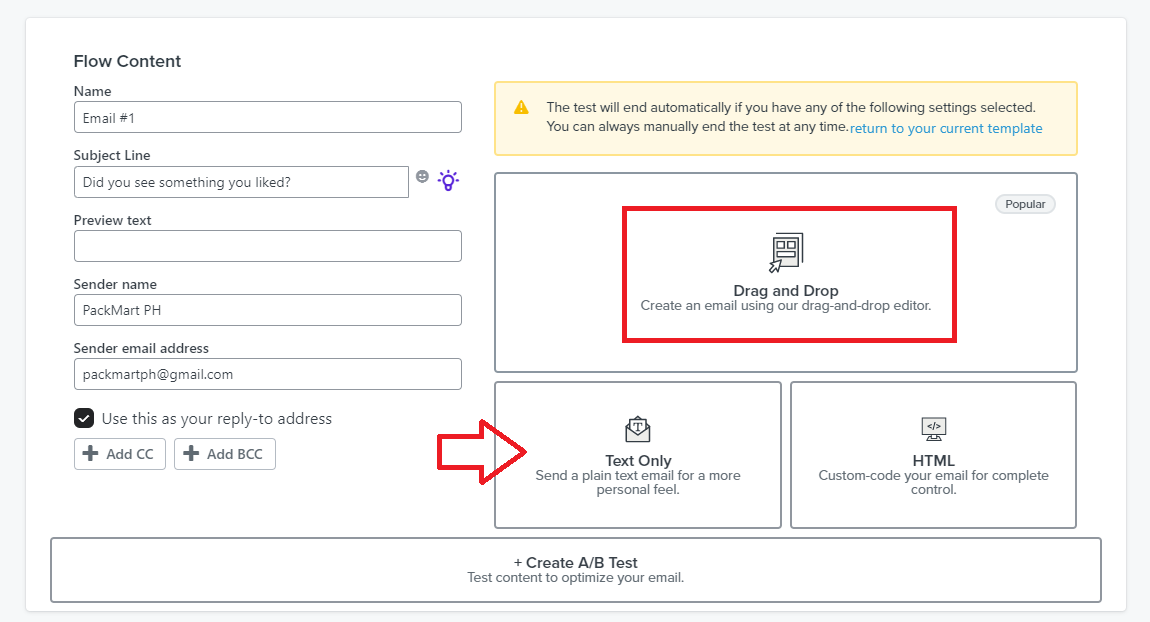
Click Edit Email then click Change Template.
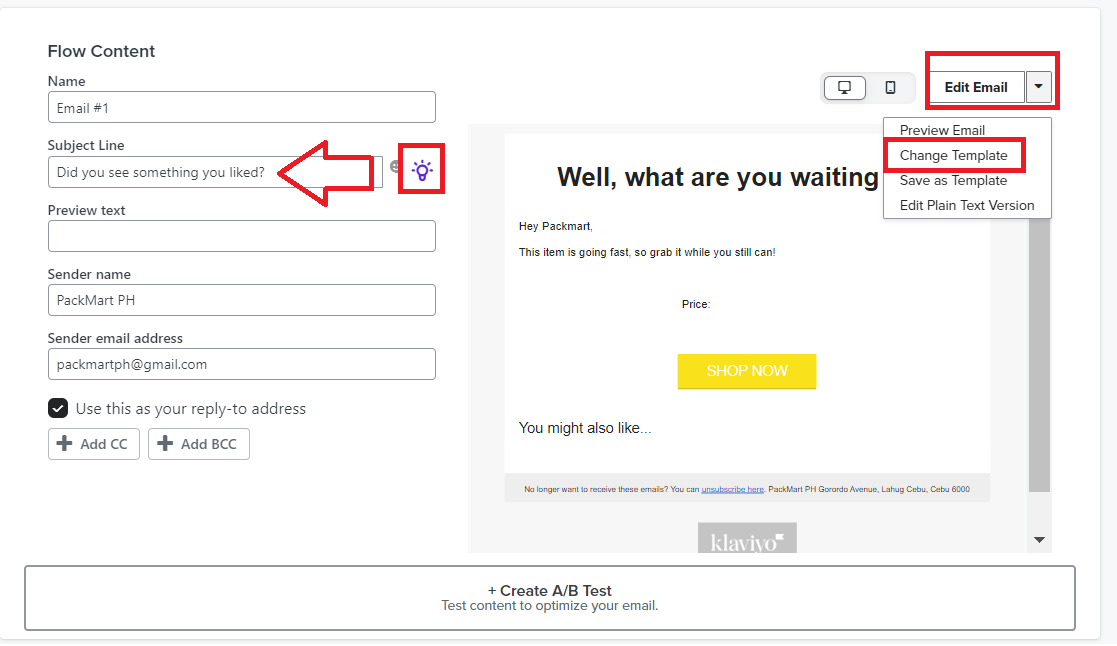
- You have several options to edit the email contents.
Text Only - If you just want to send a simple text-only email.
HTML - if you have complete control over the email design and configuration, you can use code to set up your email.
Drag and Drop - you can take advantage of email templates with pre-set design
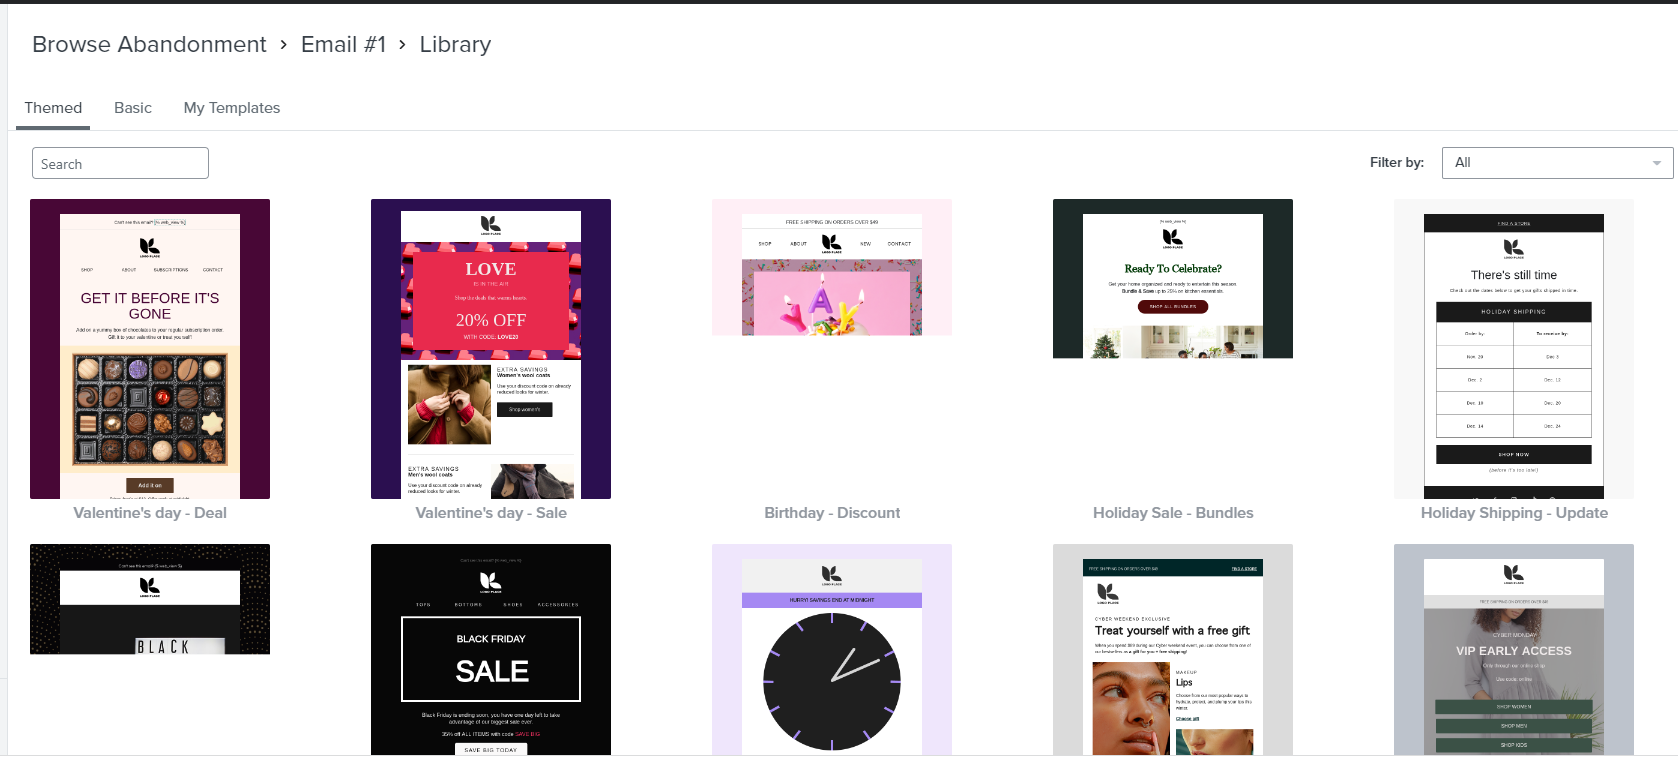
- You can choose from the pre-designed email templates.
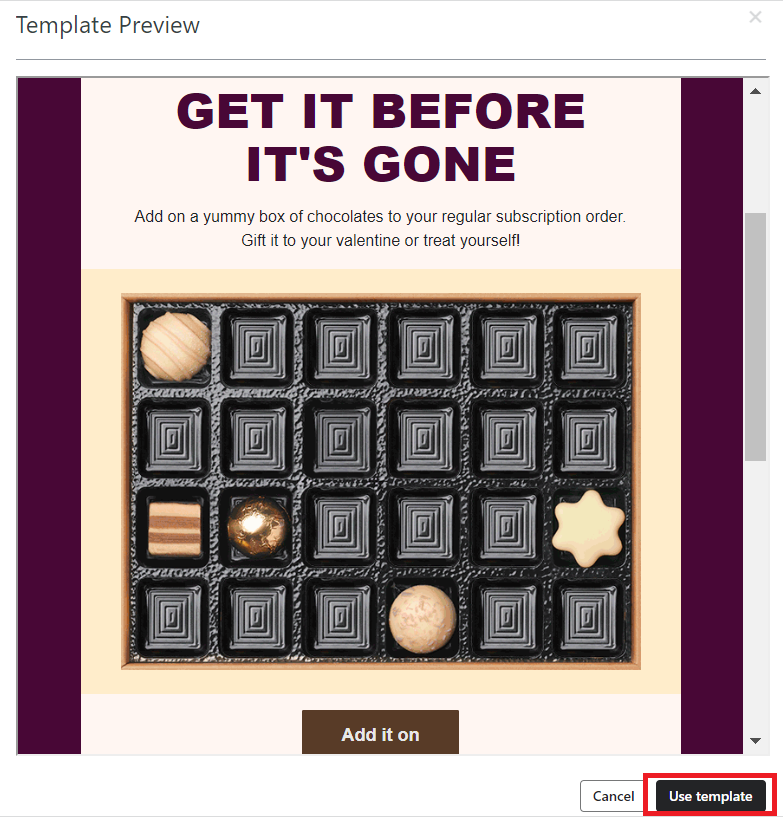
- Preview the template and click Use template.
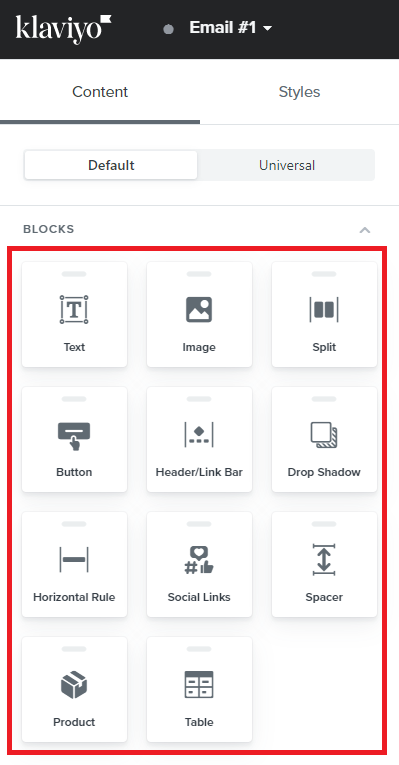
-
In the left menu, you’ll see options for customizing the elements of your email contents.
-
You can add your dynamic coupon code to your email content. Follow this guide to learn how to create and embed your code SOP 251: Setting Up Dynamic Discount Codes.
-
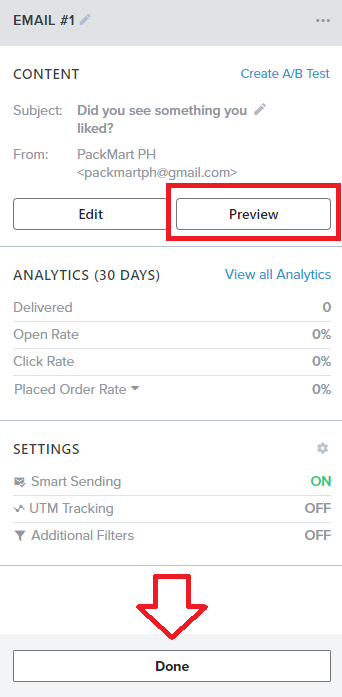
Make sure to preview the email on both desktop and mobile. Once done, click Save and Exit.

-
Review and proofread your email content. Once you’re good with the contents, click Done.
-
Lastly, click Review and Turn On.

Conclusion
That’s it! Remember that by targeting users who have shown an interest in a product or service but have not yet made a purchase, browse abandonment flow provides an opportunity to recover lost sales and increase conversion rates.
Execution Best Practices:
-
Set up correct links on your email content that land on the product page, best-seller page, or collection page (not the home page).
-
Run all tests for a month or until you can gather sufficient data to analyze your results.
-
Use subject lines that get your emails opened (We see you browsing, Fwd: email from the founder and etc...)
-
Make sure your email shows the viewed product.