Adding Abandoned Cart Items to Your Emails
Walk you through adding abandoned cart items to your abandoned cart email campaign.
Prefer a shortcut? 16 free tools do parts of this for you.

Aim: Walk you through adding abandoned cart items to your abandoned cart email campaign.
Optimal Outcome: To remind customers of the items left on their cart and potentially convert to sales.
What do you need to start: Marketing automation platform, Abandoned cart email flow
Why is this SOP Important: It is important to add the items left in the abandoned cart to marketing emails as it can increase the chances of converting the customer, create a sense of urgency, gain valuable insights into customer behavior, and improve customer engagement.
When and Where to execute: You only need to set this up once during the integration process.
Who Should Be Doing This: Marketing staff, person responsible for setting up automation
Execution
Resources/Tools & Set up
-
Create the ‘Added Cart’ event in Shopify
-
Set up your triggers for abandoned checkouts (Follow this guide, SOP 246: Setting Up a Trigger for Abandoned Checkouts)
Create the ‘Added Cart’ event in Shopify
-
Login to your Shopify account.
-
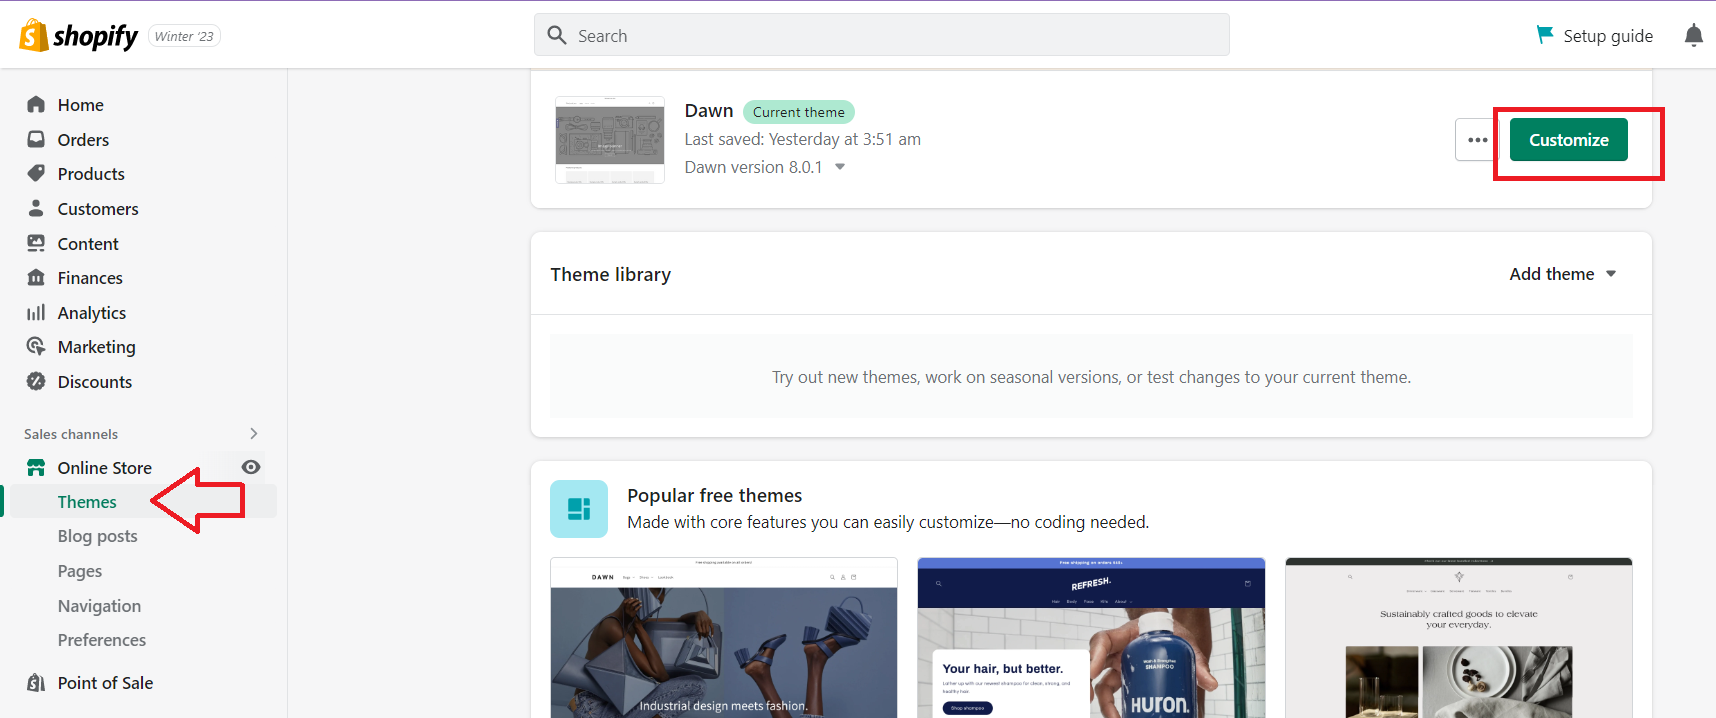
Navigate to the left menu, click Themes, then click Customize.
-
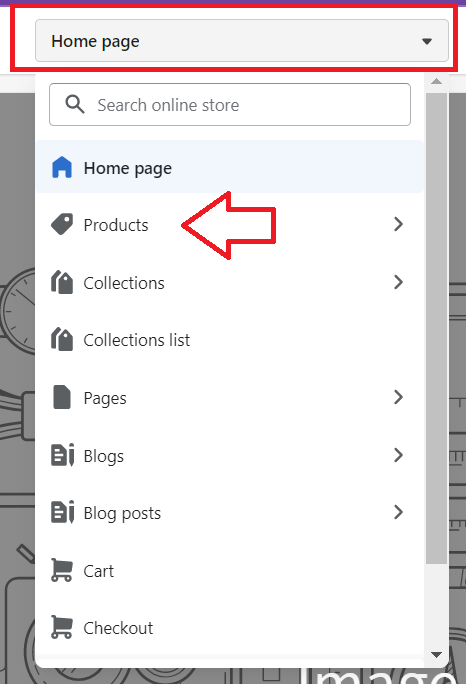
At the top of the page, click the Home page drop down, then select Products.
-
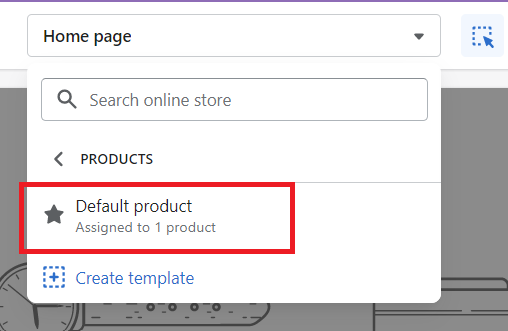
Select Default product.
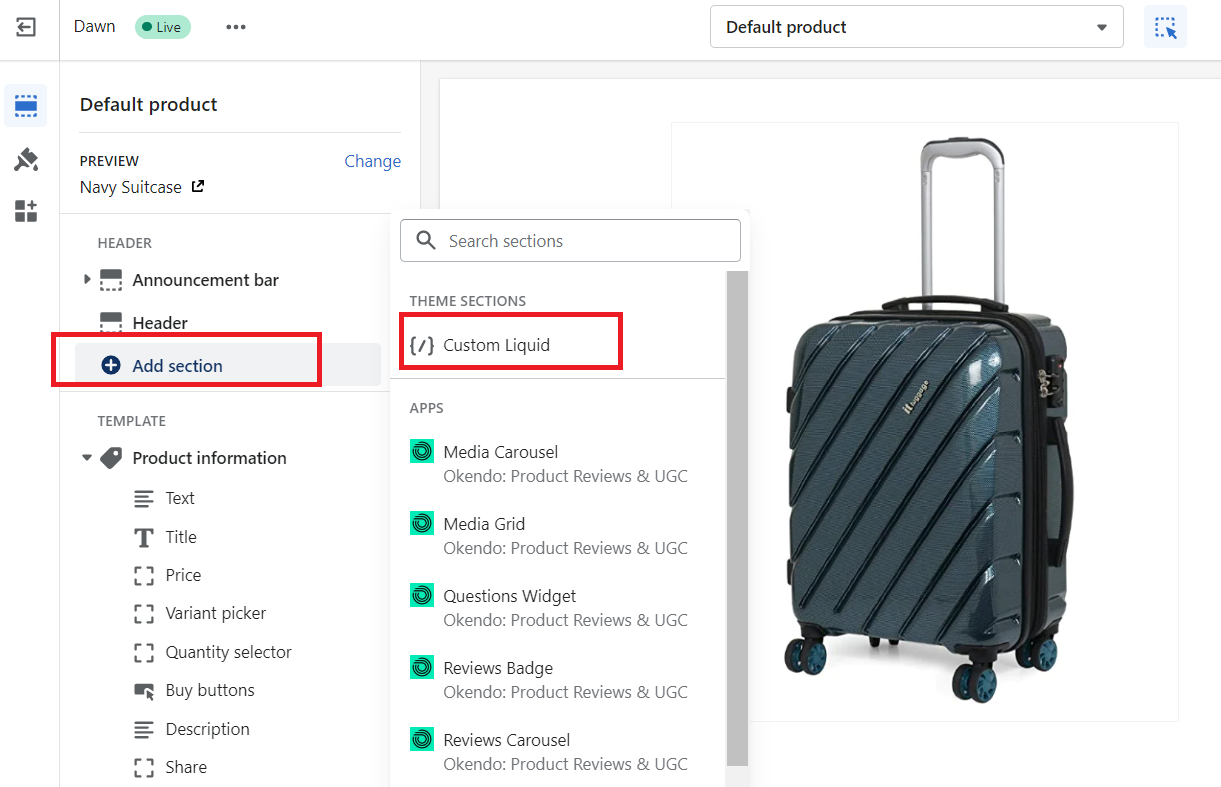
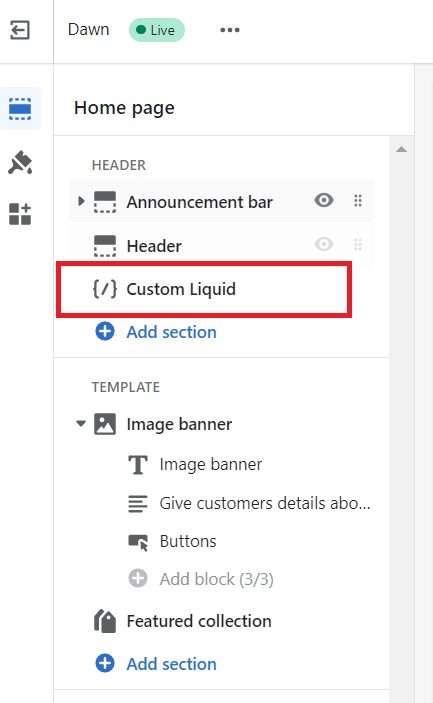
- Navigate to the left menu. Click the Add section, then select {/} Custom Liquid.
-
Select {/} Custom Liquid from the left menu.
-
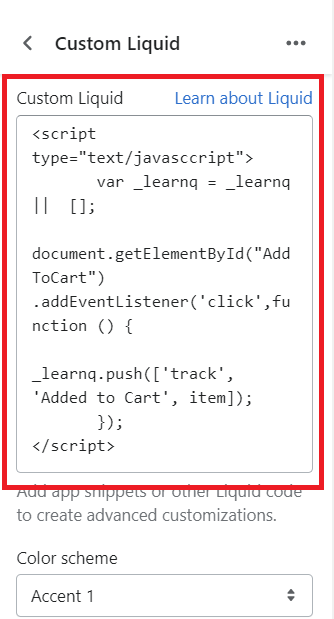
Next, decide which snippet you are going to use.
Snippet 1 - use this if your Add to Cart button does not redirect to another page such as checkout or cart page.
Snippet 2 - use this if your Add to Cart button is defined by a button ID and redirects to another page such as checkout or cart page. (Note: Make sure that the highlighted variable below matches the exact name of the button that is shown in your store.)

Snippet 3 - use this if your Add to Cart button is defined by class notation and redirects to another page such as checkout or cart page.
Note: To determine if your Add to Cart button is defined by a button ID or class notation, follow these steps.
-
Go to your store page. Right-click the Add to Cart button then click Inspect.
-
Look for the Add to Cart wording and if you see an ID indicating it, use Snippet 2, and if not, use Snippet 3.
Product ID
<button type="submit" name="add" id="AddToCart-product-template"submit" name="add" aria-label "Add to cart" data-add-to-cart style=
"visibility: visible;"_</button>
-
Click Custom Liquid and paste the snippet on the first box.
-
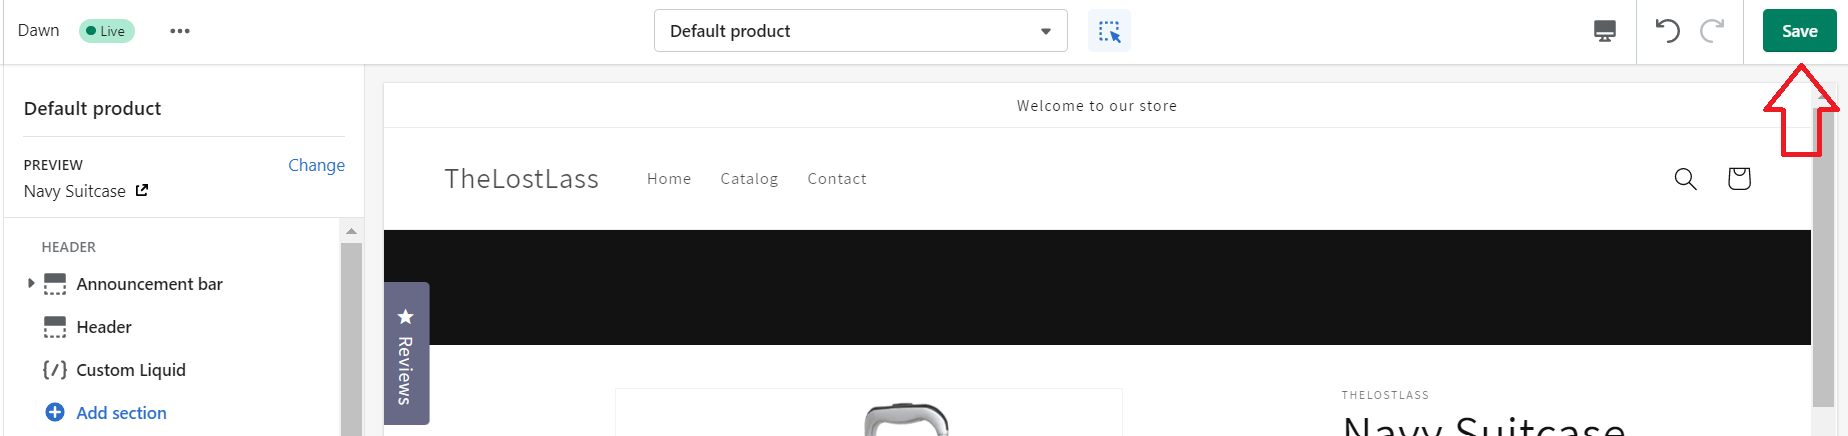
Click Save.
- Test your Add to Cart event to make sure that it’s capturing the data. Navigate to the homepage of your website and add the following to the end of the URL. Replace testing.email@gmail.com with your email address: ?utm_email=testing.email@gmail.com

-
Reload the page and click your Add to Cart button.
-
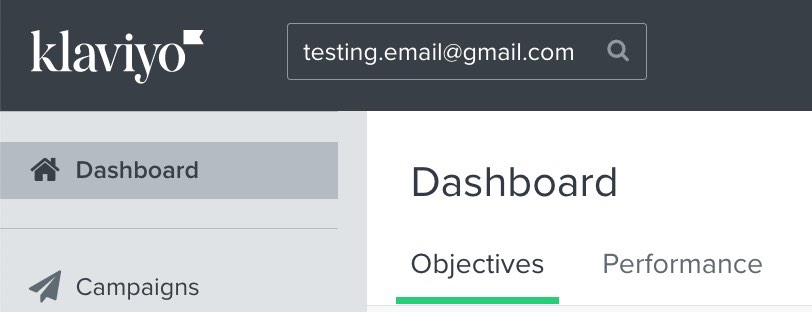
Go back to Klaviyo and search for your email address. You should see that Klaviyo has created a profile for you and the Add to Cart event has been tracked.
Conclusion
Execution Checklist:
-
Set up your online store or website.
-
Link your online store or website to Klaviyo
-
Create the Added Cart event in your store or website
-
Set up abandoned cart email flow