Steps for Onboarding a Client for Google Ads
To successfully onboard a client in Google Ads by adding them to the account and preparing the Google Ads account setup.
Prefer a shortcut? 16 free tools do parts of this for you.

Aim: To successfully onboard a client in Google Ads by adding them to the account and preparing the Google Ads account setup.
Optimal Outcome: To teach the client on the basic functions of Google Ads that could help them on promoting their business.
What do you need to start: You need to have a Google account that could be associated with your business and a card or payment account to establish an ad.
Why is this SOP Important: Onboarding a client for Google ads is necessary before starting to make a campaign so that there will be an increase in the efficiency of building the business and it is important to ensure that the clients’ business will do well to keep them in your company because of the satisfaction in the onboarding process.
When and Where to execute: You will want to set up a Google Ads account specifically for managing your client’s accounts to monitor their accounts.
Who Should Be Doing This: This should be done by the person-in-charge for advertising assistance.
Client Onboarding
The procedure of introducing a client to your services and making sure they have access to all the resources they will need to succeed is known as client onboarding. This implies that while clients are being onboarded, you will be acquainting them with your procedures, responding to any issues or inquiries, providing them with guides and resources to assist them in making the most of your services, and developing crucial client connections.
Execution
Resources/Tools & Set up
-
Google account
-
Payment account
Creating a Google Ads Manager Account
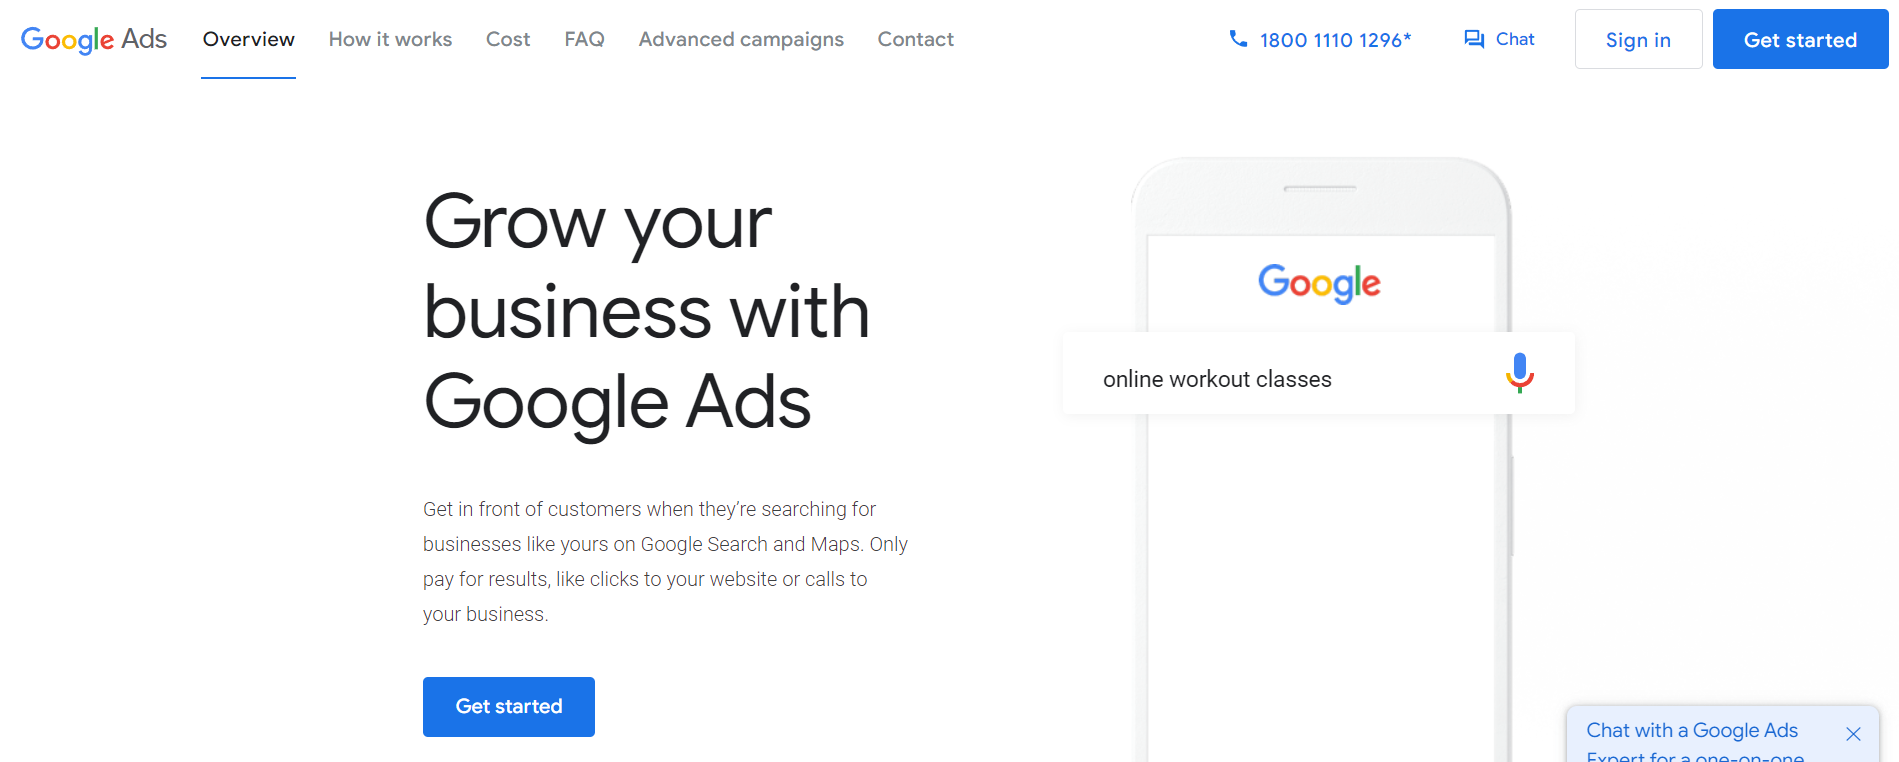
- Go to Google Ads and click “Advanced campaigns”. Take note that we are not making a regular Ads account on Google, but an account that allows you to manage your client’s ad account.
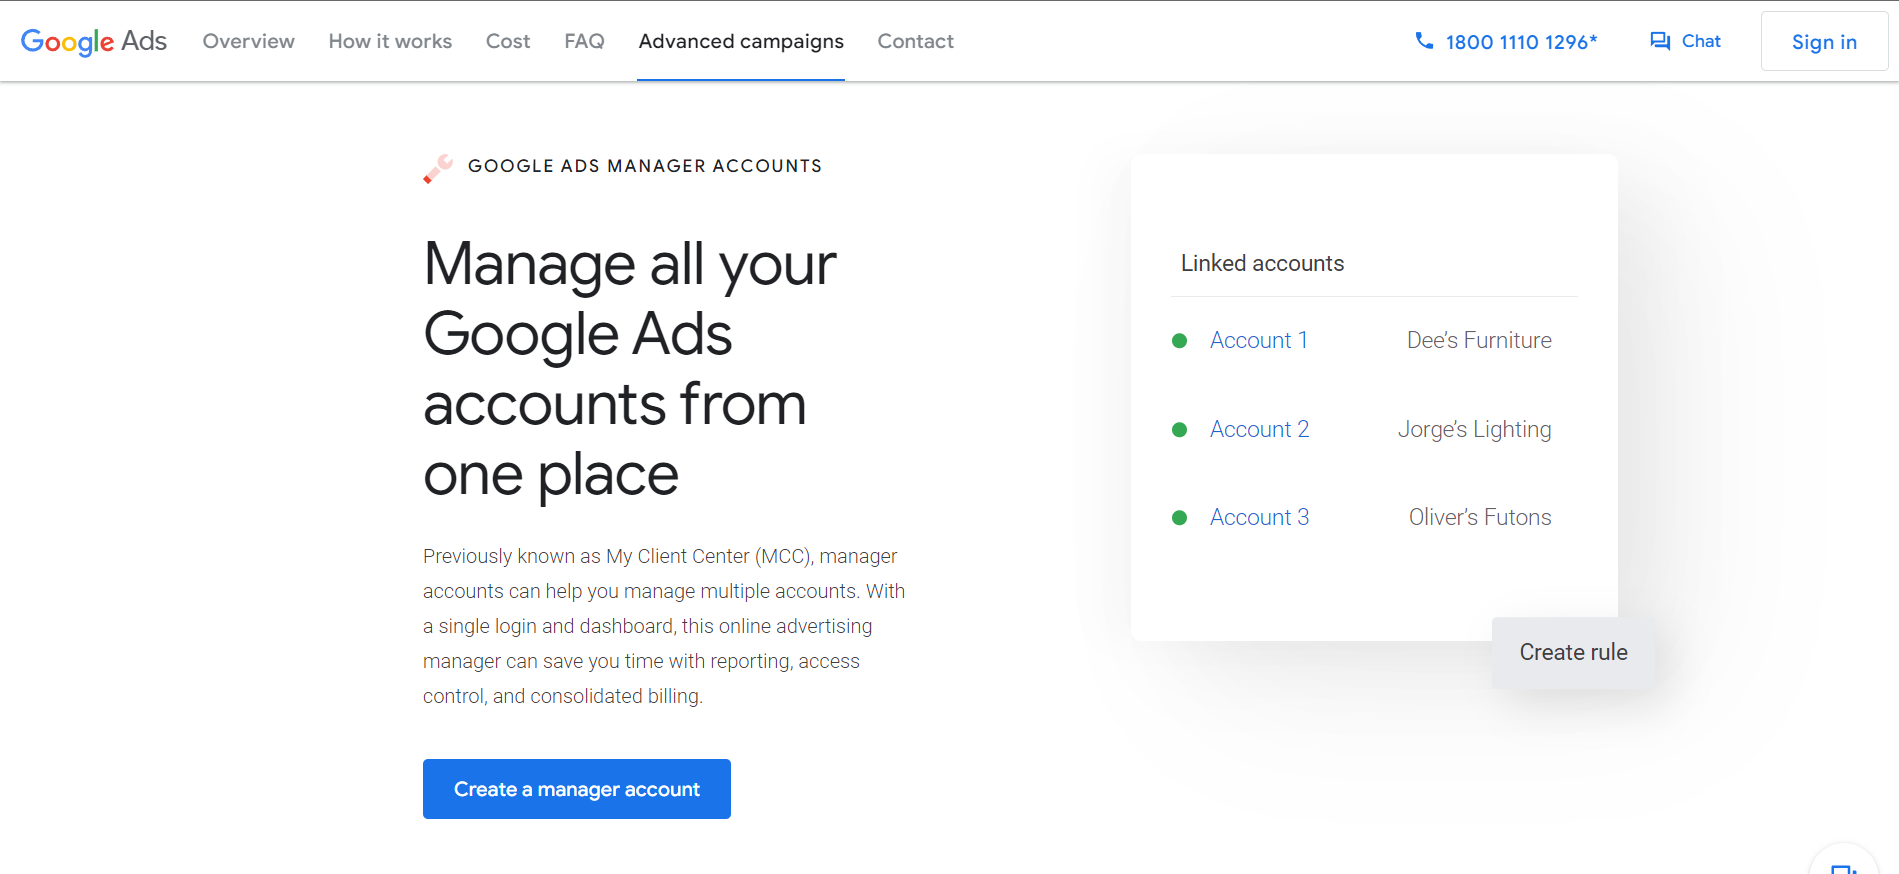
- Click “Create a manager account”. This is done to allow your client to give you access to their accounts without having to provide you with their security information on Google, hence making it safe for their business.
- Input your “Account display name” to manage your client’s ads account by clicking in the blank field and click on the “Manage other people’s accounts” because it would be the primary objective of this account that you are making.
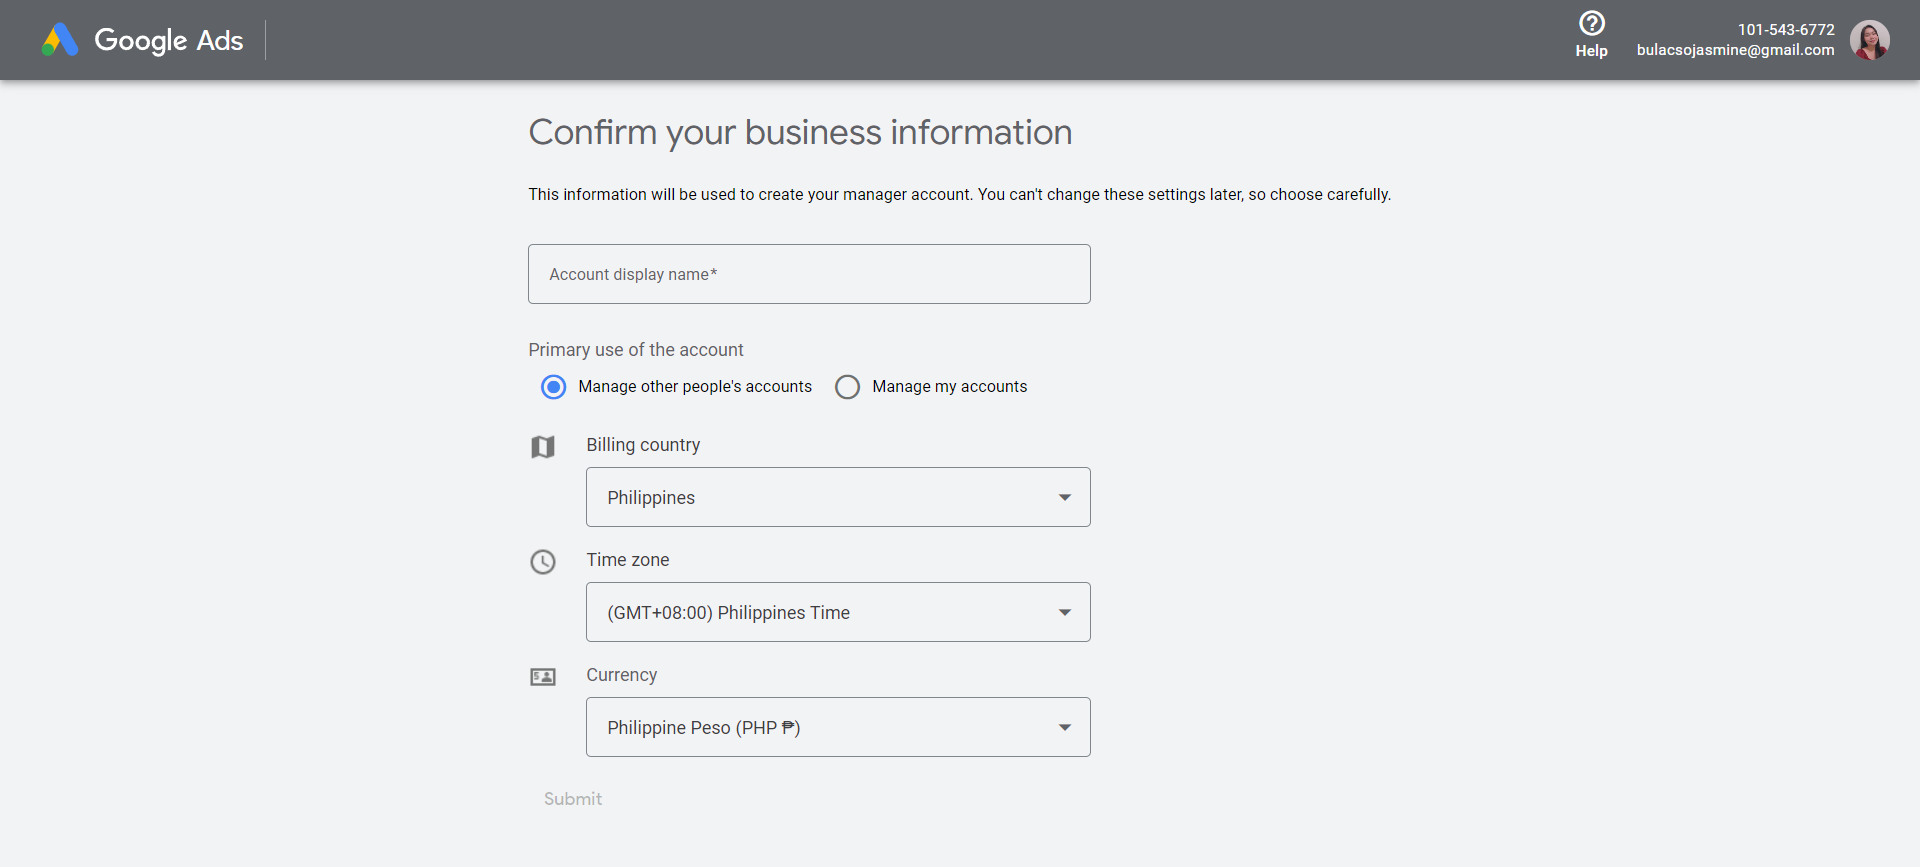
- Change the Billing country, Time zone, and Currency according to your client’s location.
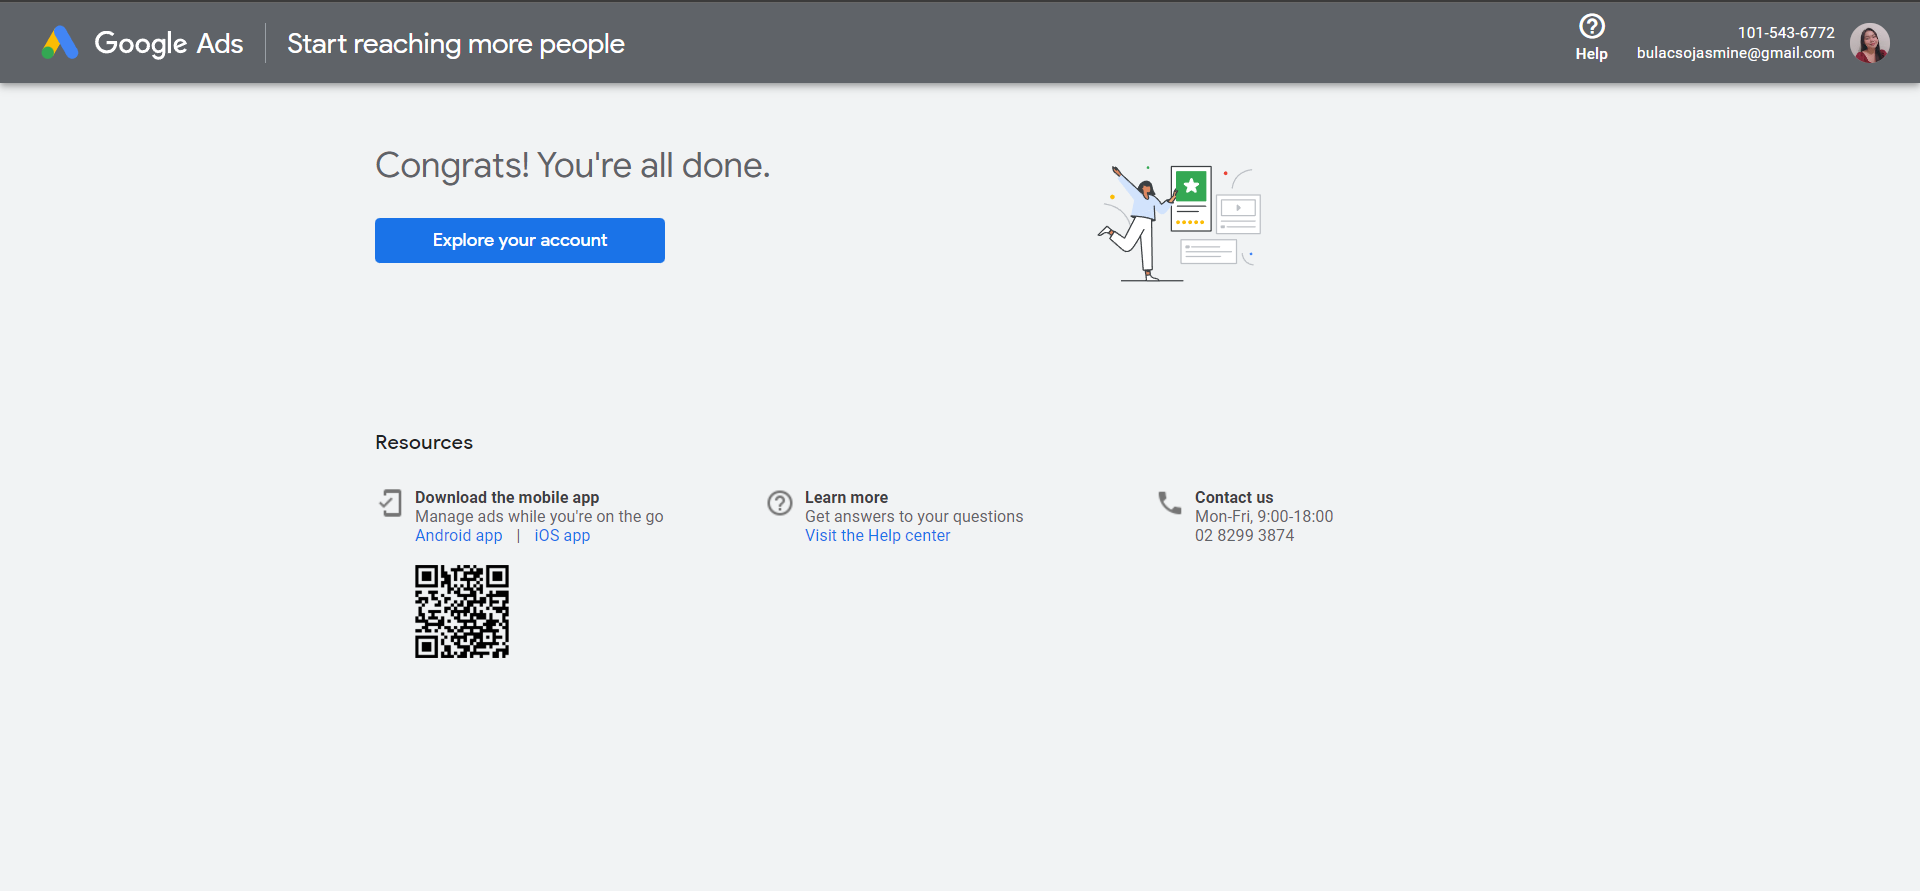
- You are done creating your account! Click on the “Explore your account” to set it up and onboard your client using this tool.
Getting Access from Client’s Ads Account
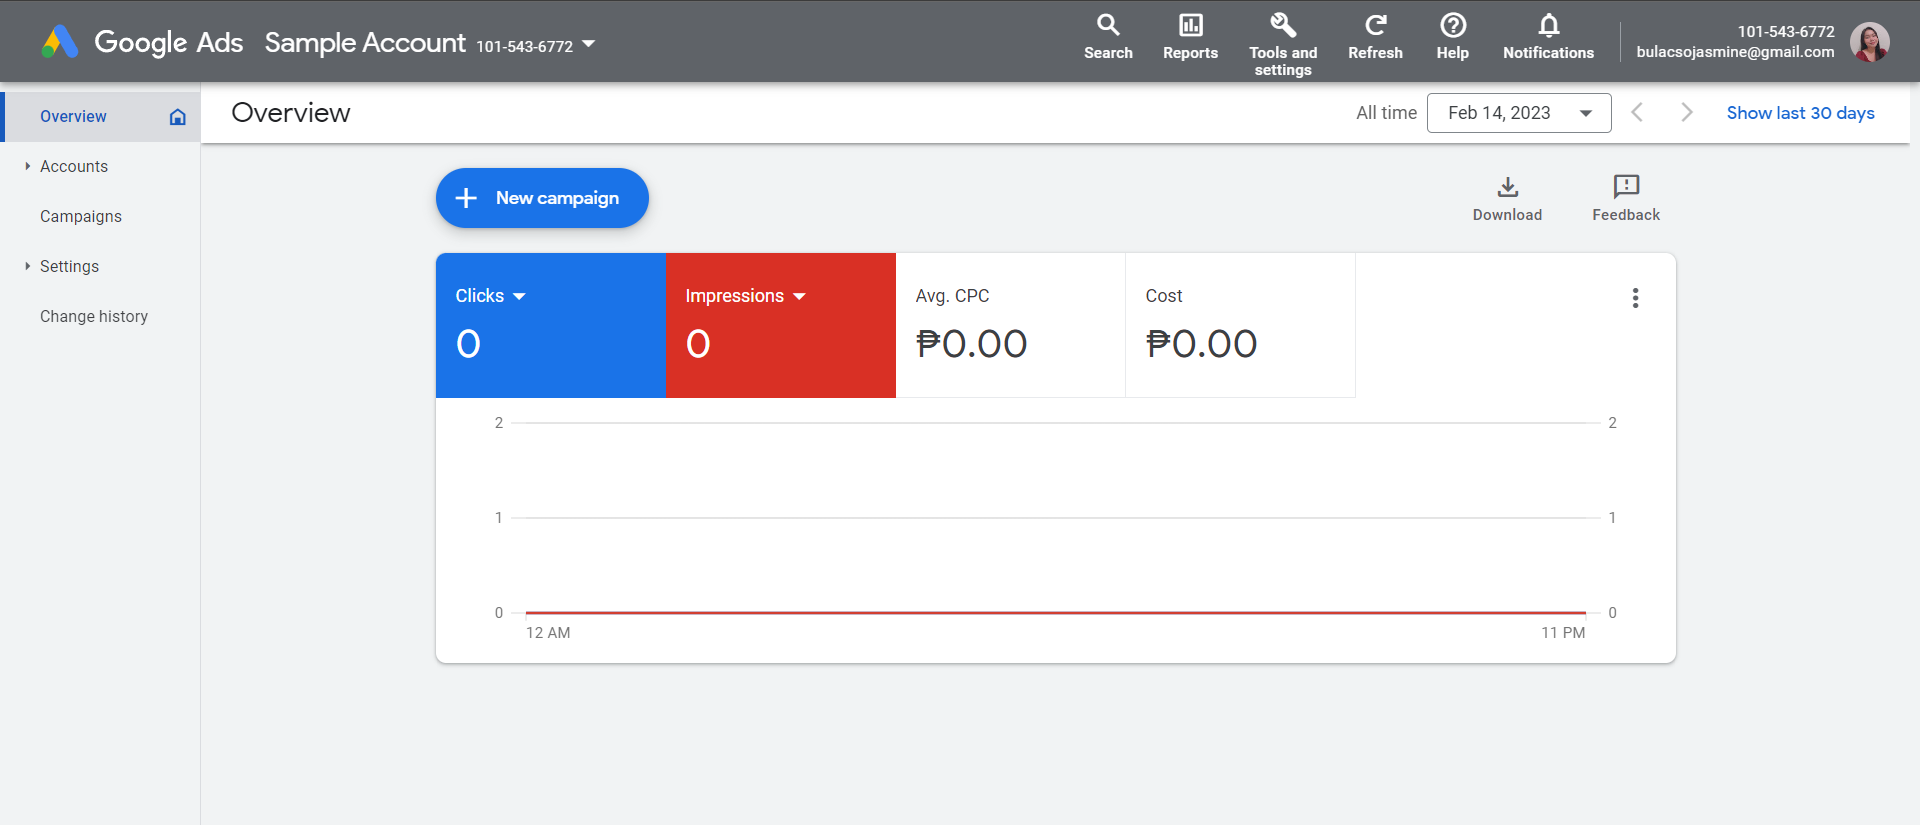
- After finishing the creation of your Ads Manager account, you can locate the Settings on the left panel. Click it to add your client’s account on your manager account.
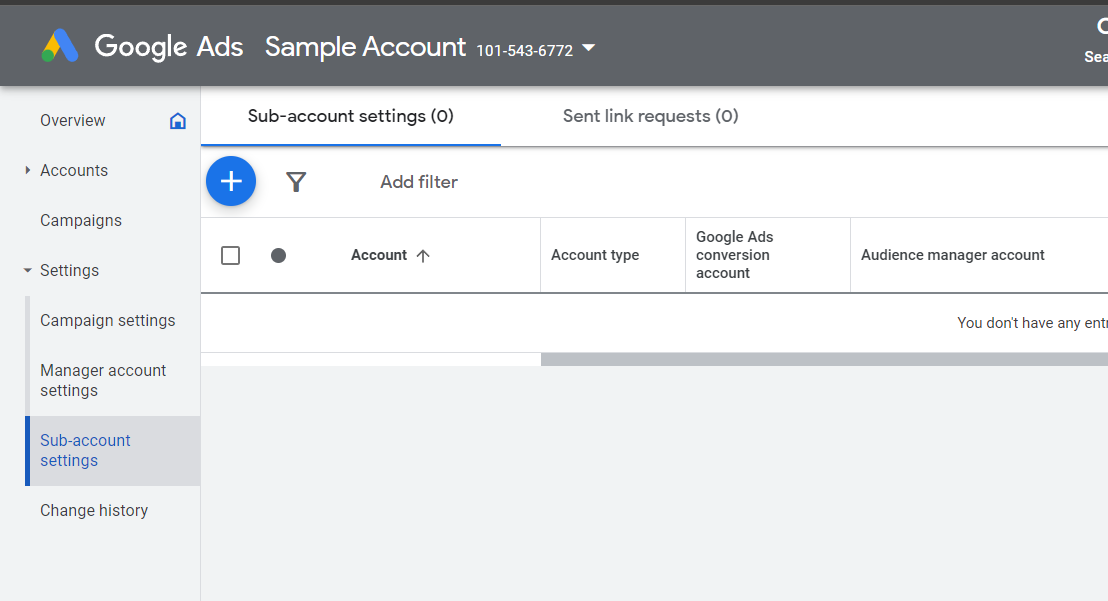
- Click on the “Sub-account settings” and click the “Add” button which shows a plus sign. That allows you to add your client’s account to your Manager account to guide them on the functionalities of their account.
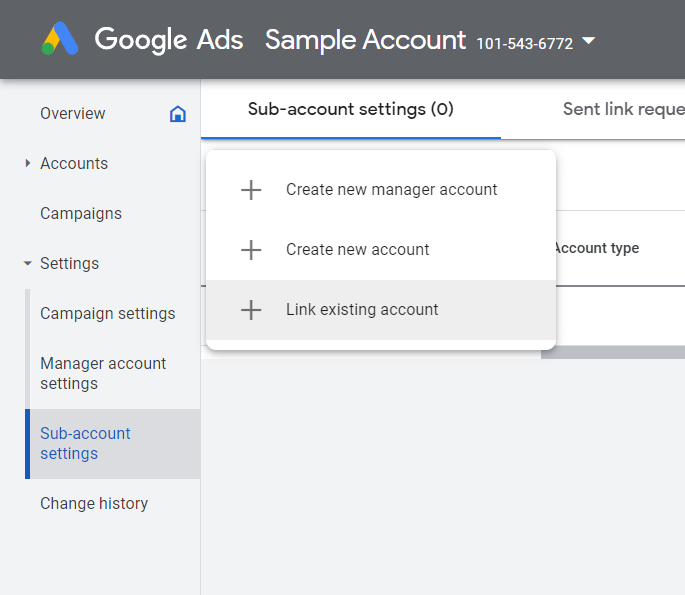
- Click “Link the existing account” to link the account of your client in your Ads manager.
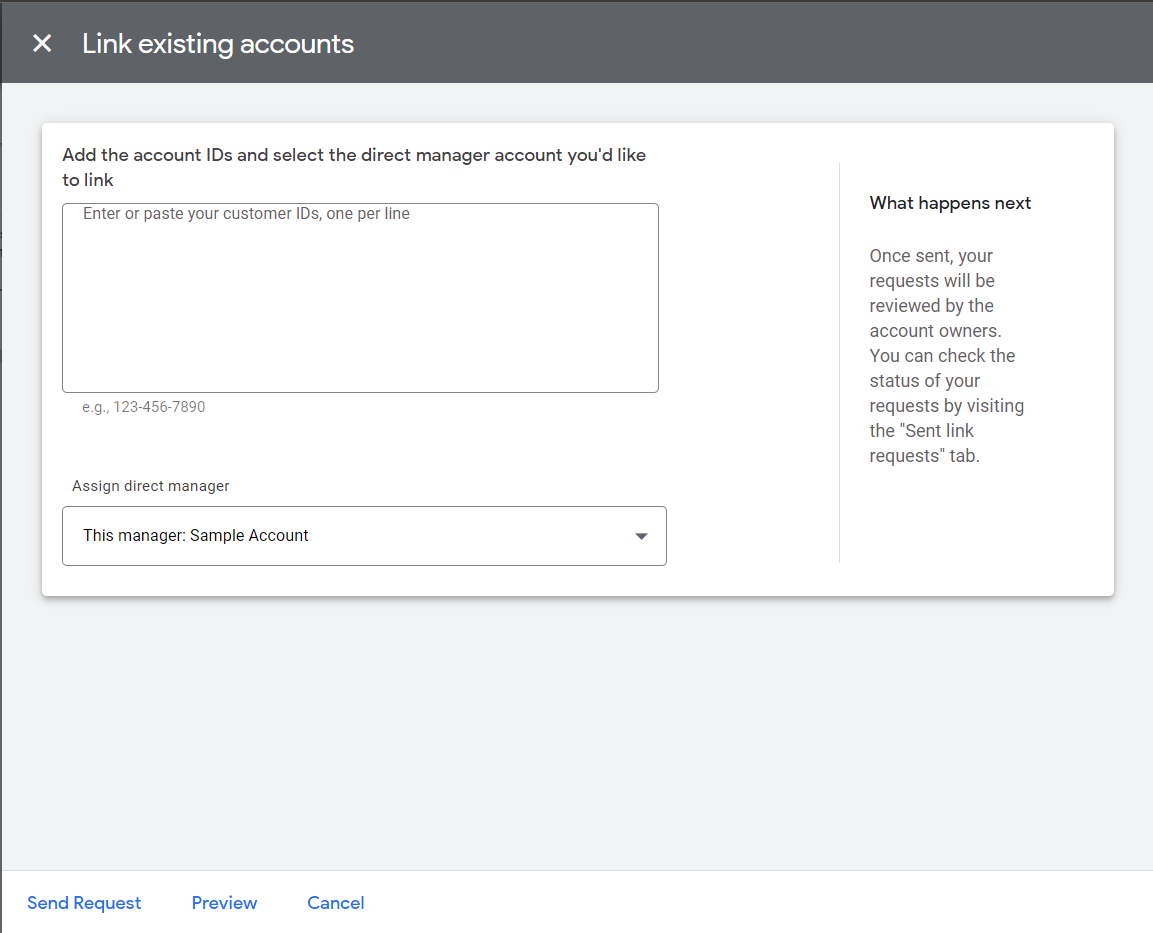
- Enter the client’s account ID in the box indicated, then click “Send Request”. The client’s account ID is located on the upper right corner, beside their profile information. It is in this format: 123-456-7890.
- To accept the request, the client must log in to their email account binded to their Ads account. They will receive an email for confirmation. The client must click “Accept Request” after verifying your Manager account. Make sure that you share your account ID with them to make sure that they only accept your request to manage their account.
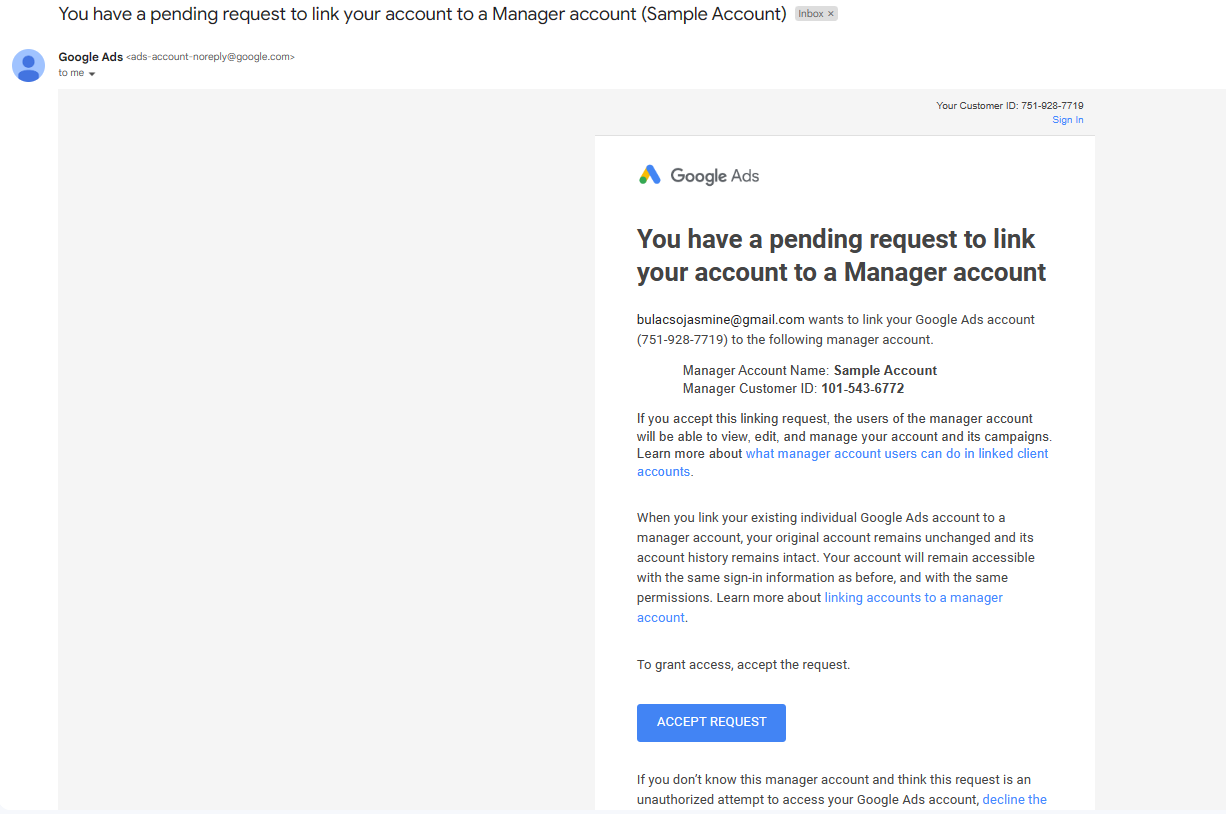
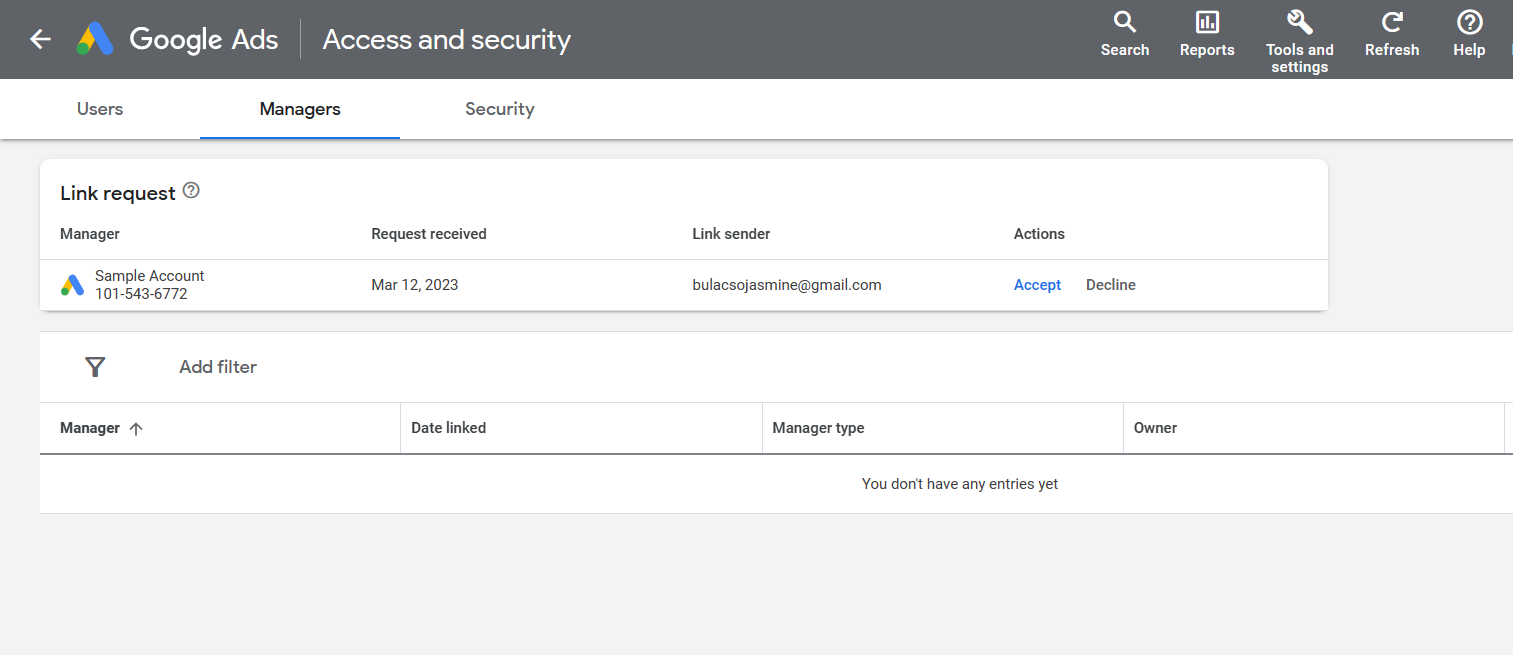
- Once the client accepts the request in the email, it will redirect your client to their Ads account. Here, the client should click “Accept” to allow you to manage their account.
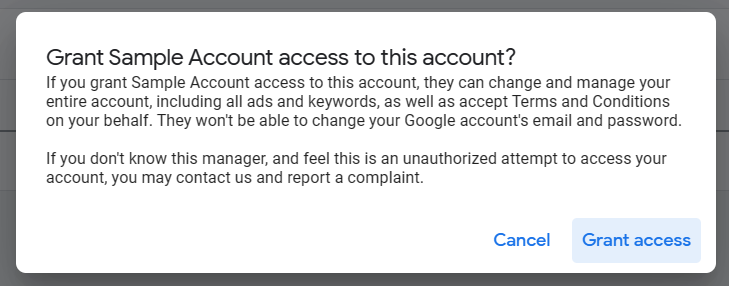
- There will be a pop-up tab to confirm access to your account. The client must click “Grant access” to give you access on their account.
- After the client has accepted the request, it should look like this for you:
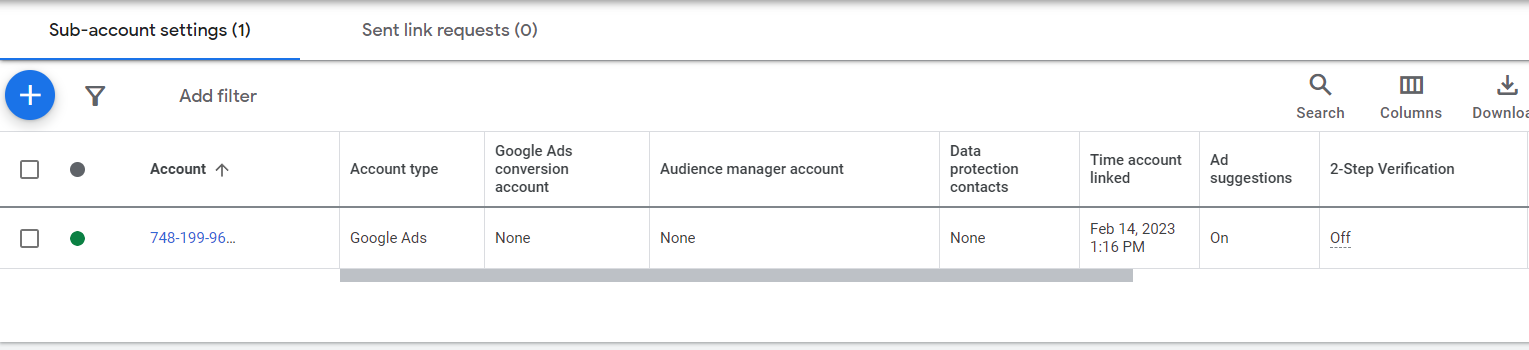
Onboarding the Client
- Depending on the client’s business, you should first set up the campaigns and ad groups. When creating campaigns, the original size of audiences that you can reach would be broader. If you want to generate sales, this is not a good idea. This is where ad groups come in useful. In utilizing this, you can create an ad group for every product and service that the business has. This allows you to focus more on necessary leads. To create a campaign group, go to Overview > Campaign groups and click the add campaign group button.
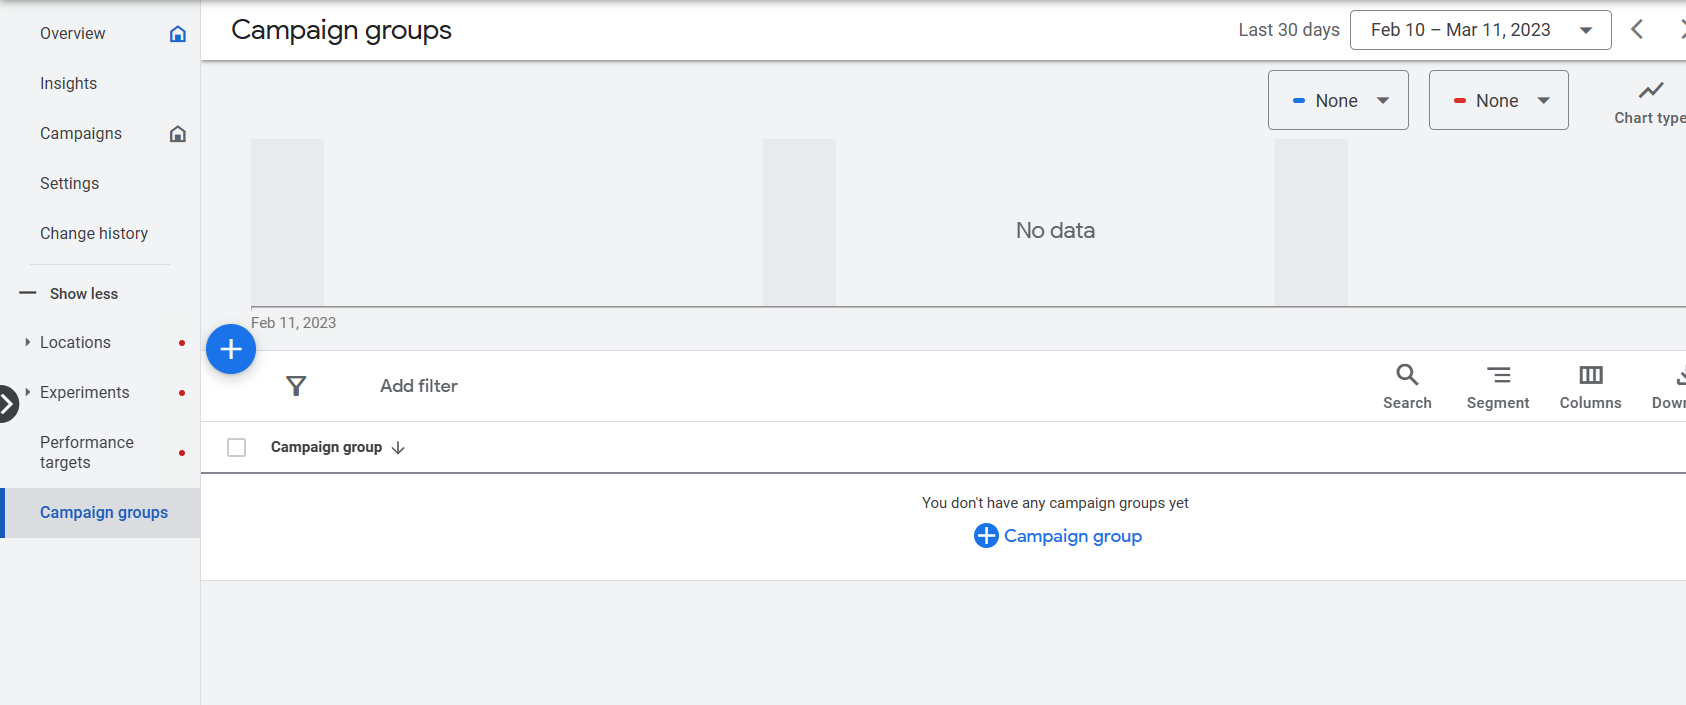
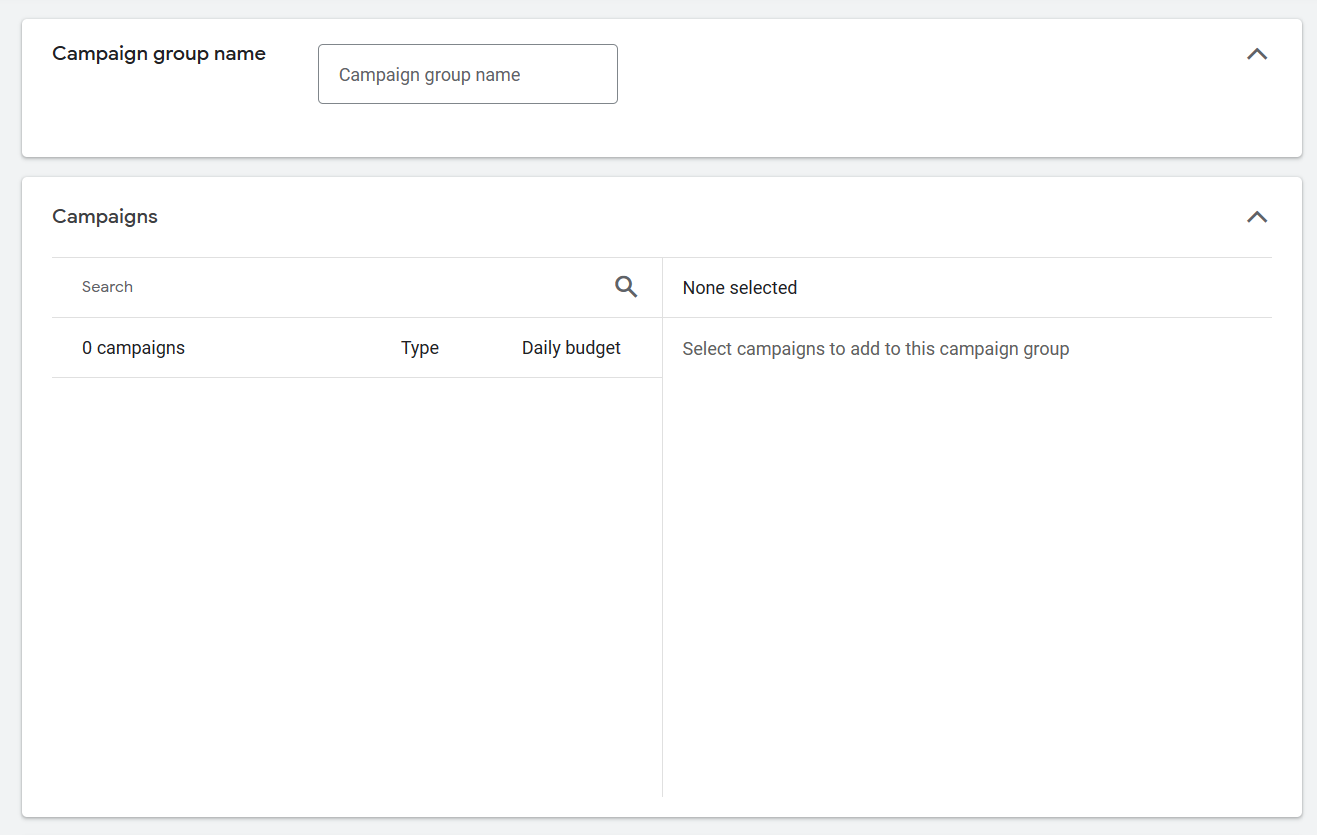
- Input a campaign group name to differentiate the new campaign group from others. Under this, you can see the list of campaigns that you would indicate under the campaign group.
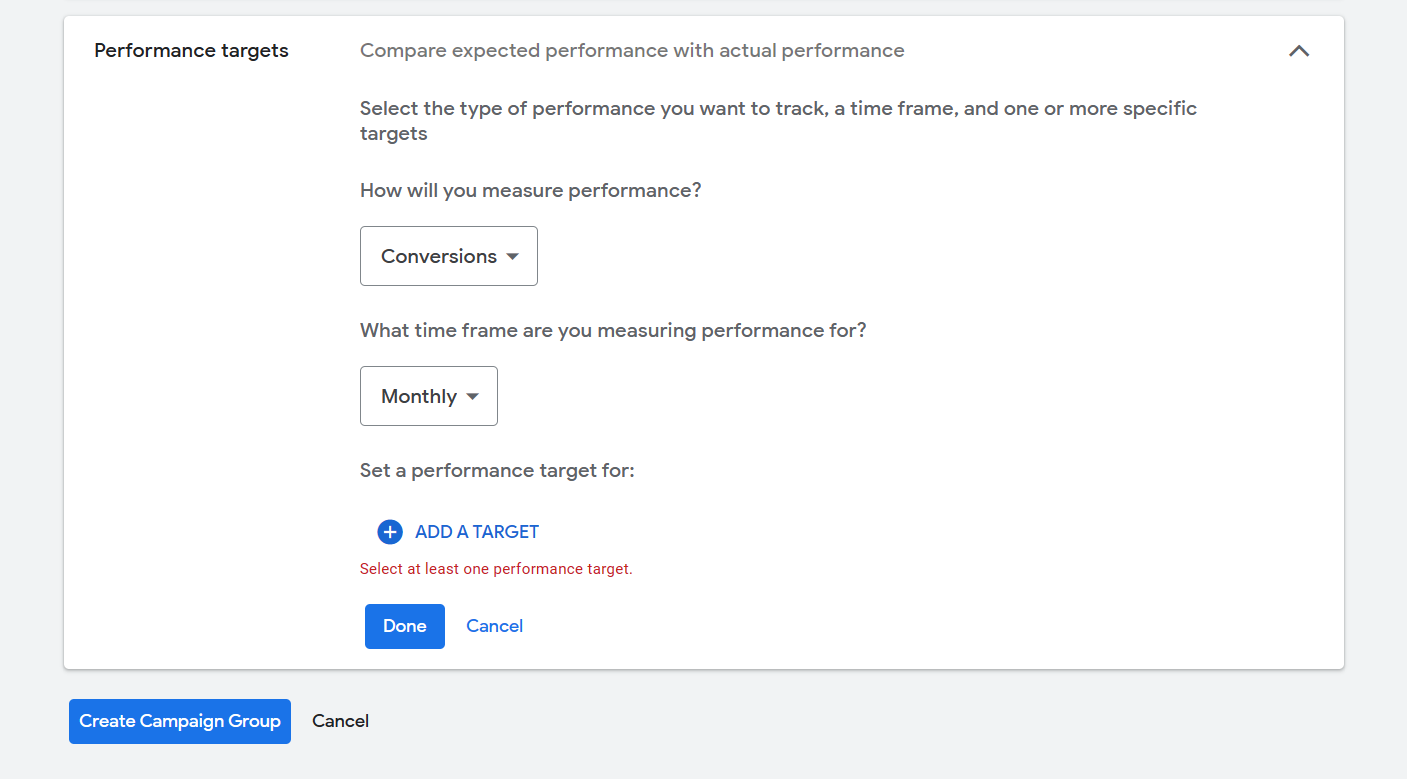
- When you scroll down, you can see the performance targets which you want to achieve in making this campaign group. Click “Create Campaign group” after deciding on it.
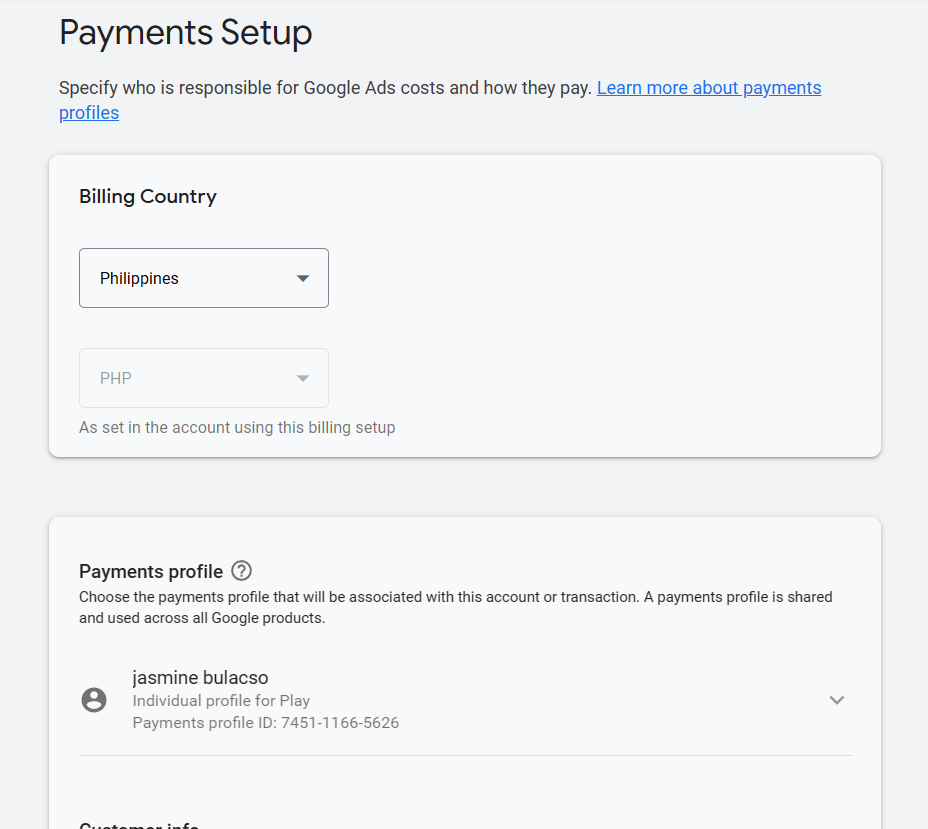
- Next is the budget. As an analyst, you must be able to determine the minimum to maximum budget that the client can afford and work on that price range. This is to prepare the costs that would take in creating the campaign, the allocated time that it will run on different sites, and depending on the client’s goals. Google Ads gives an option to clients on the bid amounts on campaigns before running them. You can set the payment methods under Tools & settings > Billing > Summary.
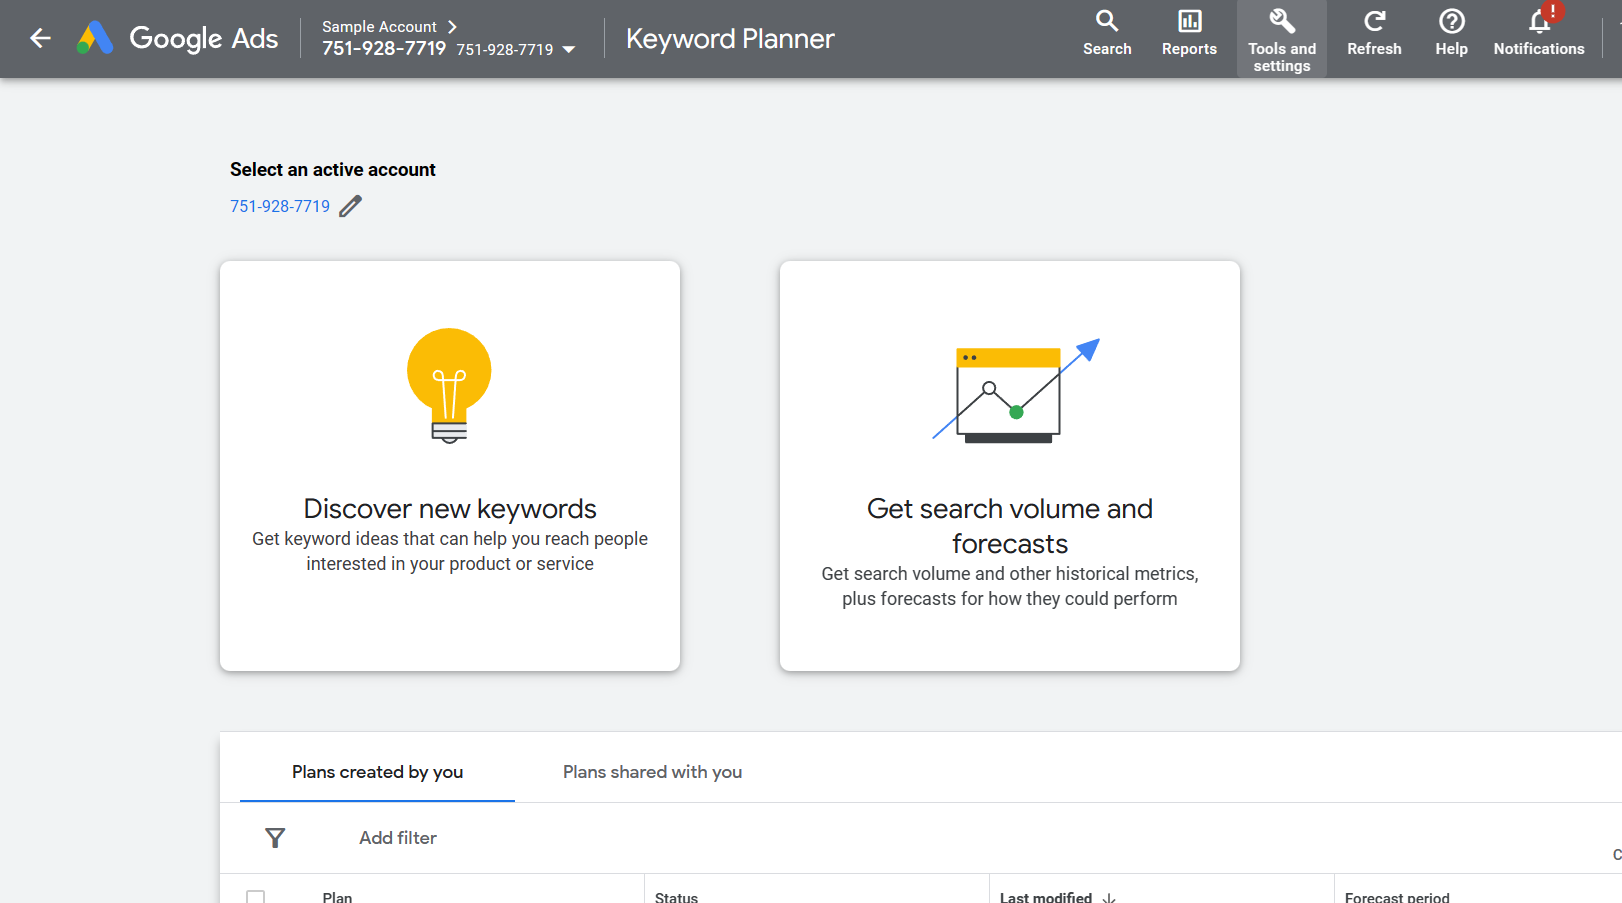
- Aside from assigning ad groups, another proven effective strategy on Google Ads is the Keyword Planner. This allows you to prepare the keywords that are useful to the campaigns that you and your client are planning to establish. By selecting relevant keywords, you can also help your customers to reach your client’s business by just typing these keywords in search engines. To navigate to the Keyword Planner, go to Tools & settings > Planning > Keyword Planner.
-
After preparing these functions, you can now create a new campaign. By creating a new campaign, you need to create a great ad copy, appropriate landing page and targeting, and provide the ad with graphic content that stimulates the eye of the viewers. It is advisable to confirm all of these contents with your client before implementing it, so you can ask them for their suggestions if there are any.
-
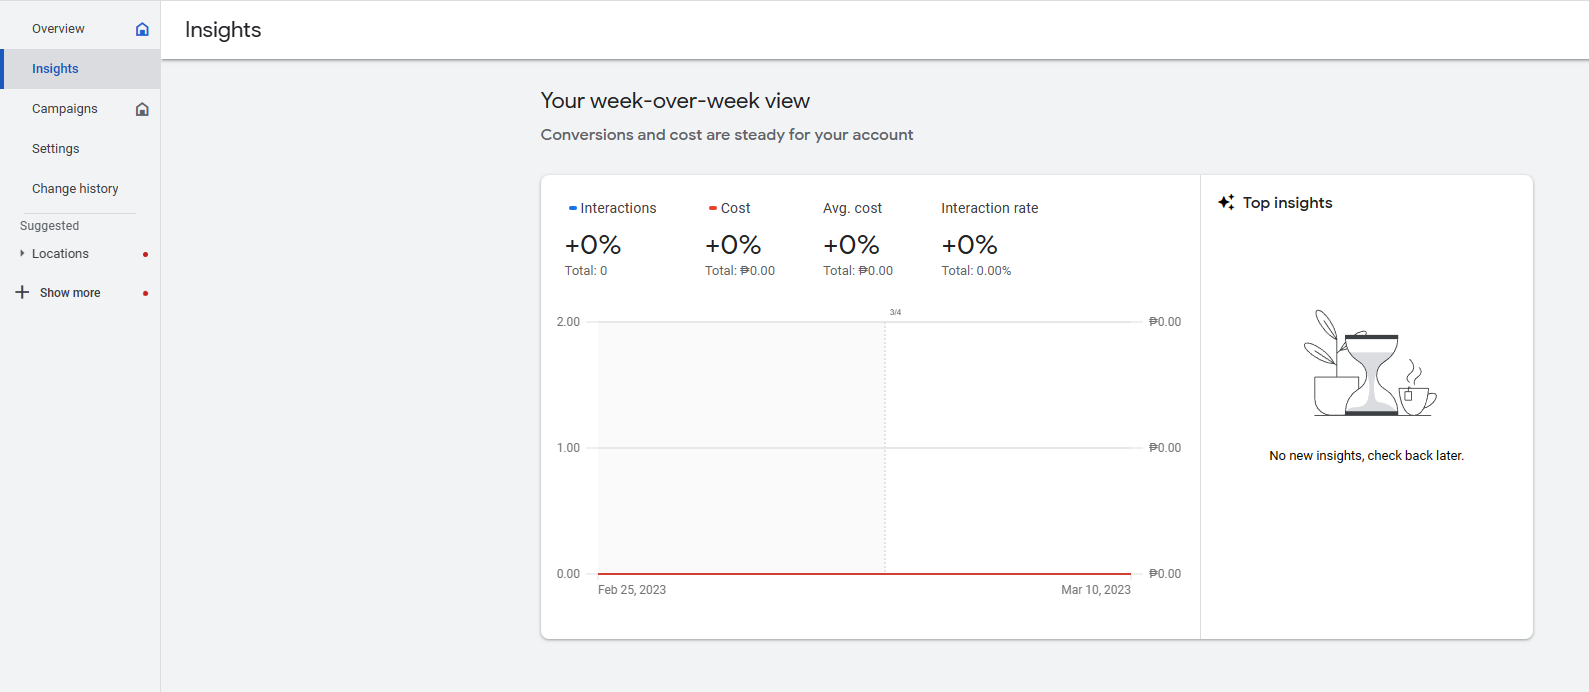
Lastly, the campaign should be monitored. In the Insights tab, you can see the week-over-week view of interactions, cost, average cost, and interaction rate from the audiences. It will be in the form of a line graph so you can see it visually better. This is where you would know which parts of the ad you can change or modify.
Conclusion
You’re done! Always remember that before starting to create a campaign, it is essential to onboard a client for Google Ads in order to increase the effectiveness of business development.
-
Google ads is crucial in establishing business because it assures that the client's business will succeed as soon as the client is satisfied with the onboarding process.
-
Client onboarding indicates that you will familiarize clients with your processes and address any concerns or questions they may have when they are being onboarded.
-
In order to onboard a client in Google Ads, you must first have an Google Ad Manager account and the client must have a Google Ad Account.
-
Creating a Google Ad Manager allows you to monitor your clients activities and progress in their campaigns.
-
It is necessary to include your client’s ID in your Google ad manager tool to assess and help them in the step by step process and inform them of important settings.
-
You must be well-versed with the buttons and function of the Google Ads account to be able to instruct your client.
-
If the client survives the onboarding, then they will most likely trust your company and you will get to keep a client.