Configuring Your Billing on Google Ads
To walk you through setting up your billing in Google Ads.
Prefer a shortcut? 16 free tools do parts of this for you.

Aim: To walk you through setting up your billing in Google Ads.
Optimal Outcome: To successfully conduct your advertising campaigns and manage your advertising bills using Google Ads.
What do you need to start: You need to have a Google Ads account and bank or Paypal account.
Why is this SOP Important: The Google Ads billing mechanism is crucial for your company because it is convenient and it enables you to set your own prices and design ad campaigns that fit your budget range. You may review your account's billing preferences when setting up your Google Ads billing to ensure that you are making more money than you are spending.
When and Where to execute: To execute this task, you have to prepare your bank account information such as card number and cardholder number which are needed to finalize the billing.
Who Should Be Doing This: This task should be done by the person who is assigned as the billing or finance coordinator.
Google Ads Billing
By setting up a Google Ads billing, you can monitor the gains and losses of your company based on the advertising campaigns. It is also a perfect tool for publishing advertisement campaigns because the budget depends on what suits you. If for instance that your company is just starting, there will be no problem because they have reasonable pricing for their services. In addition to this, there are also promotional codes from time to time that allows you to spend less on the important billing.
Execution
Resources/Tools & Set up
-
Paypal/Bank account
-
Google Ads account
Setting up your Google Ads Billing
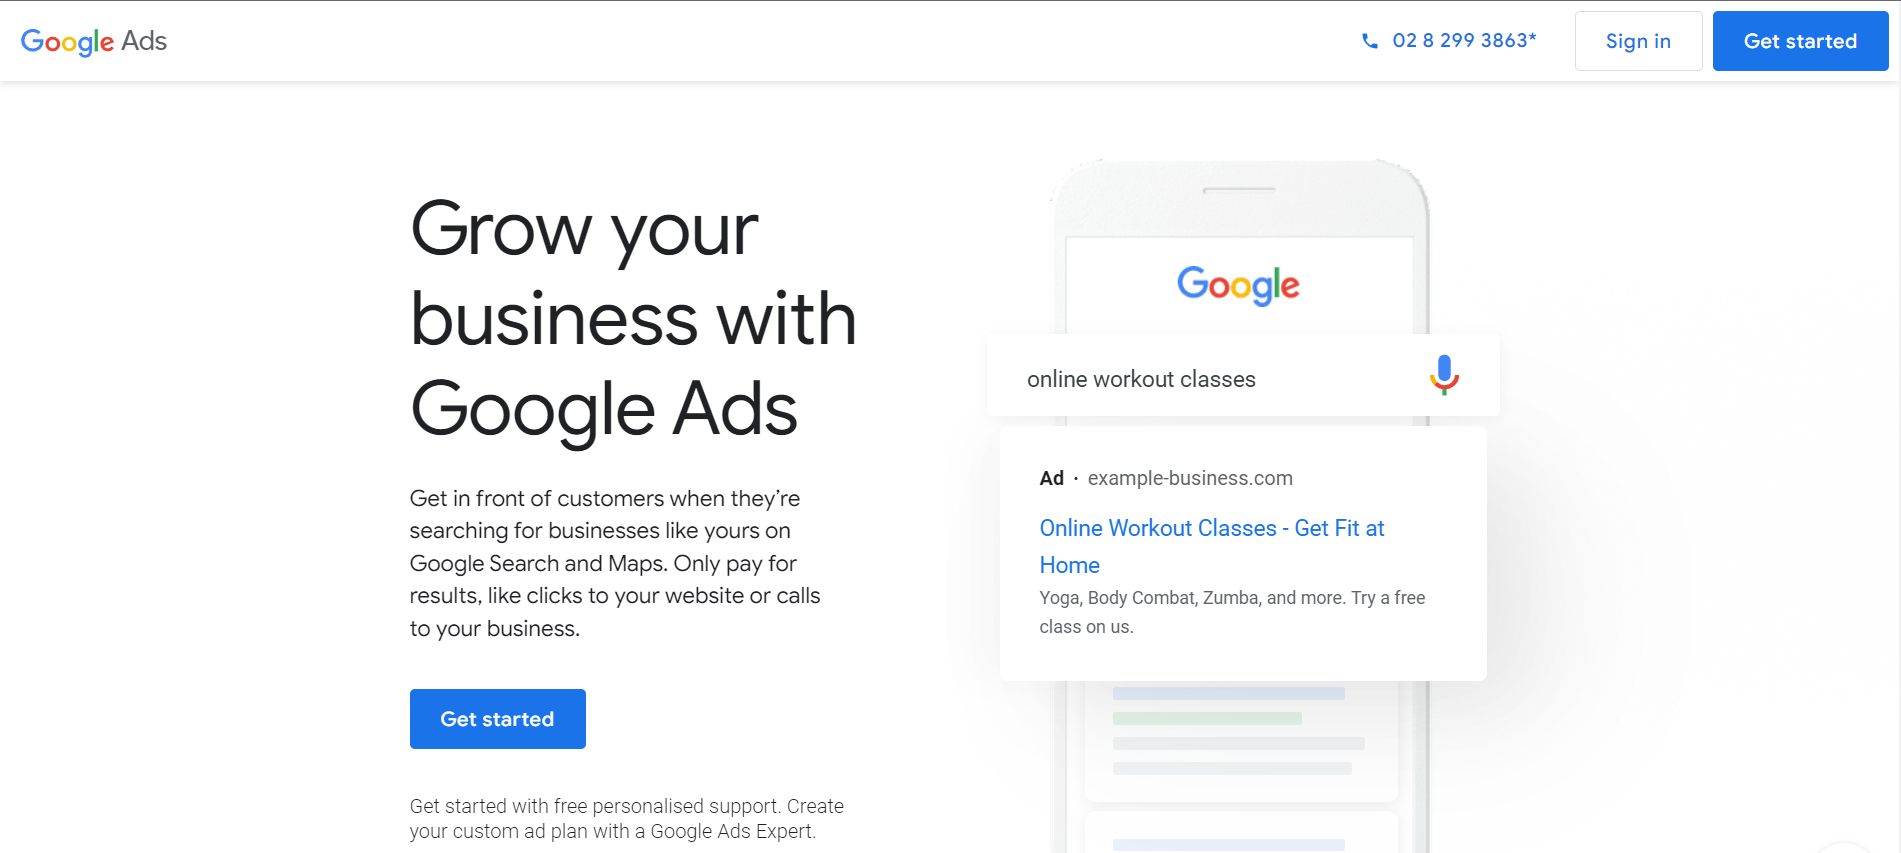
- Go to Google Ads website (https://www.ads.google.com) and click “Sign in”.
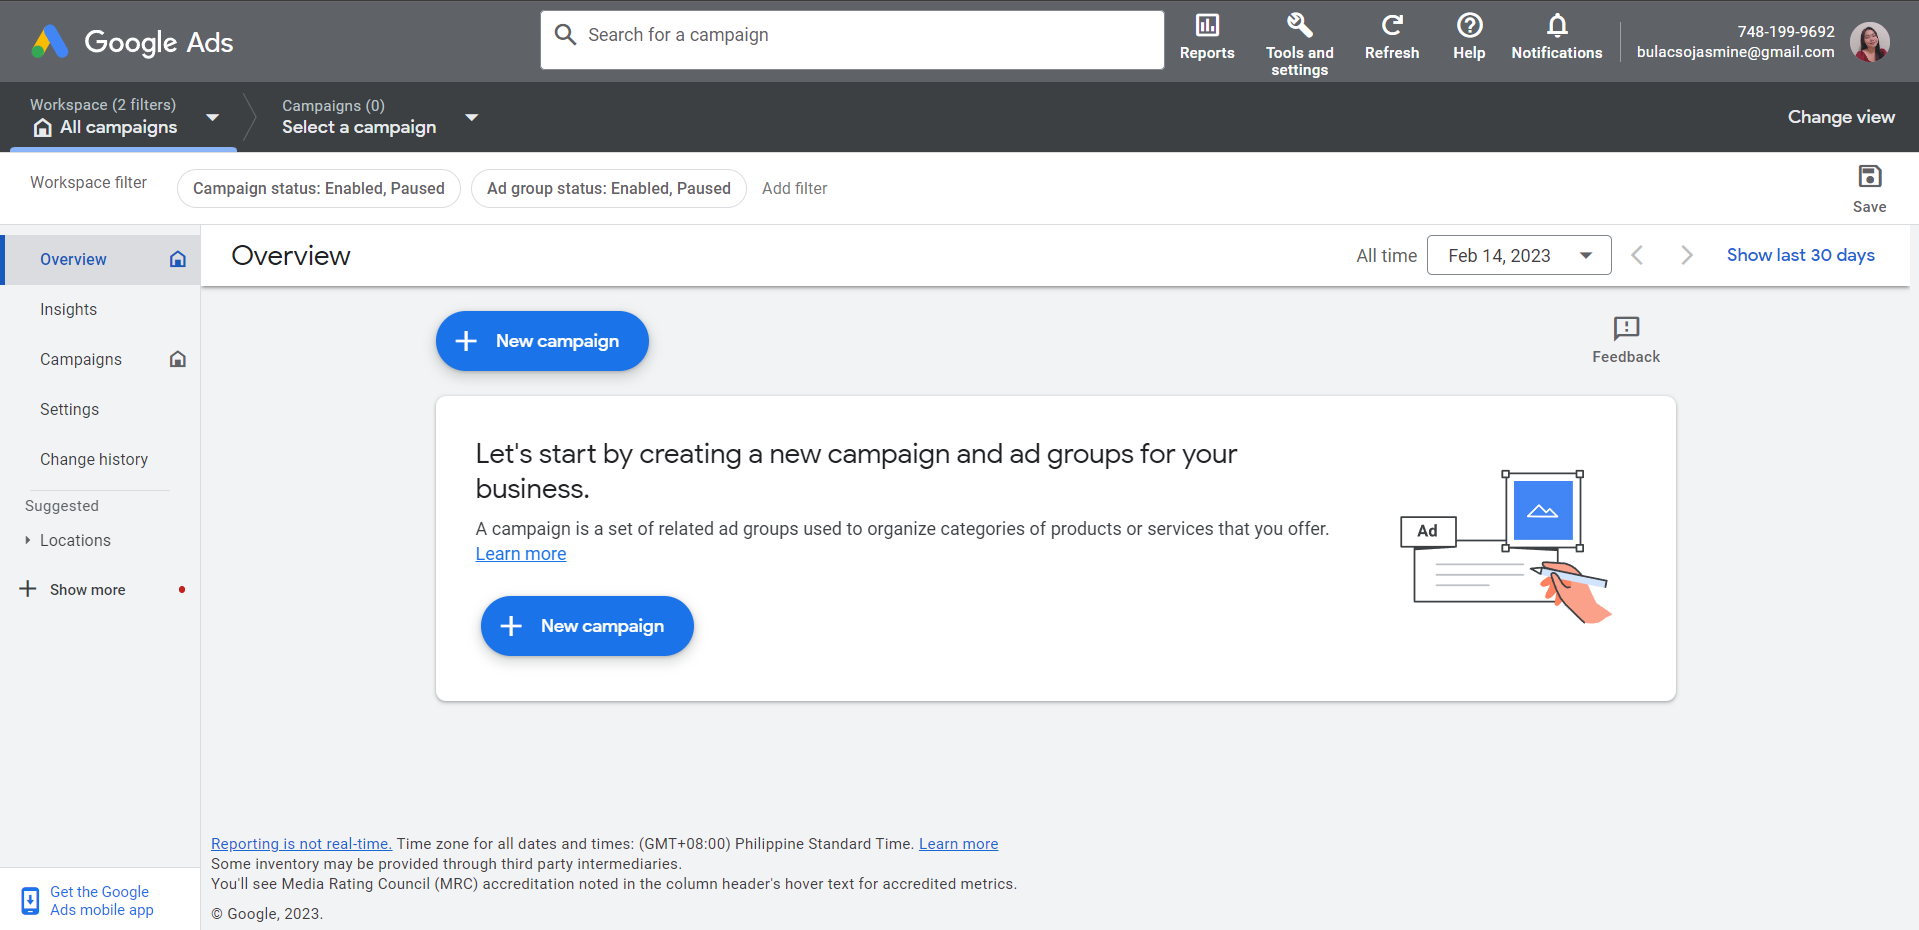
- After you are redirected to your Google Ads account, click on the “Tools and Settings”.
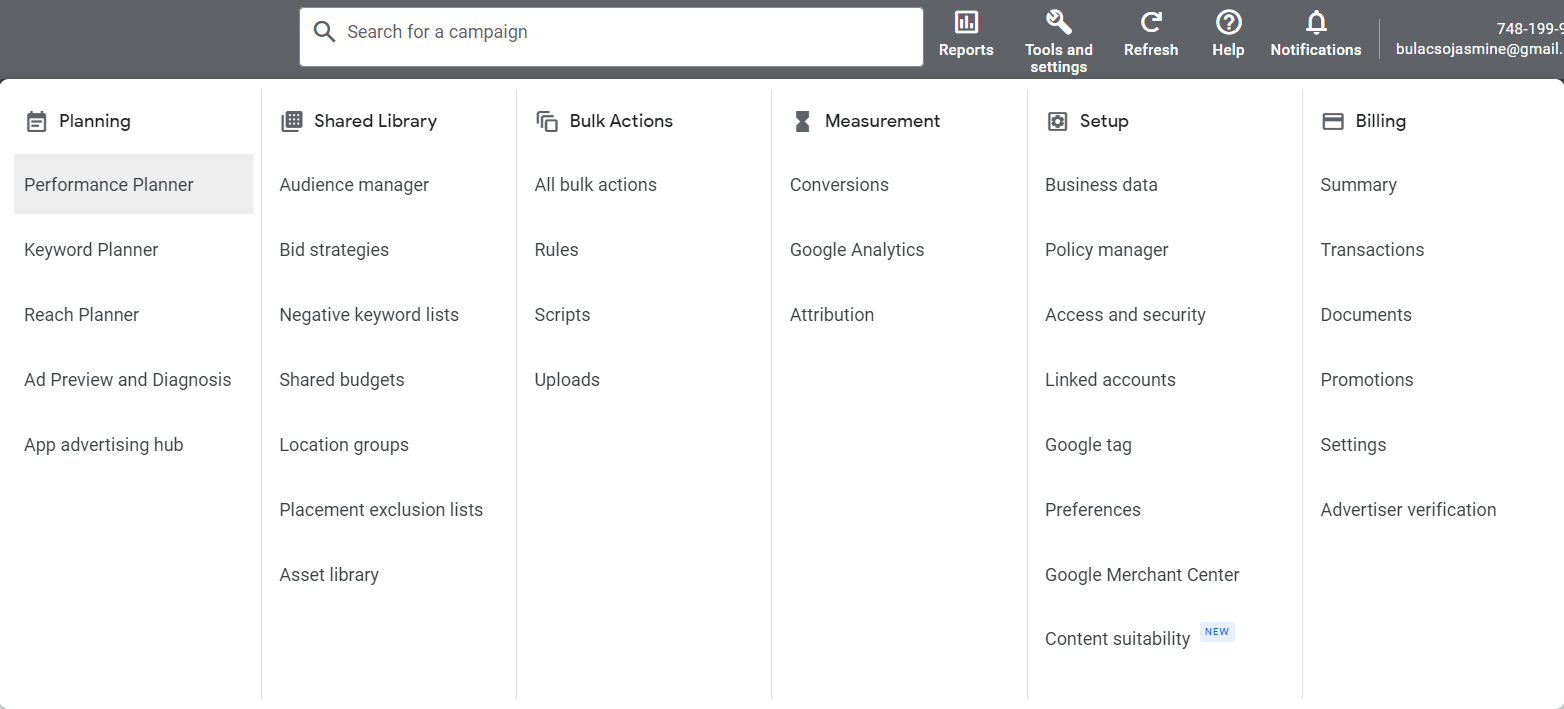
- On the right side of the drop-down, you can see the Billing tab. There are six (6) subcategories under Billing, and whichever you pick will redirect you to “New billing setup” because there is no previous billing setup on your Ads account. For example, clicking on Settings will have the same end path as clicking Promotions. Note: This only applies to accounts without pre-made billing setups. If you already have one, the process is completely different.
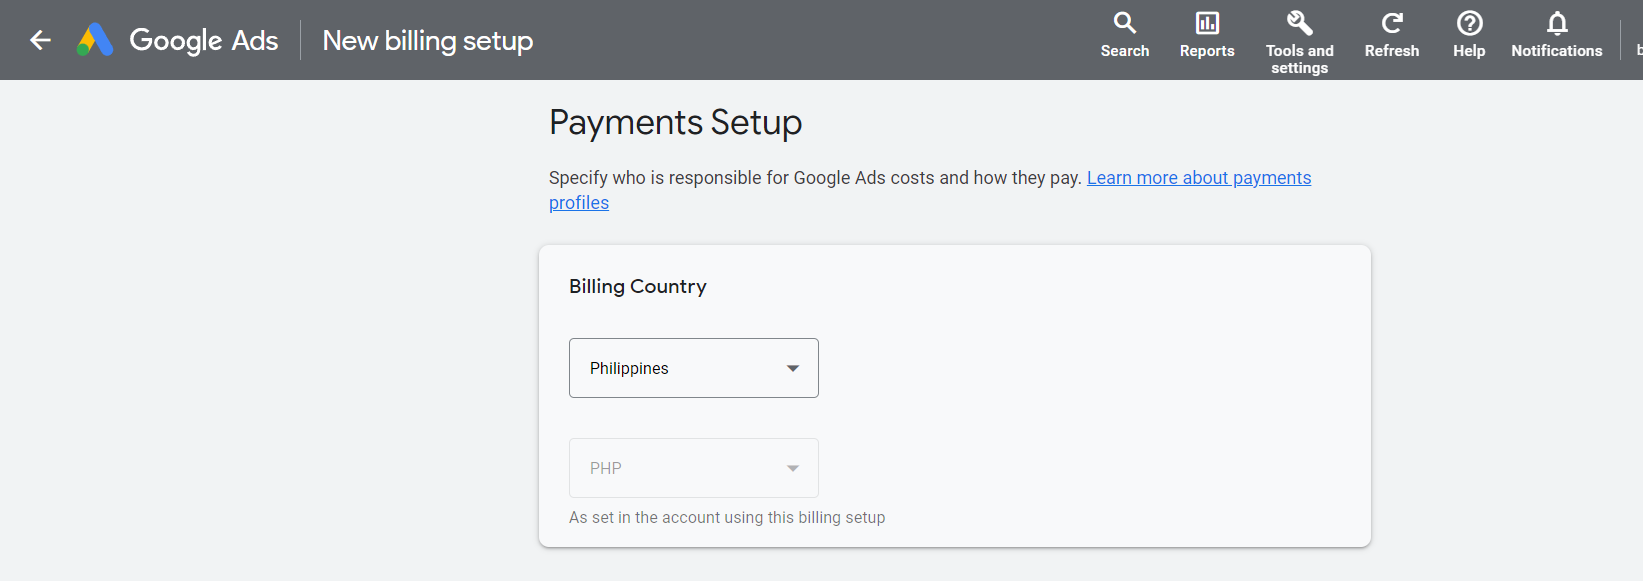
- In the New billing setup, you can set up your payments under “Payments Setup”. Here, you can edit your billing country based on the location of your business by clicking the drop-down menu and the currency will immediately adhere to your country.
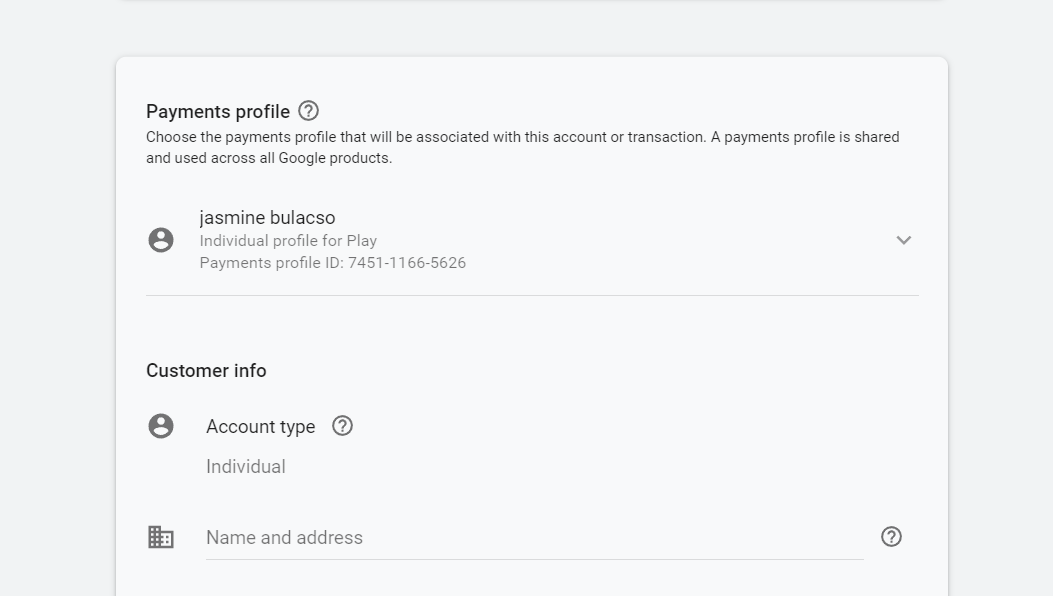
- Scrolling down, you will see the Payment profile and Customer info. Your account will be indicated in the profile and customer info indicates the type of business account in your Google Ads. You will be asked to indicate the Name and address of your company on the blank field.
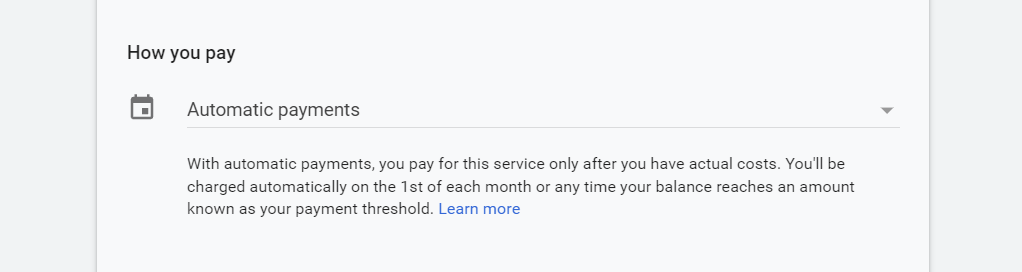
- Next is “How you pay” which provides you with two options: automatic and manual payments. In automatic payments, you will allow Google Ads to charge automatically on your bank/Paypal account every time your balance reaches payment threshold. To change the method of paying, you can click the drop-down option.
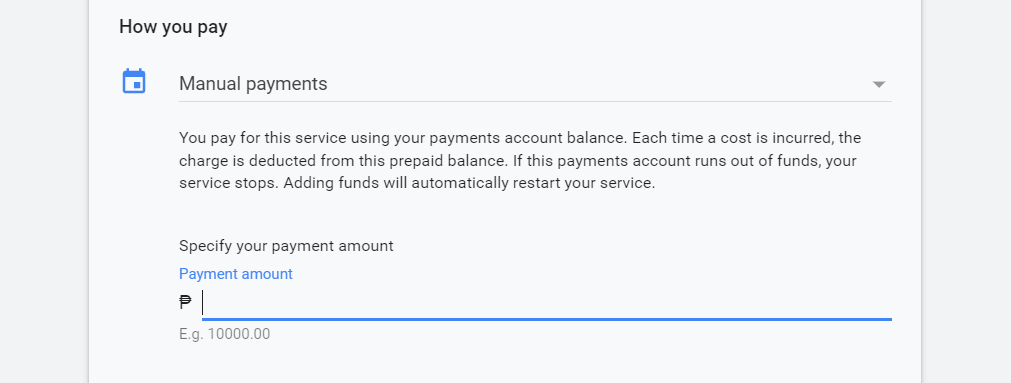
- For manual payments, you will have to provide a prepaid balance. If the prepaid balance is empty, the advertising campaign would not go through, so you need to constantly add funds. In the blank field shown below, you can decide your payment amount.
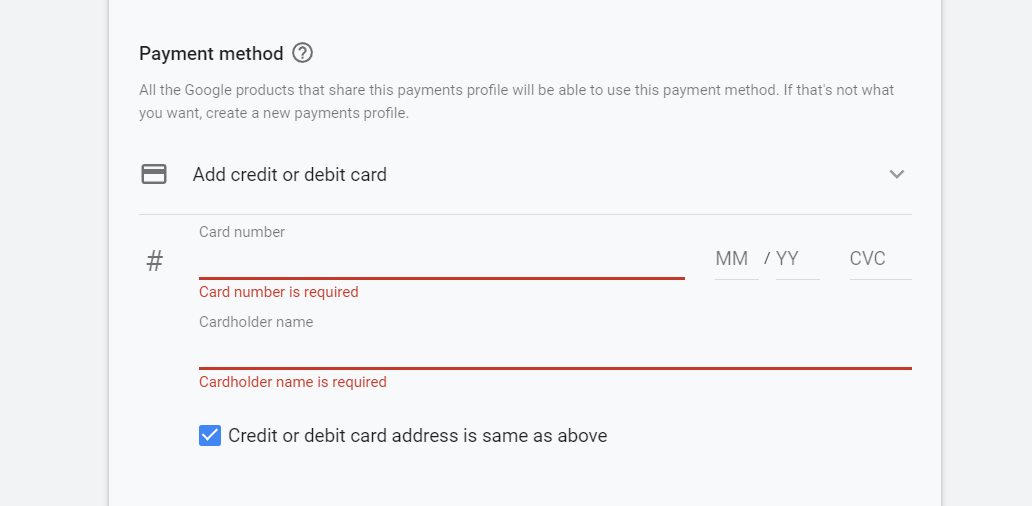
- Next step is the Payment method. This is where you will insert your bank or Paypal account, whichever you prefer for the payment method.
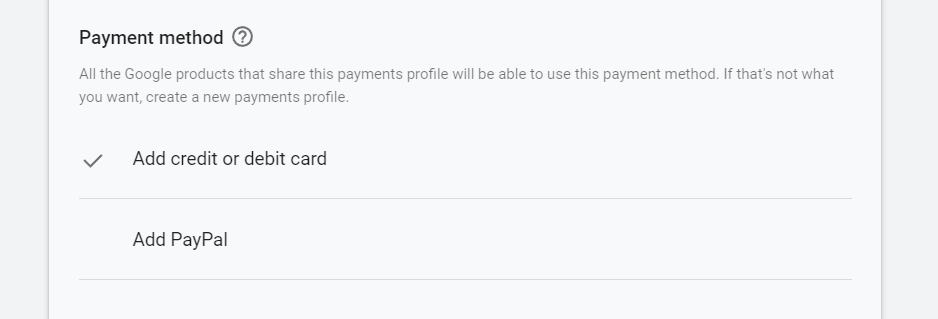
- If you select “Add credit or debit card”, you will be asked to fill out the Card number and Cardholder name.
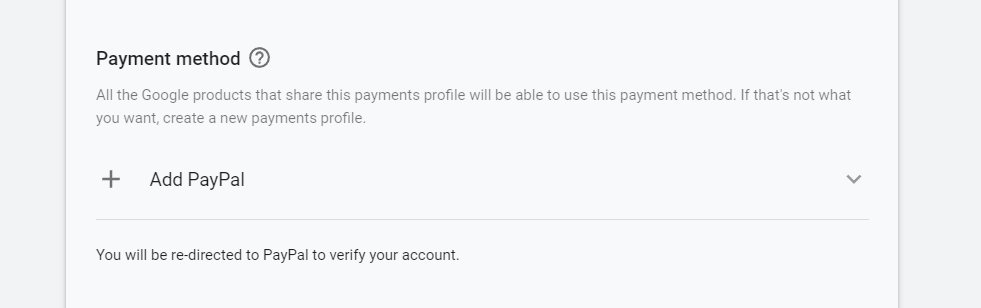
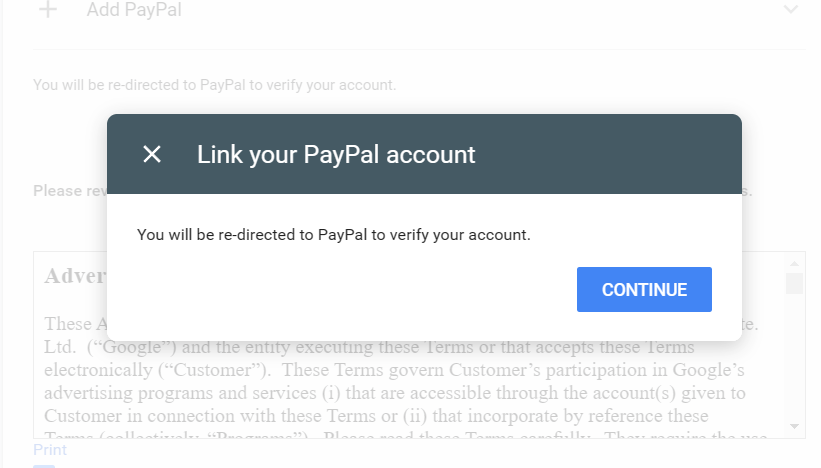
- If you selected the “Add Paypal” you will be redirected to your Paypal account to verify it.
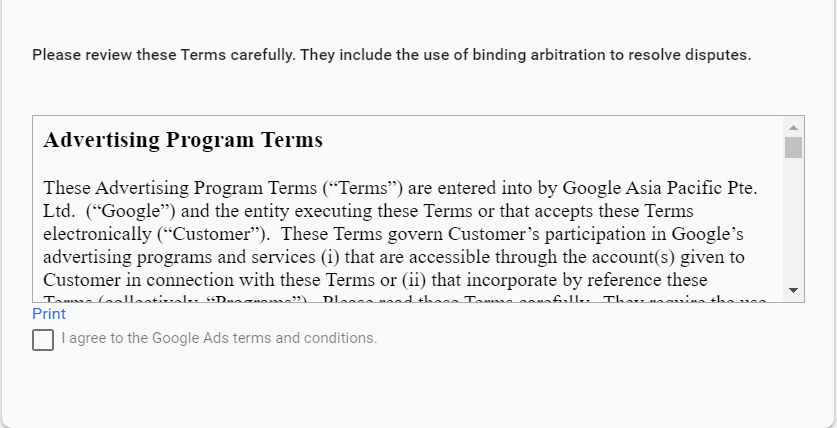
- Next to the Payment method is the Advertising Program Terms. After reading the agreement, click the box beside “I agree to the Google Ads terms and conditions”.
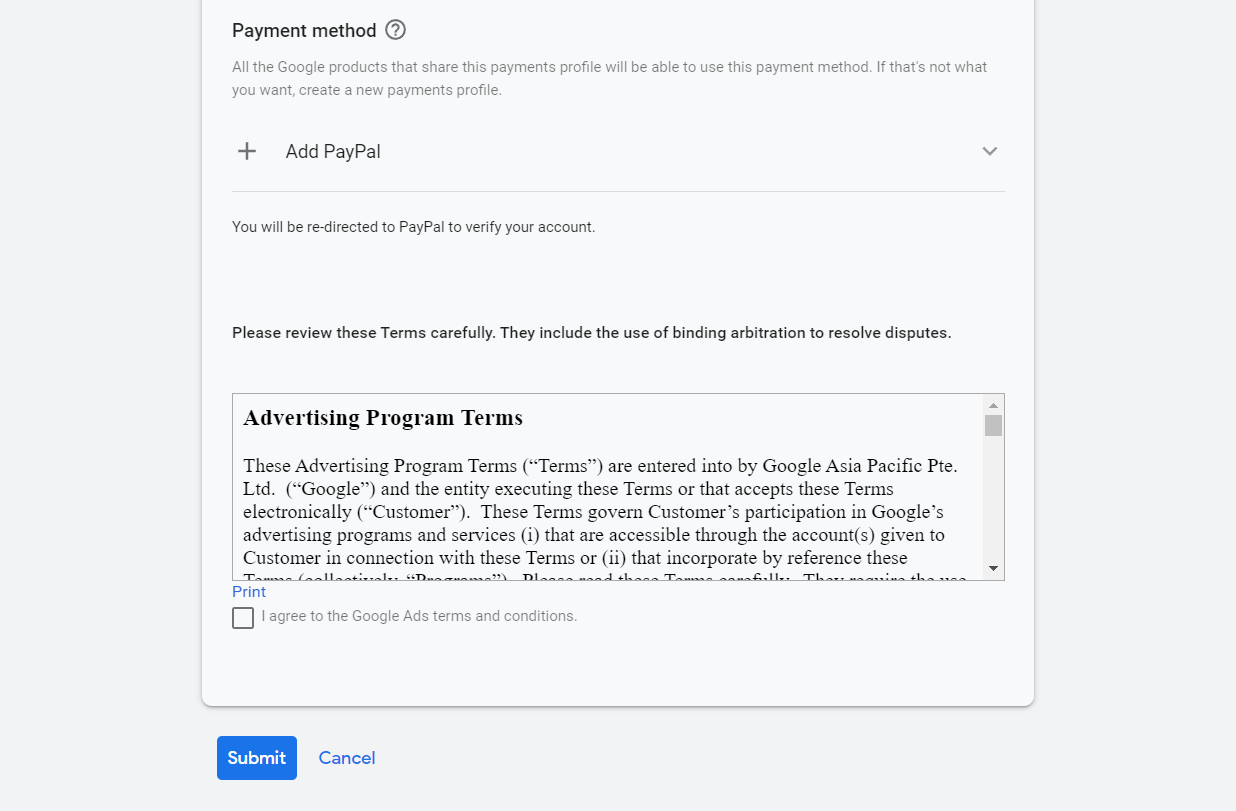
- After agreeing to the terms and conditions of Google Ads, you can now click “Submit” to save your billing setup.
Additional Steps: PayPal Billing Option
- If you choose PayPal, you will be asked to verify your account. Click “Continue”.
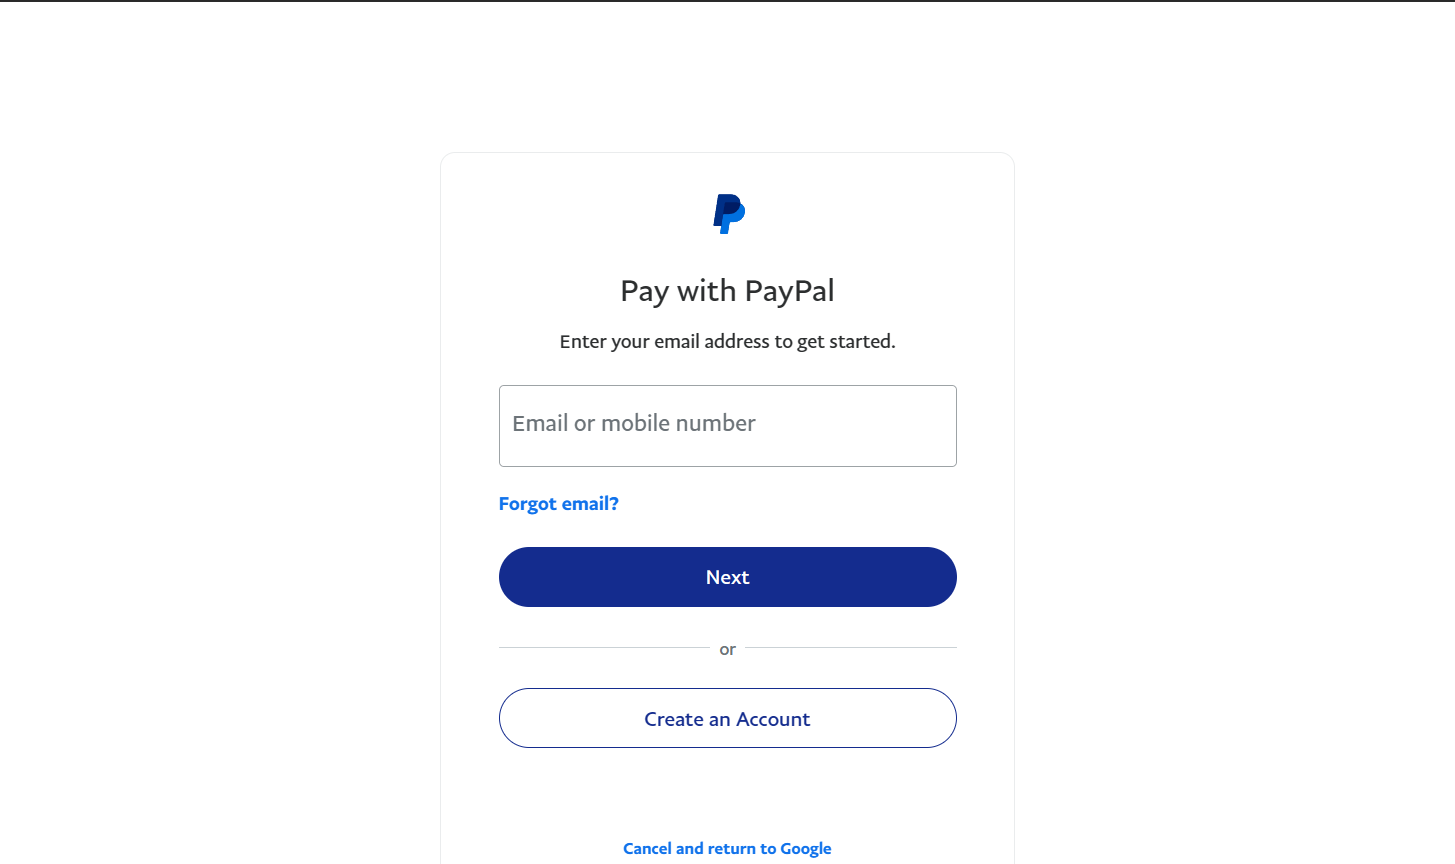
- You will indicate your email address or mobile number that you want to utilize in your billing setup for Google Ads. Type it in the blank field shown below and click “Next”.
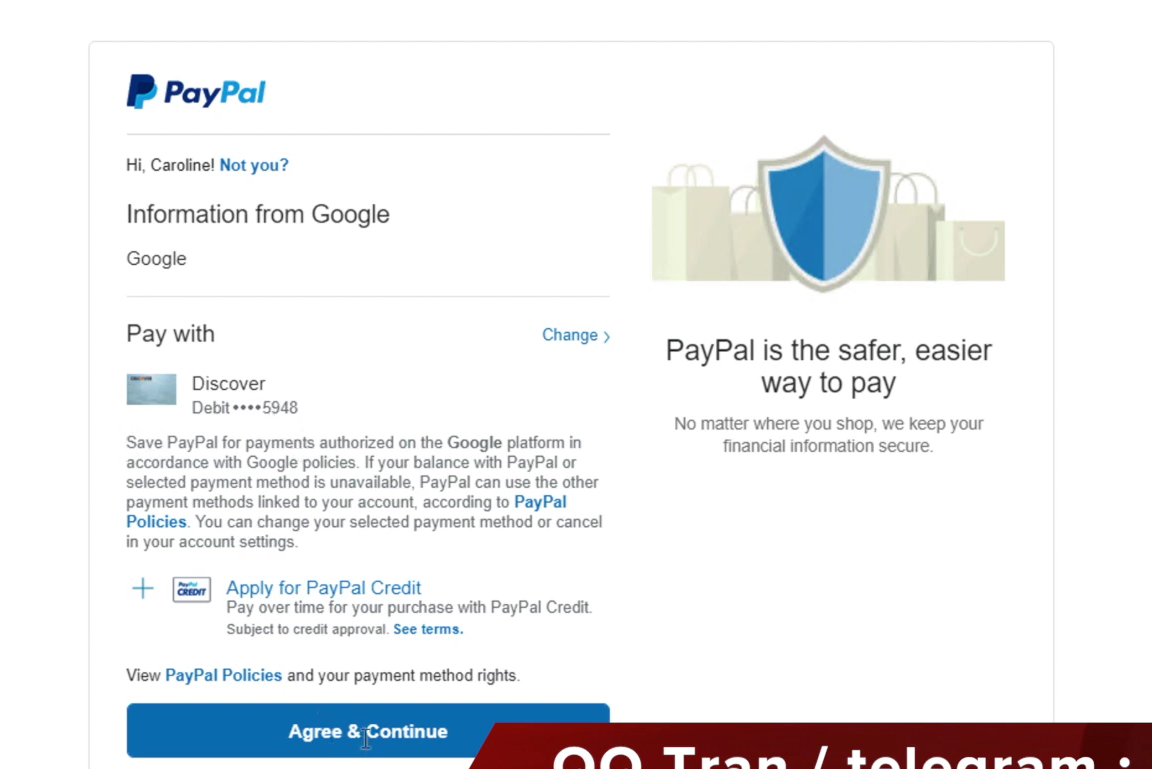
- Lastly, click “Agree & Continue” to add your PayPal account as your billing on Google Ads.
Billing Setup Appearance
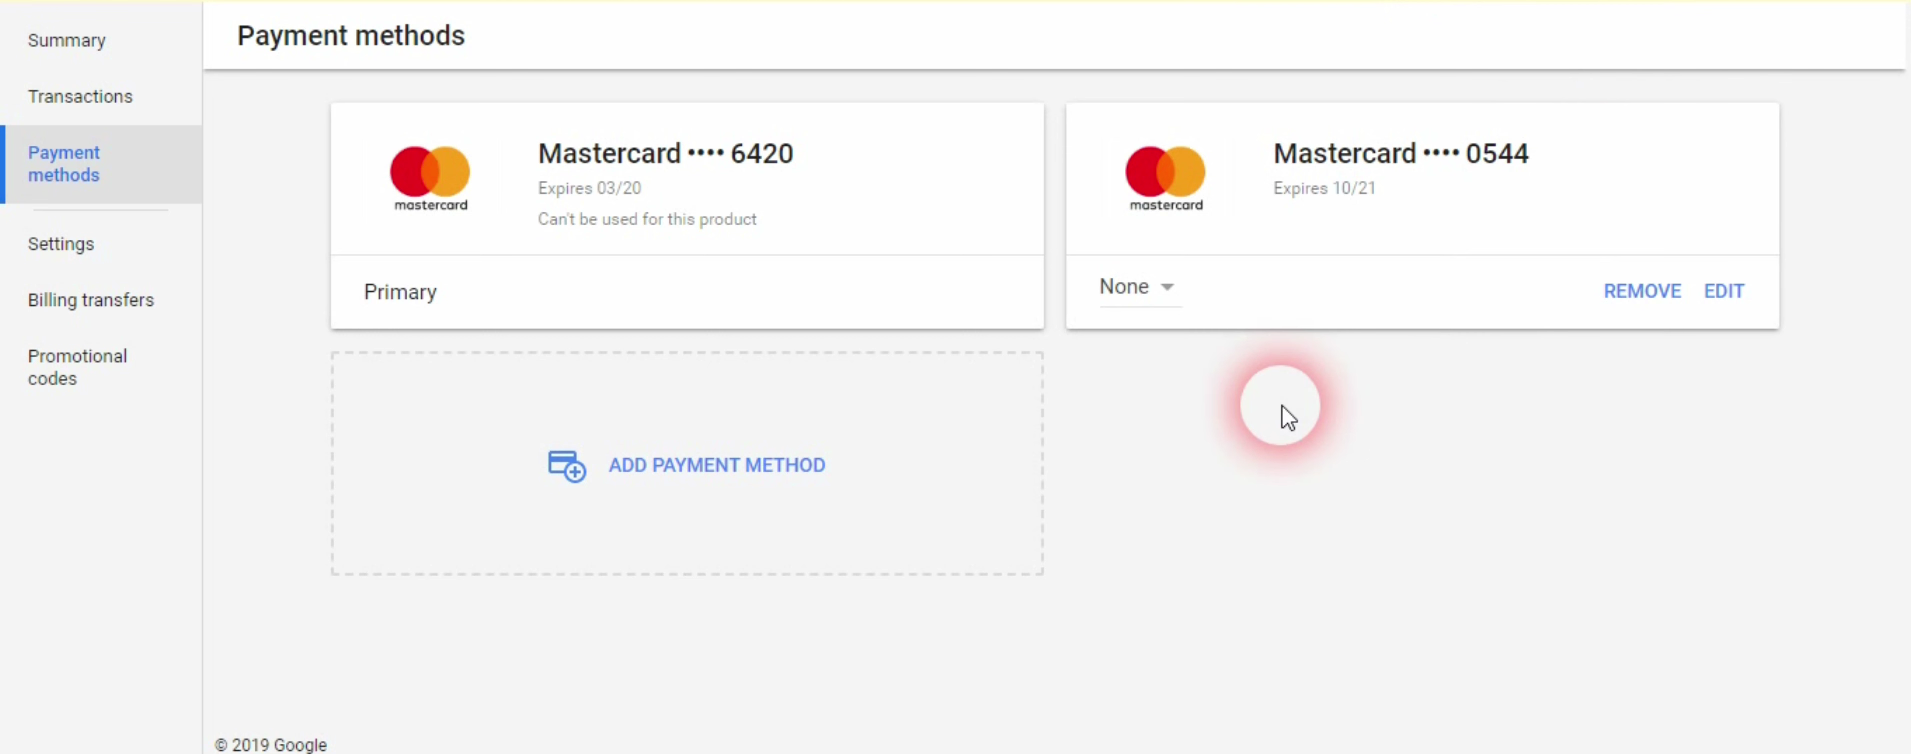
- Under Billing, click “Payment methods” to navigate to your chosen billing methods. Under this, you will see all the payment methods that you have created using either card or Paypal. You can set them as primary or backup payment by clicking the drop-down menu, and you can also delete options which you no longer want to use by clicking the button. Lastly, you can also add a new payment method.
Conclusion
You’re done! Always remember that you can track your company's earnings and losses depending on promotional activities using Google Ads billing.
-
Google Ads is an incredible platform for posting ad campaigns because you can choose your own spending plan.
-
The Google Ads payment system is essential for your business because it is practical which allows you to establish your own rates.
-
To start the setup of your Google Ads Billing, you must have an account associated with Google Ads and a bank or Paypal account.
-
After navigating to the Google Ads billing settings, you will be instructed to create a new billing setup.
-
This new billing setup includes payment methods, billing country, customer info, and payments profile.
-
After filling out necessary data, you can now submit to process your billing and you will be able to post a campaign shortly after.