Managing User Access on Google Analytics
To guide you in adding, editing, and deleting user access on Google Analytics.
Prefer a shortcut? 16 free tools do parts of this for you.

Aim: To guide you in adding, editing, and deleting user access on Google Analytics.
Optimal Outcome: To manage user access and permissions after determining the appropriate role for each user on Account and Property level.
What do you need to start: To follow this SOP, you must have already created a Google Analytics account for your business and gather the email addresses of your subordinates or coworkers that you want to share the access to.
Why is this SOP Important: Managing user access on Google Analytics increases overall productivity in your company because it allows multiple people to review the reports that are provided in the Google Analytics. After setting up the user access, delegation of tasks will be easier and you will be able to brainstorm different ideas with your team about the data that you have gathered.
When and Where to execute: To execute this SOP, you must be able to know the individual tasks of your workmates so you can assign them in their proper field on Google Analytics.
Who Should Be Doing This: This may be done by the administrator of the Google Analytics account with collaboration to the Human Resources (HR) Department of the company.
Google Analytics User Access
To have access to the information provided by Google Analytics, it is necessary to emphasize that there are two (2) levels wherein a user can be assigned into. These are the account and property level. Between the two, the account level is the higher and broader level because it allows access to the overall account, facilitating also the property level. The Google Analytics account creator is automatically an account administrator, and you can assign another person on account administrator to monitor the information that you generate.
Execution
Resources/Tools & Set up
-
Google Analytics account
-
Coworkers’ email addresses
Adding Users on Account Level
- Sign in your account in Google Analytics by clicking “Start measuring”.
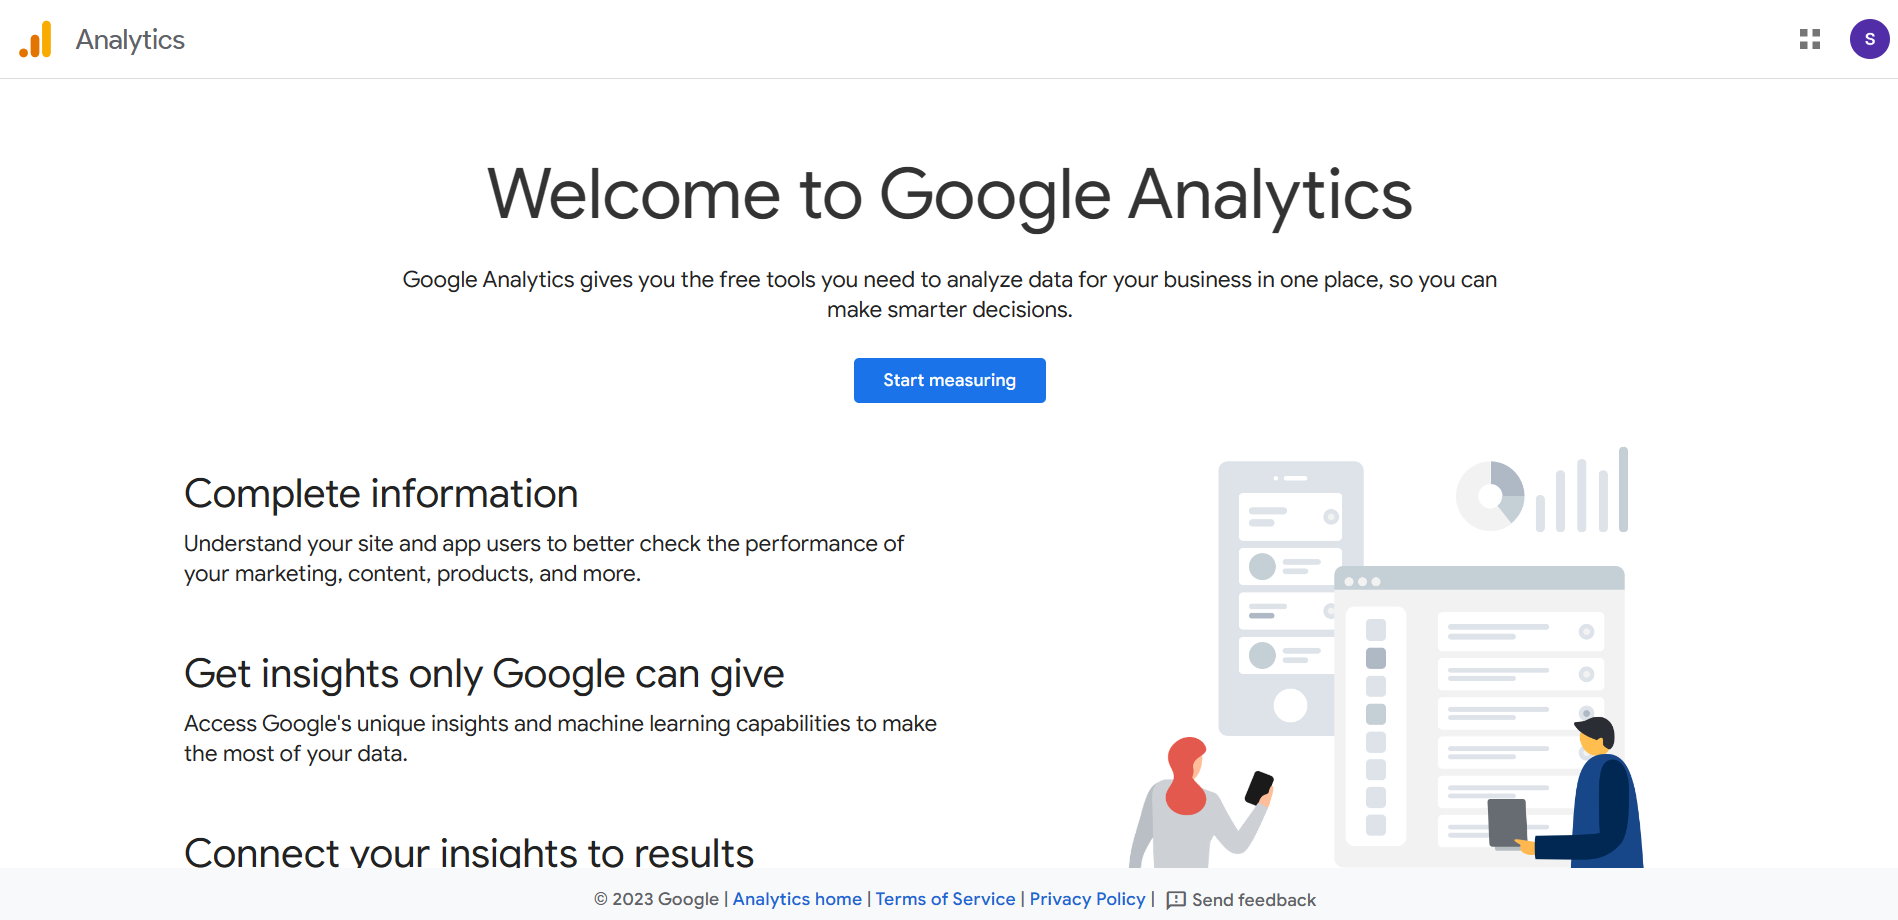
- After successful navigation to Google Analytics homepage, click the Admin button located on the lower left corner of the page.
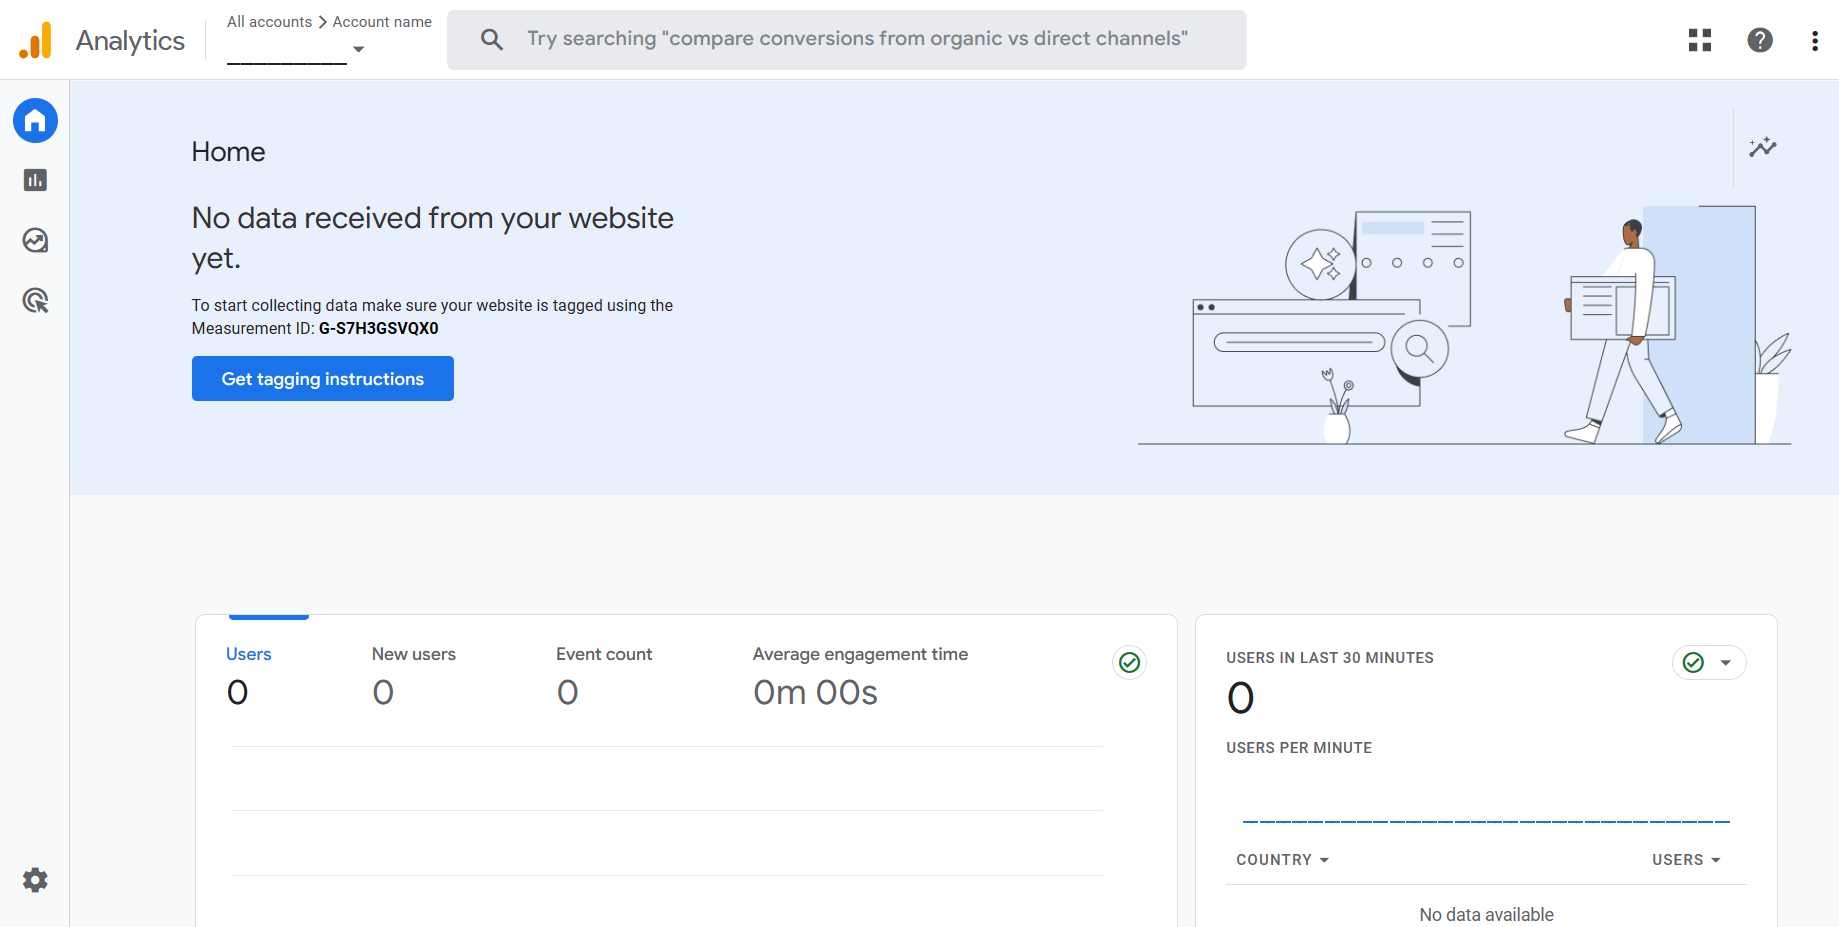
- You will be redirected to the Admin page after you click the button. Here, click “Account Access Management” to add a user role.
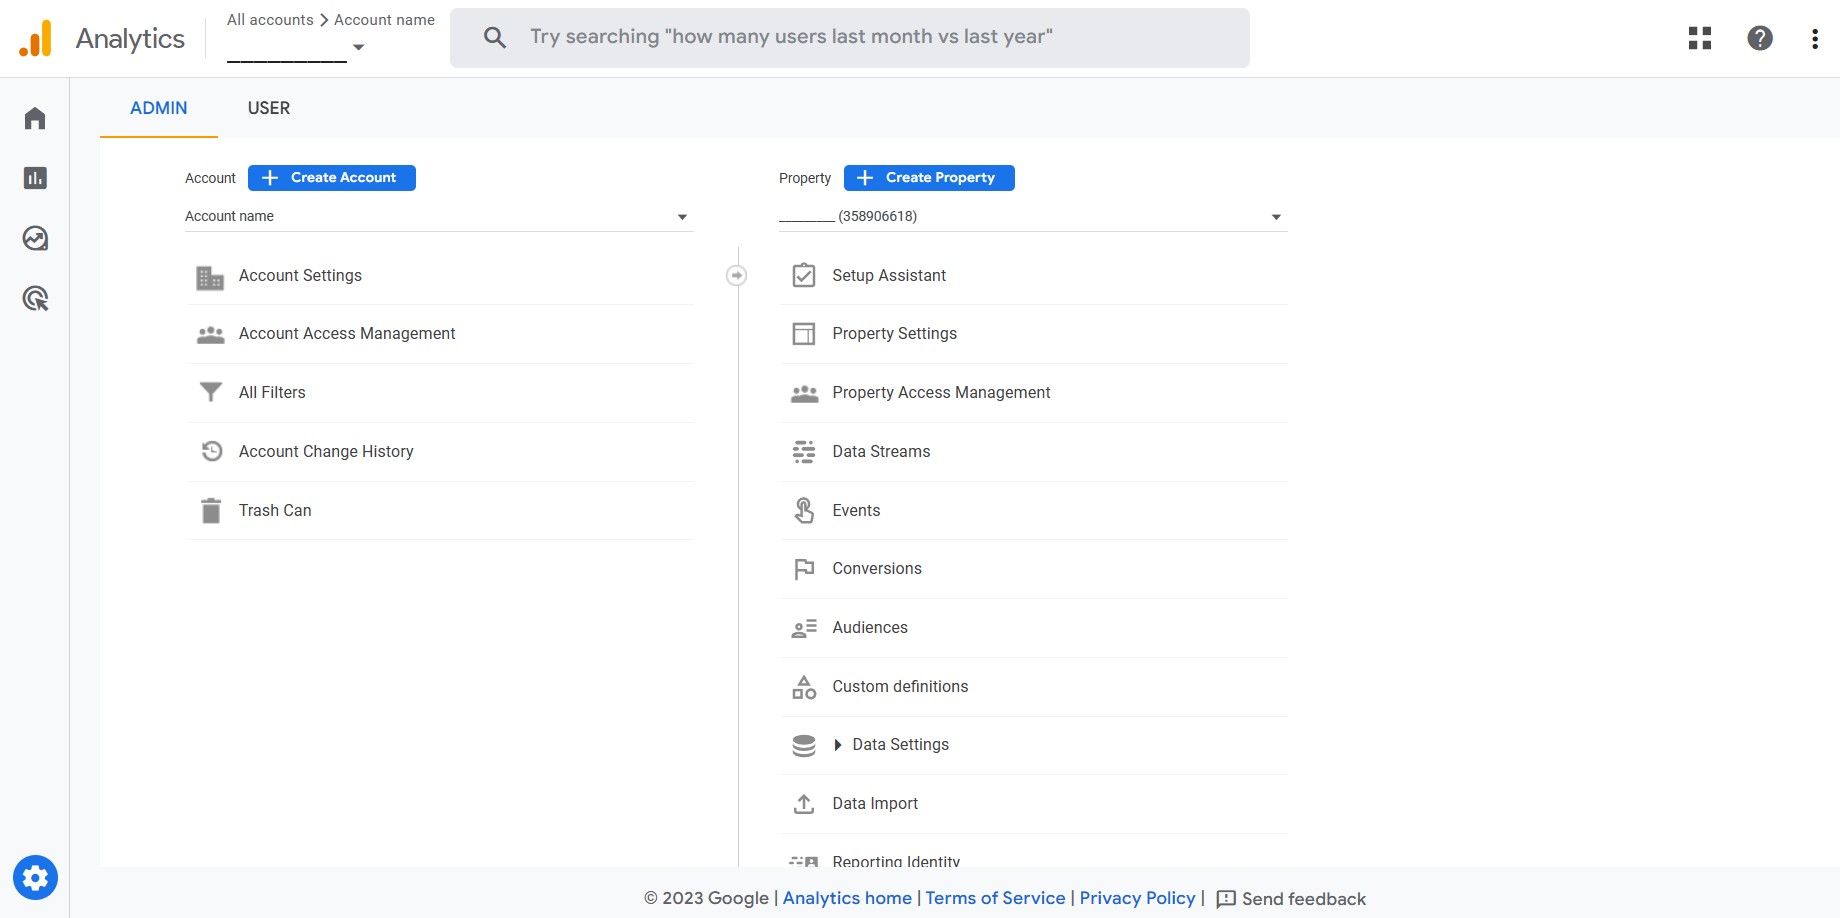
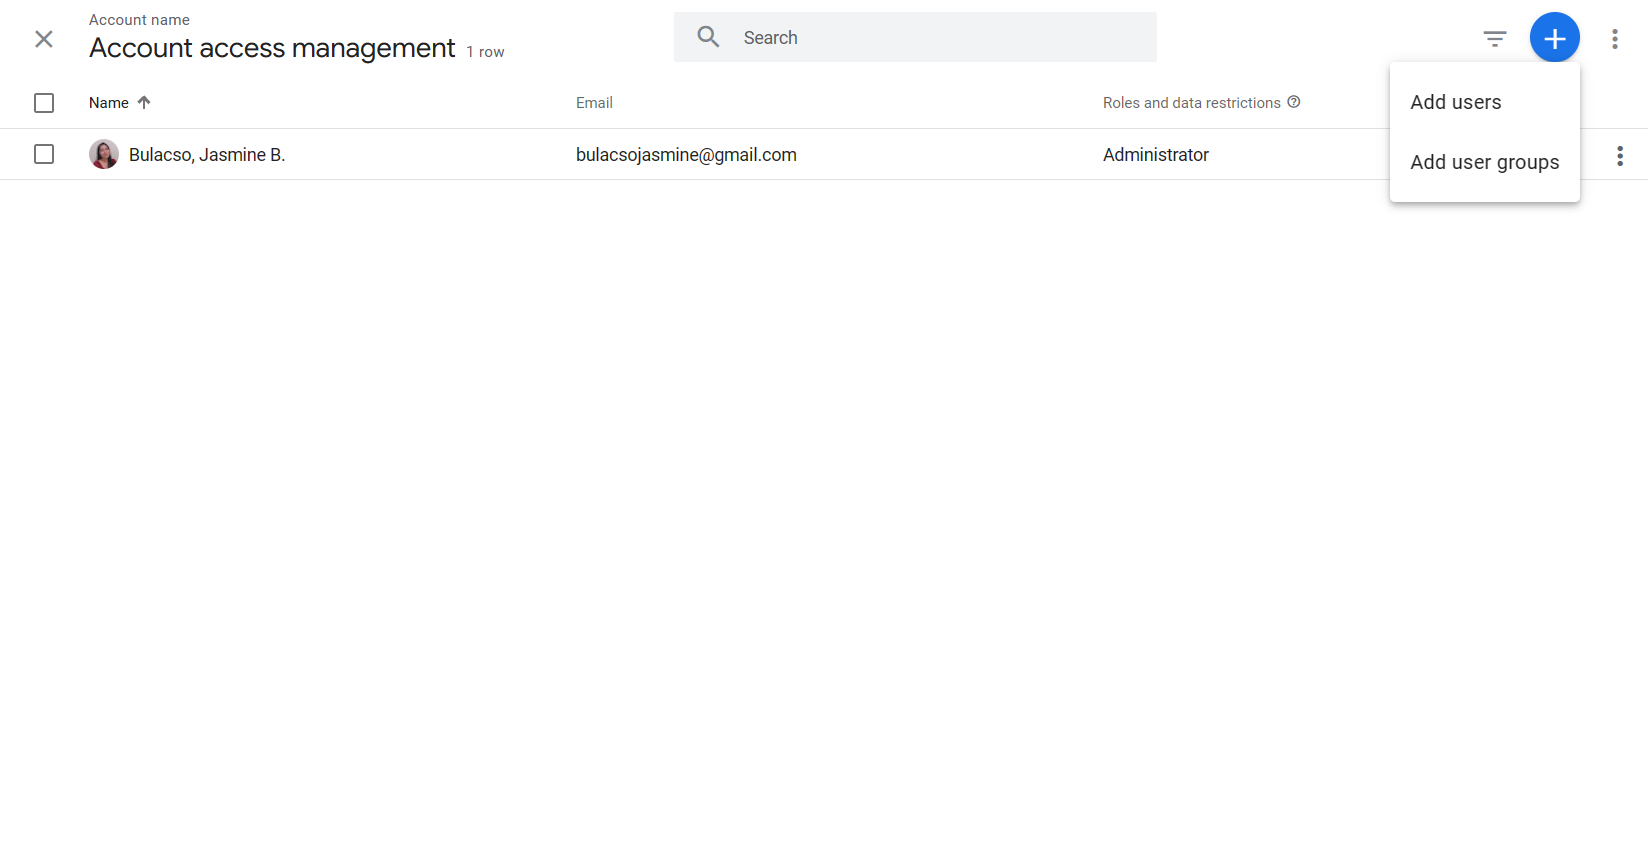
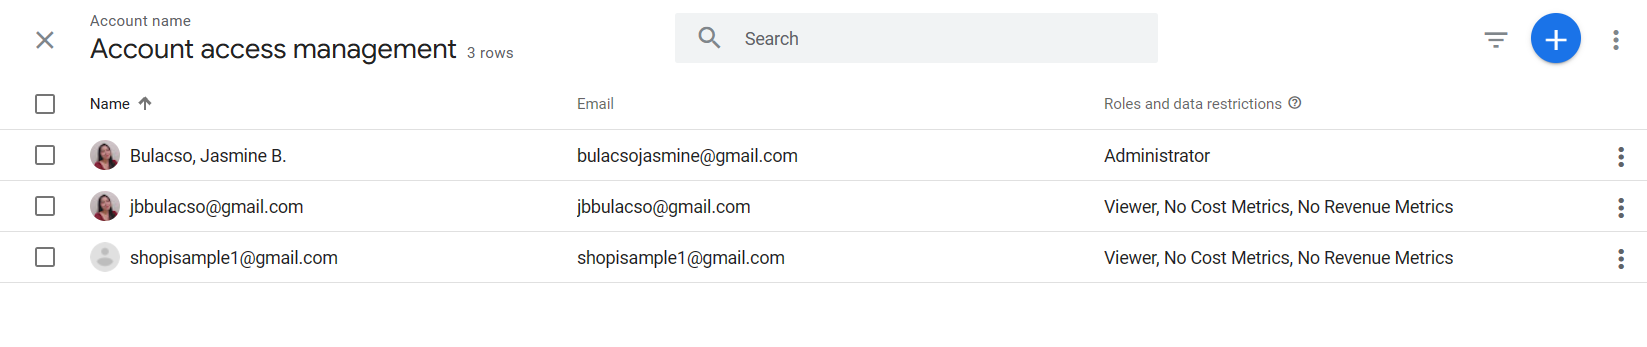
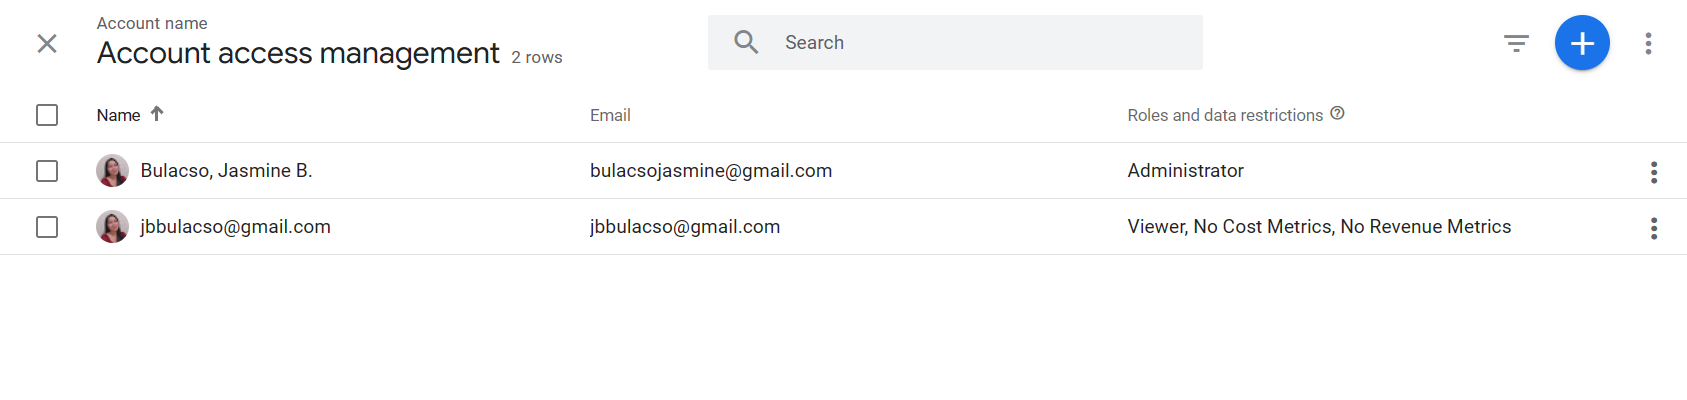
- The Account access management tab will appear. In this tab, you will be able to see your name, email, and role in the display. Because you created the Google Analytics account, you are automatically tagged as an Administrator of the account. To add a user role, click the Add button located on the upper right corner of the tab.
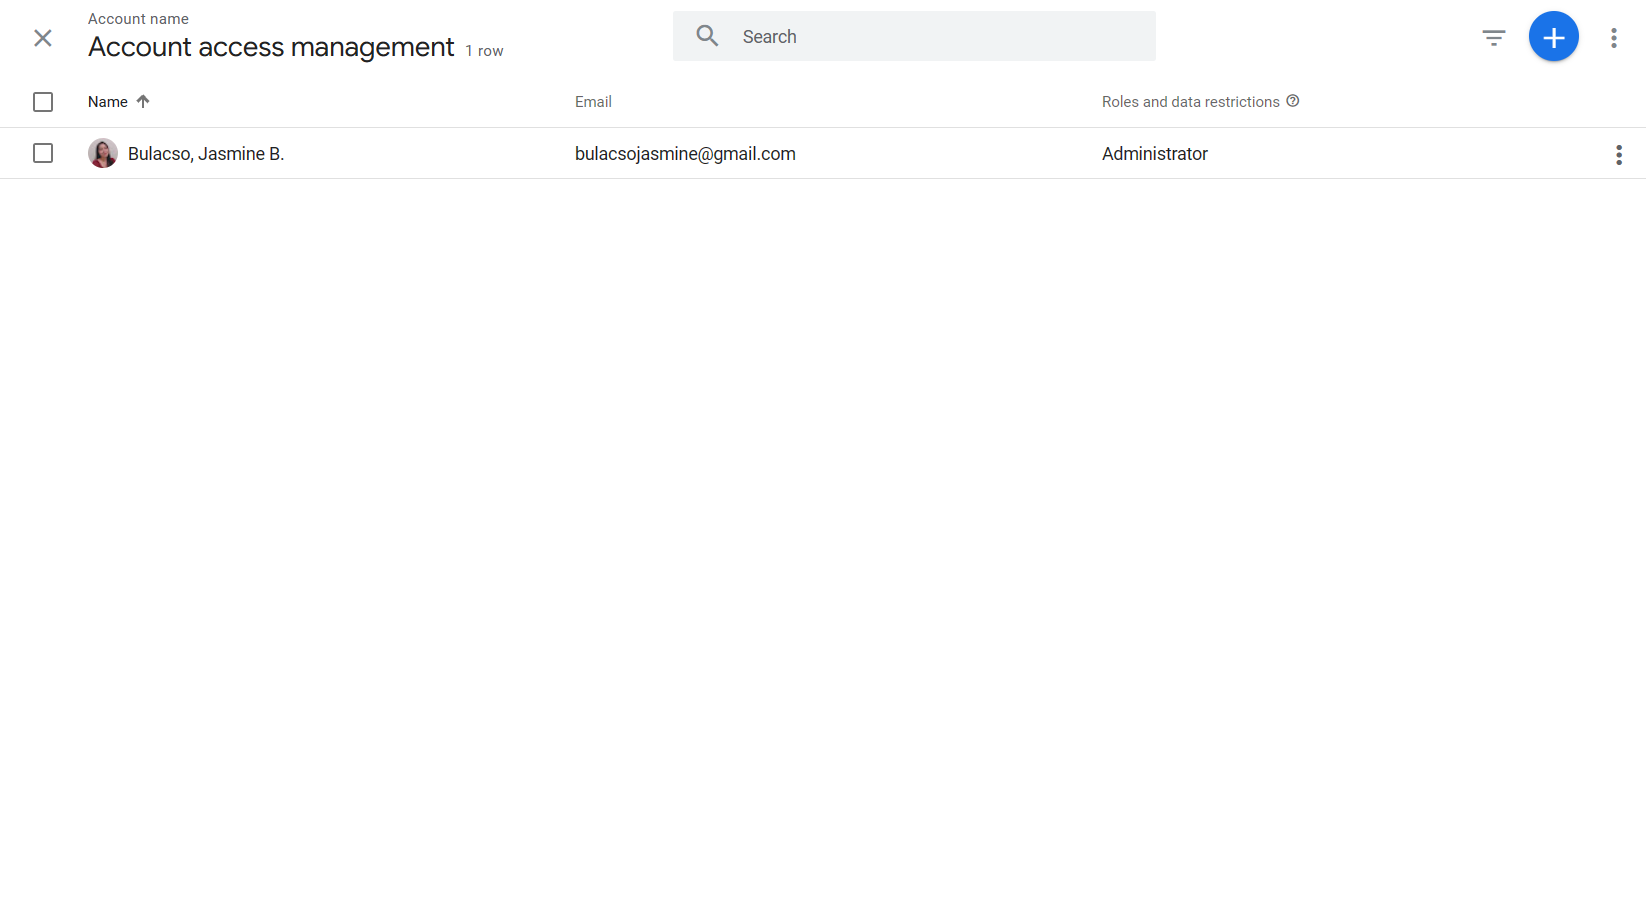
- Two options will appear: Add users and Add user groups. Click “Add users”.
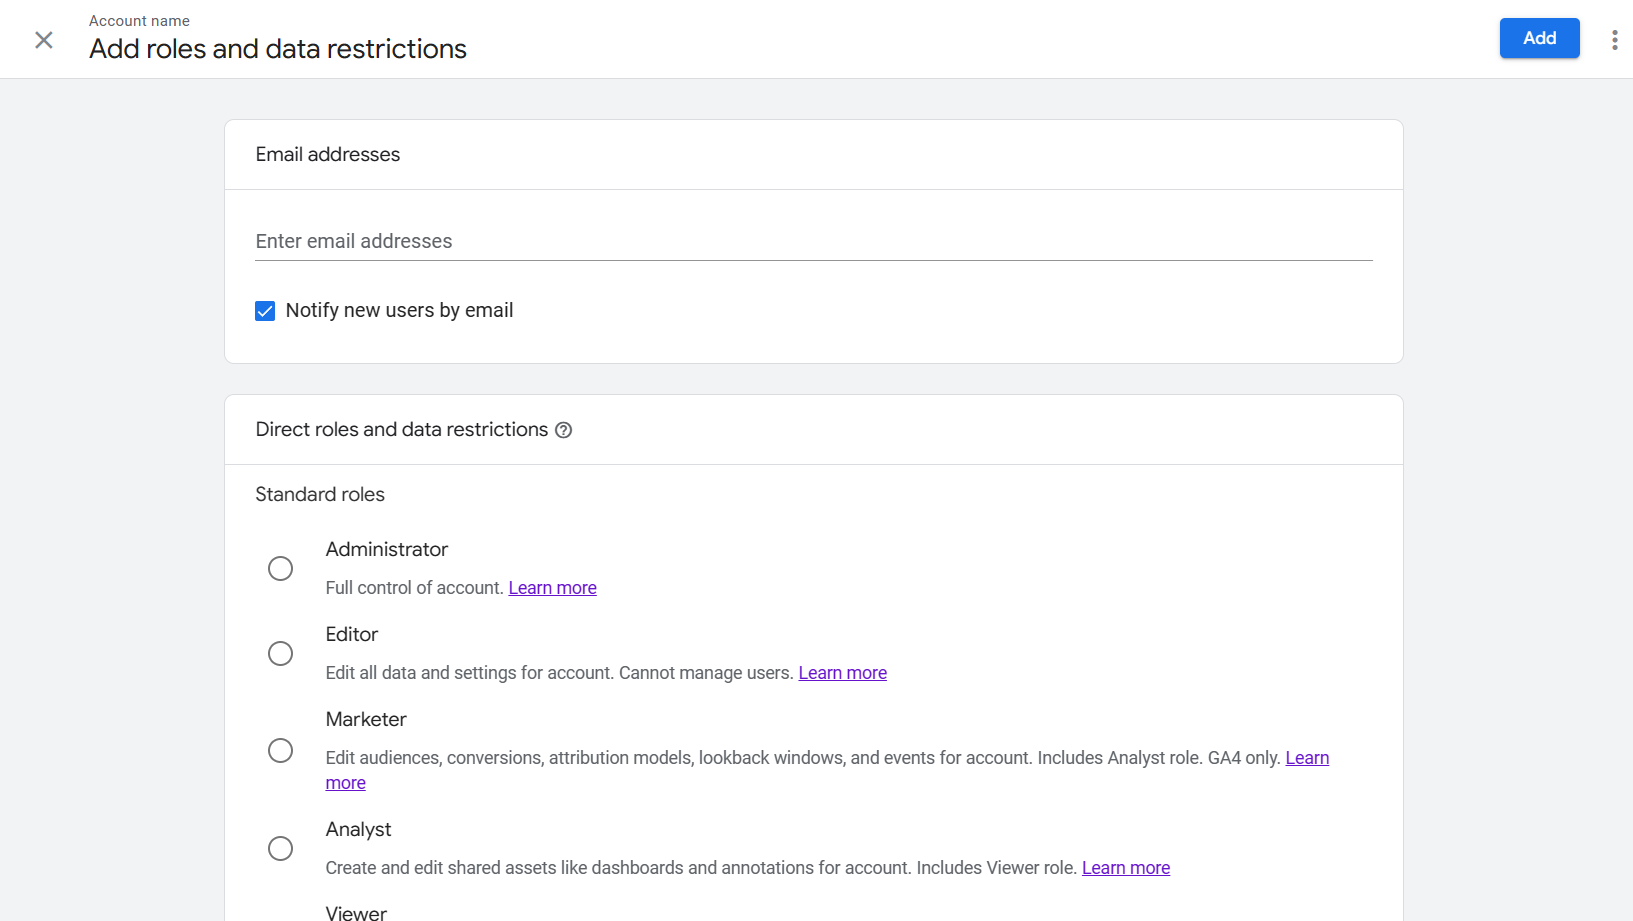
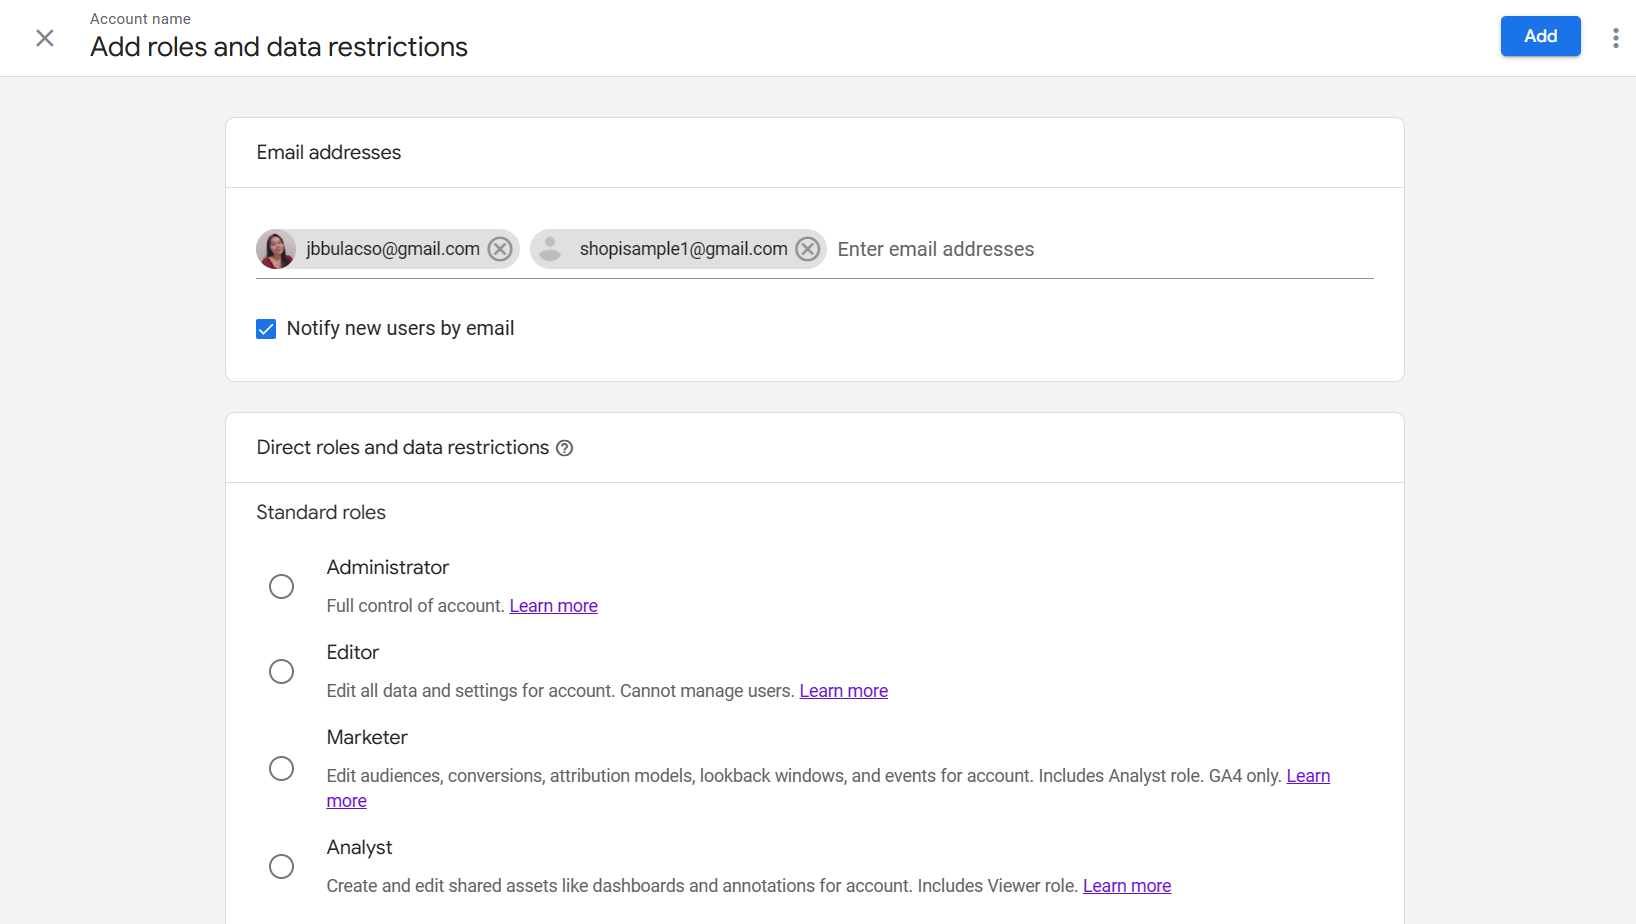
- You will be redirected to the Add roles and data restrictions tab. First thing that you need to do is to enter the email addresses of the people that you want to add to your Google Analytics account level. You can add multiple email addresses, but make sure that you want to give them the same direct role if you will group them. For example, you want to add five users which among them are three users as Administrator role, then you can enter three email addresses in the blank field at the same time for the Administrator role. To ensure that new users are informed, click the checkbox for “Notify new users by email”.
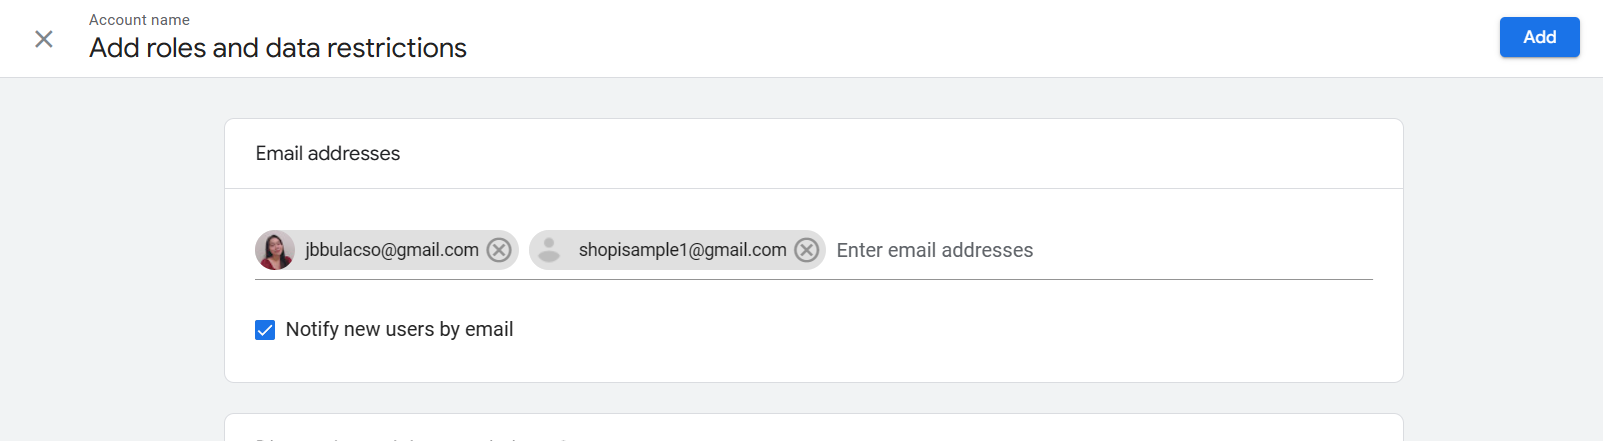
- After entering the email addresses of those you want to add as new users, it should look like this:
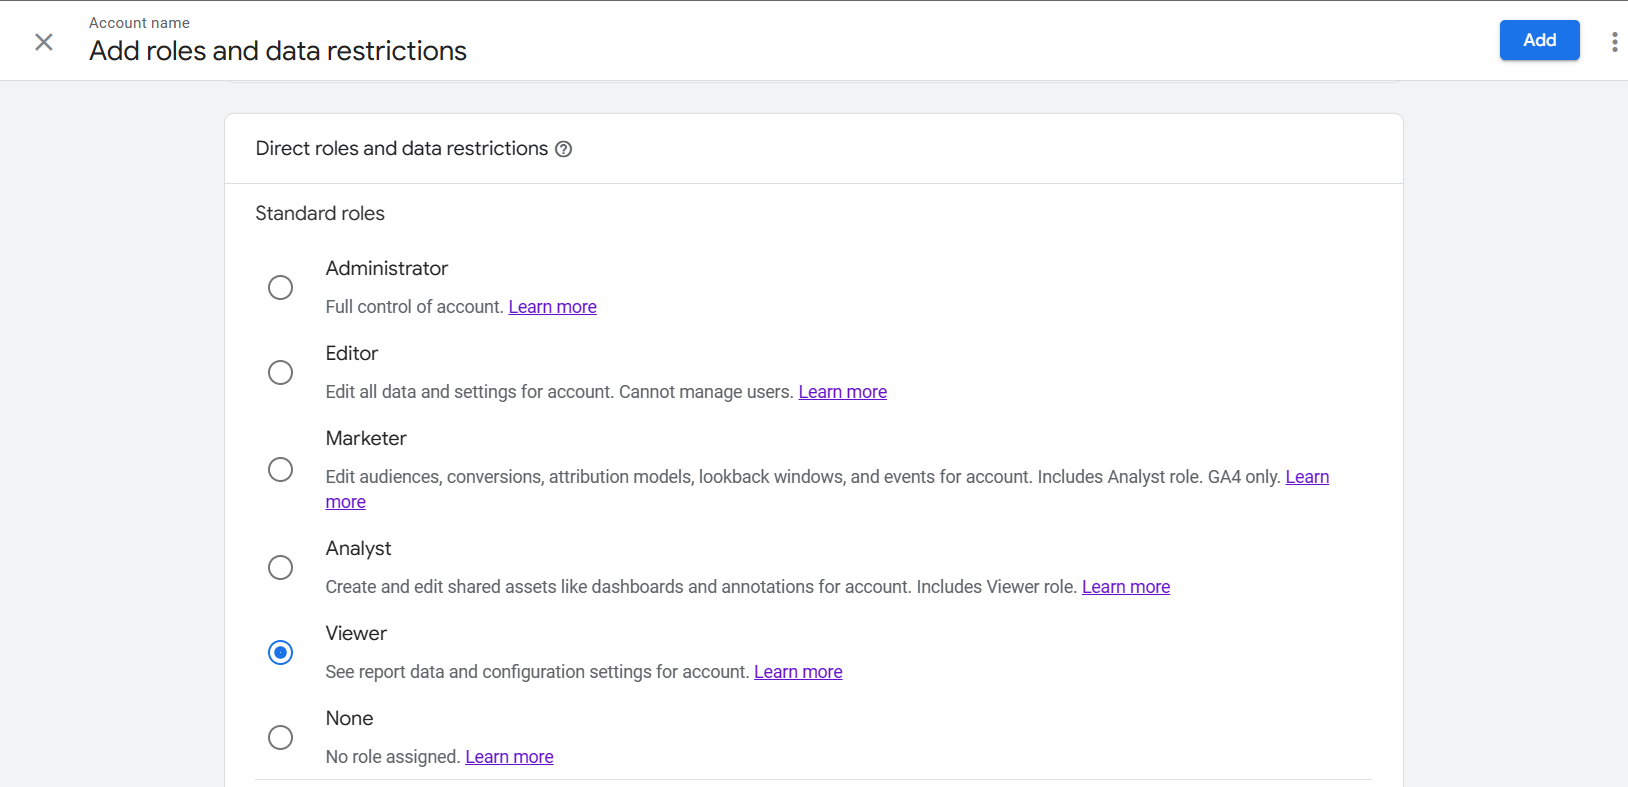
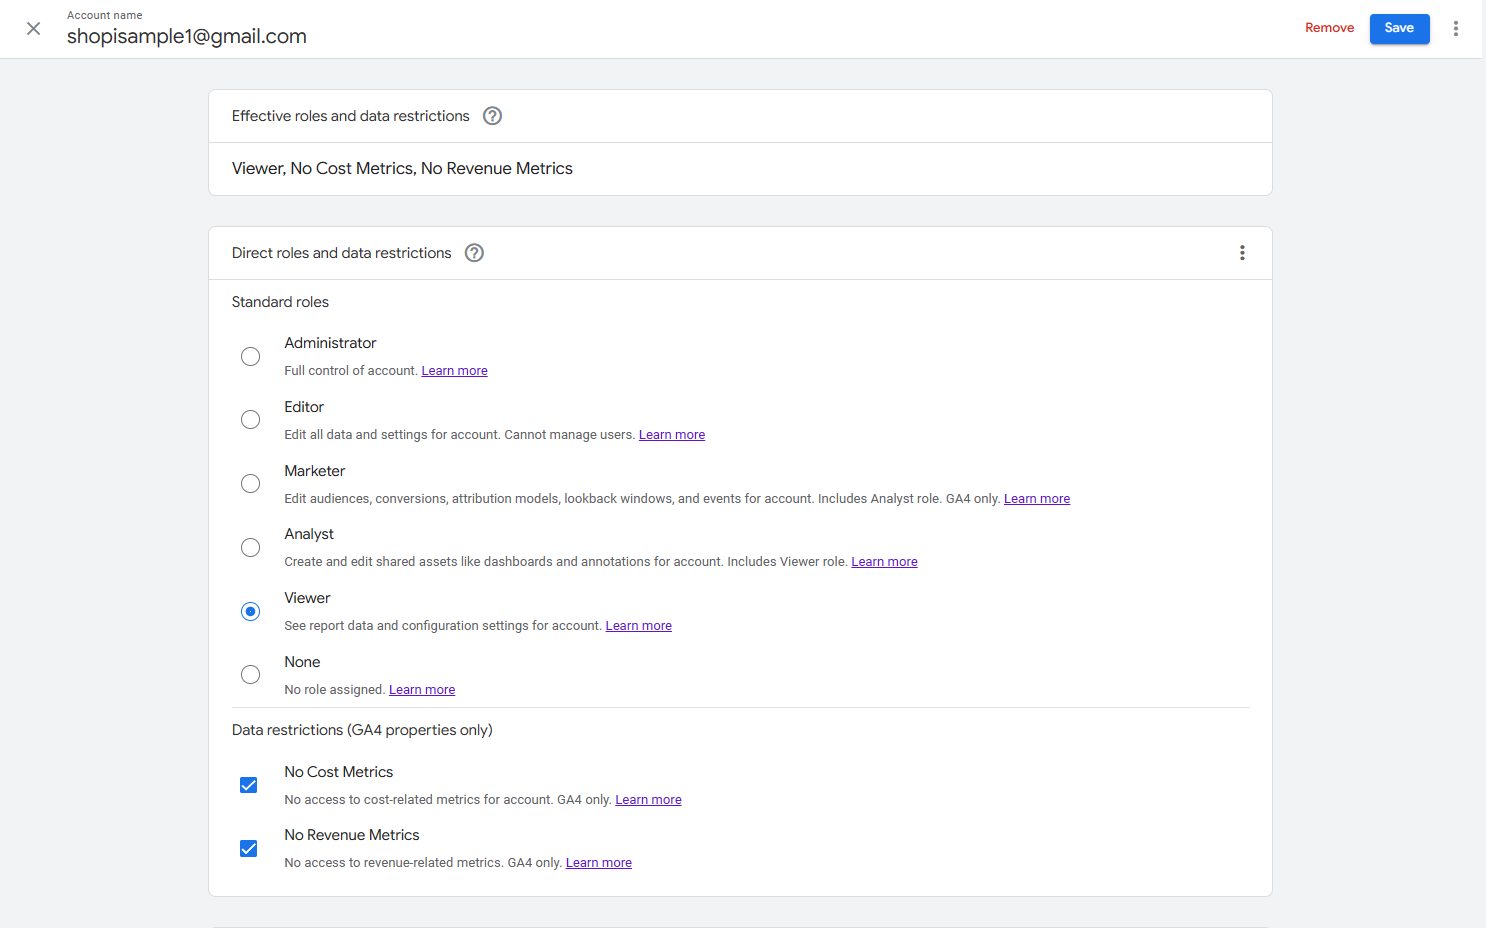
- Next is the Direct roles and data restrictions. In this part, you can indicate the role that you have chosen for your new users. For a brief description, these are the roles:
-
Administrator: This role allows the user to have full control of the account and its property.
-
Editor: The editor can edit all the data and its settings, but it is not allowed to manage users.
-
Marketer: This role can edit audiences, conversions, attribution models, and etc., which has relevance to business marketing.
-
Analyst: This role mainly has authority on shared assets and creating or editing them.
-
Viewer: The viewer role cannot edit data, but only see the reports and configuration settings on Google Analytics.
-
None: There is no role assigned.
Select the appropriate role by clicking the circle beside the preferred role.
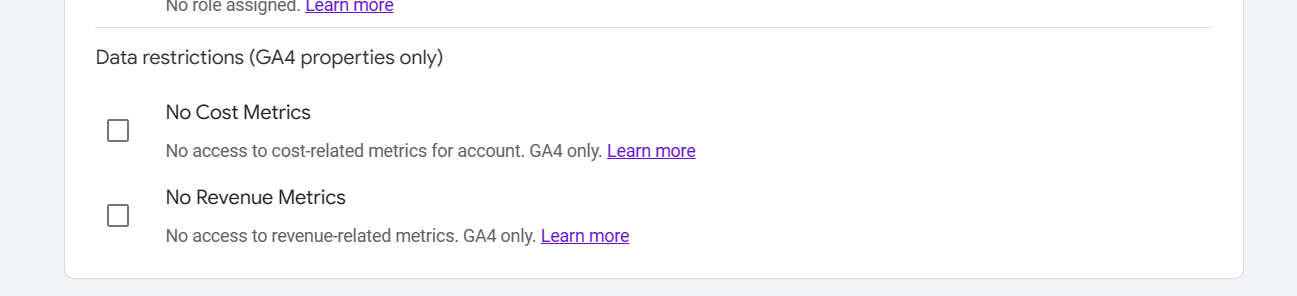
- Still under Direct roles and data restrictions, the data restrictions are properties available in Google Analytics 4 (GA4) only. These are the No Cost Metrics and No Revenue Metrics which are budget-concerned categories. It means that even when you appoint a user as an Administrator or an Editor, they wouldn’t be able to see the cost and revenue metrics of your website. To activate these properties, just click the checkbox beside the data restriction that you want to enable.
- After finalizing the user roles, click the “Add” button to add new user roles in your Google Analytics account.
- After clicking the Add button, the people that you have added will be listed under your name in the Account access management tab.
Editing Users on Account Level
- Sign in your account in Google Analytics by clicking “Start measuring”.
- After successful navigation to Google Analytics homepage, click the Admin button located on the lower left corner of the page.
- You will be redirected to the Admin page after you click the button. Here, click “Account Access Management” to edit a user role.
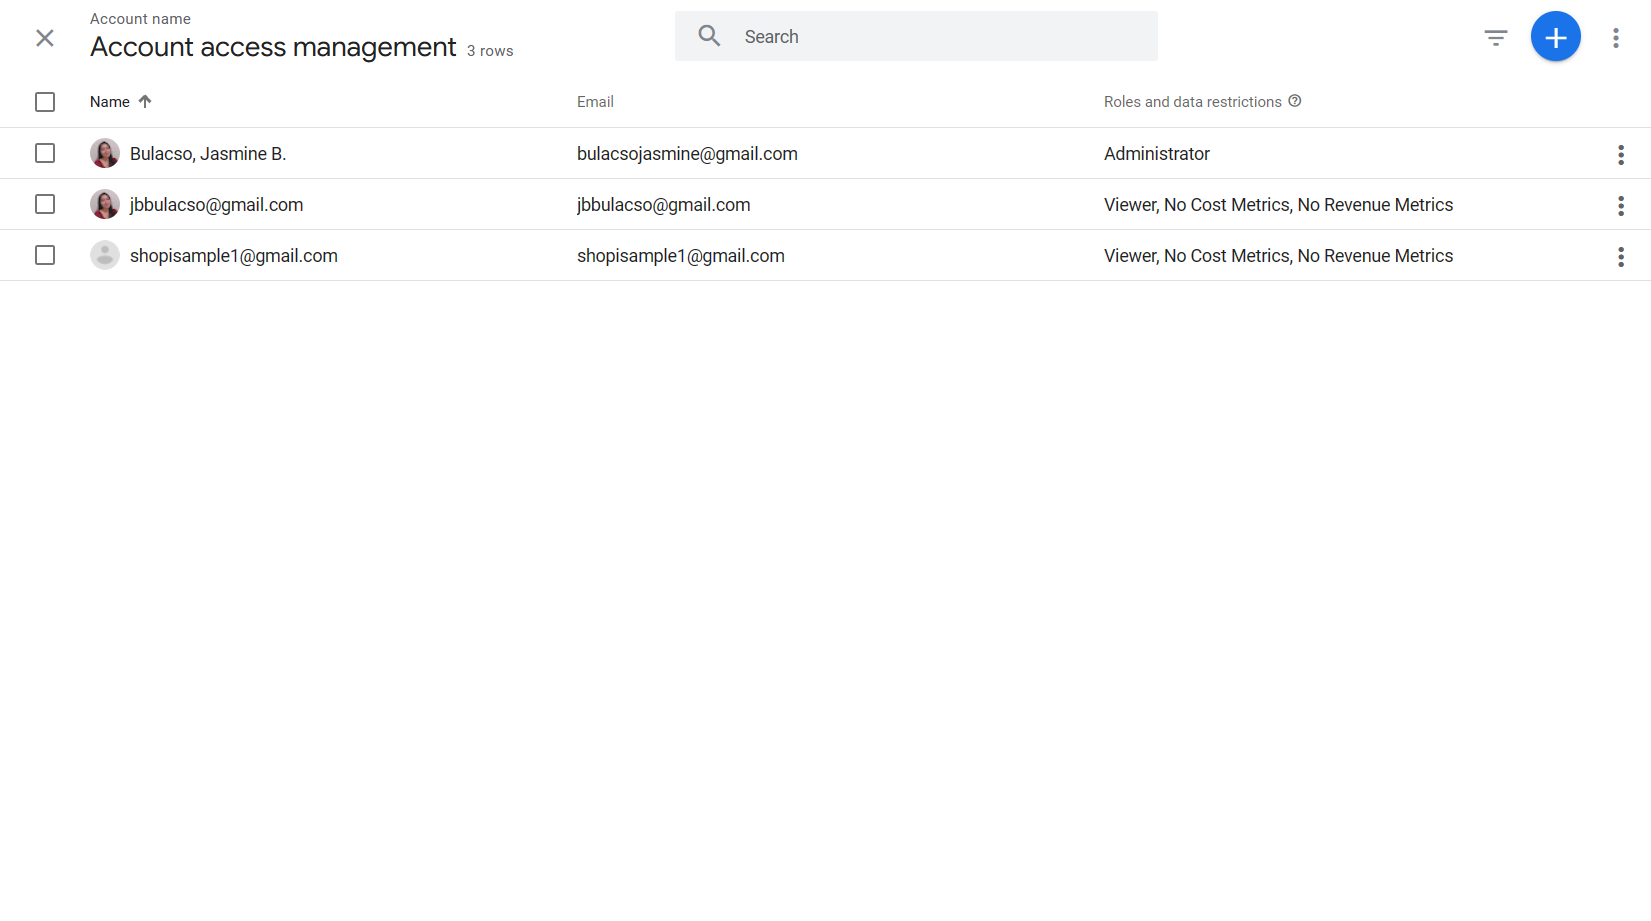
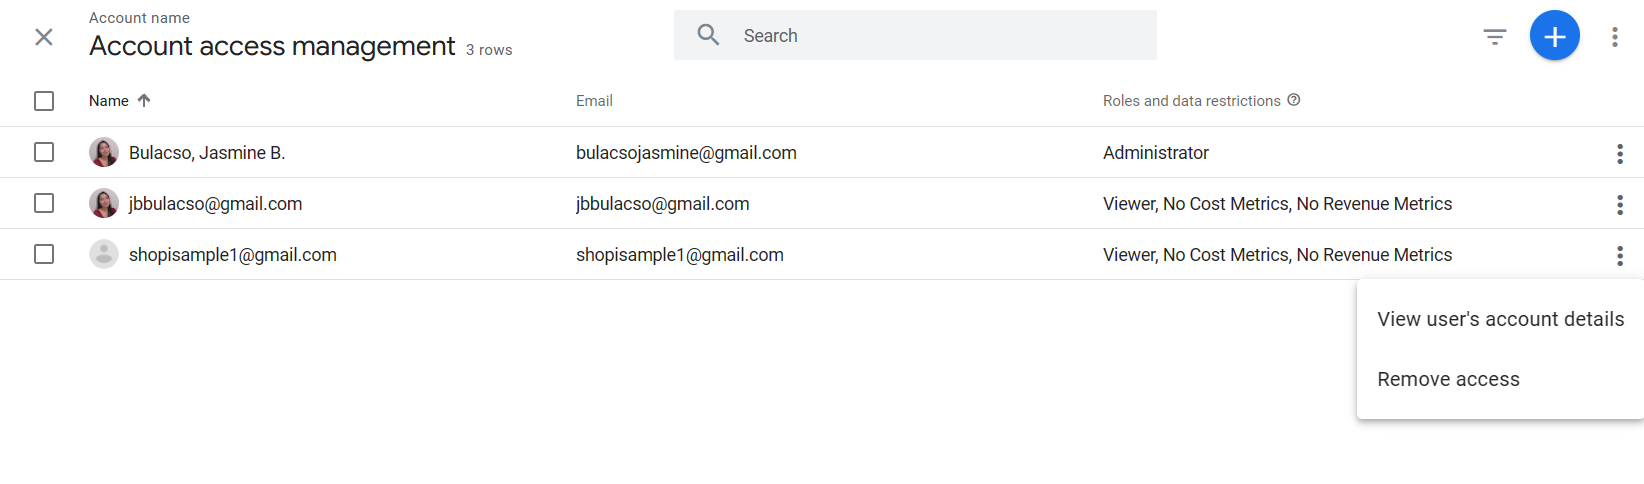
- In the Account access management tab, you will see the list of user roles that you have indicated. To edit a user role, click the three vertical dots located on the right side of the user role that you want to edit.
- After clicking it, two options will appear. Click the “View user’s account details”.
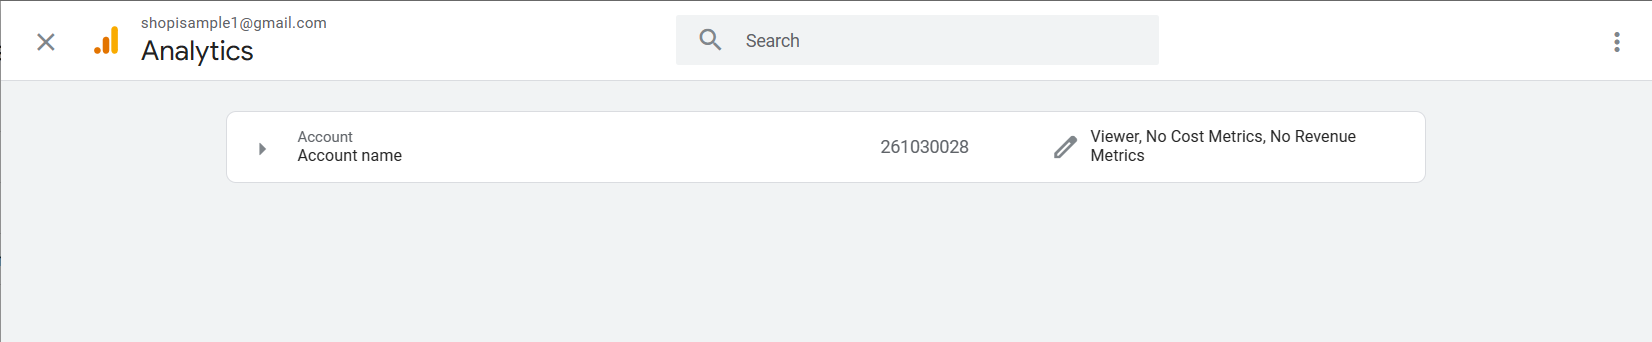
- The Analytics tab will open, and you will click the pencil icon on the right side where the user role is located.
- You can edit the user role to other standard roles and you can also change the data restrictions. After editing the user role, click “Save” to save changes.
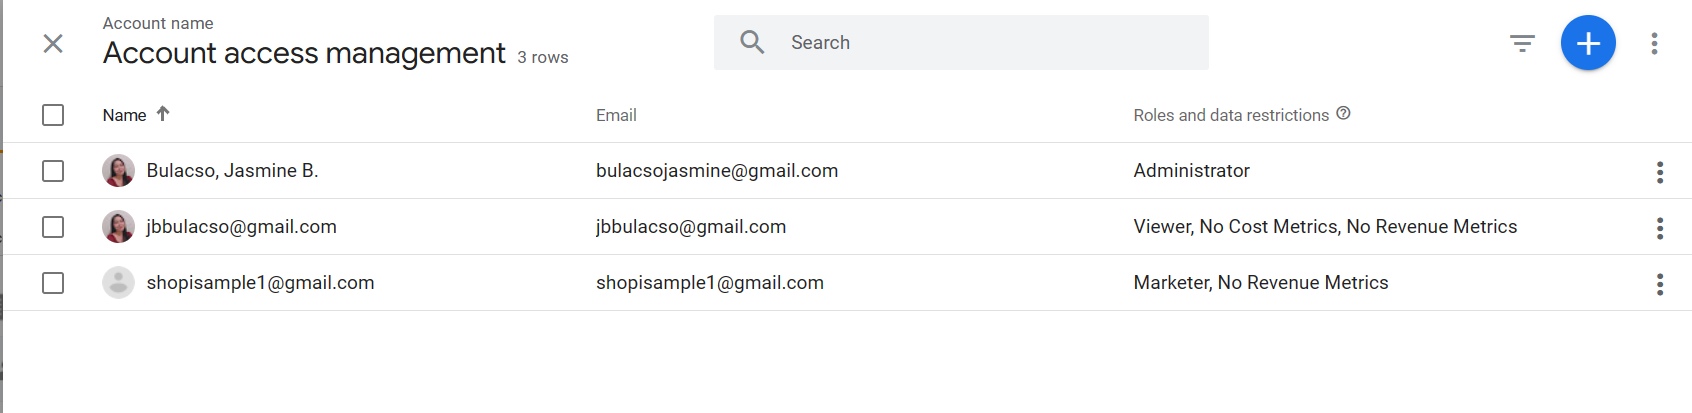
- You should see the changes in the Account access management tab after saving.
Deleting Users on Account Level
- Sign in your account in Google Analytics by clicking “Start measuring”.
- After successful navigation to Google Analytics homepage, click the Admin button located on the lower left corner of the page.
- You will be redirected to the Admin page after you click the button. Here, click “Account Access Management” to delete a user role.
- In the Account access management tab, you will see the list of user roles that you have indicated. To delete a user role, click the three vertical dots located on the right side of the user role that you want to delete.
- After clicking it, two options will appear. Click the “Remove access”.
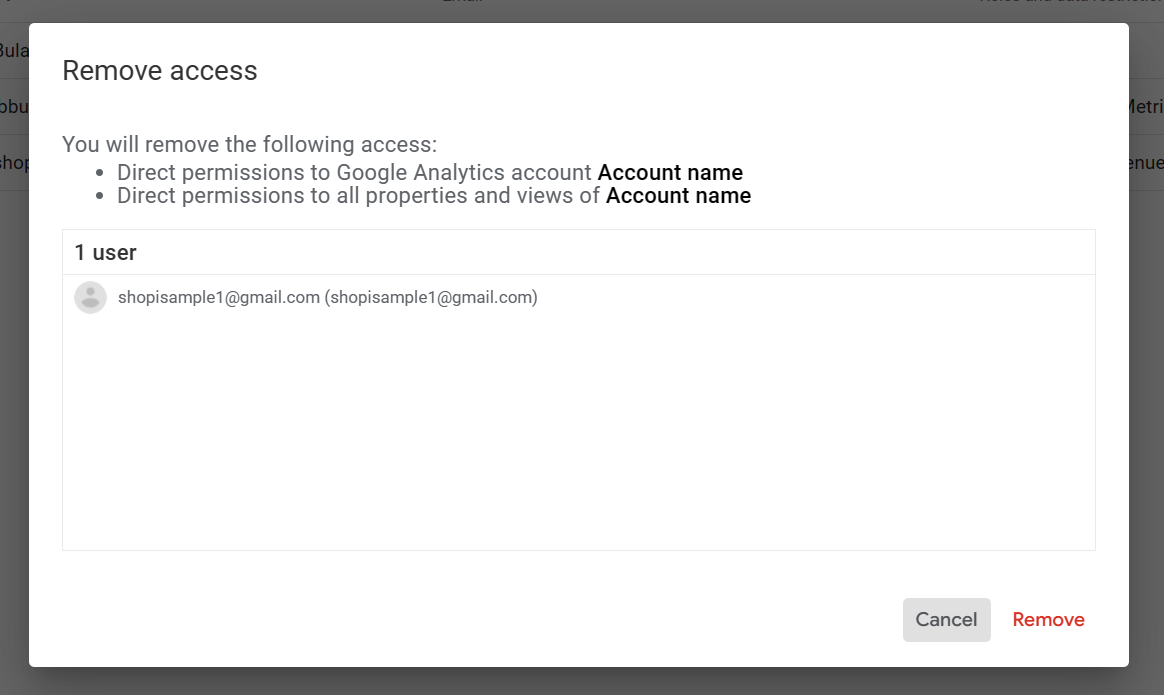
- A tab will pop out to confirm the removal of access in Google Analytics. Click “Remove” to delete the selected user role.
- You can check the Account access management tab if the user role is already deleted or removed.
Managing Users Access on Property Level
- Sign in your account in Google Analytics by clicking “Start measuring”.
- After successful navigation to Google Analytics homepage, click the Admin button located on the lower left corner of the page.
- You will be redirected to the Admin page after you click the button. Here, click “Property Access Management” to add, edit, or delete a user role.
- This is how the Property access management tab should look. NOTE: Since property access is under account access, all of the account user roles would be visible in this tab.
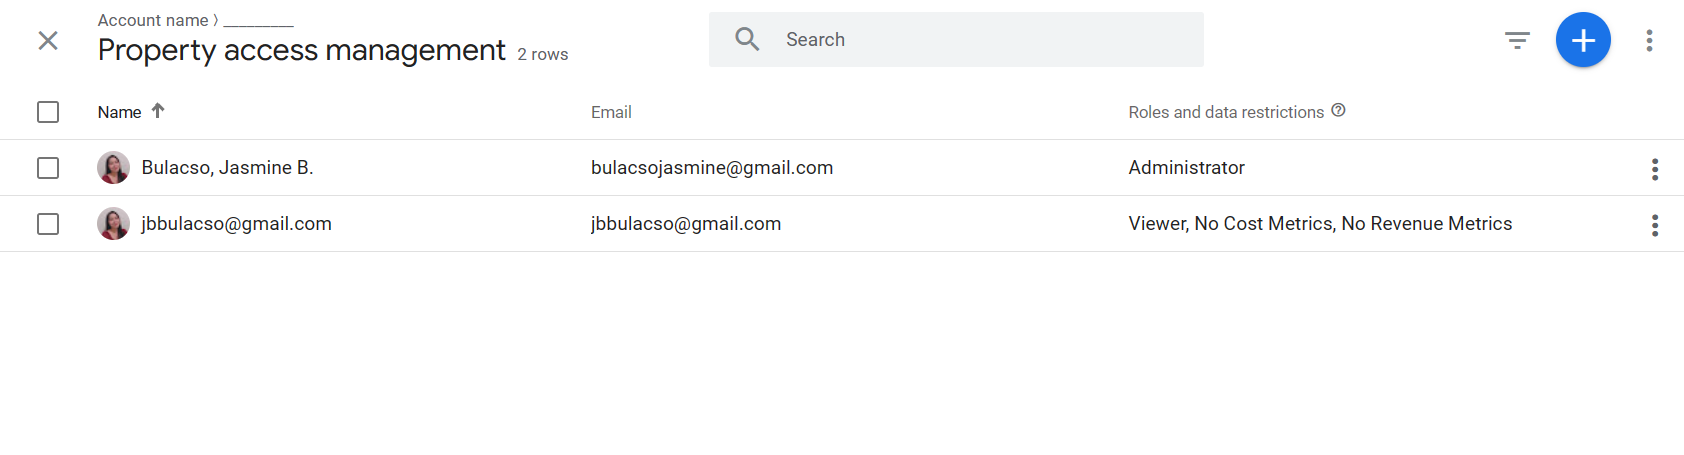
To add, edit, or delete user roles in Property Level, repeat step 4 and onwards on the Adding, Editing, and Deleting Users on Account Level.
Conclusion
You’re done! Managing User Access is one of the essential steps to set up your Google Analytics account. By setting this up, you are allowing other people to gain access and help you in analyzing the data gathered in your website.
-
The steps of adding, editing, and deleting user roles in Account level is almost the same as the Property level, only that these two have different settings in the Admin.
-
To add, edit, or delete user roles in Account level, you must go to Admin > Account > Account access management. On the other hand, to add, edit, or delete user roles in Property level, you must go to Admin > Property > Property access management.
-
You can add multiple people, but make sure that you will assign them the same role. If you want to add them with different user roles, then they should be added individually.
-
Editing and deleting a user's access can be done by clicking the three dots beside the user role.
-
The user roles that you have added in Account level will also reflect in the Property level.