Setting Up a LinkedIn Lead Generation Campaign
To walk you through setting up a LinkedIn lead generation campaign for your LinkedIn ads account.
Prefer a shortcut? 16 free tools do parts of this for you.

Aim: To walk you through setting up a LinkedIn lead generation campaign for your LinkedIn ads account.
Optimal Outcome: To develop a lead generating campaign for your ads account on LinkedIn in order to get visitors interested in your business’ goods or services.
What do you need to start: You need to have a LinkedIn account and LinkedIn ads account.
Why is this SOP Important: Since lead generation is one of the most important aspects of any marketing scheme, it is essential for your company. Any business that wants to expand has to have a solid lead generation plan in place. The main focus of lead generation is obtaining potential clients' contact information and using it to build credibility.
When and Where to execute: You will want to create a LinkedIn ads account and navigate to LinkedIn campaign manager to create the campaign.
Who Should Be Doing This: This task should be done by the person-in-charge on the lead generation or sales and marketing.
Lead Generation
Lead generation is the process of identifying potential customers for your business and contacting them to maintain a dialogue and convert them. Lead generation is essential since it helps establish brand awareness, identifies which clients to target based on their information, and eventually supports revenue creation. Name and contact details, such as an email address, might make up a straightforward lead.
Execution
Resources/Tools & Set up
- LinkedIn Ads Account
Setting Up a LinkedIn Lead Generation Campaign
- Go to LinkedIn.com and sign in your account.
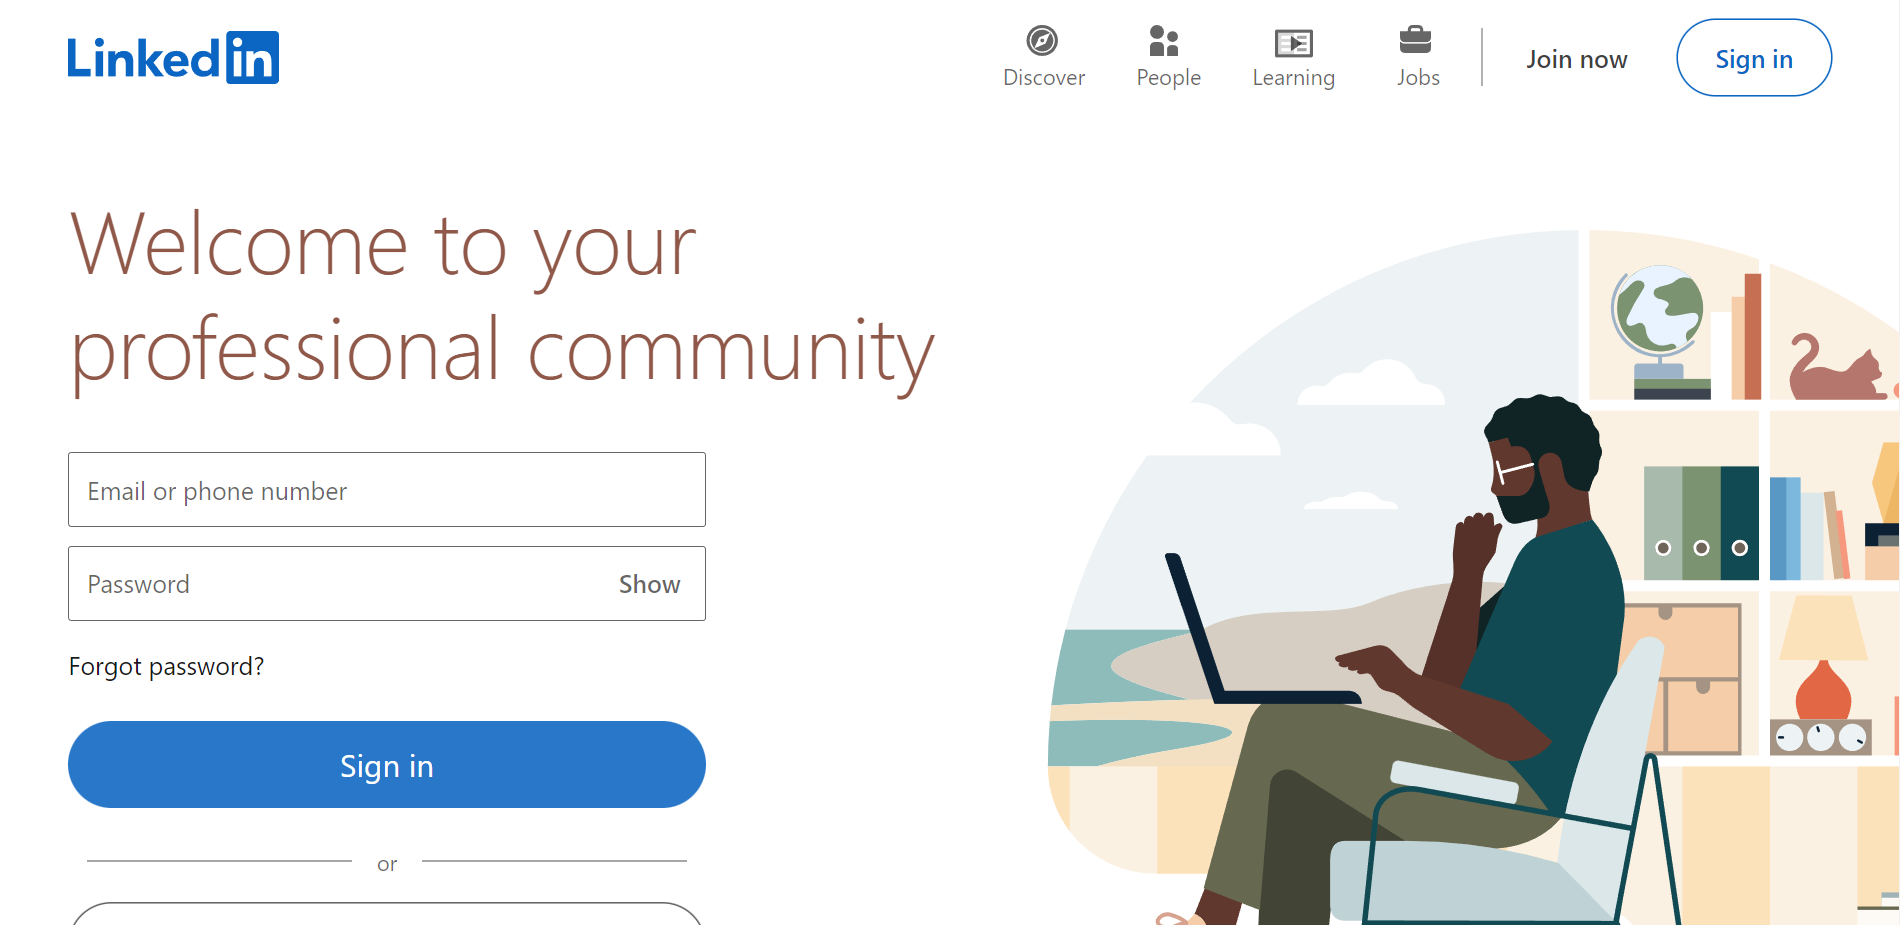
- On the top navigation bar, click the “Advertise” button. Remember that this button will only appear if you have already made your LinkedIn Ads Account.
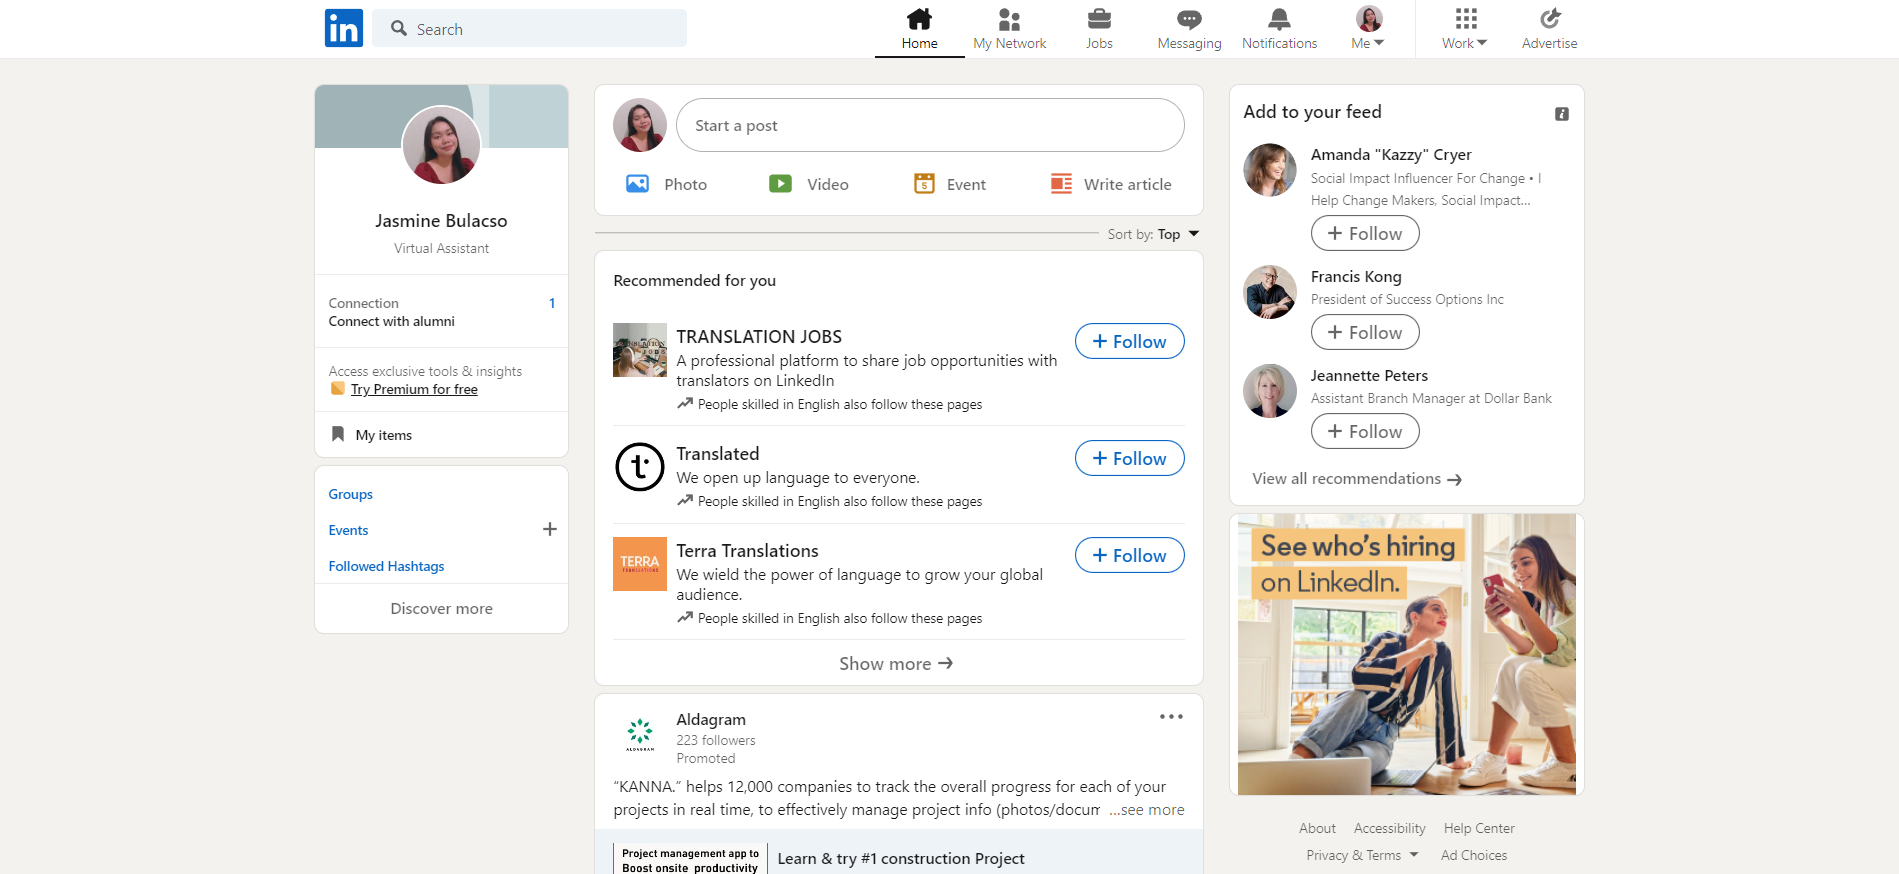
- It will redirect you to another tab, the LinkedIn Campaign Manager. In the left section of your screen, click the “Lead Gen Forms” under “Assets”.
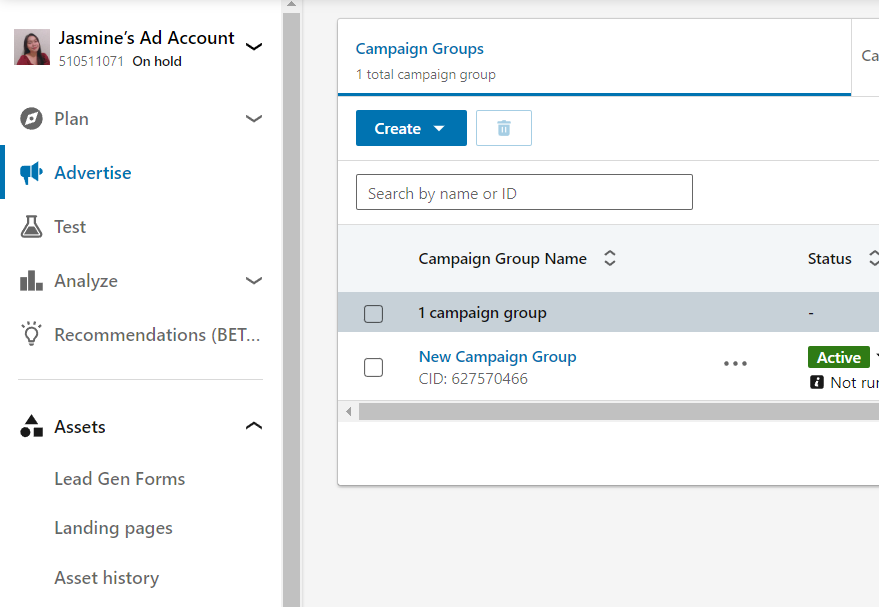
- After navigating to the Lead Gen Forms, click the “Create form” button. This window shows the summary of current and archived lead gen forms that you have created.
- To create a form, you must fill out the Step 1: Form details. You will input here the information about the Form name, Language, Offer Headline, Offer details, Privacy policy URL, and privacy policy text.
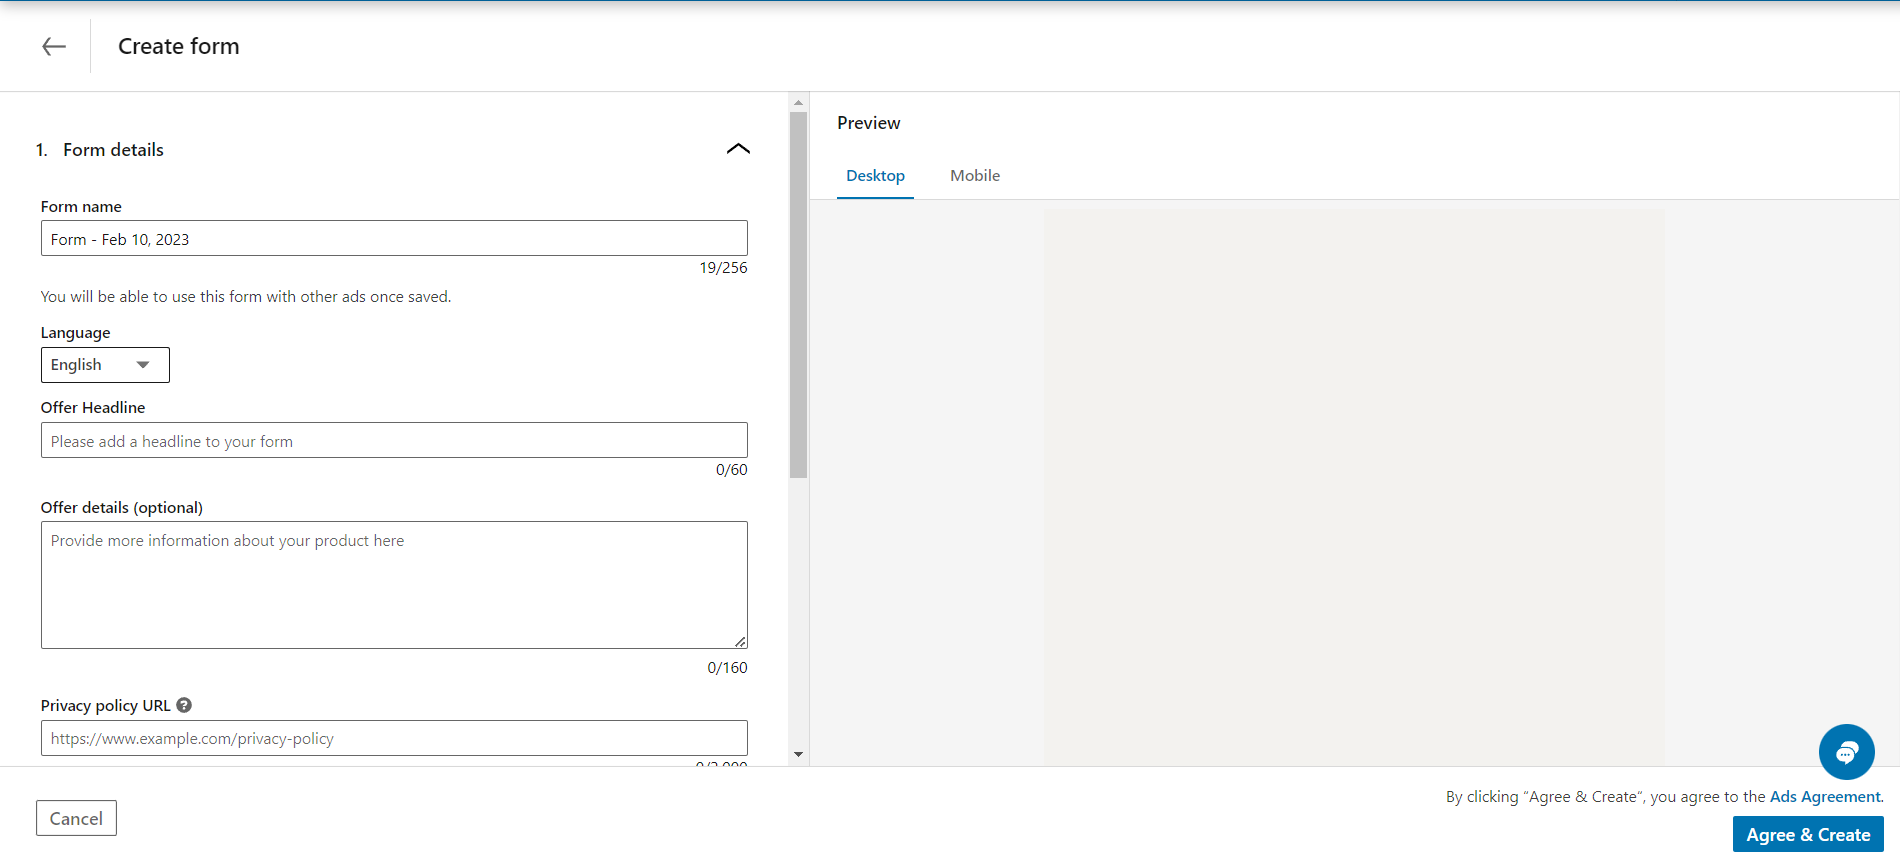
- In the Form name, you will insert the title of your lead gen form that is relevant to what you want to disseminate to people. This may include a date and a short description to distinguish it among other forms that you want to make for your business. For instance, you may name it in this format: Free Trial - March 7, 2023. Click on the indicated space to enter the form name.
- Next is the Language. Based on the location of your store, it is best to change the language depending on the people that you want to reach with your lead gen form. If you want to reach international individuals, you should indicate English as the language of your form. You can change it by clicking the drop-down menu.
- Then, the Offer Headline will serve as the title of your lead gen form. This catches the attention of consumers so it is important to think about it carefully. You can put in the headline the call-to-action of your form and your business’ name. It is important that the viewers can understand the goal of the form even before reading the offer details just by reading the headline. Click on the indicated space to enter the offer headline.
- Next is the Offer details, which is an optional step. You may include here additional explanations about your offer and the benefits that the viewers can get if they choose to participate. To input the offer details, click on the blank box.
- The Privacy policy URL is where you will indicate the link for your company’s privacy policy. This link includes the webpage or text where you inform the viewers on the process of collecting information on them through cookies etc. To input the URL, click on the blank box.
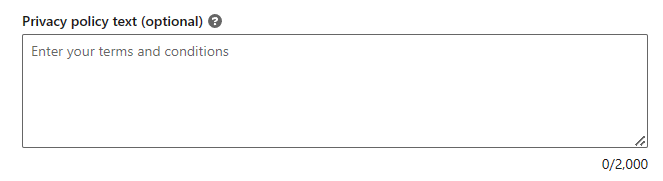
- The Privacy policy text is also an optional step in creating a lead gen form. This is where you will indicate the privacy policy that is in your URL. This includes the terms and conditions, as well as details on handling the information of your participants. To enter the privacy policy text, click on the blank box.
- After Step 1, you can proceed to Step 2: Lead details & custom questions. In this step, you can add the profile information which the viewers will answer. You can add the contact and work details so you can generate leads. The three primary details that are sought in a lead gen form are first and last name and the viewers’ email addresses. Click the options indicated below or you can search your preferred data.
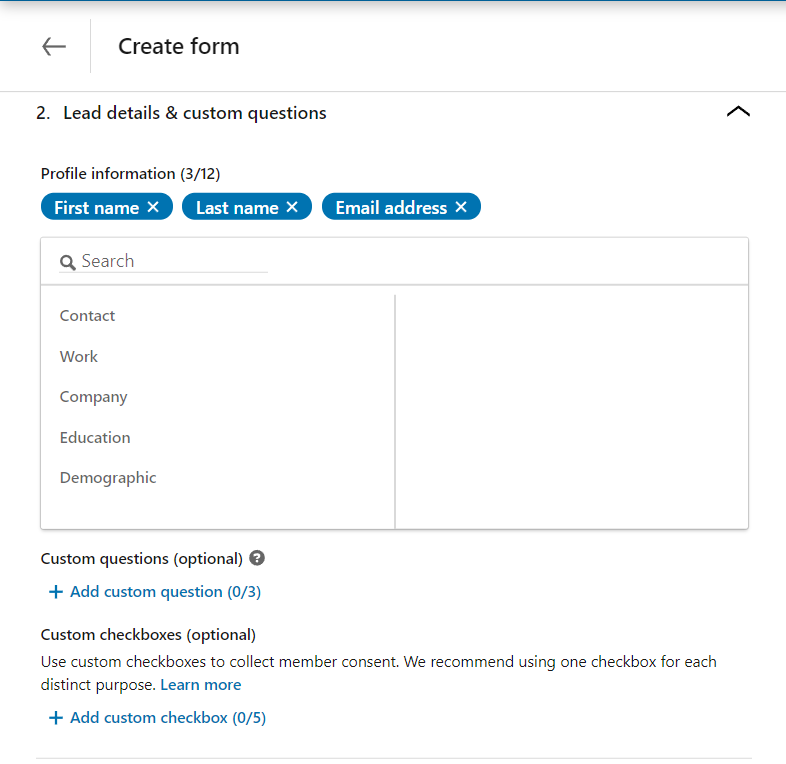
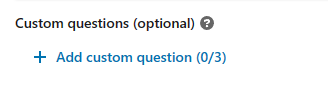
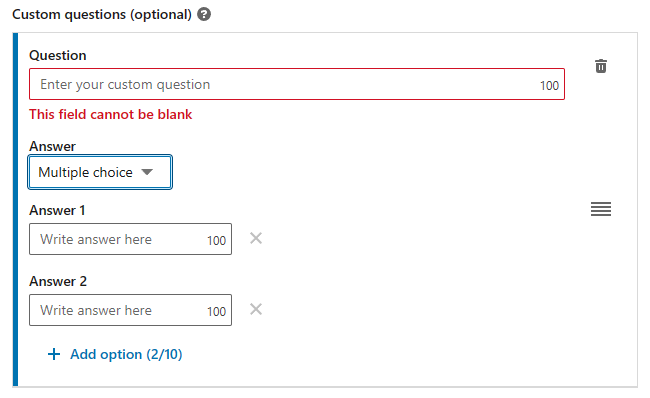
- You can add custom questions that are relevant to your offer. Do this by clicking the “Add custom question” and take note that you are limited to only three (3) questions.
- After clicking, you will be asked to input your question in the blank field. You may choose whether the answer would be single-lined text or multiple choice, but it is advisable to choose multiple choice so the lead submission rate would be higher. You can also increase the options in your multiple choice while in single-line, the participants must type in their answers.
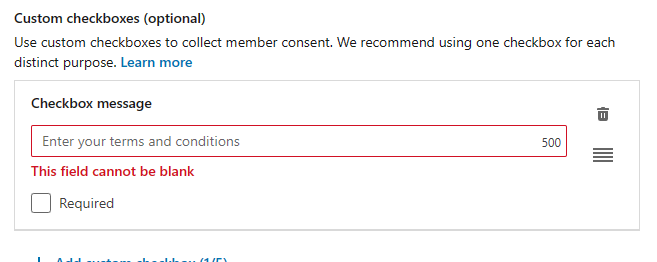
- Next is the Custom checkboxes. This is utilized in lead gen forms to collect member consent. Click the “Add custom checkbox” to add this feature and take note that you are limited to only five (5) checkboxes.

- You can customize the checkbox message after adding it to the lead gen form. You can also require members to check the checkbox by clicking the “Required” which indicates the terms and conditions related to the form.
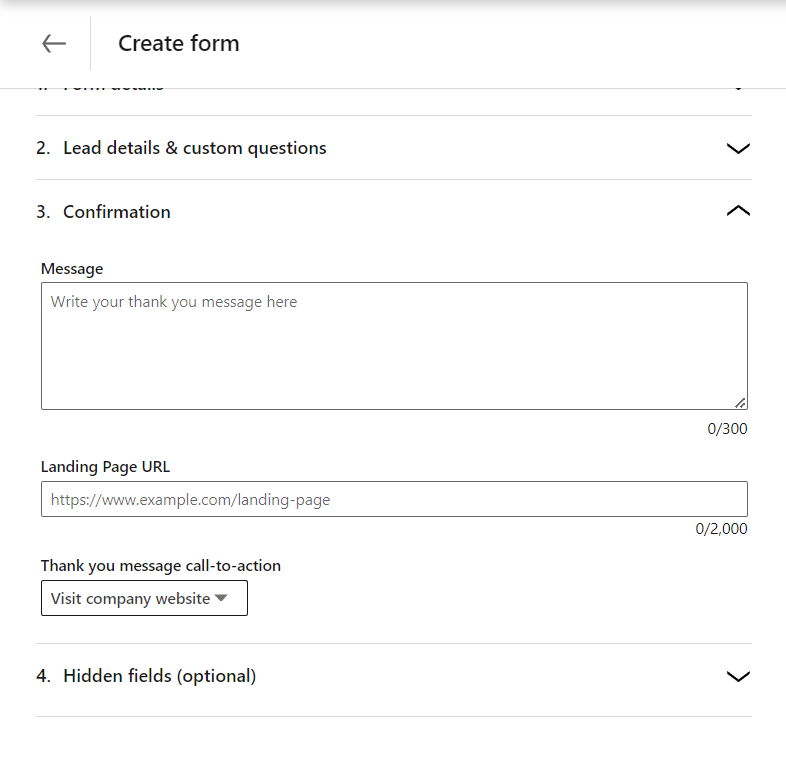
- Next is Step 3: Confirmation. You can set a ‘thank you message’ for your members in the blank field indicated and the Landing Page URL where the members will be redirected after they answer the form. Lastly, you can input the call-to-action by the drop-down menu.
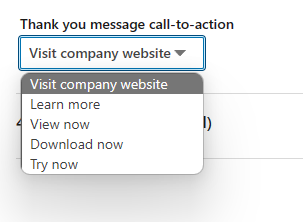
- The dropdown menu for the Thank you message call-to-action has the following options which will provide members with more information about your offer.
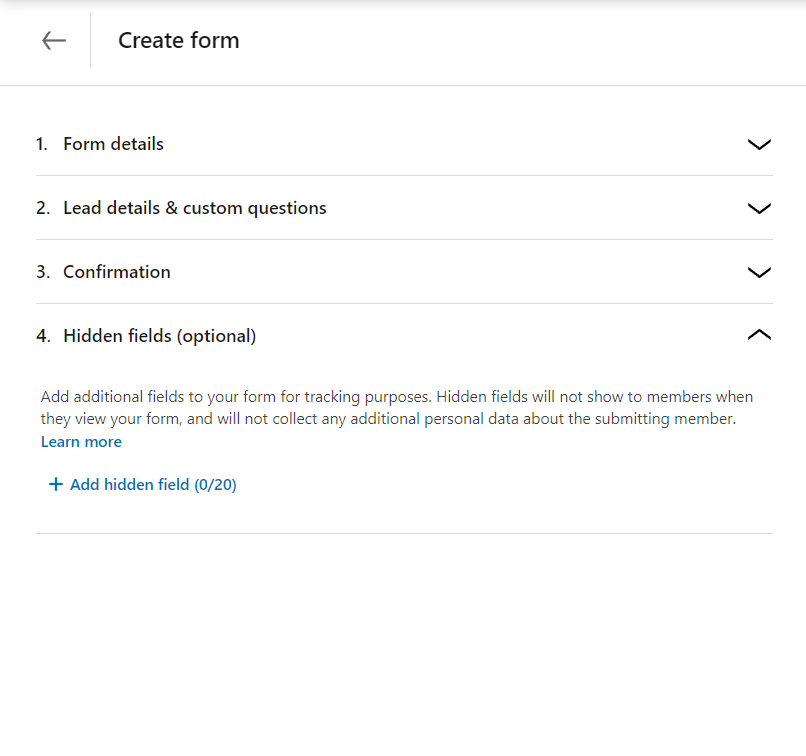
- Lastly, you can add hidden fields on your lead gen form for tracking purposes. Take note that this step is optional. Click “Add hidden field”.
- On the right side, you should see the preview format of the lead gen form that you have created. This is available for both desktop and mobile view.
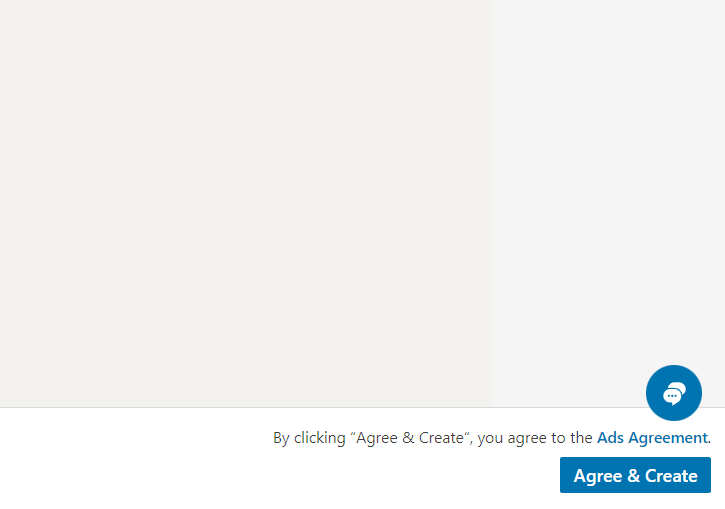
- To finalize the form, check the Ads Agreement. After reviewing, click the “Agree & Create” button to finish the process.
Conclusion
You're finished! Keep in mind that you need to provide a range of inventive, helpful material in lead generation if you want to attract people to your website.
-
If you implement a lead generation strategy that prioritizes content creation and building connections built on trust, you'll create a lot more income.
-
Lead gen technique functions appropriately with today's informed customers, who are far less susceptible to being advertised to.
-
To generate leads in your LinkedIn Ads Account, you must be able to make a LinkedIn Lead Generation Campaign.
-
This lead generation campaign can only be made through LinkedIn Campaign Manager and navigate to Assets > Lead gen forms.
-
There are four steps involved in creating a lead gen form: input of form details, lead details and custom questions, confirmation, and hidden fields.
-
Lastly, agree to the Ads agreement and create the LinkedIn Lead Generation Campaign.