Setting Up Facebook Pixel With Shopify Store
To walk you through setting up your Facebook Pixel in your Shopify store.
Prefer a shortcut? 16 free tools do parts of this for you.

Aim: To walk you through setting up your Facebook Pixel in your Shopify store.
Optimal Outcome: To successfully install Facebook Pixel in your Shopify store so you can start tracking and analyzing the behavior of your customers to improve your marketing strategies.
What do you need to start: You’ll need the following:
-
Facebook Ads Manager account
-
A Shopify store (make sure it’s not password protected)
-
Admin access to the Shopify store
Why is this SOP Important: Setting up Facebook Pixel in your Shopify store can help you better understand your customers, create targeted marketing campaigns, and improve your advertising performance, leading to higher conversions and revenue for your business.
When and Where to execute: Facebook Ads Manager and Shopify store
Who Should Be Doing This: Marketing staff, person responsible for managing paid ads
What is Facebook Pixel?
Facebook Pixel is a code that can be added to a website to track user behavior and gather data on their interaction with Facebook ads. This data can be used to create targeted ads and optimize campaigns for better engagement and effectiveness.
Execution
Resources/Tools & Set up
-
Facebook Ads Manager account. (If you haven’t set this up, follow SOP 025: How to Set Up Your Facebook Ads Account)
-
Shopify Store. (If you haven’t set up your store yet, follow this guide SOP 146: How to Set Up a Shopify Store).
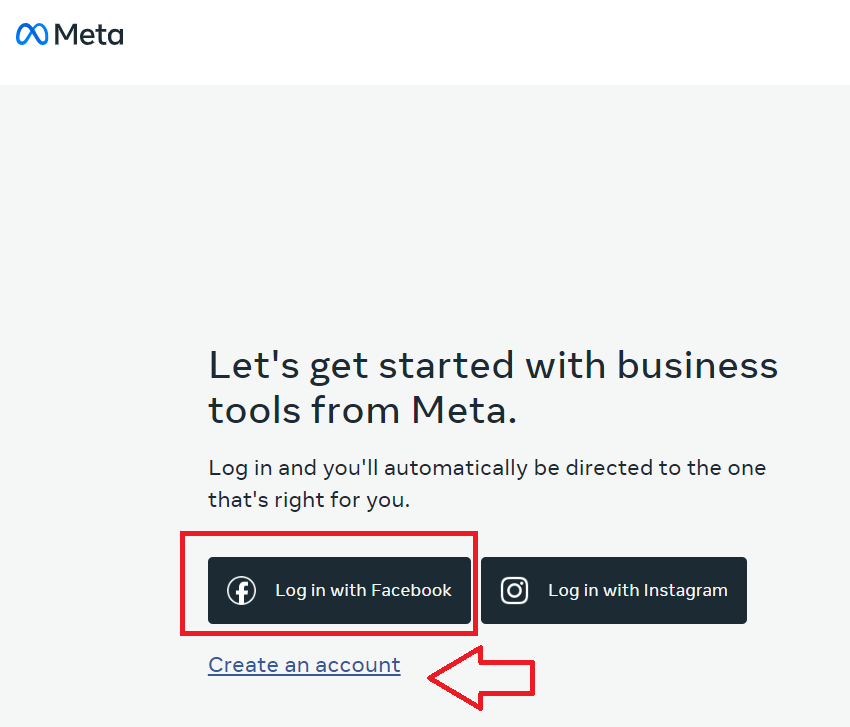
-
Login to your Facebook Ads Manager.
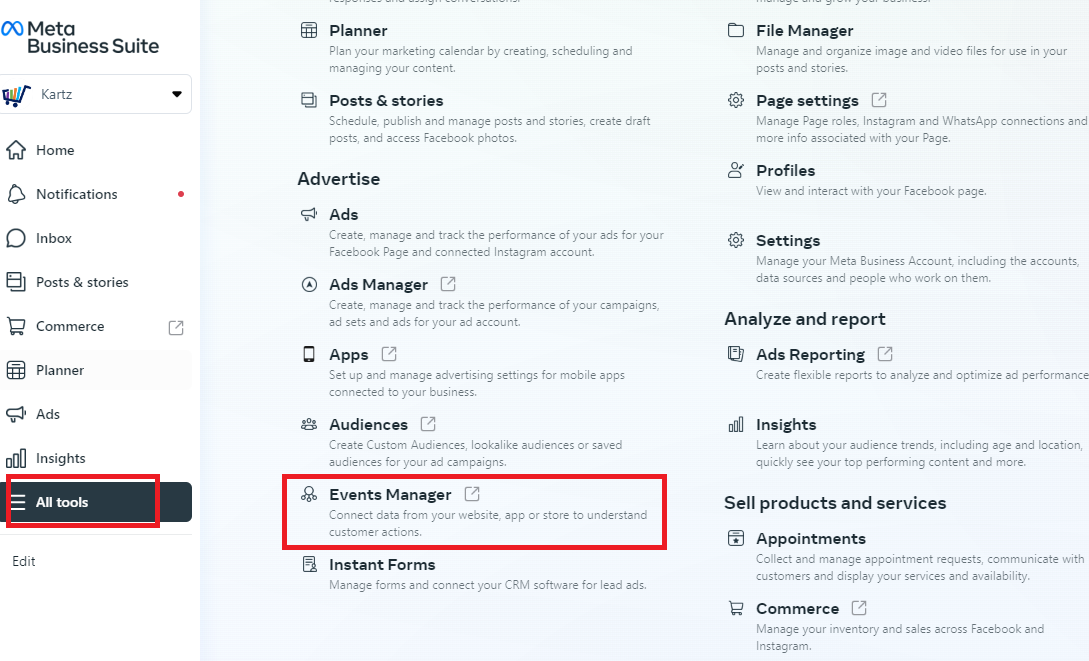
-
Click All tools, then click Events Manager.
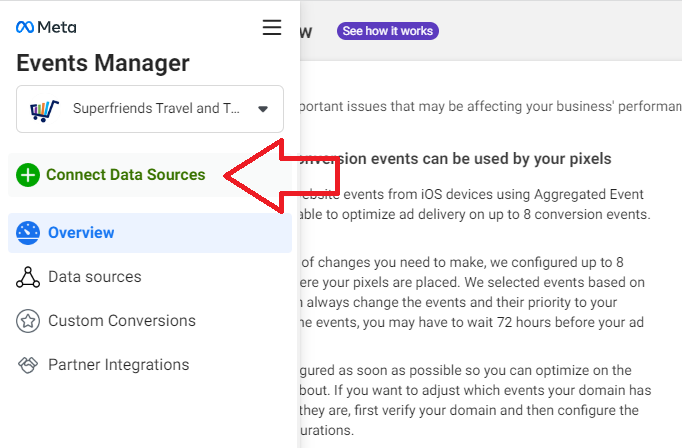
- Click Connect Data Sources.
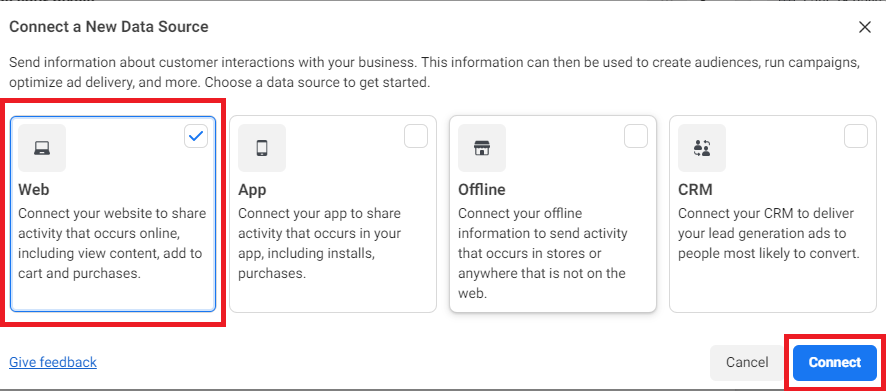
- Select Web, then click Connect.
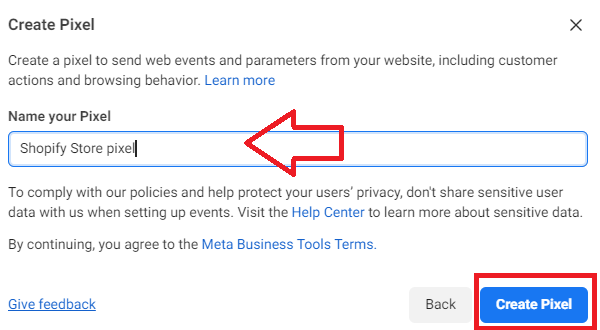
- Enter the name of your Pixel, then click Create Pixel.
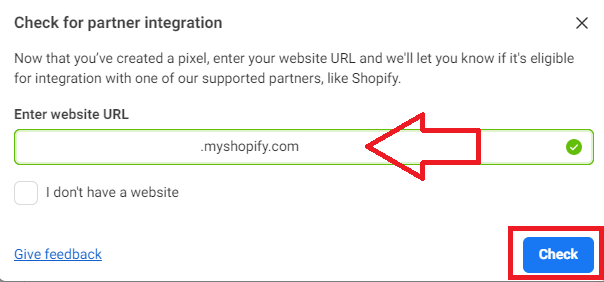
- Enter your website’s URL and click Check.
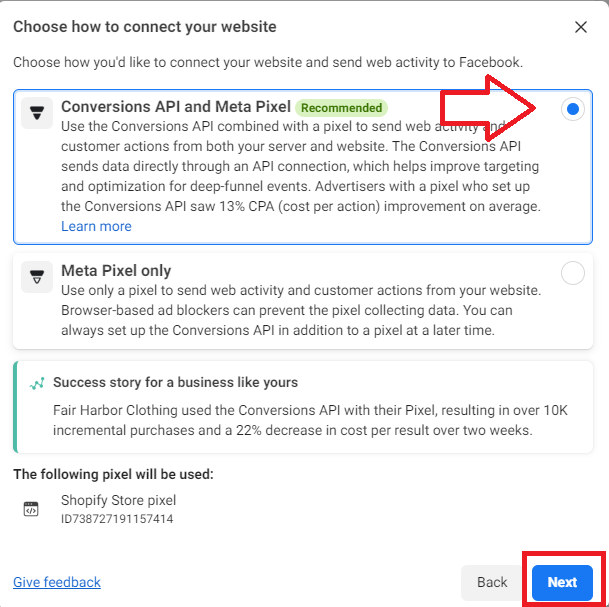
- Choose how you want to connect your website, then click Next.
- Select an option to track your website’s activity, then click Next.
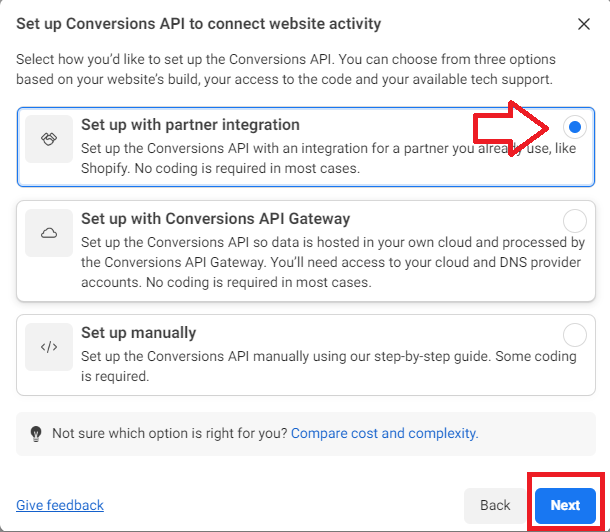
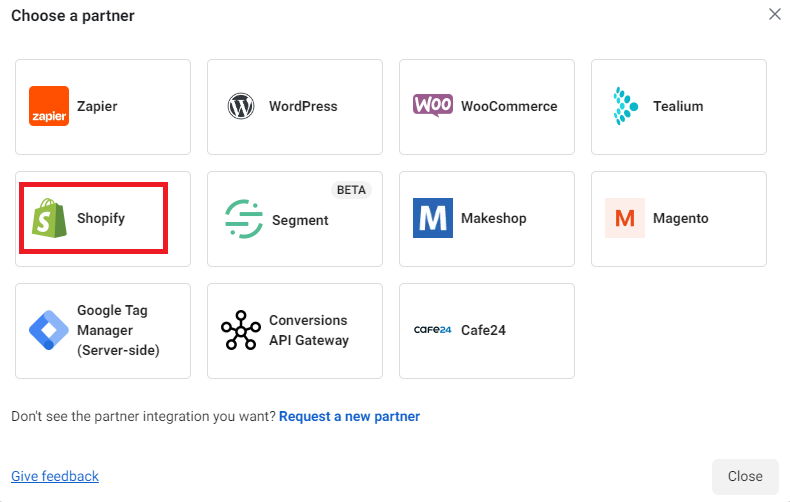
- Select Shopify as a partner.
-
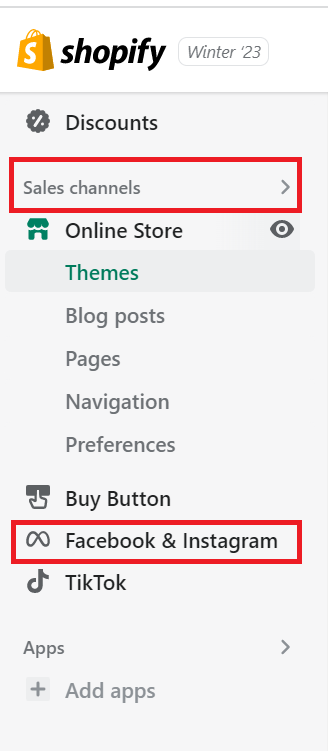
In your Shopify store, navigate to the right menu and select Facebook & Instagram under Sales channels.
-
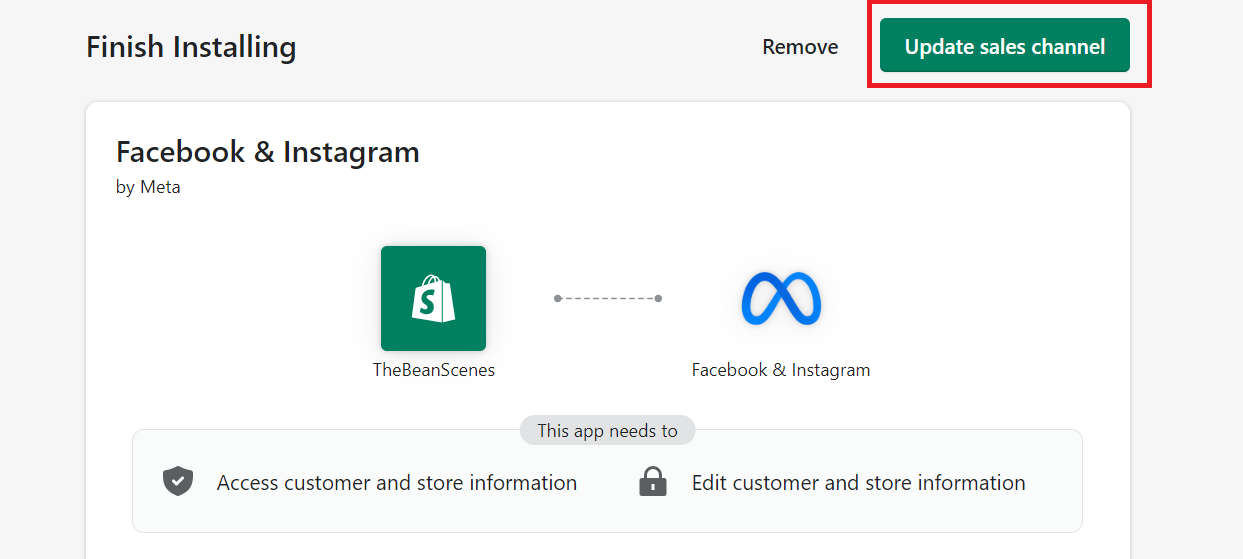
Select Update sales channel.
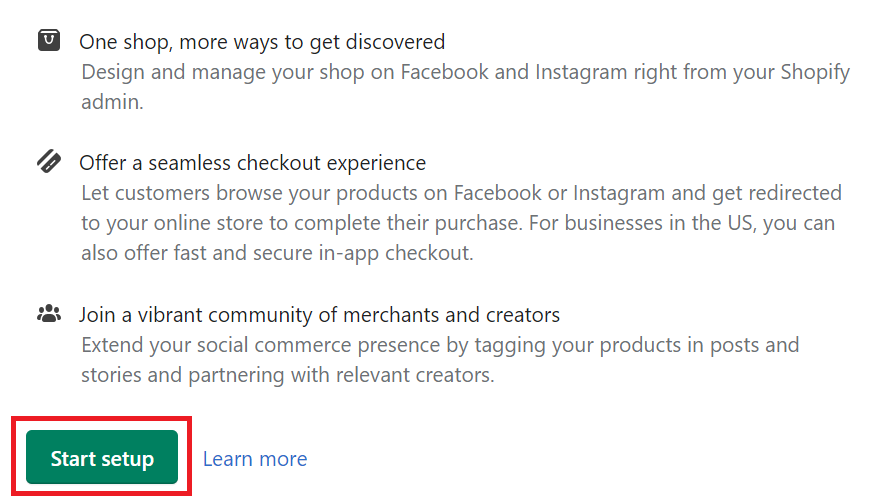
- Click Start setup.
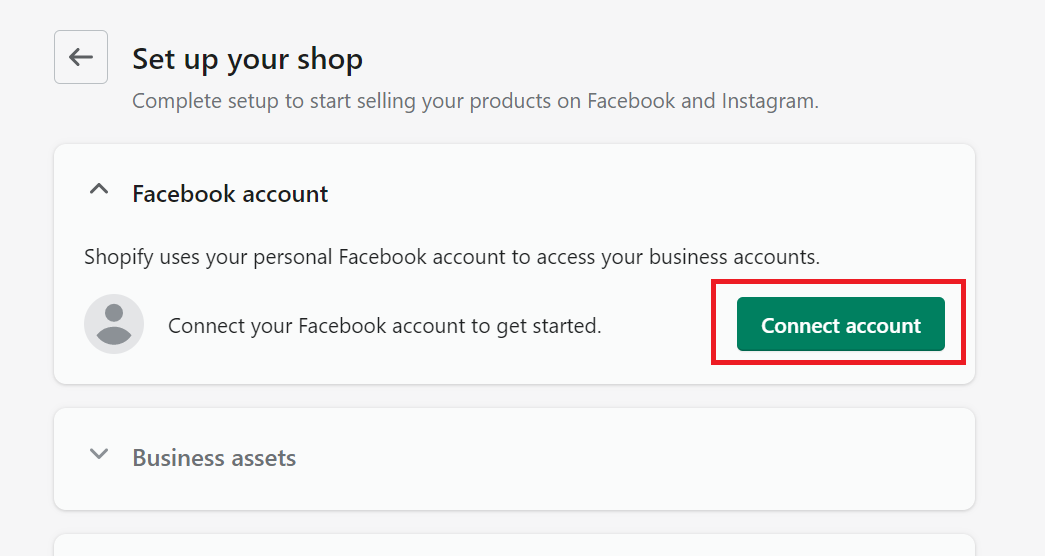
- Select the Facebook Account that you want to connect to your Shopify store. Click Connect account.
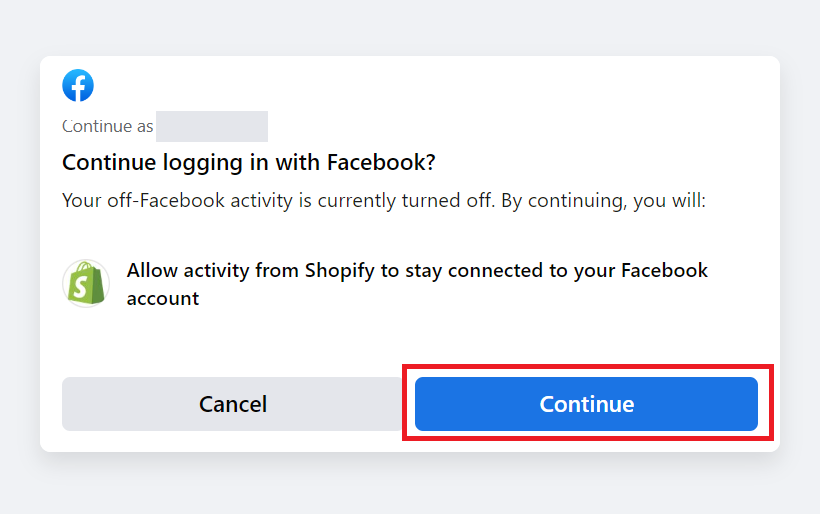
- Click Continue.
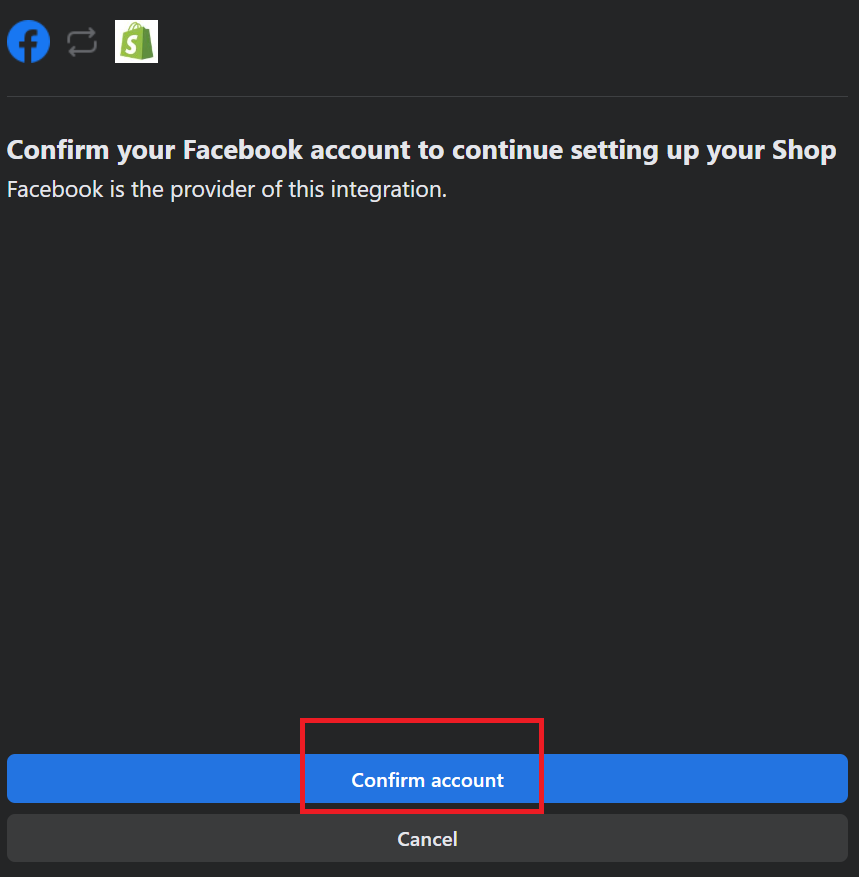
- Click Confirm account.
-
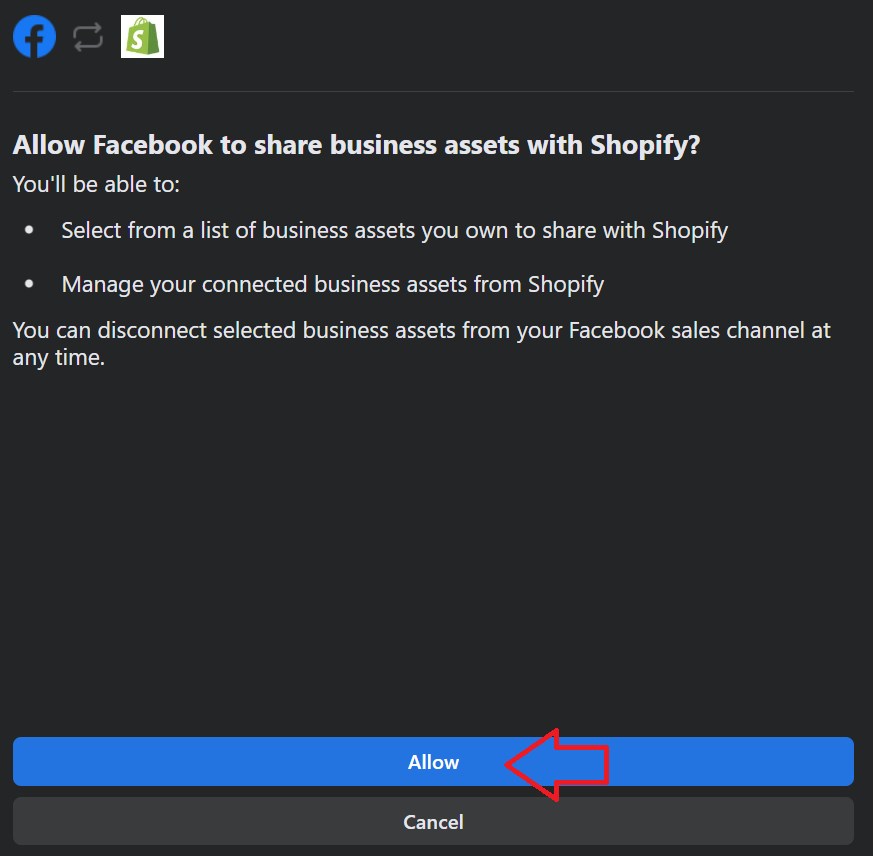
Review the assets that will be shared with Shopify, then click Allow.
-
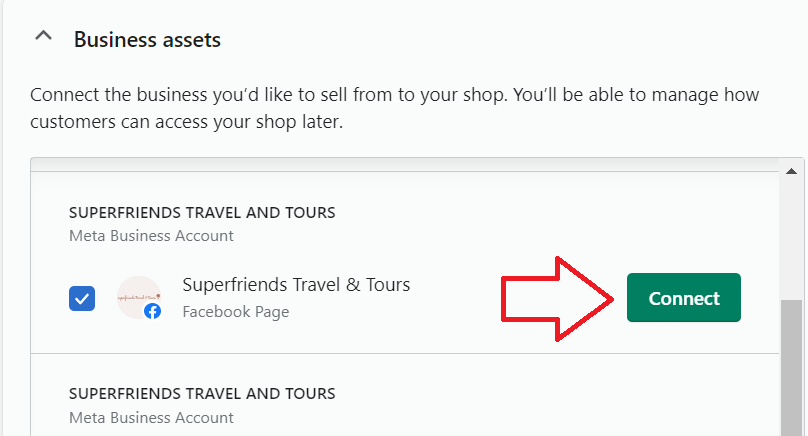
Select the Facebook page you want to share with Shopify. Click Connect.
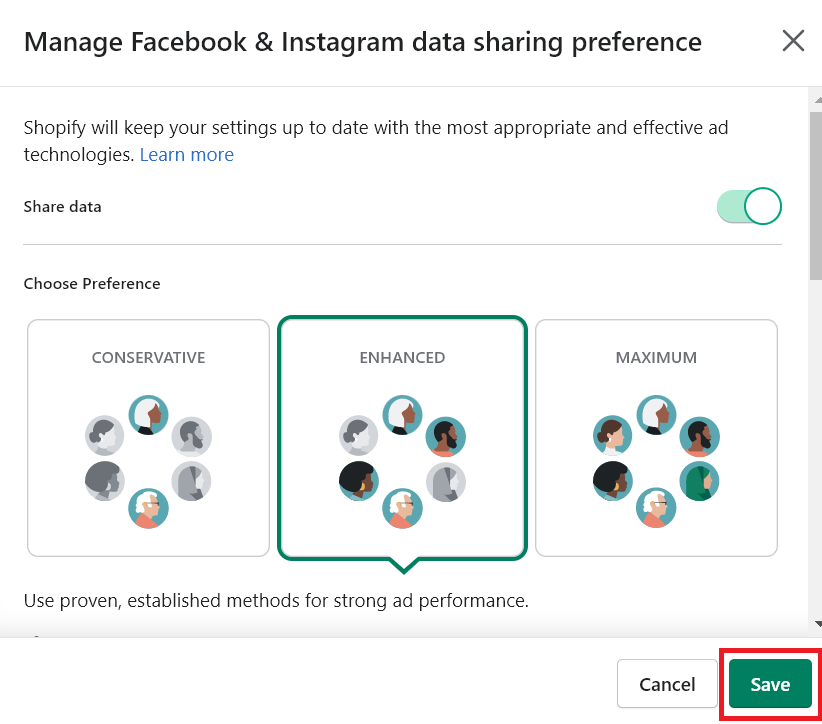
- Select your preferred data sharing options, then click Save.
-
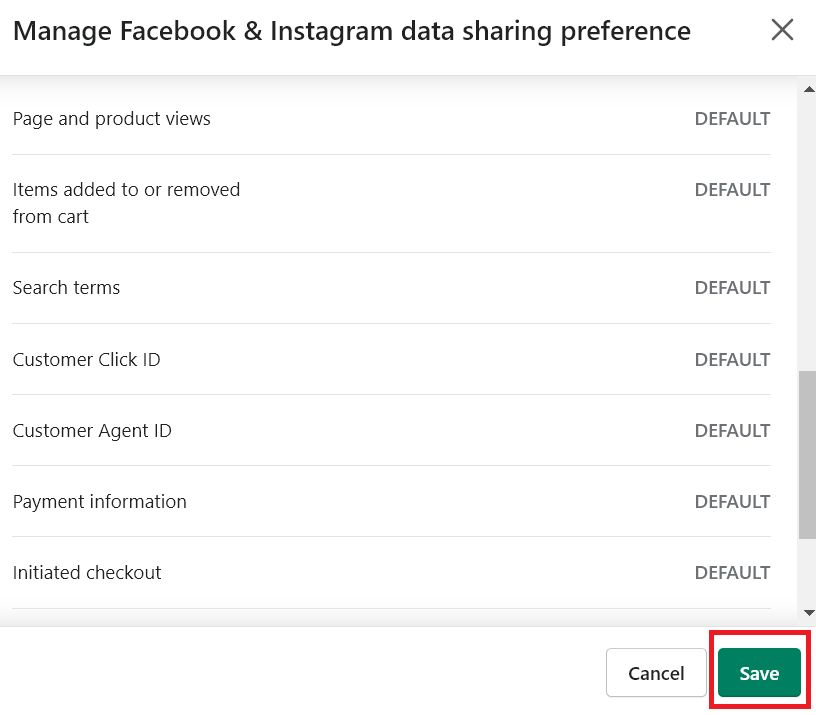
Choose the data sets you want to collect and analyze. Click Save.
-
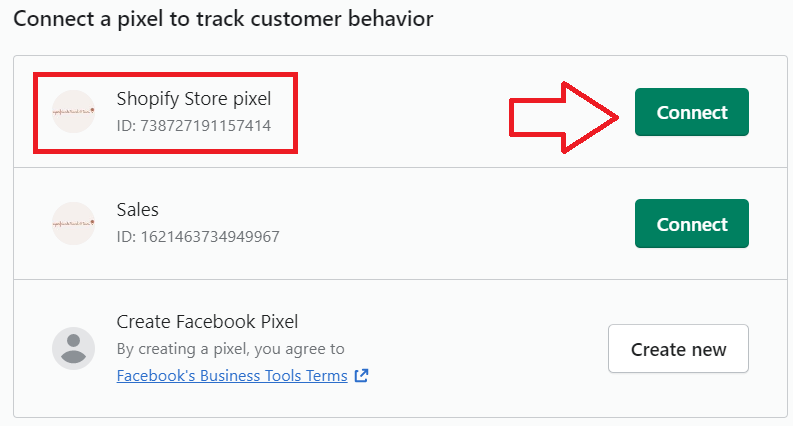
Next, select the pixel you created in Facebook Ads Manager, then click Connect.
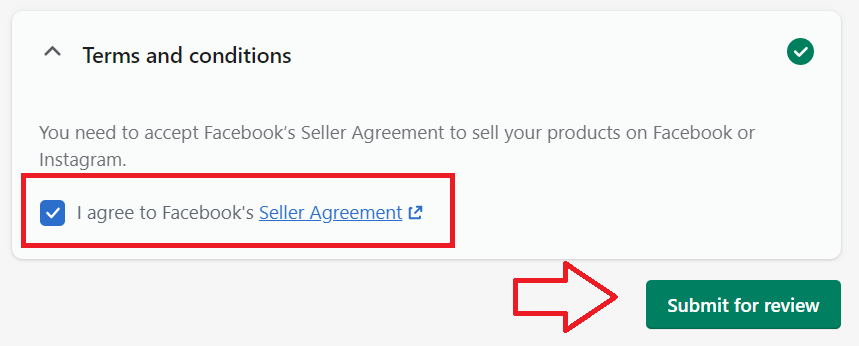
- Click the check box to agree to the Terms and conditions, then click Submit for review.
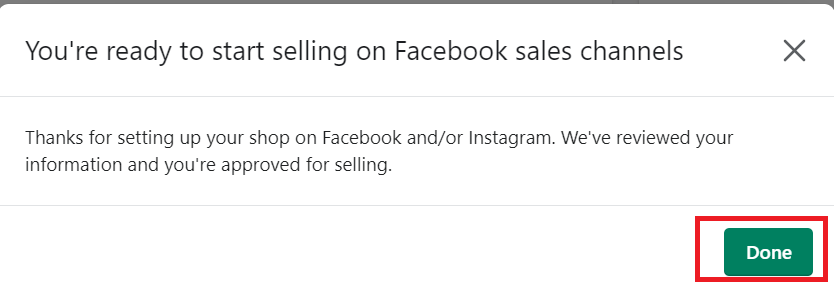
- You will get a confirmation page. Click Done.
Conclusion
That’s it! Now that you’ve set up your Facebook Pixel in your Shopify store, you can now start to track and evaluate your customers’ behaviors such as their browsing activity, the products they viewed, added to cart or purchased. This information can help you understand the needs and preferences of your customers, and optimize your marketing efforts accordingly.
Execution Checklist:
-
You need to have admin access to a Facebook Ads Manager account
-
You need to have admin access to Shopify Store account