A Step-by-Step Guide To Setting Up Your Shopify Store
To walk you through setting up your new Shopify store for your business.
Prefer a shortcut? 16 free tools do parts of this for you.

Aim: To walk you through setting up your new Shopify store for your business.
Optimal Outcome: To organize your Shopify store and immediately allow your products or services to be available for your customers to buy.
What do you need to start: To follow this SOP, you need to have your physical or digital products or services, and an email account that you can use to bind to your Shopify store. This is highly encouraged to be an account which you use primarily for business.
Why is this SOP Important: Setting up your Shopify store benefits your business by showcasing products and services that you are offering to the digital market. To do this, you must be able to customize everything in your Shopify store to make it look unique while adhering to your business’ concepts.
When and Where to execute: To execute this SOP, you need to have your business domain and prepare the website’s outline for display. You also need to have your inventory ready for any proceeding orders after creating the Shopify store.
Who Should Be Doing This: This can be done by the collaboration of the website designer and sales/marketing department.
Shopify Store Setup
Shopify enables you to make a platform to organize your products in a way that it would look pleasing to your customers. In addition to this, you could also include the descriptions to help your customers in finding the products or services that they want from your business. Setting up a Shopify store gives you freedom to customize the web pages where these customers will want to go through to find and select the best product or services that they prefer to purchase. This may take a longer time than the other processes, but after setting up your store, you will be able to start selling your products or services to anyone online.
Execution
Resources/Tools & Set up
-
Business email account
-
Physical or digital products or services
-
Domain
Creating a Shopify account
- Go to Shopify and click “Start free trial” to create an account.

- You will be redirected to another tab that looks like this. Enter your business email address on the blank field provided.
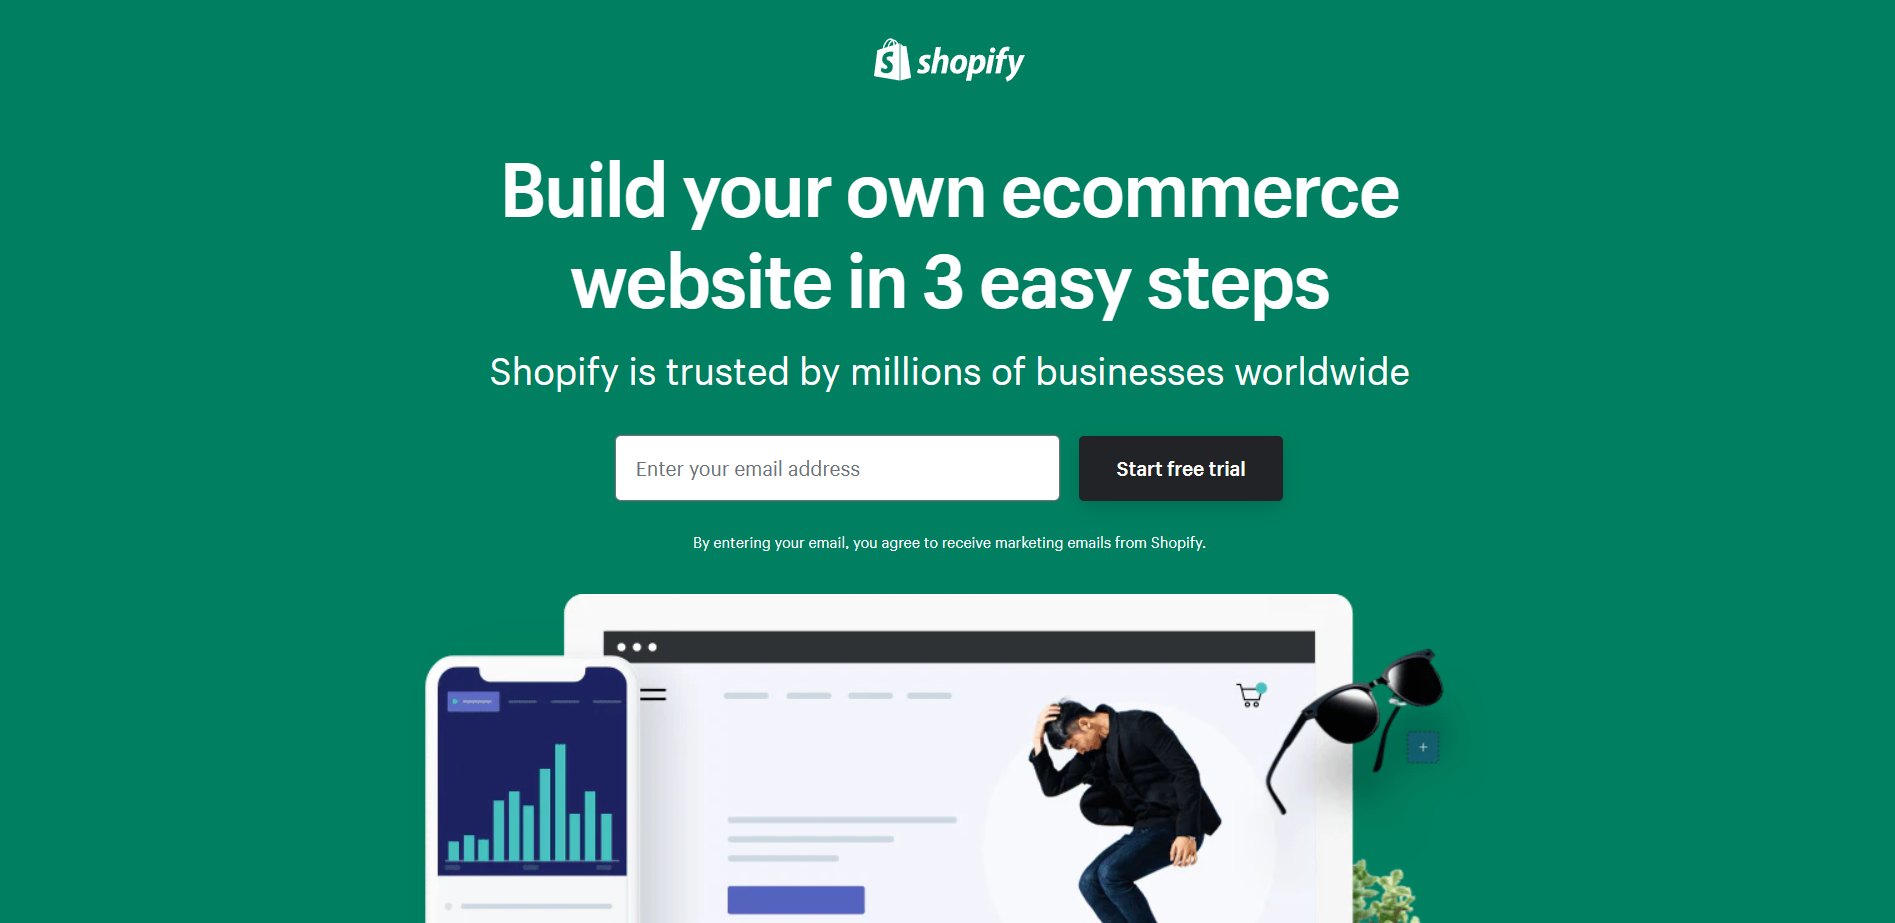
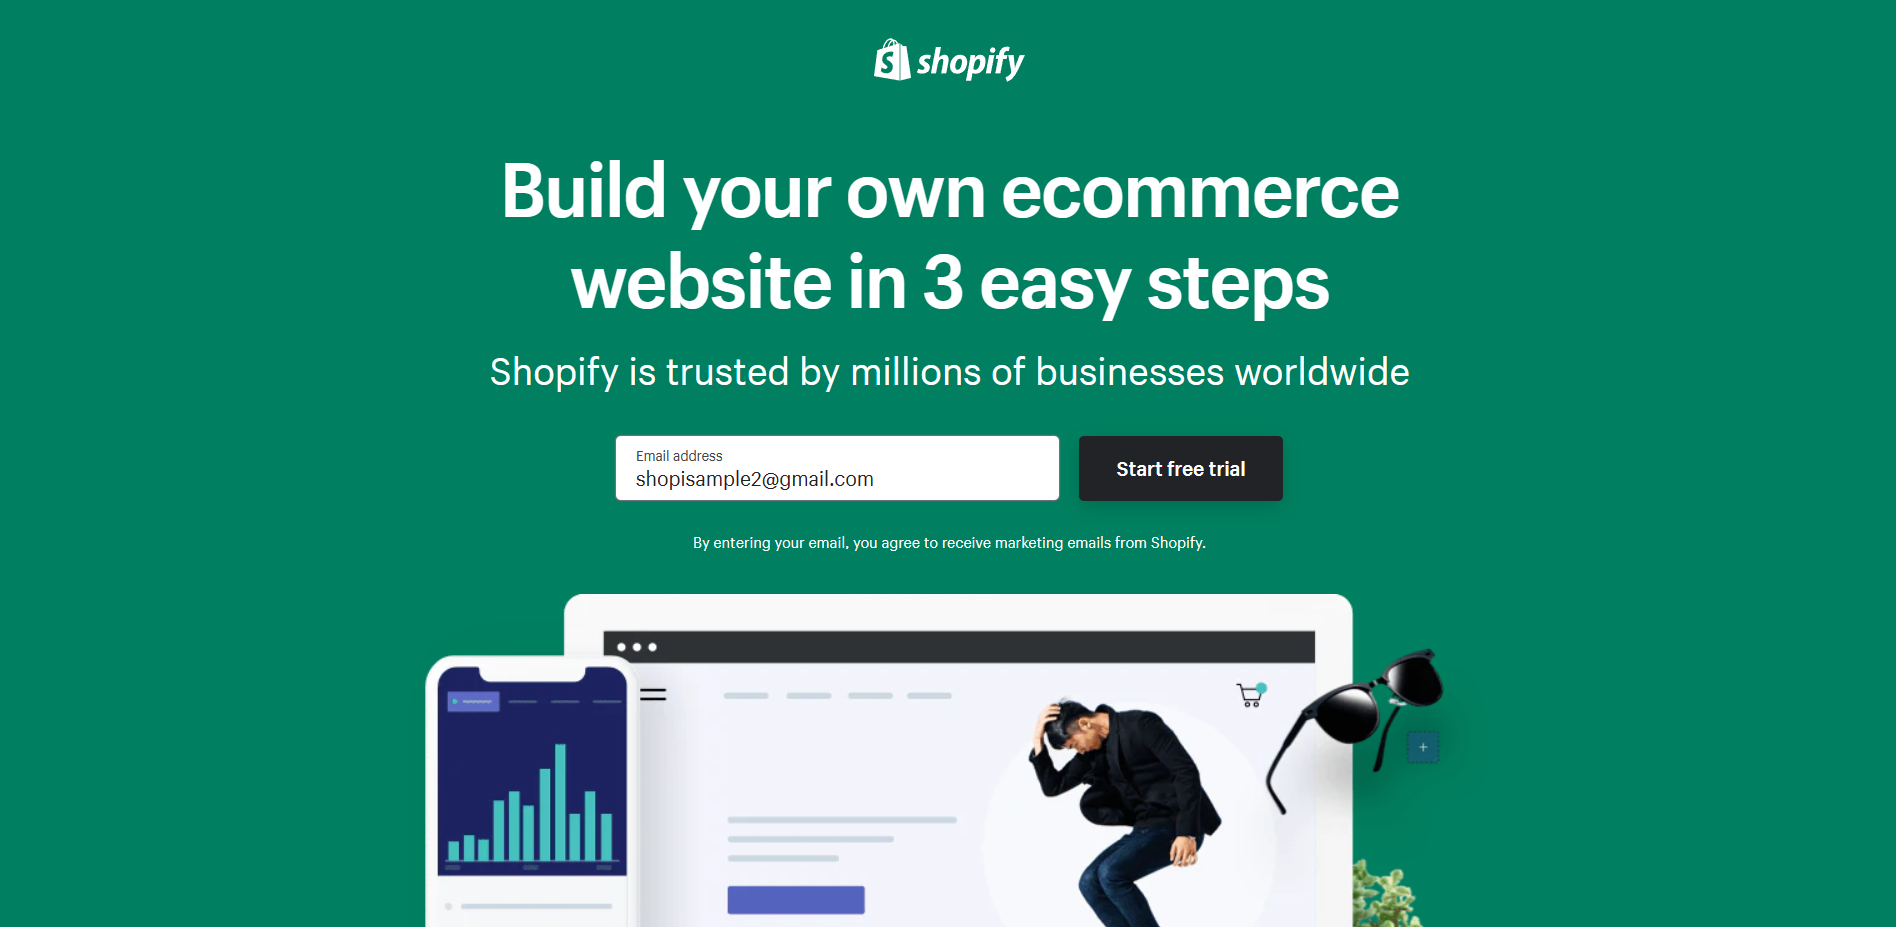
- After entering your email address, click “Start free trial”. Make sure that the email account does not have any existing Shopify account bound to it.
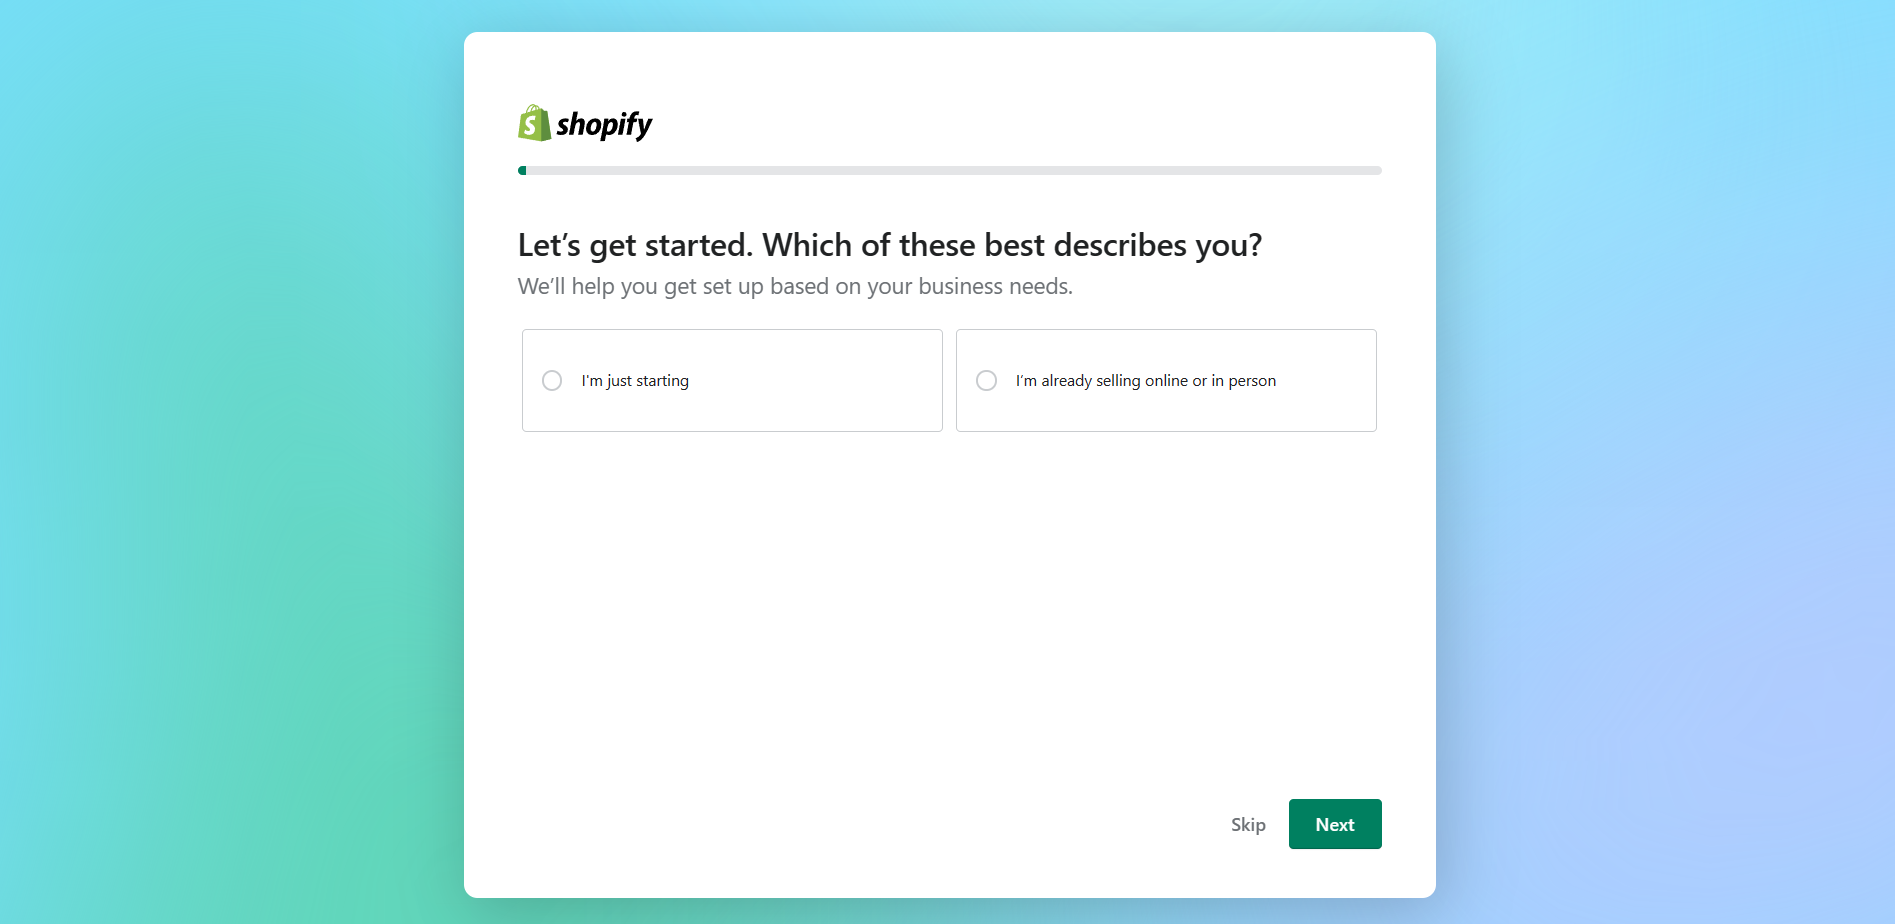
- To create your Shopify account, there will be a series of questions that you are required to answer. In the first question, you will be asked whether you are just starting or if you are already selling online or in person. Select your answer by clicking the circle beside the option, then click Next.
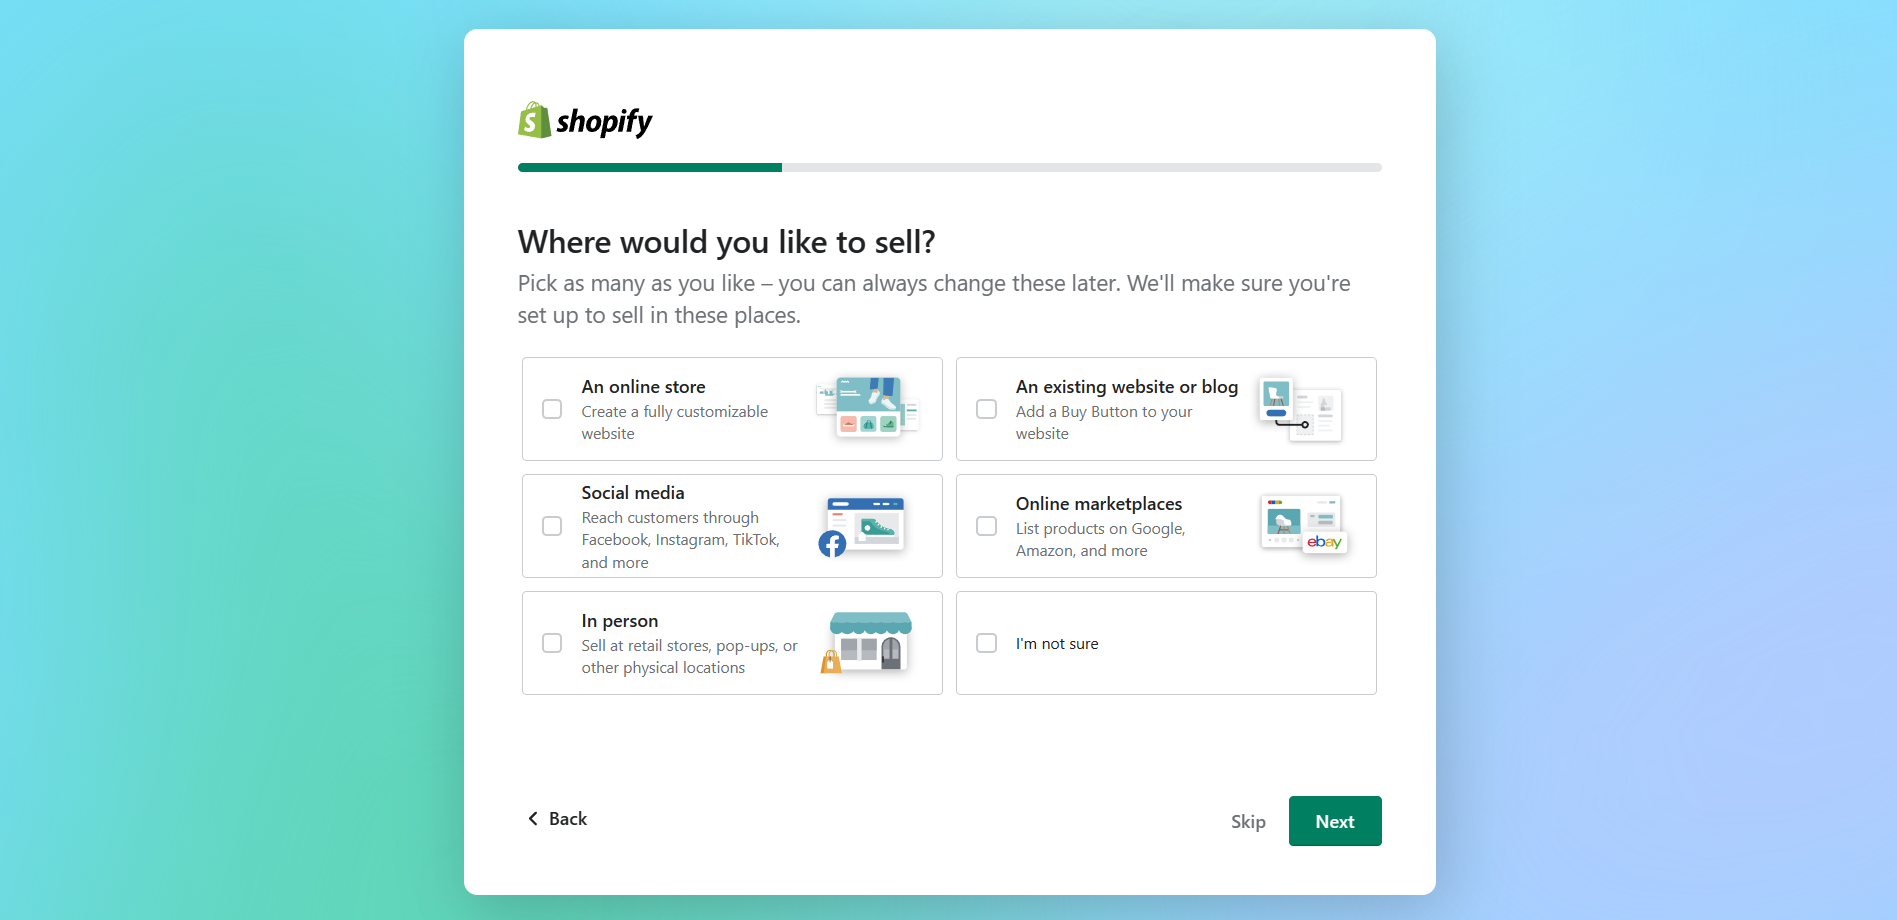
- You will be then asked whether you want to sell in an online store, social media, in person, an existing website, or an online marketplace. If you are not yet sure, you can click “I’m not sure” or Skip. If you select one by clicking the circle beside the option, click Next.
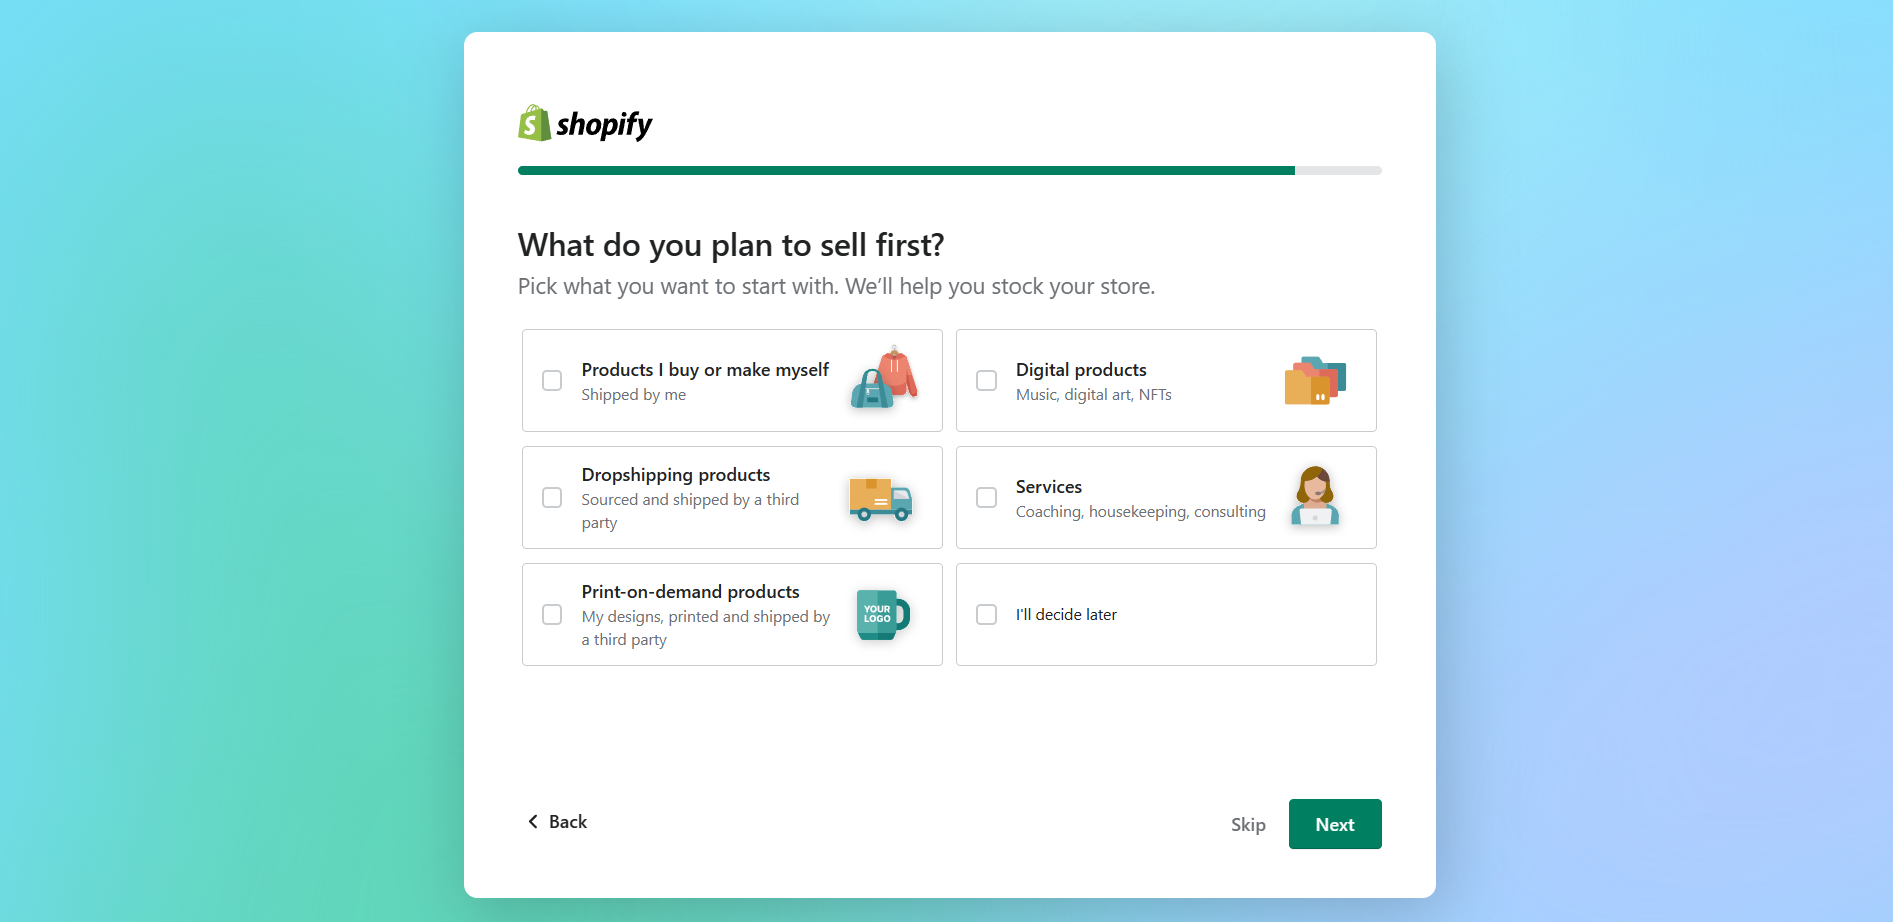
- The third step in creating a Shopify account is to indicate the types of products or services that you are planning to sell in your Shopify store. The options include products that you buy or make yourself, dropshipping products, print-on-demand products, digital products, or services. If you are not yet sure, you can click “I’m not sure” or Skip. If you select one by clicking the circle beside the option, click Next.
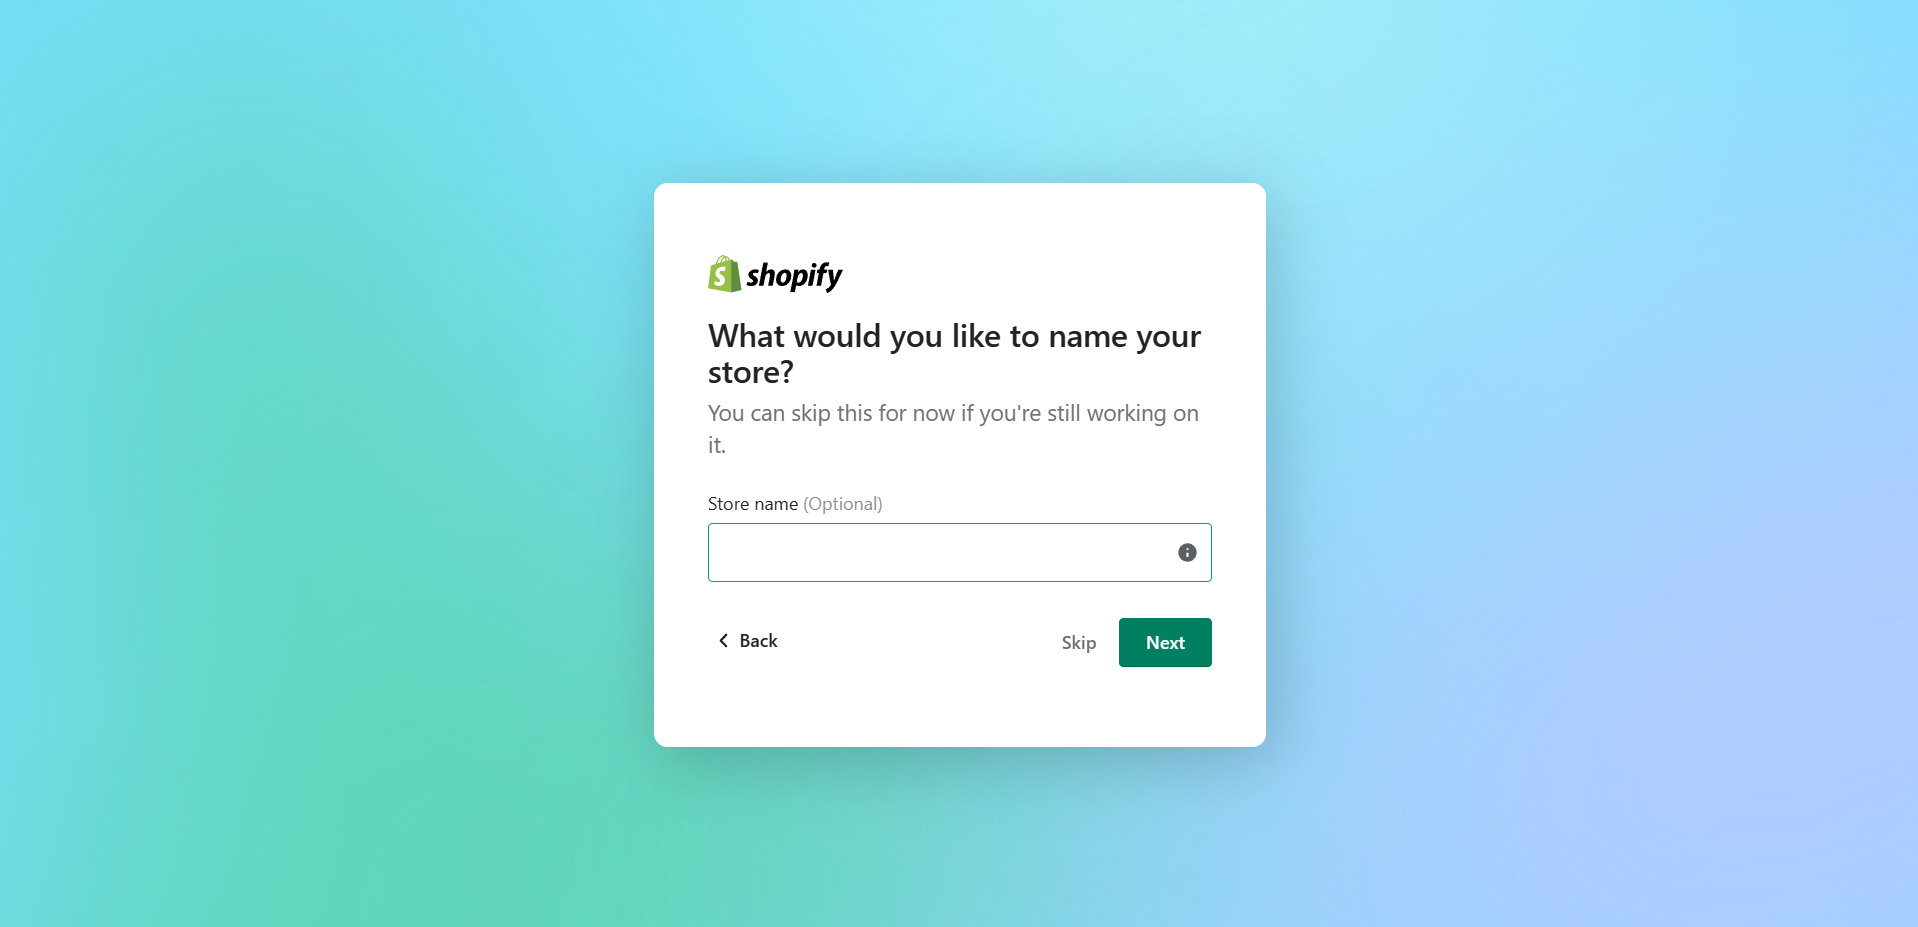
- After some details about your store, you will be asked to enter your Store name. You can indicate the registered name of your business store here, or you can click Skip. If you entered your business’ store name in the blank field, click Next.
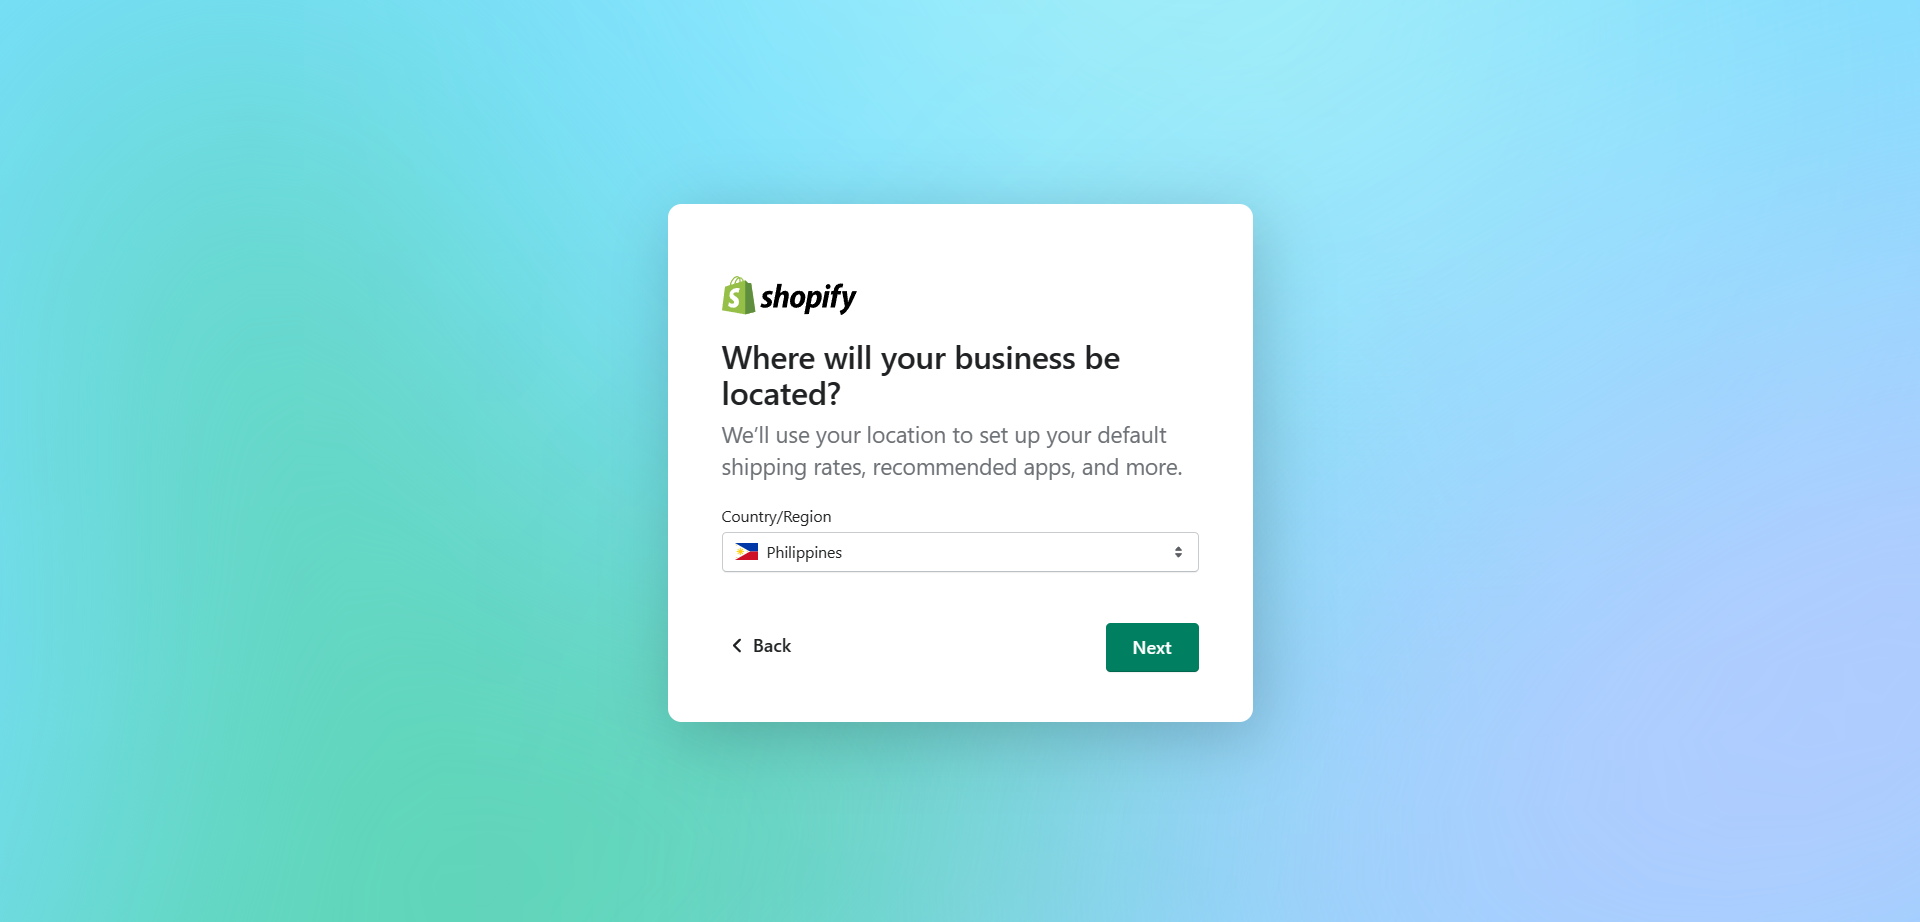
- Next is the Location of your business. This is important because this is where your shipping rates and currency will be based. Click the drop down menu to change the Country/Region.
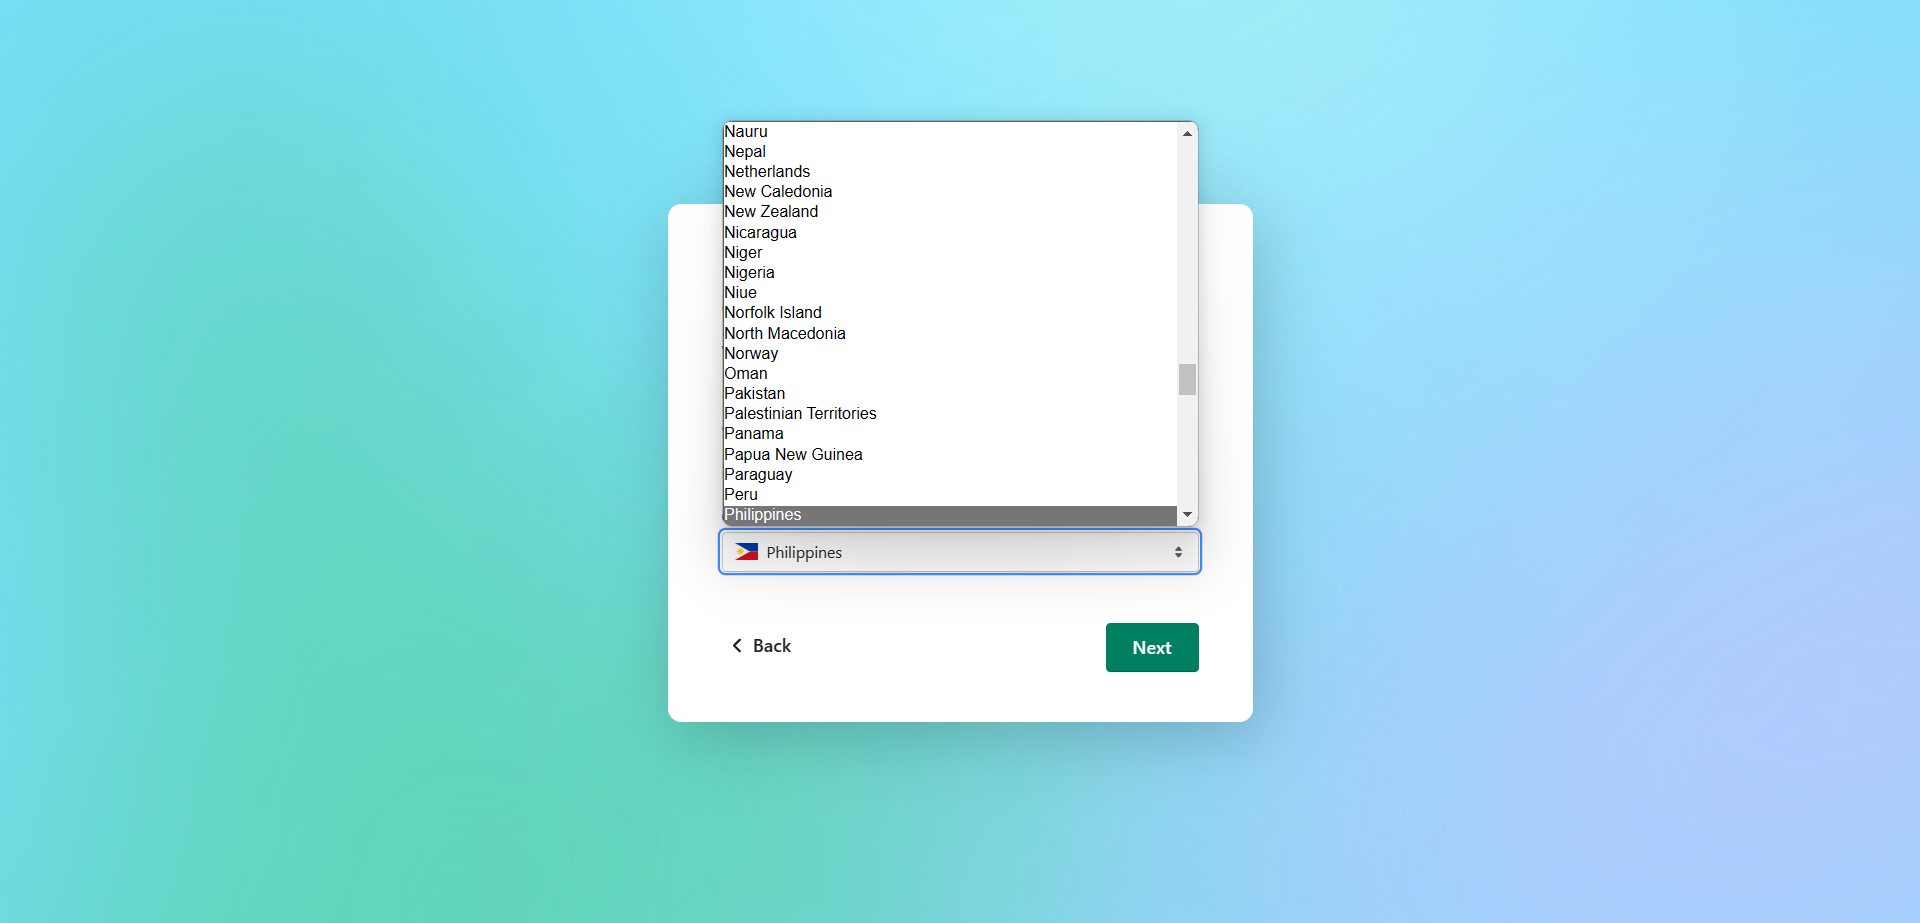
- After clicking the dropdown menu, you will see the list of countries that you can choose. To select a country, click it.
- Click Next after choosing the country where your business was established.
- After selecting the country, you can now create your Shopify ID. To create it, You can either continue with Email, Apple, Facebook, or Google. It is advisable to use your business email address for this. To choose it, click the “Continue with Email”.
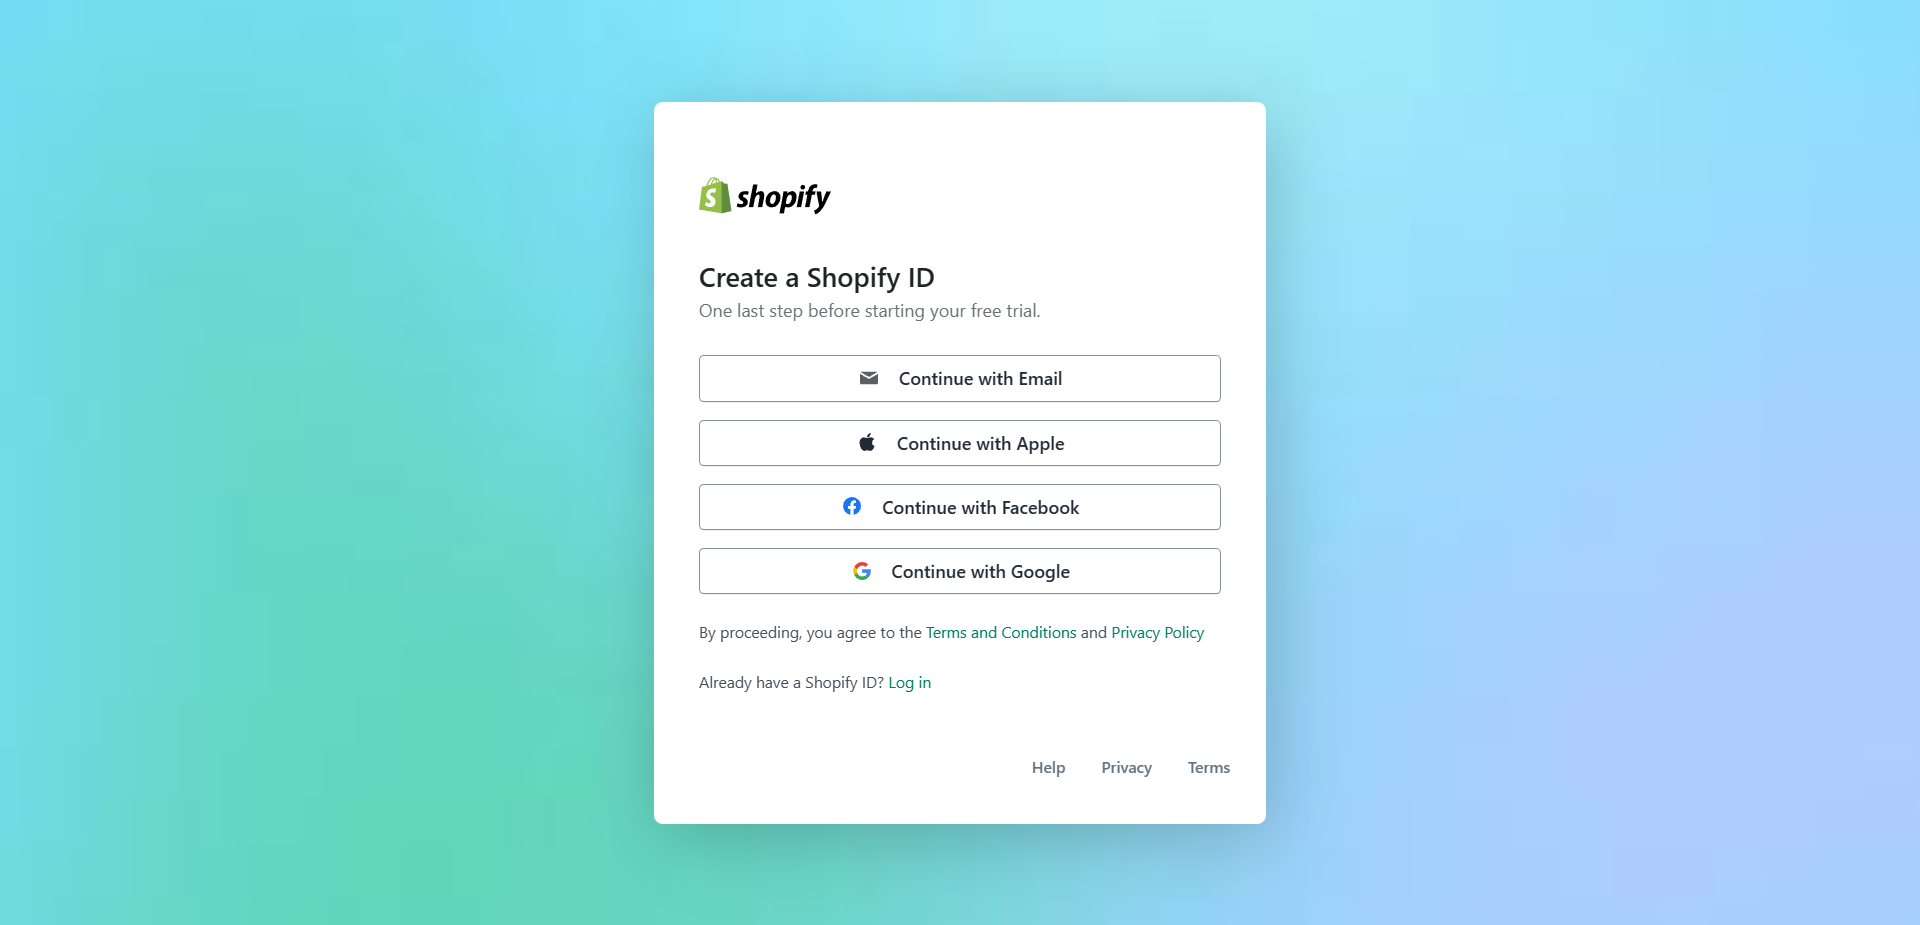
- When you continue with email, you need to enter your Email address and Password in the blank fields provided as shown in the image below.
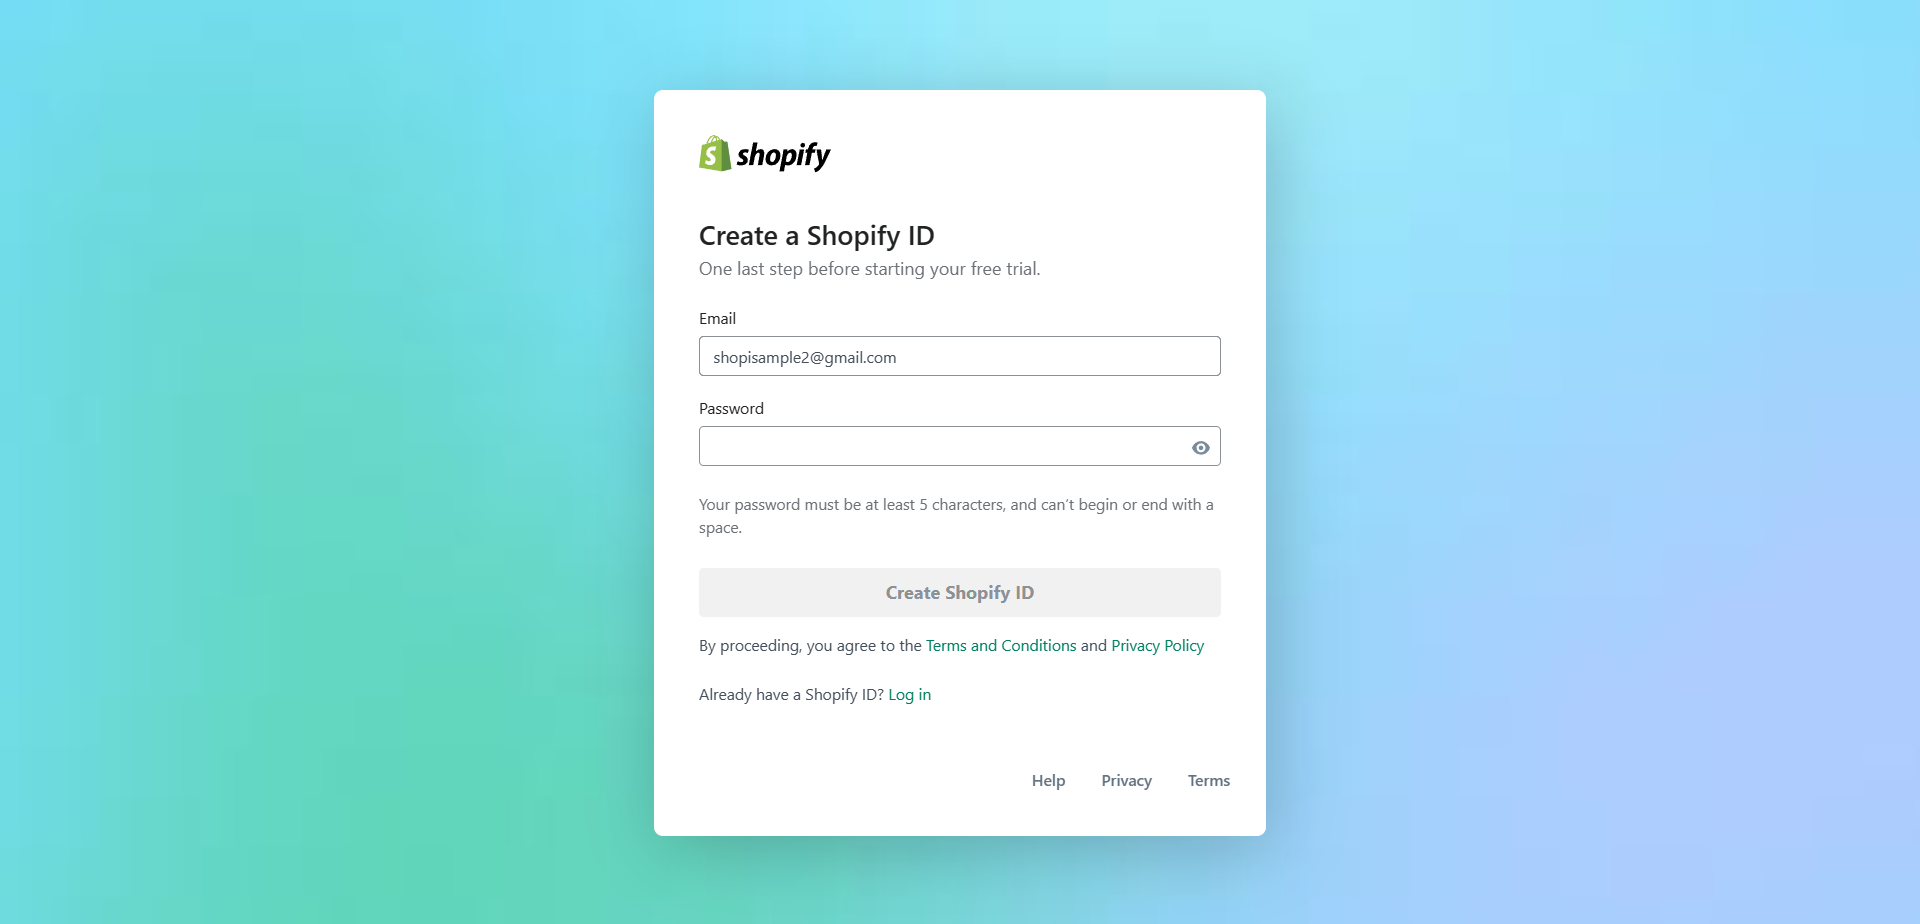
- After entering your email address and password, click “Create Shopify ID”.
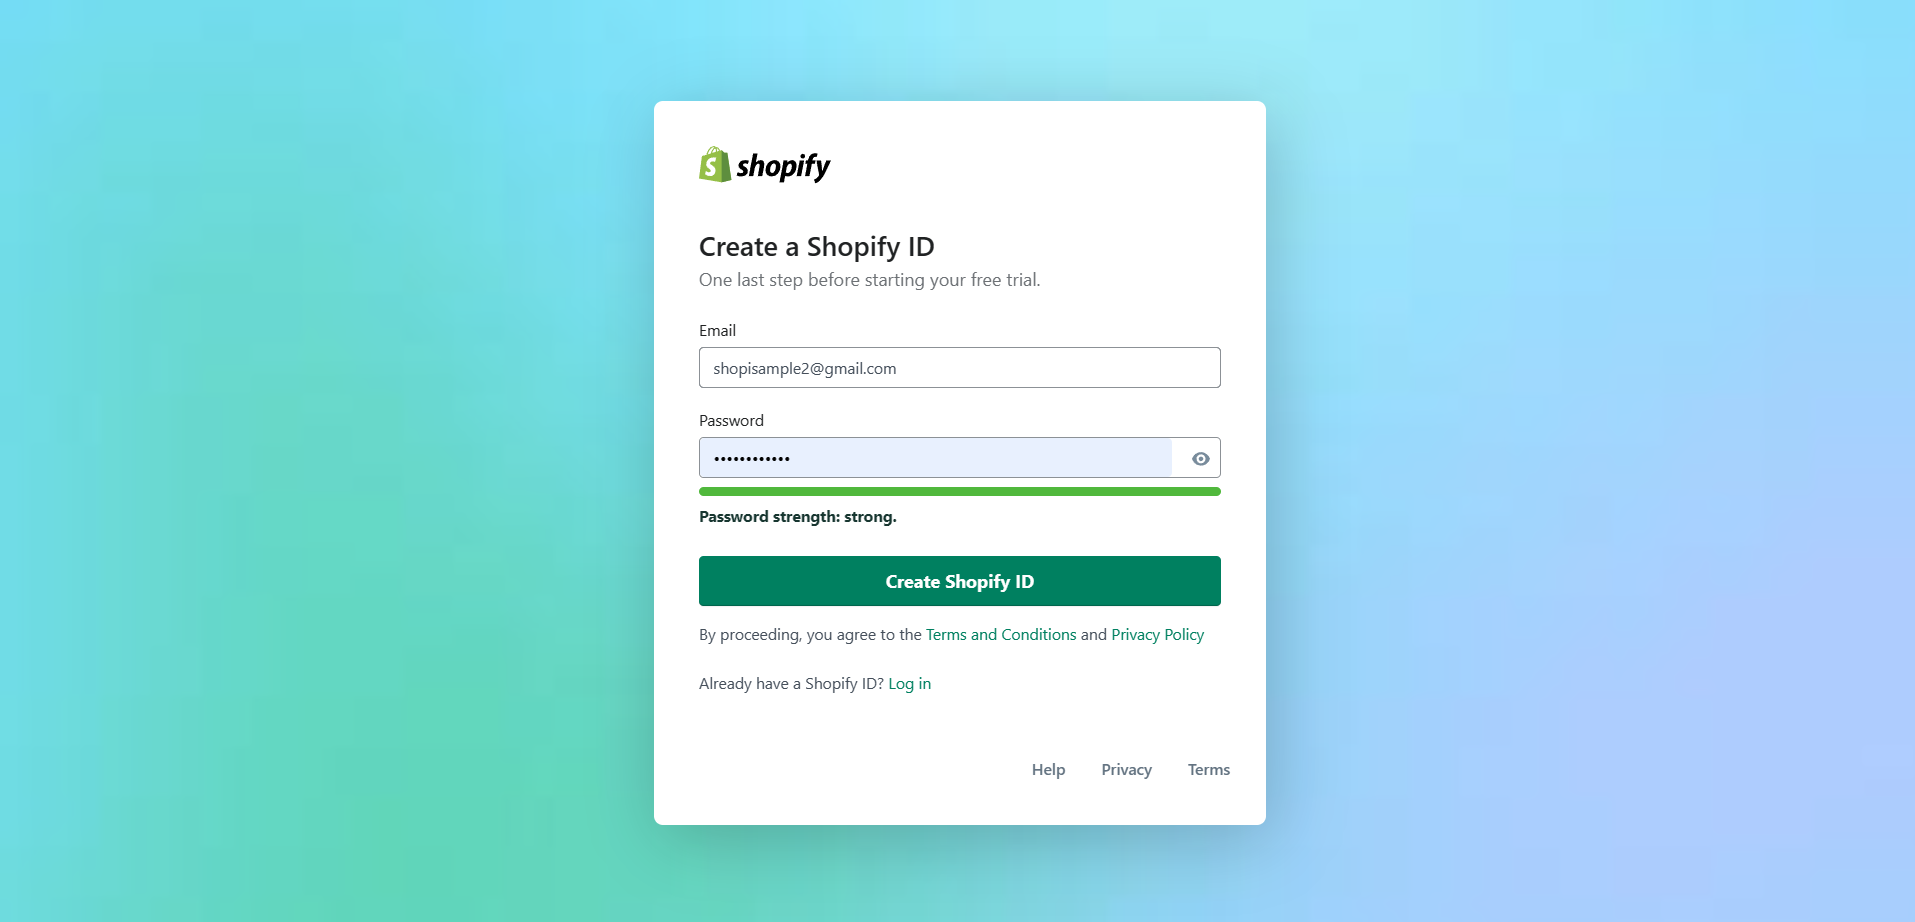
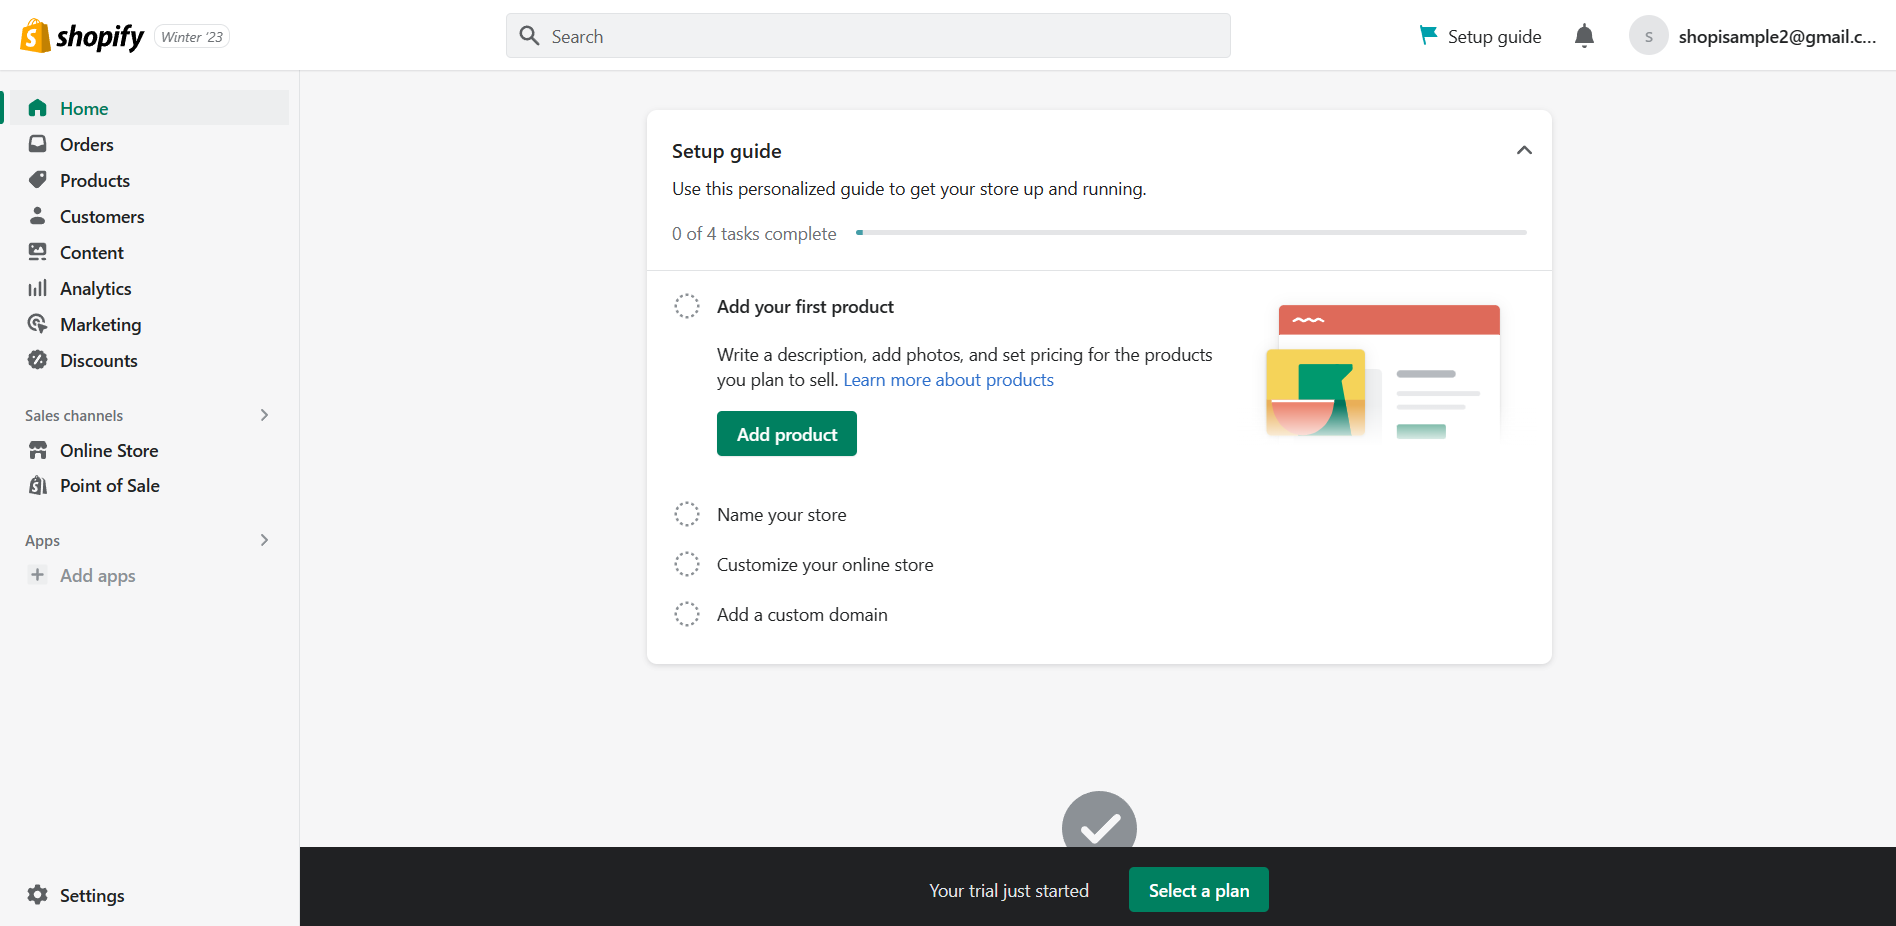
- After creating your Shopify ID, you will be redirected to the Shopify homepage as you have finally created your Shopify store account.
Setting Up Your Shopify Store
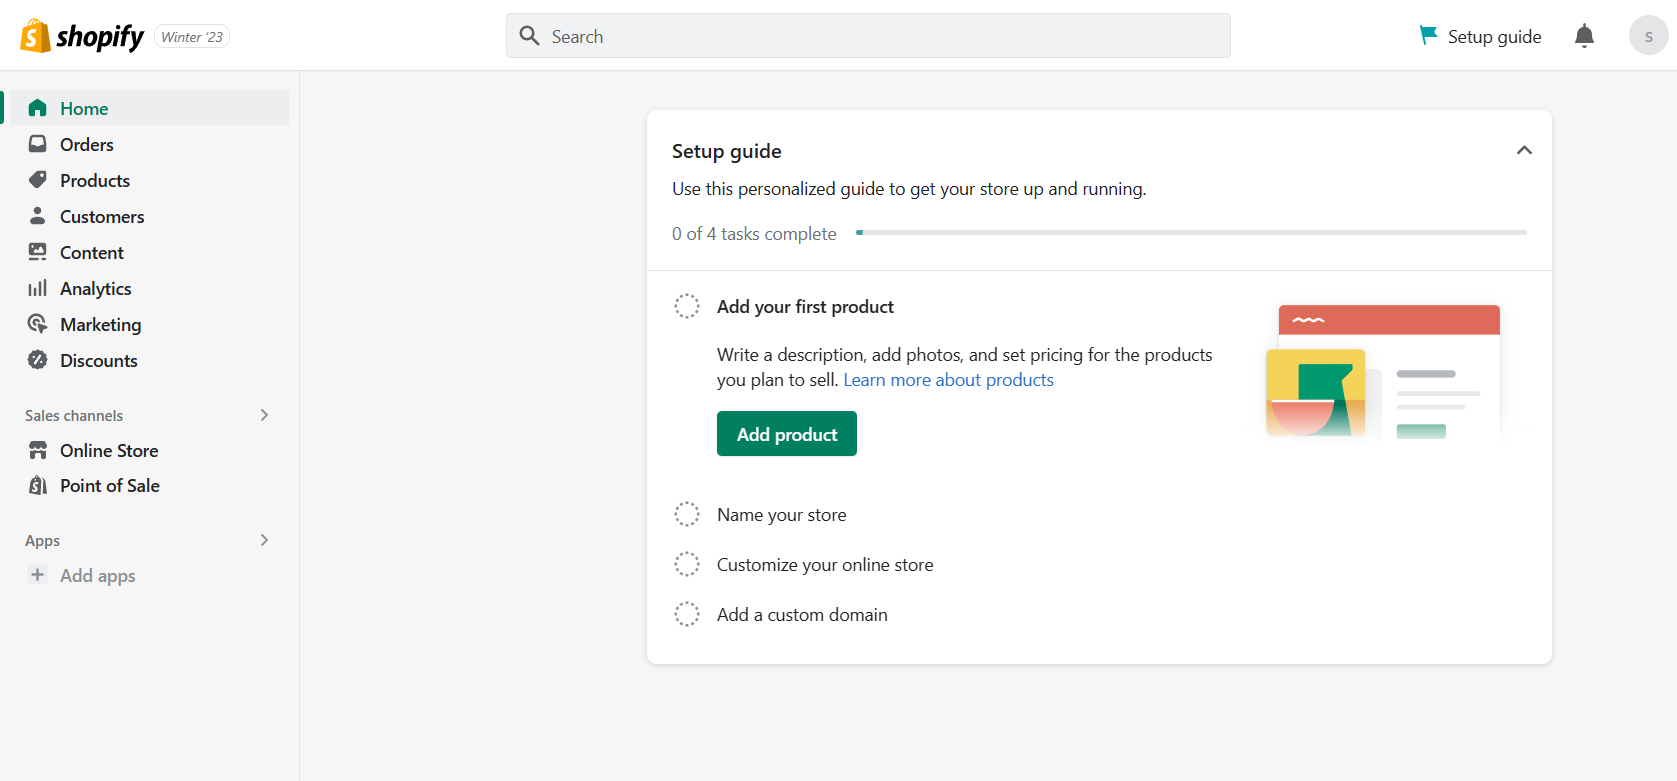
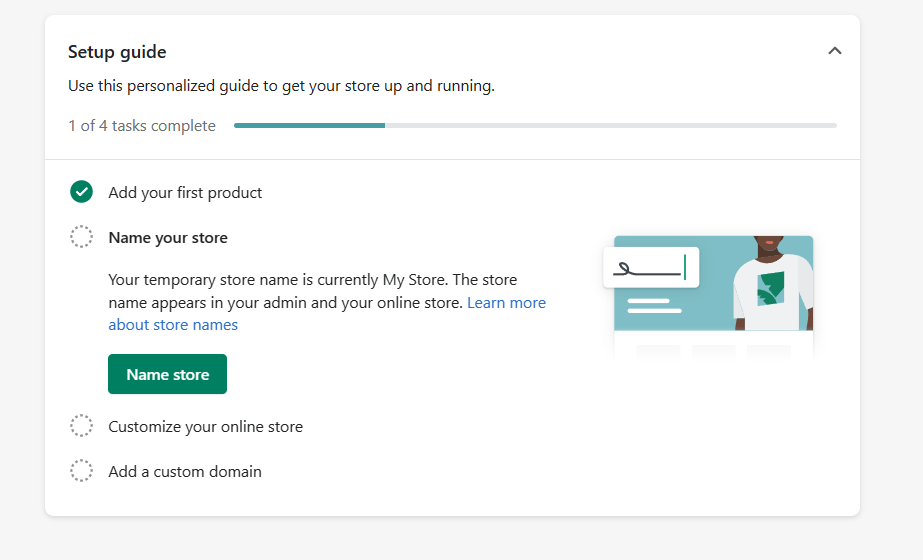
- There are four tasks that you need to complete in order to run your website. First is to add your products, which can be added by clicking “Add product”.
- You will be redirected to the Product page. Here, you can create a product that you can sell in your Shopify store.
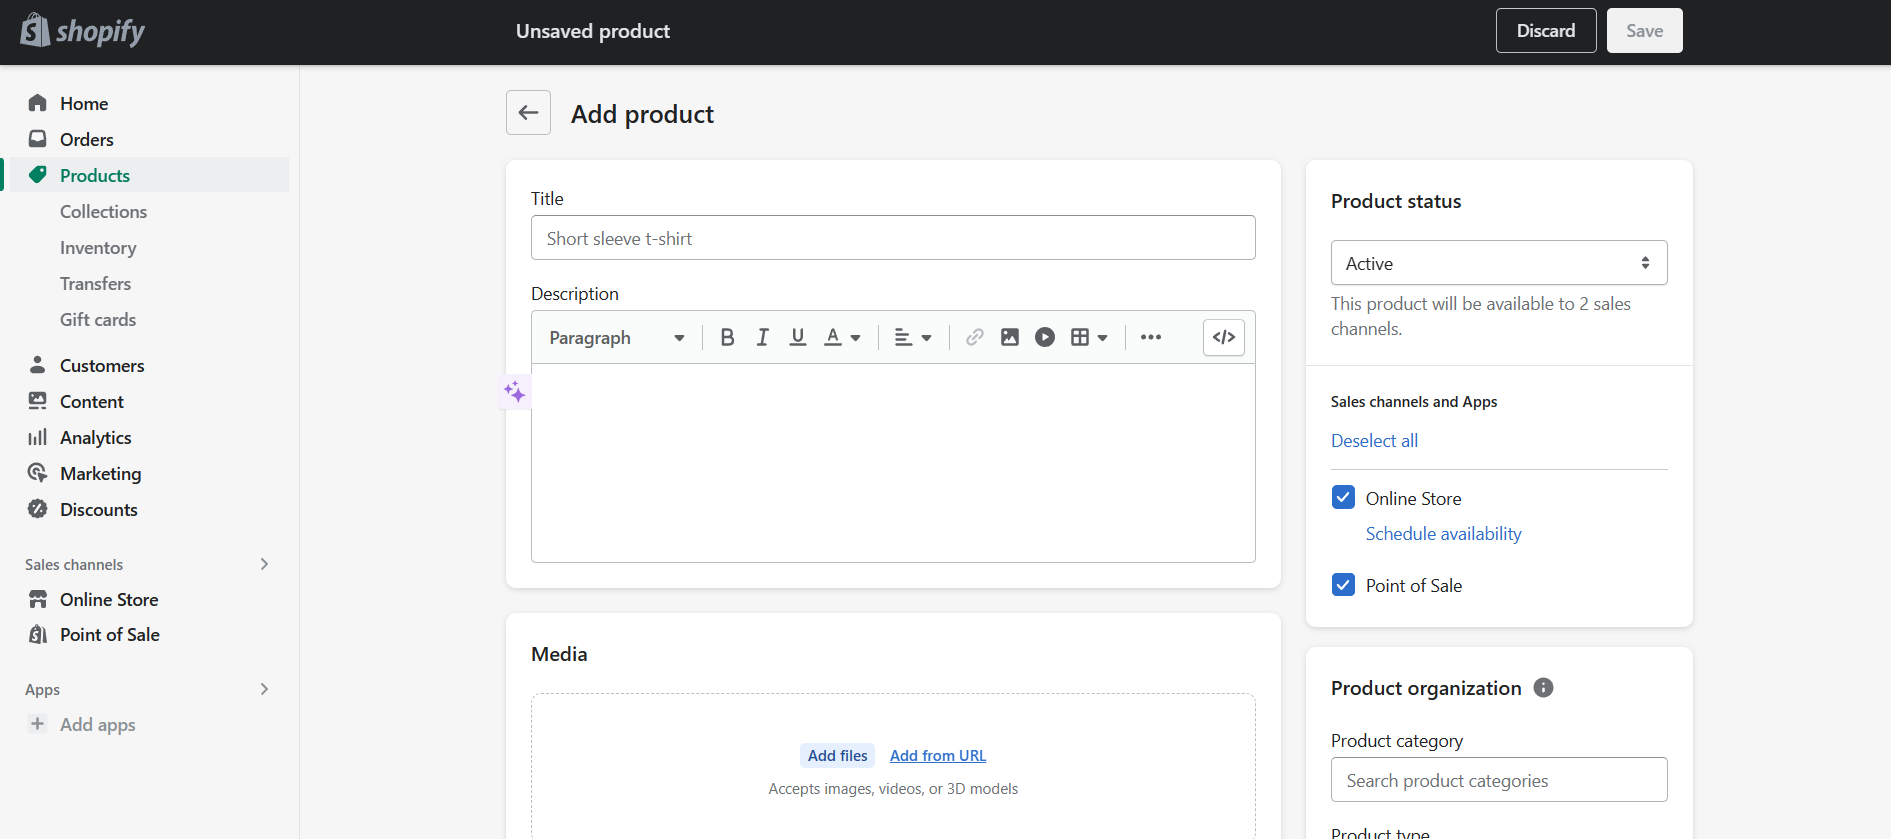
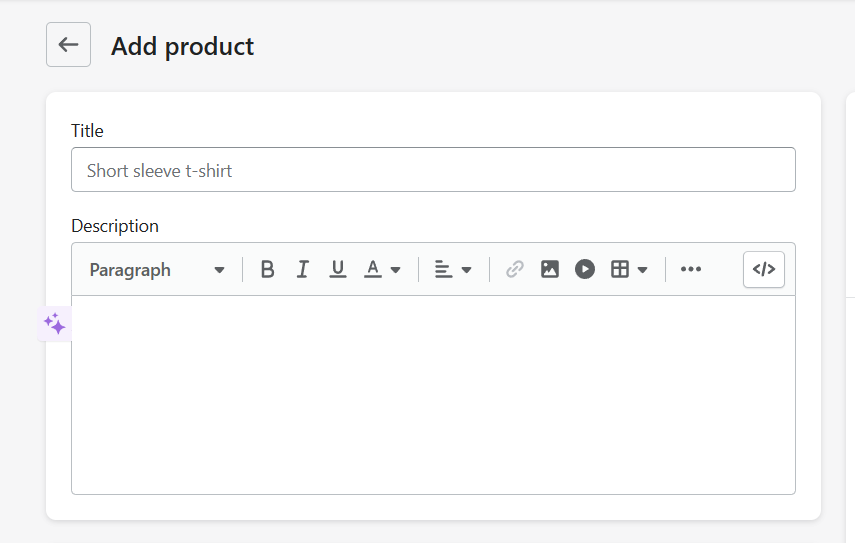
- To add a product, it is important that you enter its product name in the Title field and its product description in the Description field. You can be creative in the Description field because they have provided you with options on how to emphasize the words that you use such as Bold, Italic, and Underline.
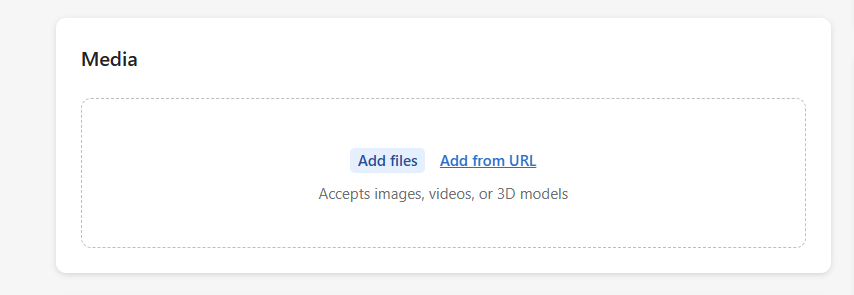
- Next step in adding a product is to upload Media, which consists of images or video displays that show your product or service. You can add from your desktop (Add files) or from online sources (Add from URL). To add media, click on the preferred method.
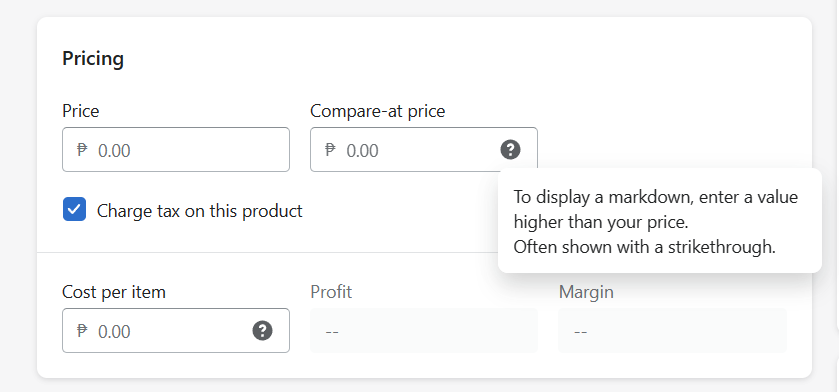
- You can also adjust the pricing of your product after adding the media. The price currency is in accordance with the country that you have indicated while creating your account. The Compare-at price is a higher value, which is shown in a strikethrough, of the product in which the customer will compare the price at. You can charge tax on the product that you are adding by checking the checkbox.
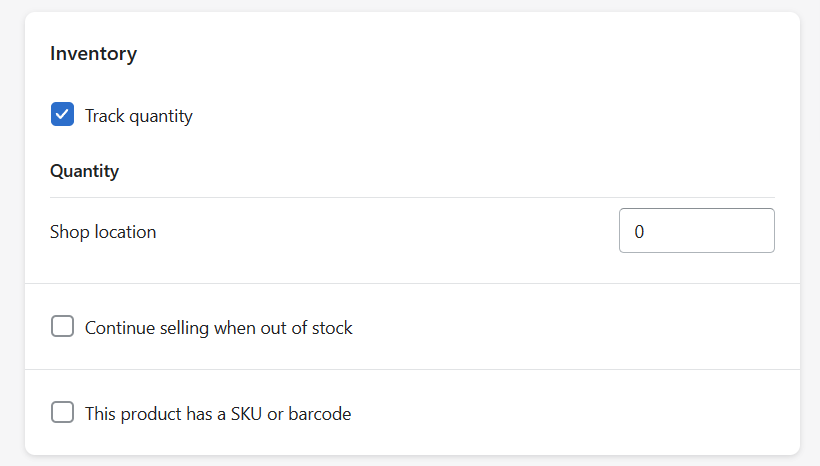
- Next is the Product Inventory. You have an option whether you want to track the quantity of your product, and if you check the checkbox, you will be asked about the number of shop locations and whether you want to continue selling when out of stock and if the product has a SKU or barcode. To allow this, check the checkbox beside the options.
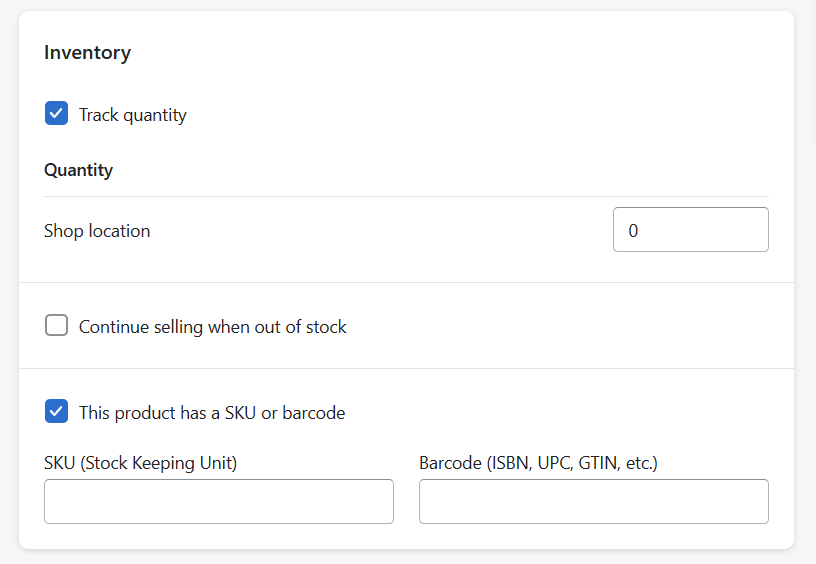
- If you check the checkbox for “This product has a SKU or barcode”, you have to enter the SKU or the barcode in the blank field provided below.
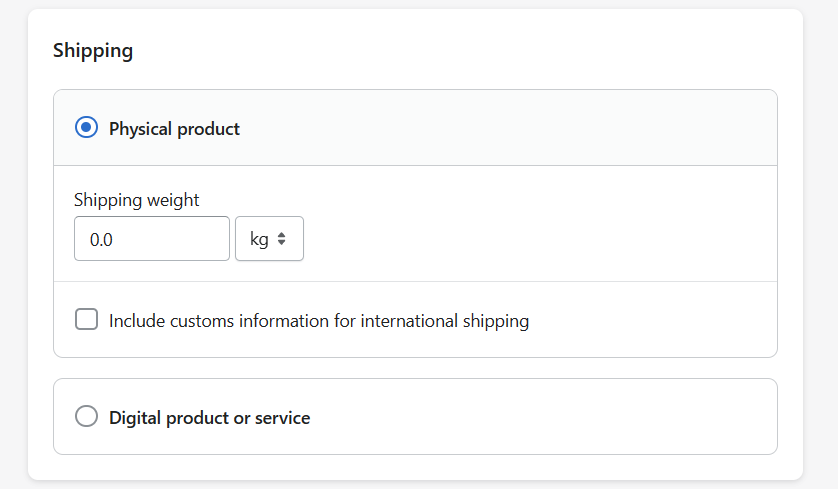
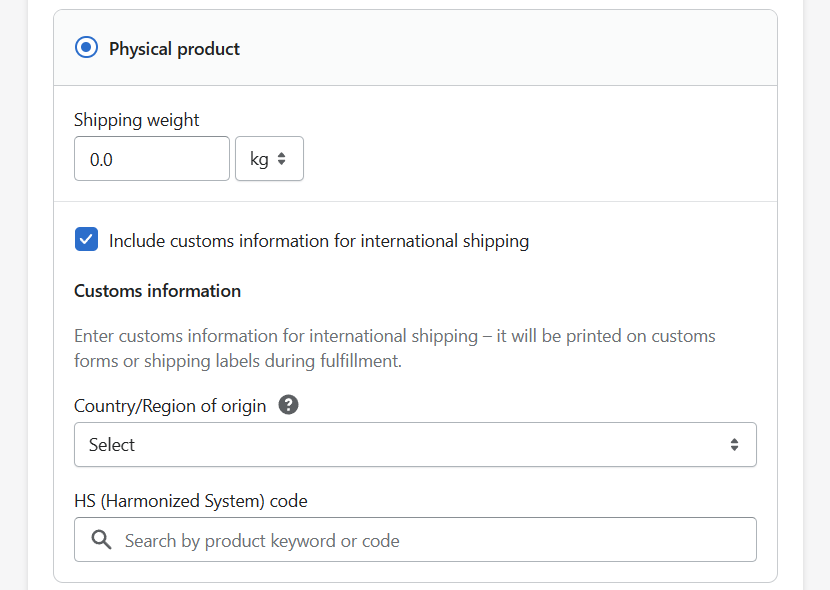
- Next is the Shipping. You must first indicate whether the product you have is a physical or digital type. In a physical product, the shipping weight is required. You can enter this by clicking on the blank field, and you can also change the unit of the weight in the dropdown menu located on the right of the blank field.
- If you chose to include customs information for international shipping by clicking the checkbox, you need to select the Country/Region of origin by clicking the dropdown menu and enter its HS code in the designated blank field as shown below.
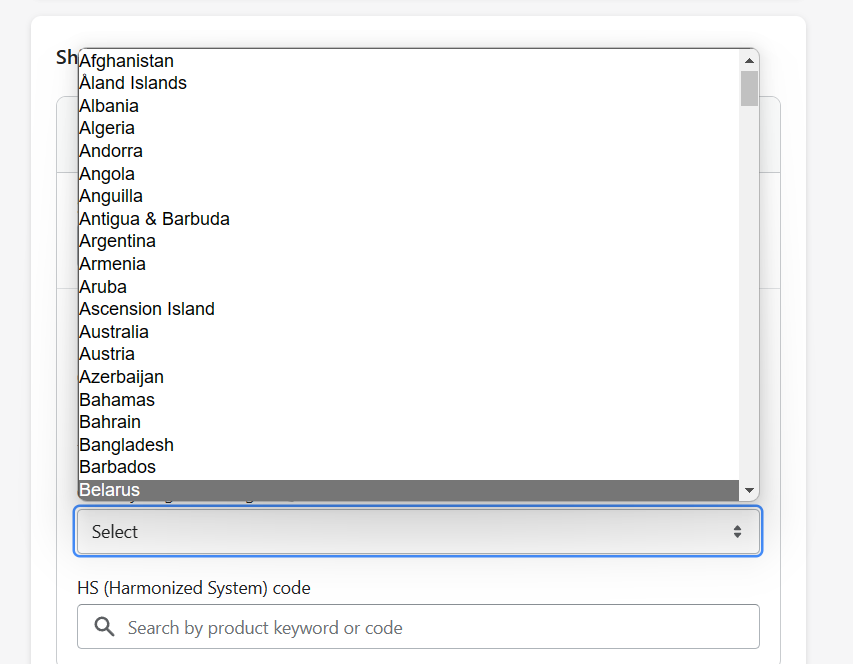
- As you click the drop down menu, you will be presented with a selection of countries to choose from. You can choose it by clicking the country name.
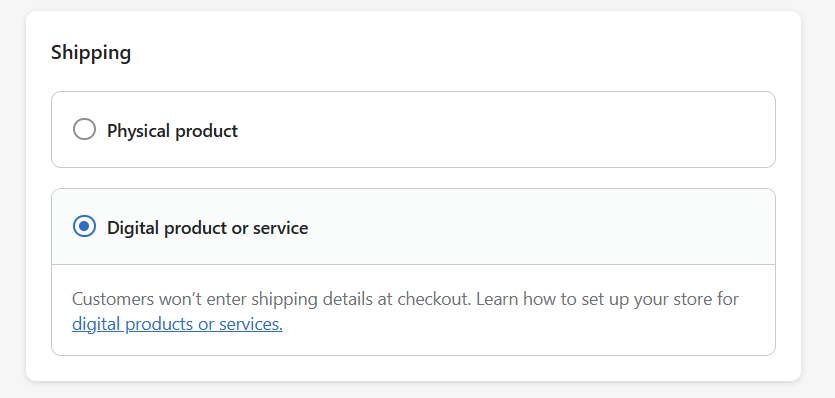
- If you have a digital product or service, you can just click the circle beside it because there would be different settings and shipping options would not be available.
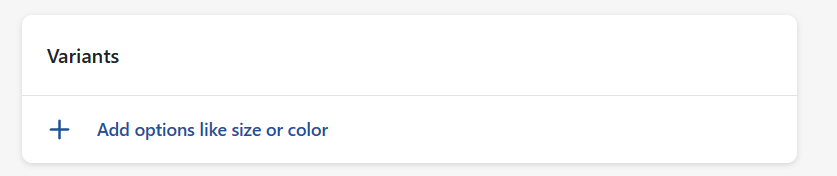
- You can add a new size or color of your product in the Variants section by clicking the Add button.
- You can choose whether the variant that you want to add is the size, color, material, or style of the product. Click the variant that you want to add.
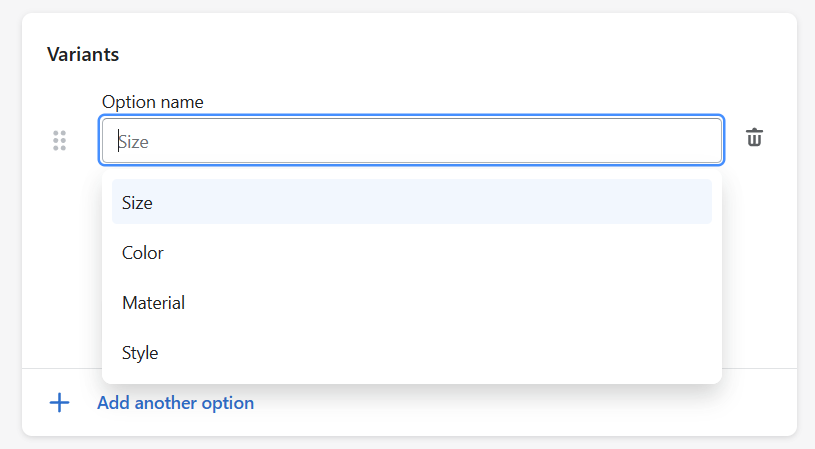
- Next is that option’s values. For example, if you have chosen size as the variant, you can indicate that the option values are small, medium, large, and extra large. If you have chosen color, you can indicate black, white, blue, or violet, depending on the availability of your products. Click Done after setting the variants.
You may also set a different price for every variant as located below the Variants.
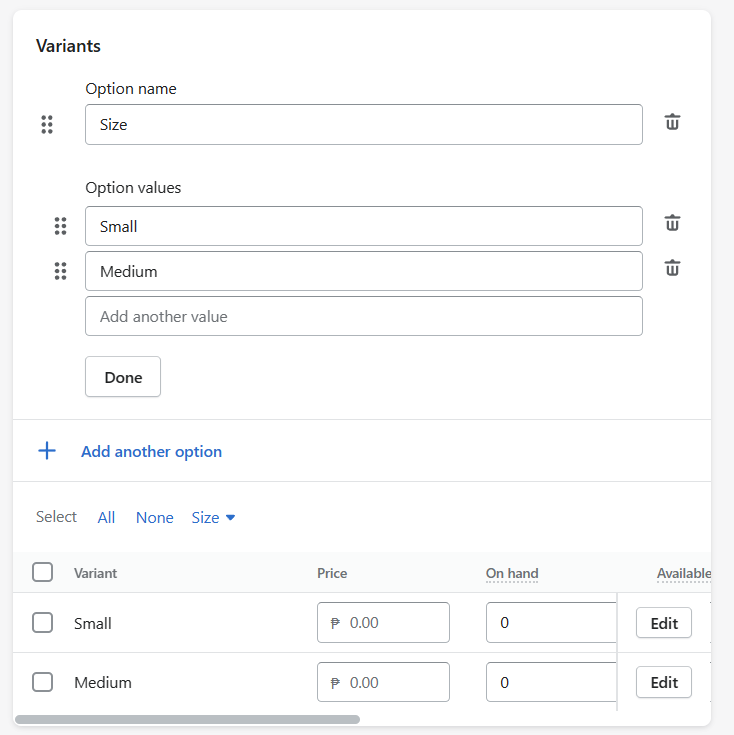
- After setting up your first product, you may now click Save to record it.
- Next in the setup guide is the Name of the store. This is only in the guide if you have not entered it before, during the creation of the Shopify store account. Click Name store to edit it out.
- You will then be redirected to Settings, specifically to the Store details. Here, you can edit the Store name to replace the current name.
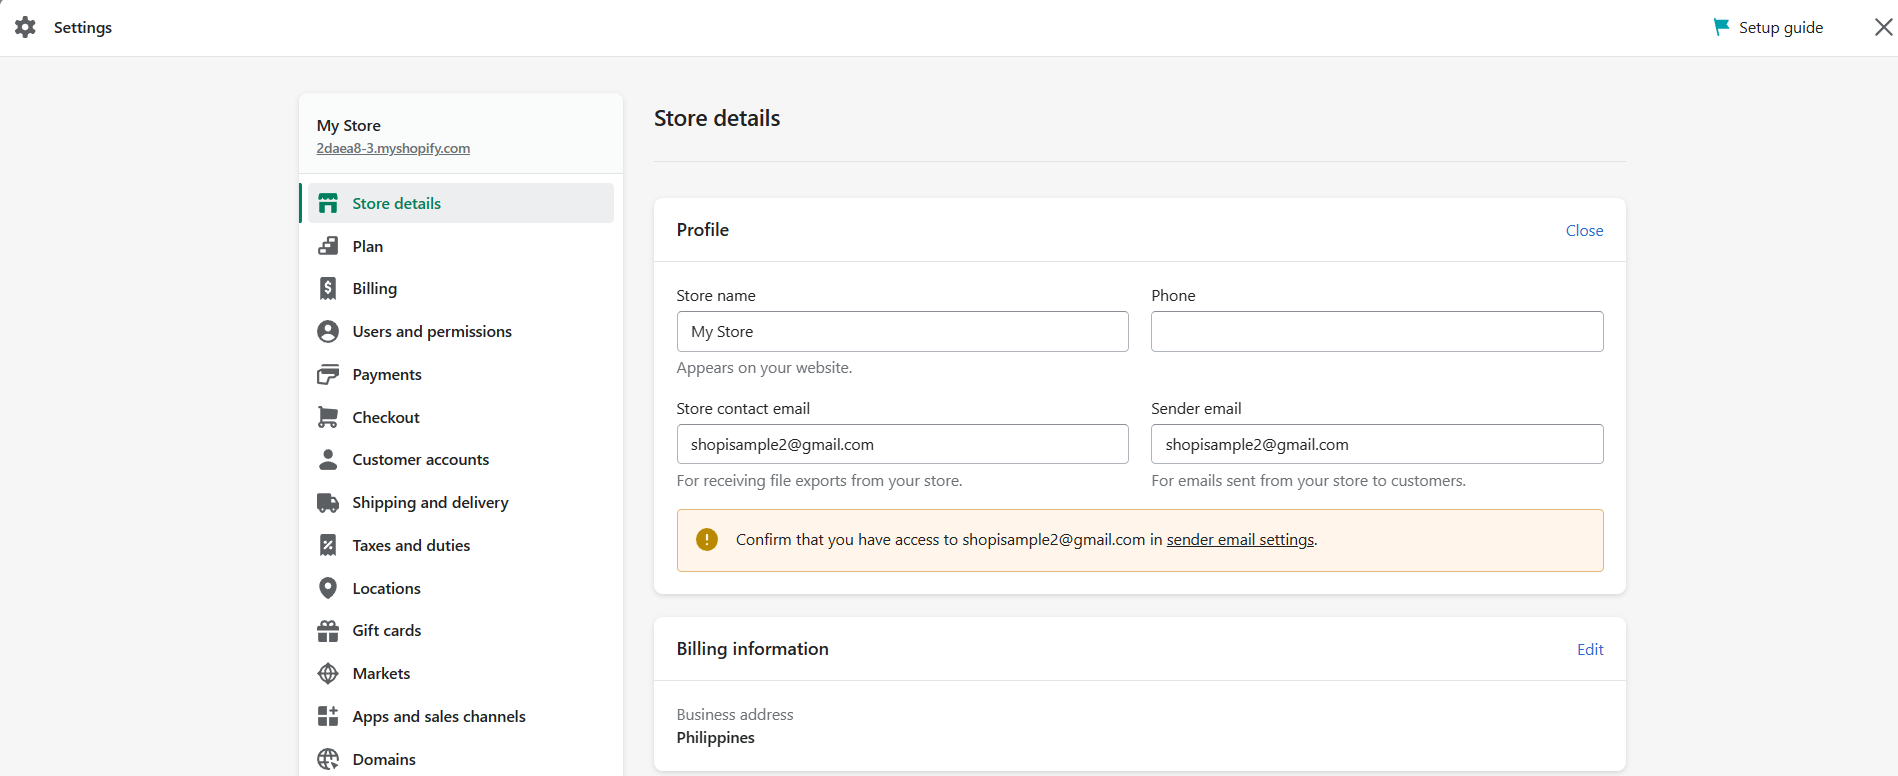
- Click Save to continue the setup guide.
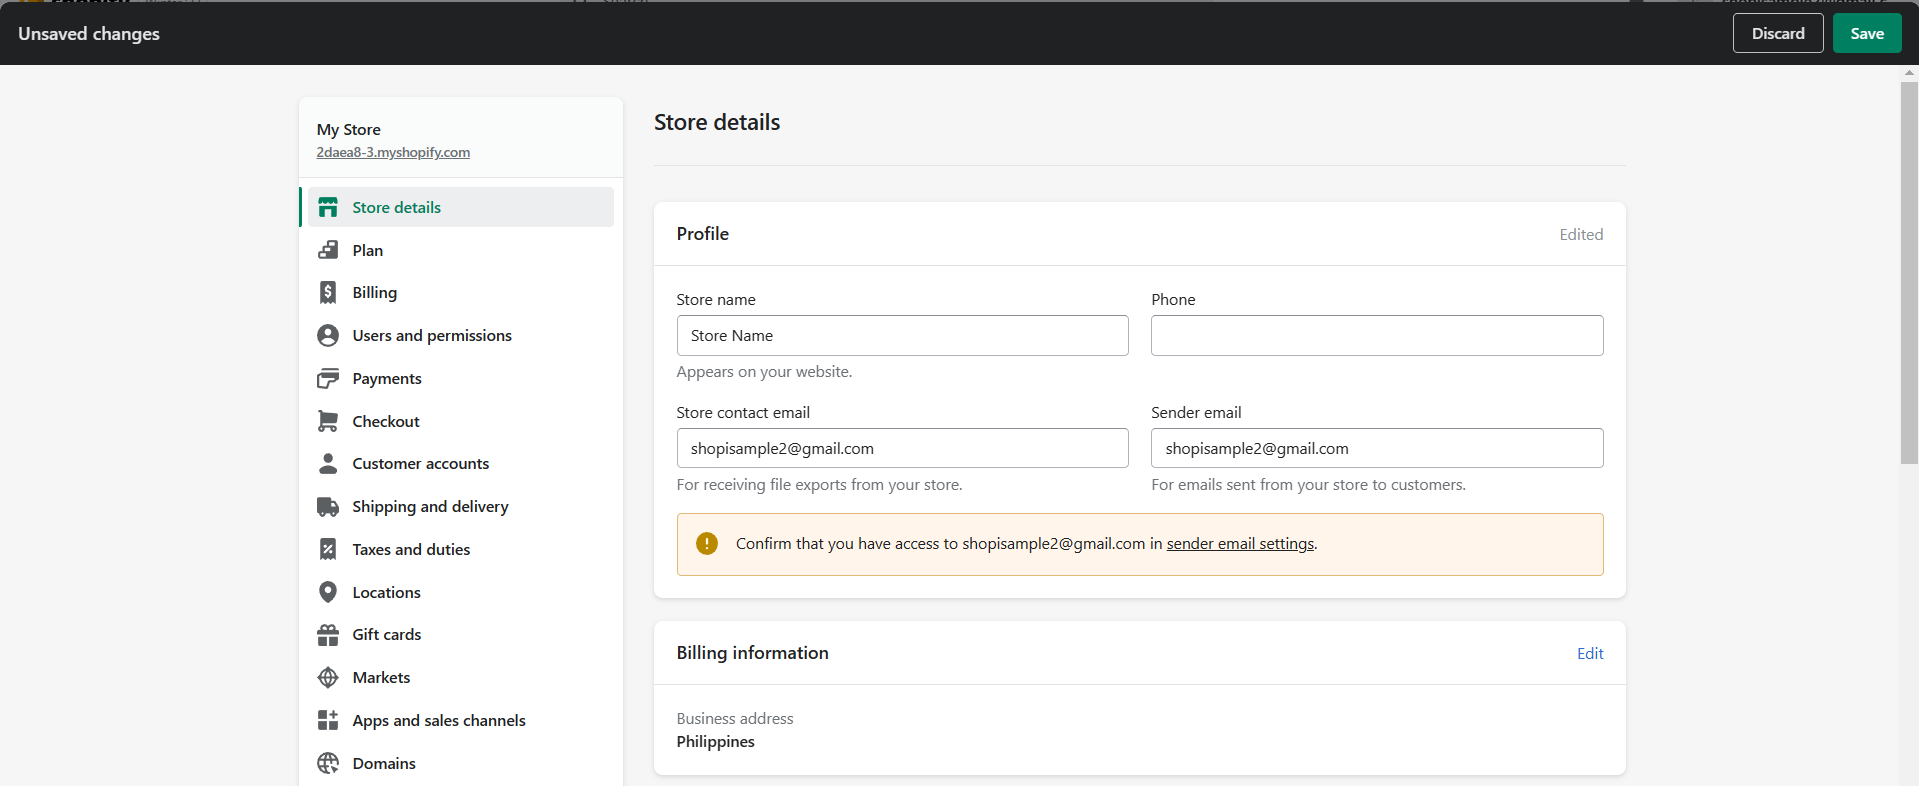
- Next step in the guide is to customize your online store. To do this, click Customize theme.
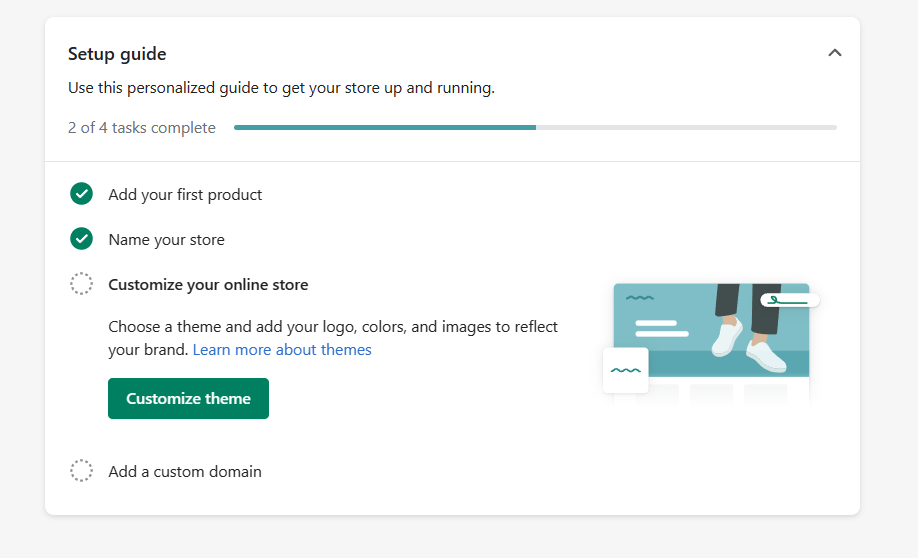
- In default, Dawn is the theme of your Shopify store. To customize it, click the Customize button.
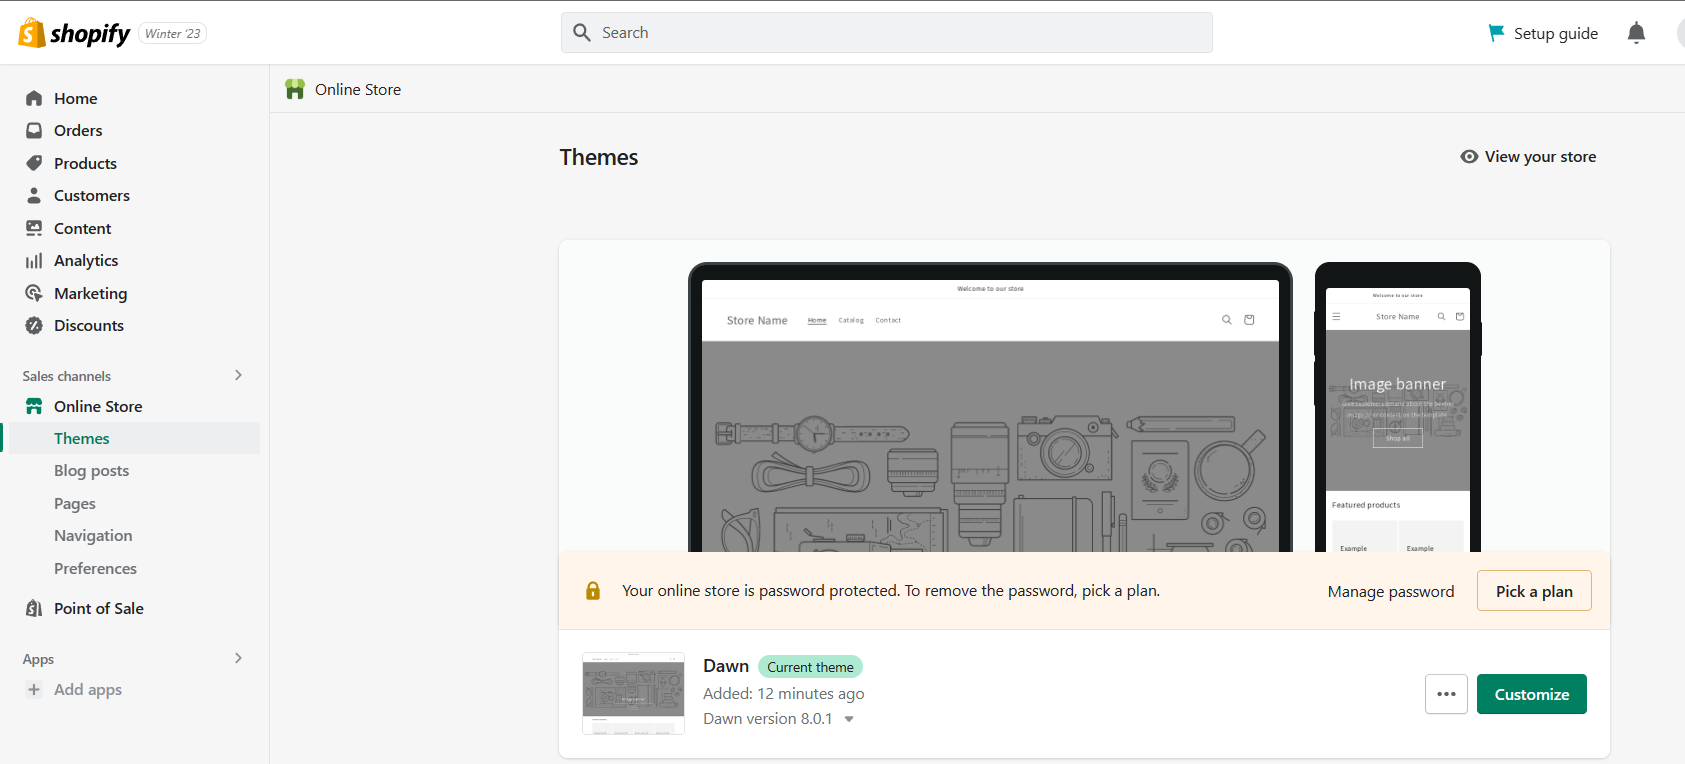
- In a website homepage, there are three general parts: Header, Template, and Footer. In the Header, you will see the Announcement bar, where you can greet your customers. You can add engaging lines about your business in this part by clicking the “Add Announcement”. Under the Header, you can also customize the header of the webpage. This includes the Store Name, other pages, search button, and the cart/bag button. To add a new feature, click the “Add section”.
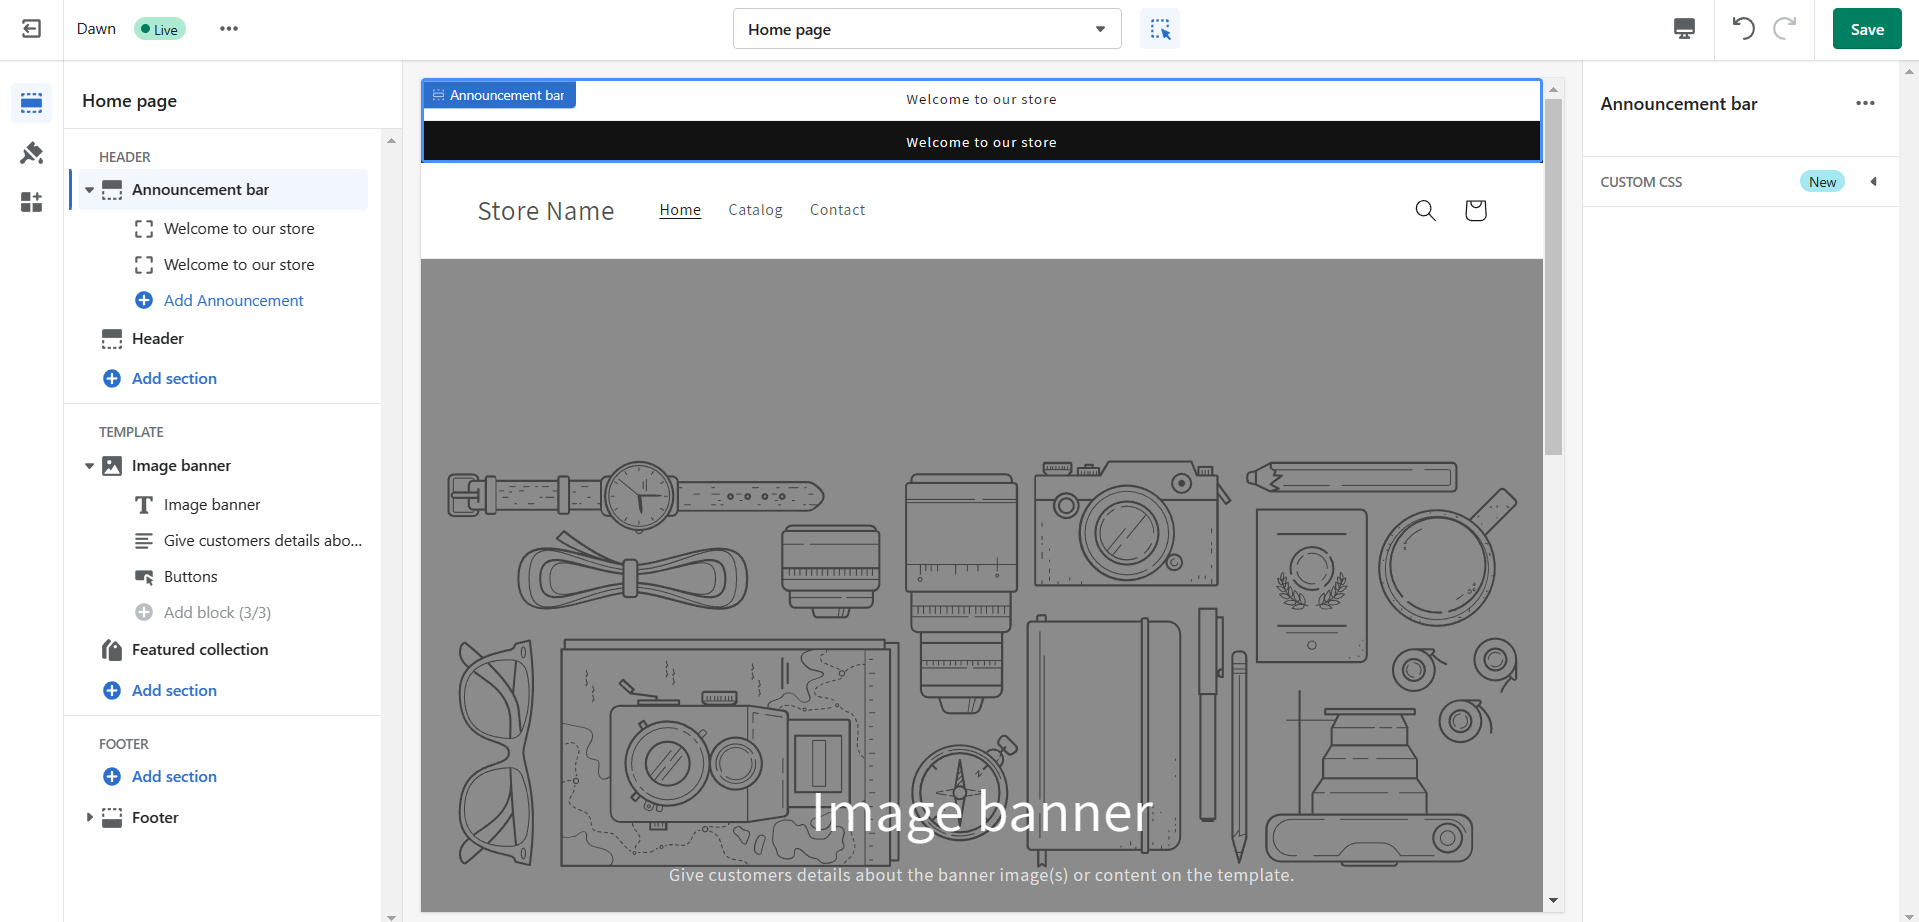
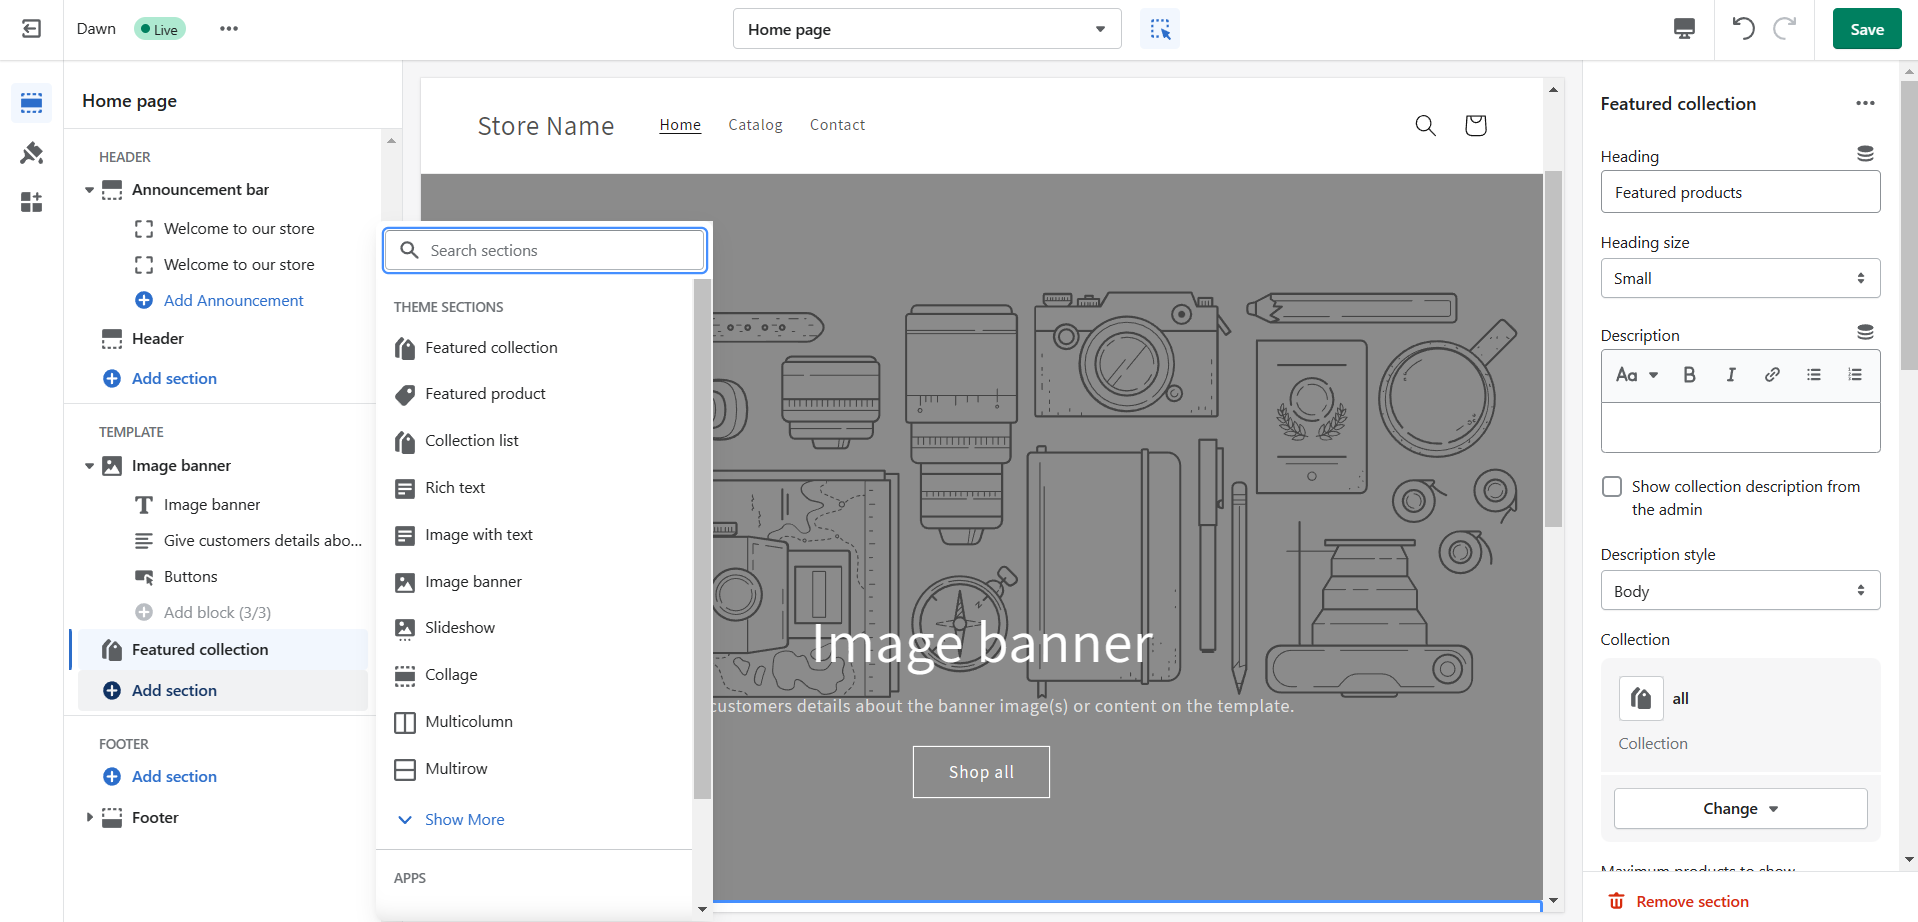
- Next is the Template part where you can edit the Image banner and the Featured collections of your business. The featured collections show the products that you want to promote to website visitors and their prices. You can add a section by clicking the “Add section” button.
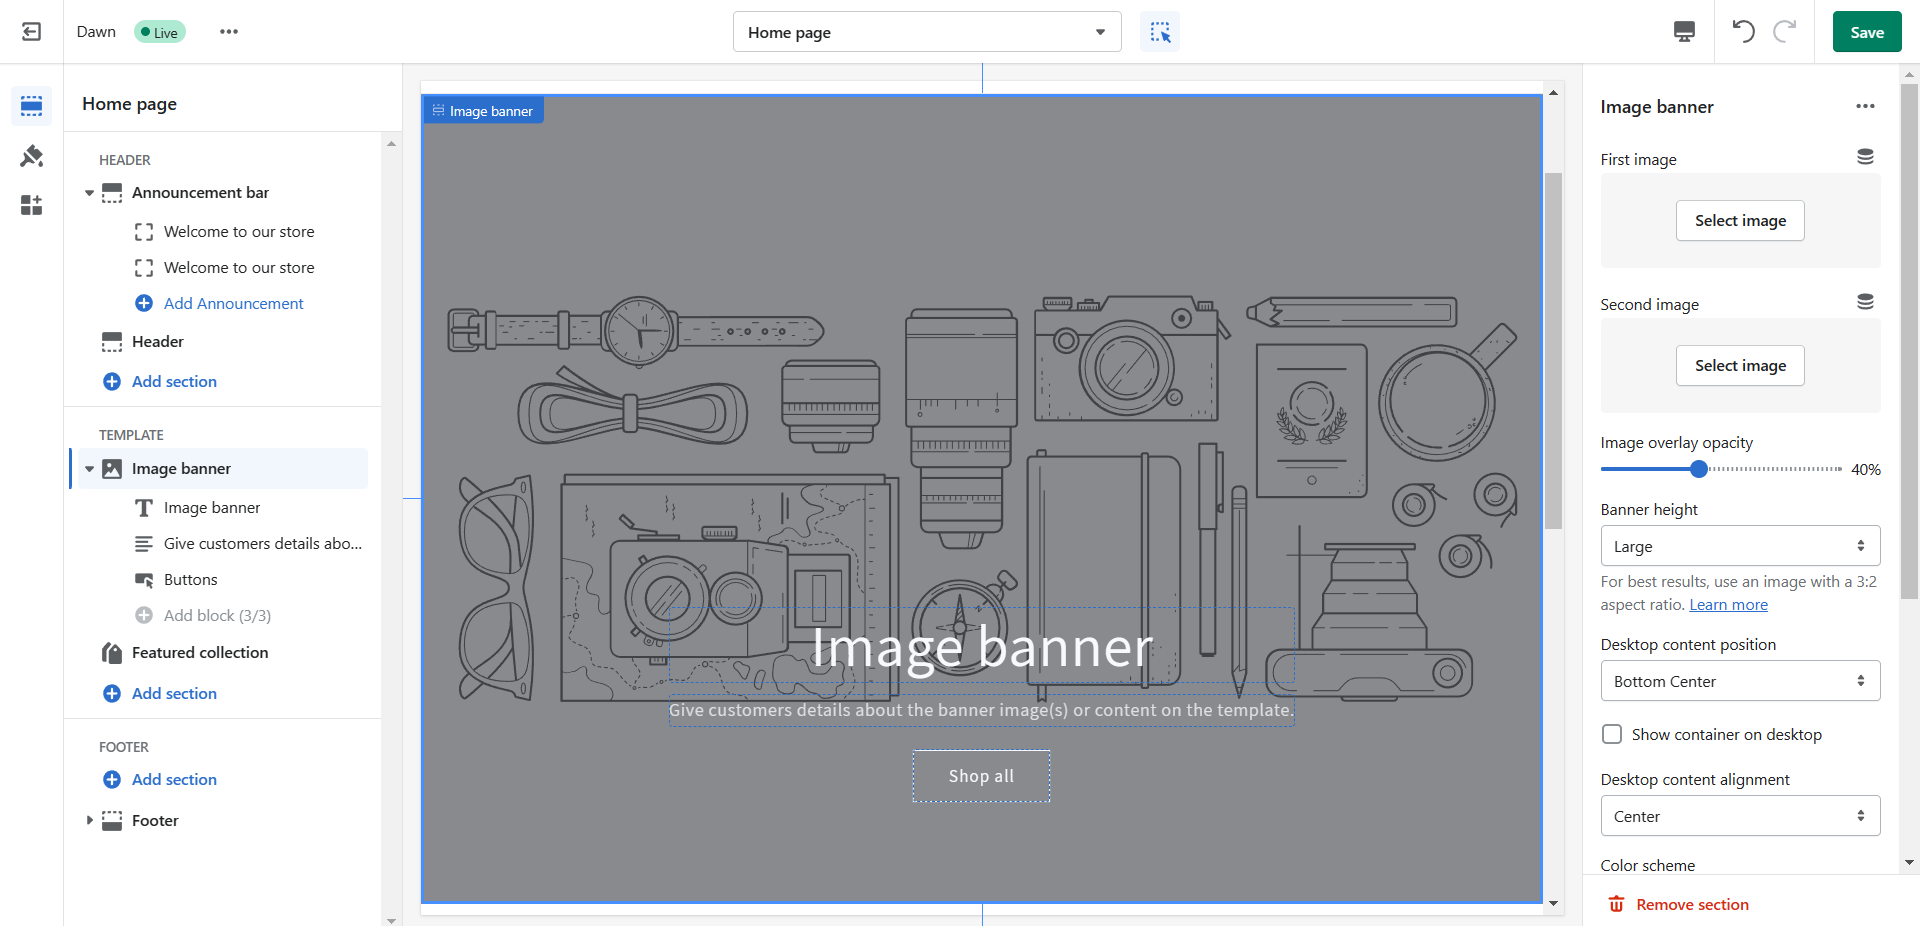
- When you click the “Add section” you will have a selection to choose from. You can create a collage, slideshow, or even multicolumn on the products.
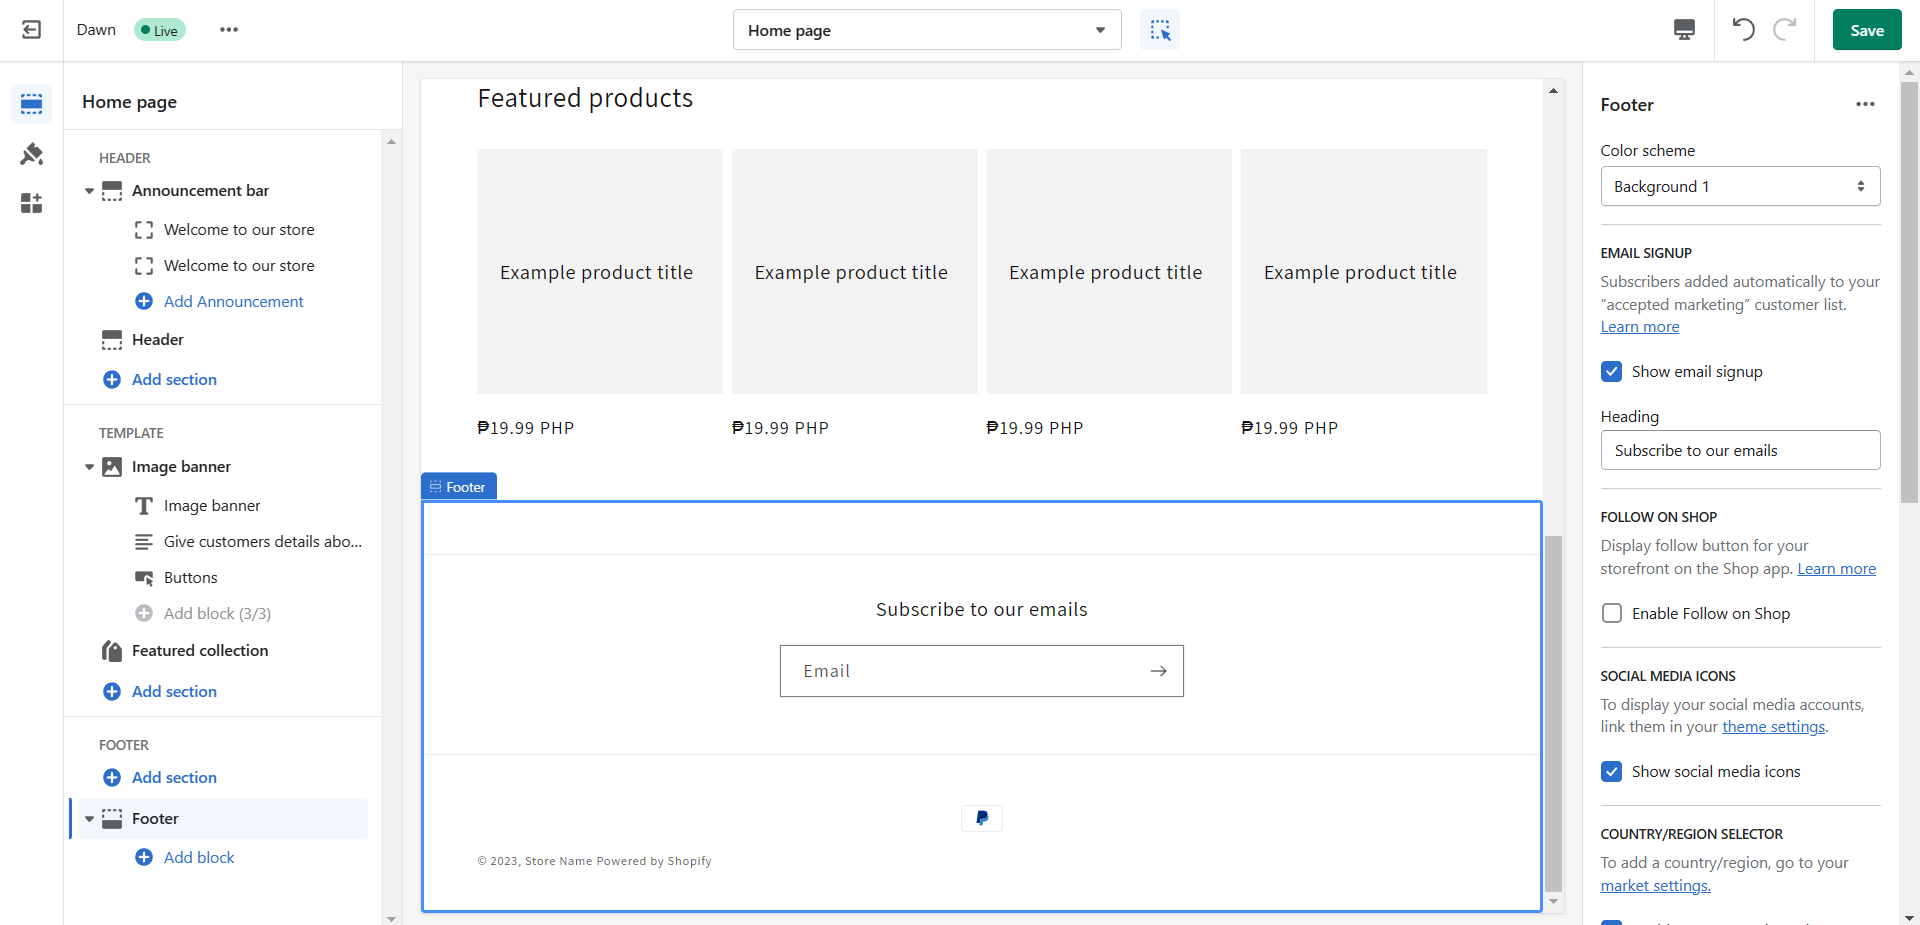
- In the Footer part, you can create a field where your customers can type in their email address to get newsletters from your business. You can also indicate an About Us page or Contact details. You can add an area on the footer by clicking the “Add block”.
- After customizing the pages of your website, you may now click the Save button for it to reflect on your Shopify store.
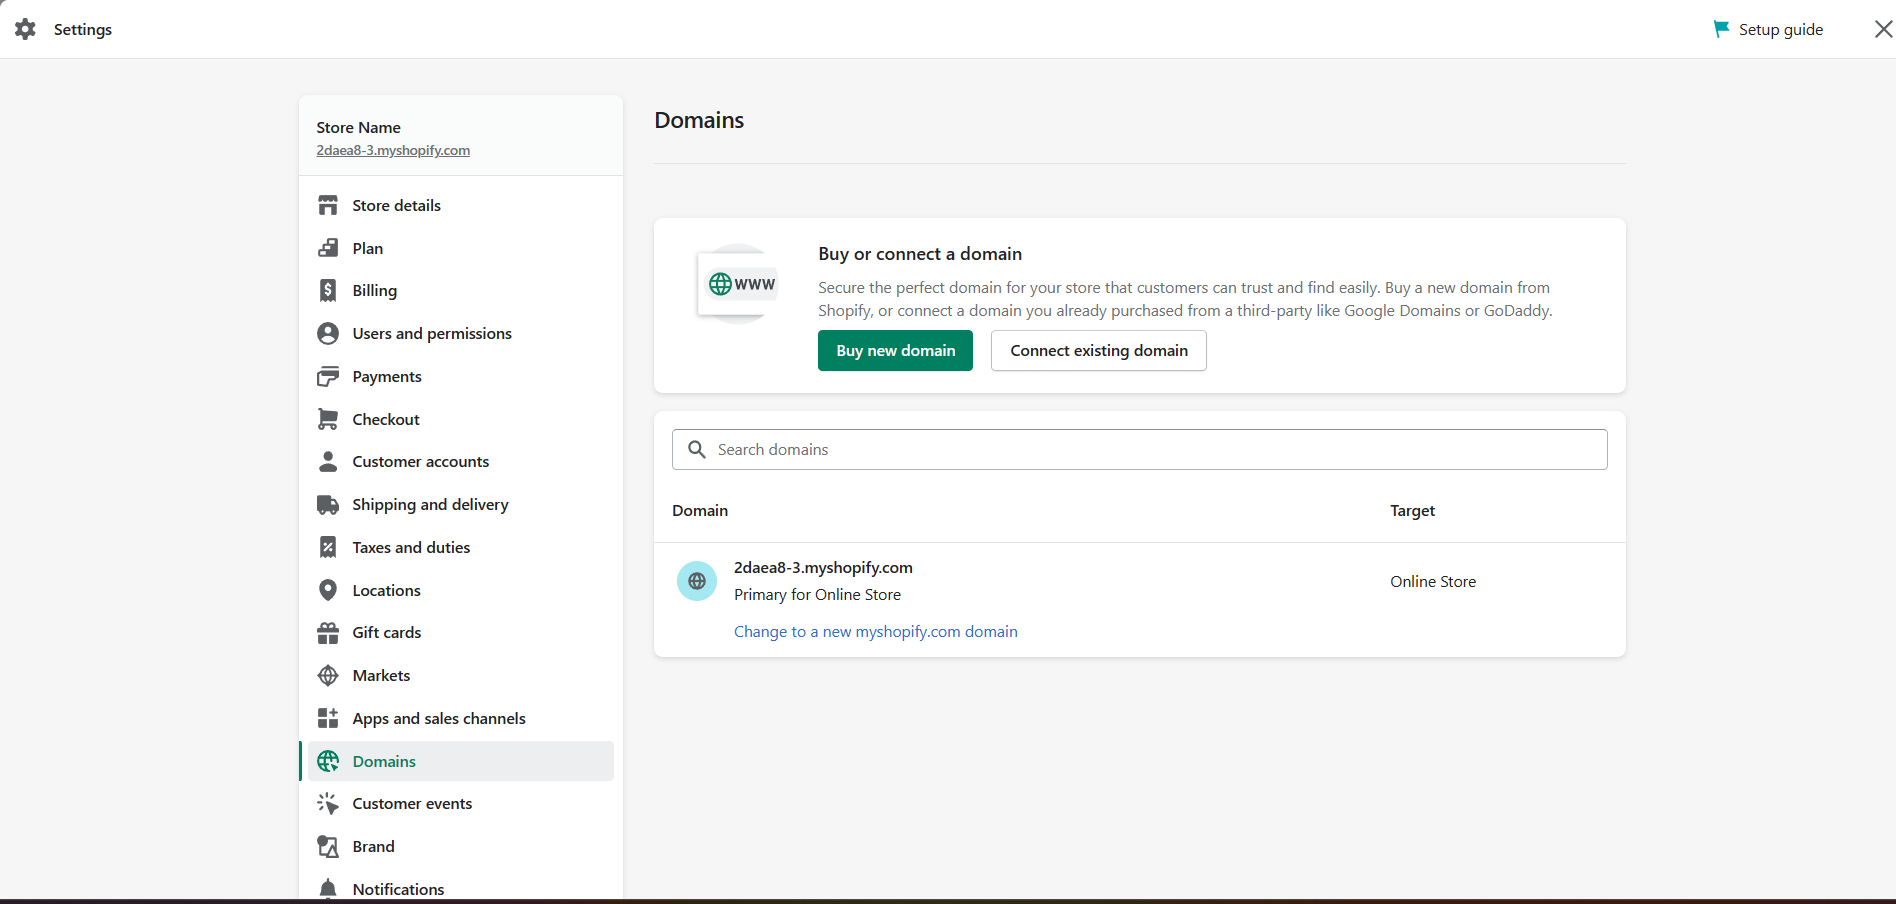
- Lastly, the setup guide requires a custom domain. This is essential for the customers to find your business easily. Click the “Add domain” button to add a domain to your Shopify store.
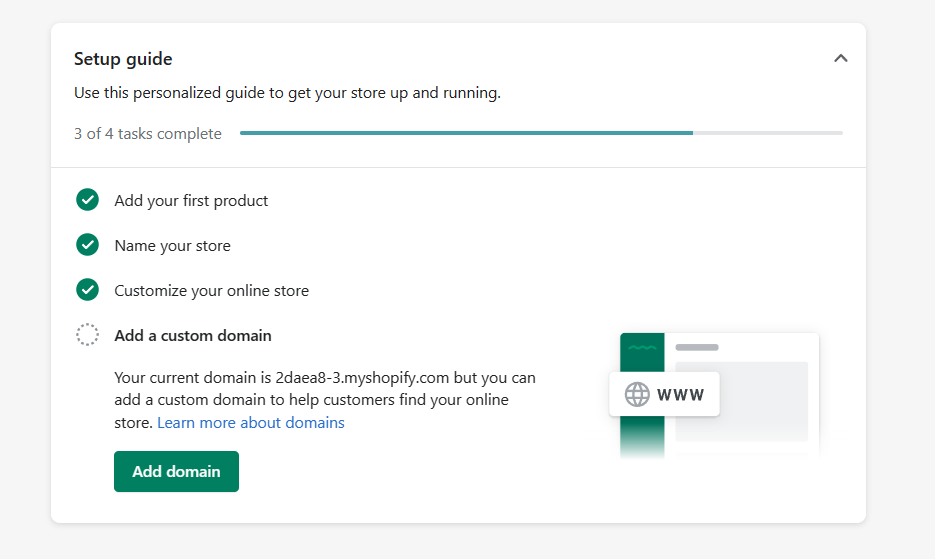
- You will be redirected to Settings, specifically in the Domains page. Here, you can either buy or connect an existing domain that you previously bought for your business. Click the button of your preferred action.
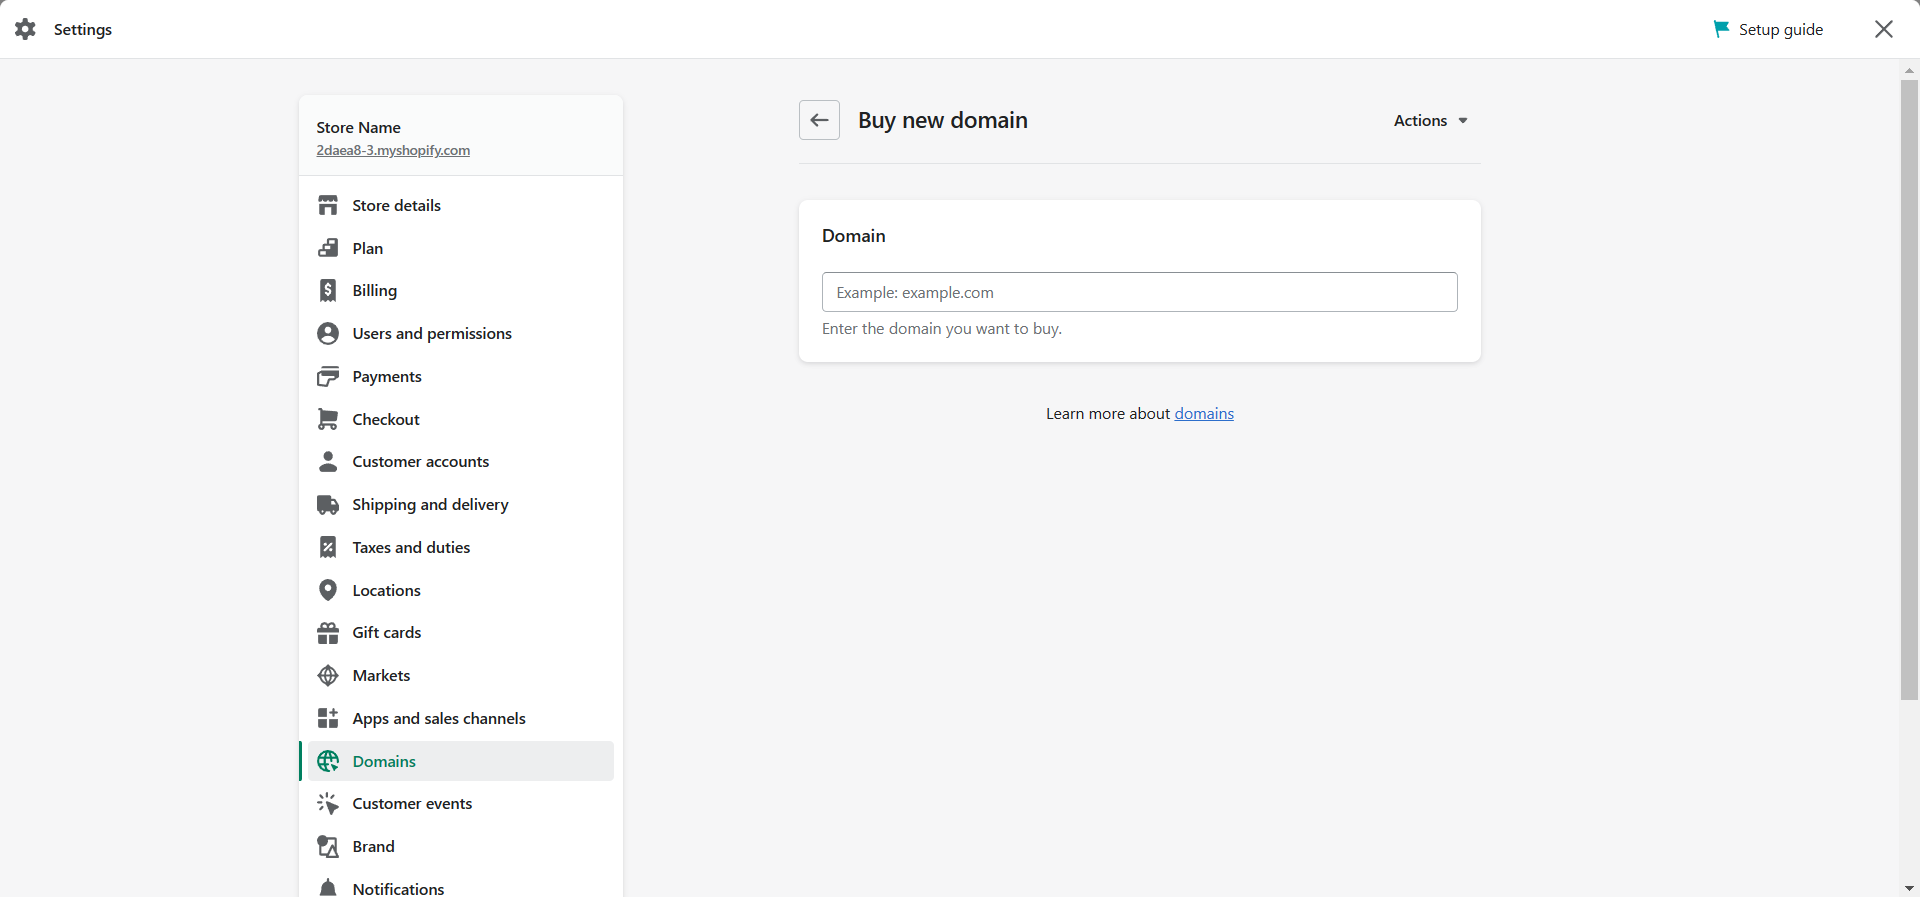
- To buy a new domain, you are given the freedom to type your preferred domain in the blank field and see whether it is still available for utilization.
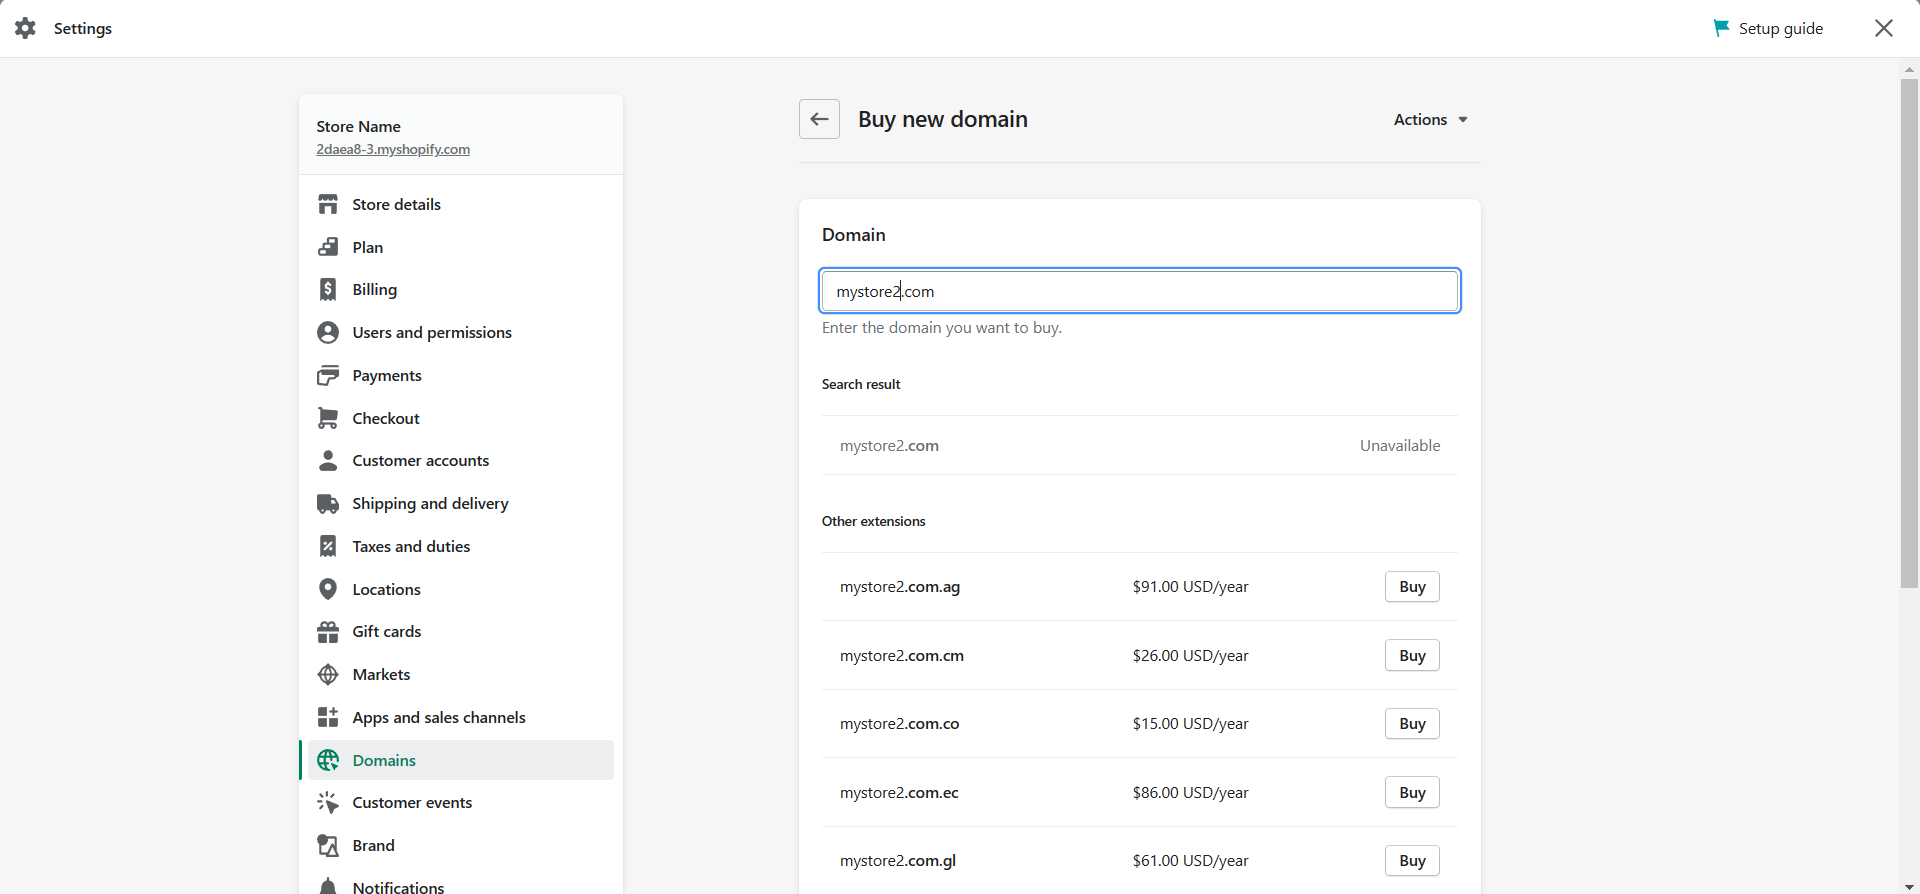
- If you have a relatively unique store name, it is most likely that it is available in the first try. But if the Search result indicates that it is unavailable, then it is unavailable for use and you must come up with a new one. Other extensions and suggestions are shown below, so you can consider purchasing those. Prices are also listed beside them, and if you want to purchase it, just click the “Buy” button and arrange your billing settings.
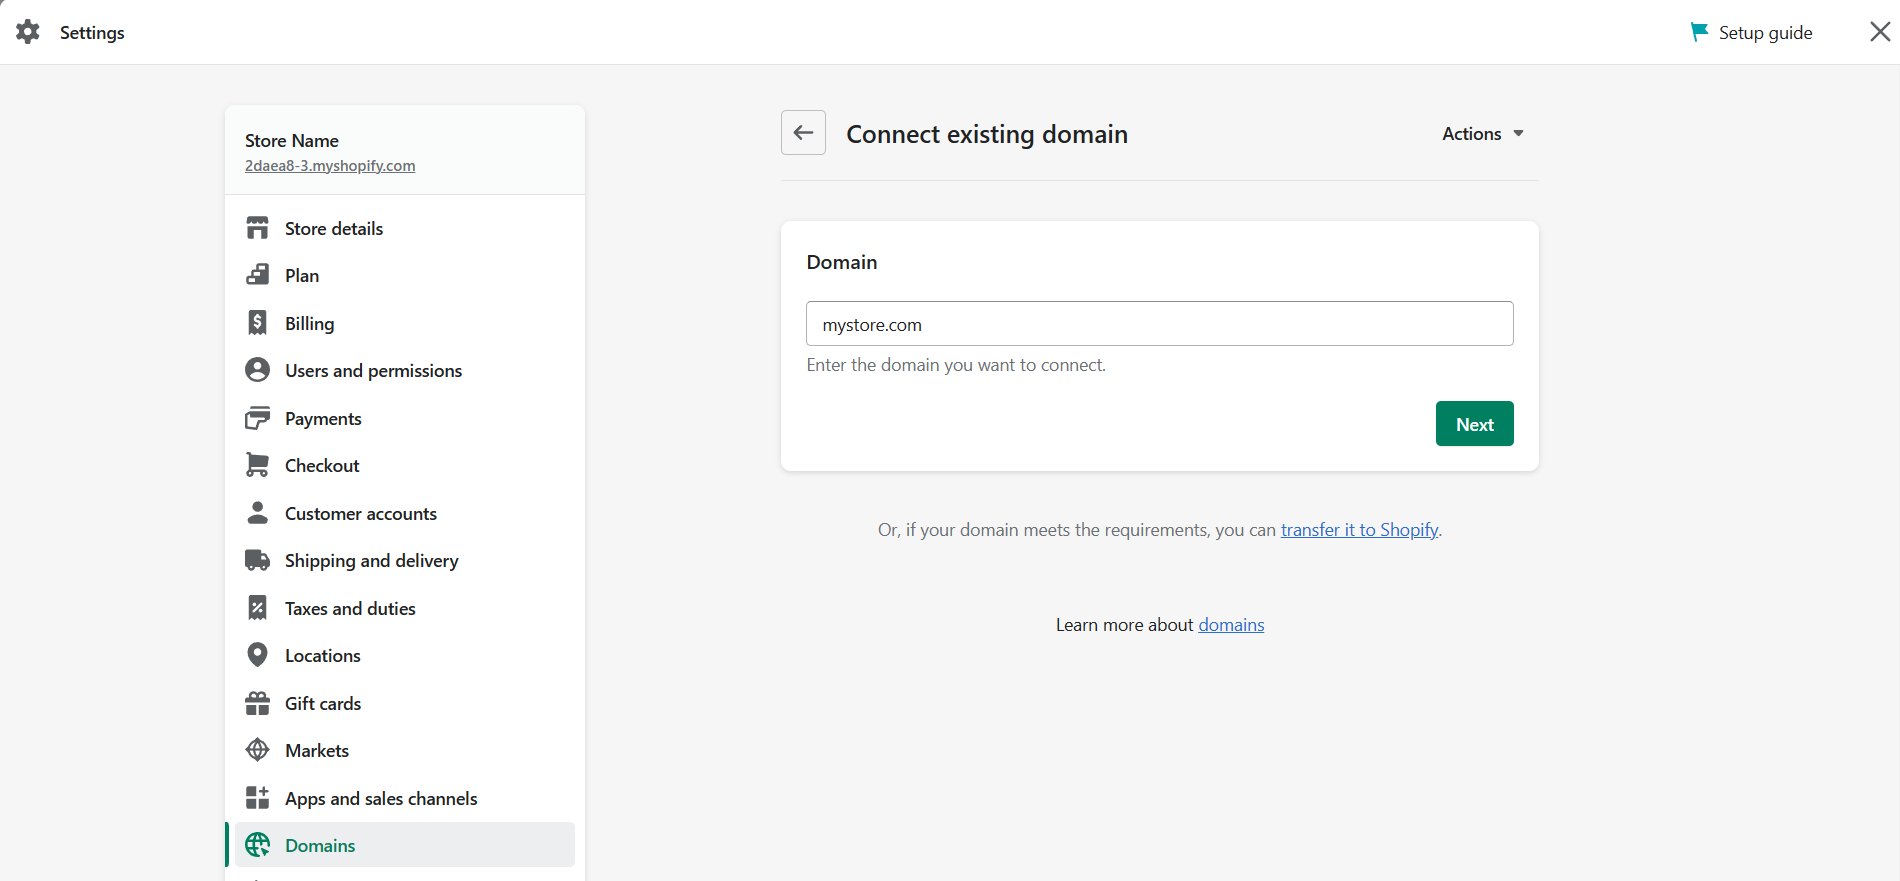
- To connect an existing domain, type it on the blank field indicated below.
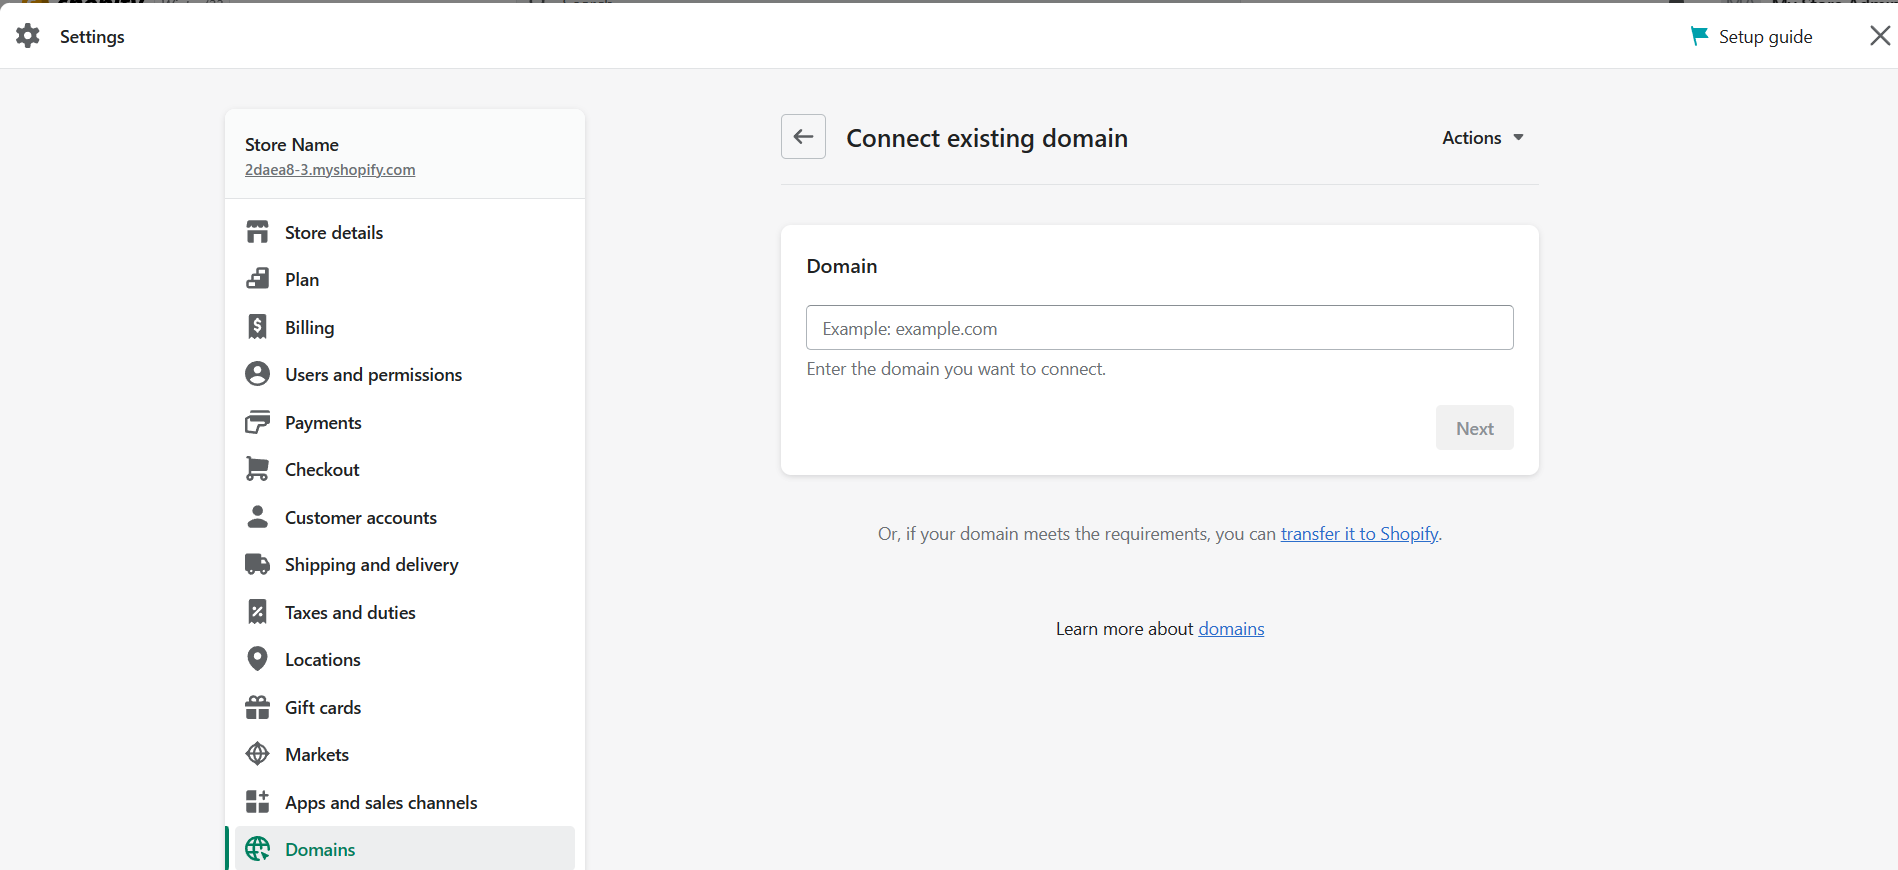
- After typing in your domain, click the “Next” button.
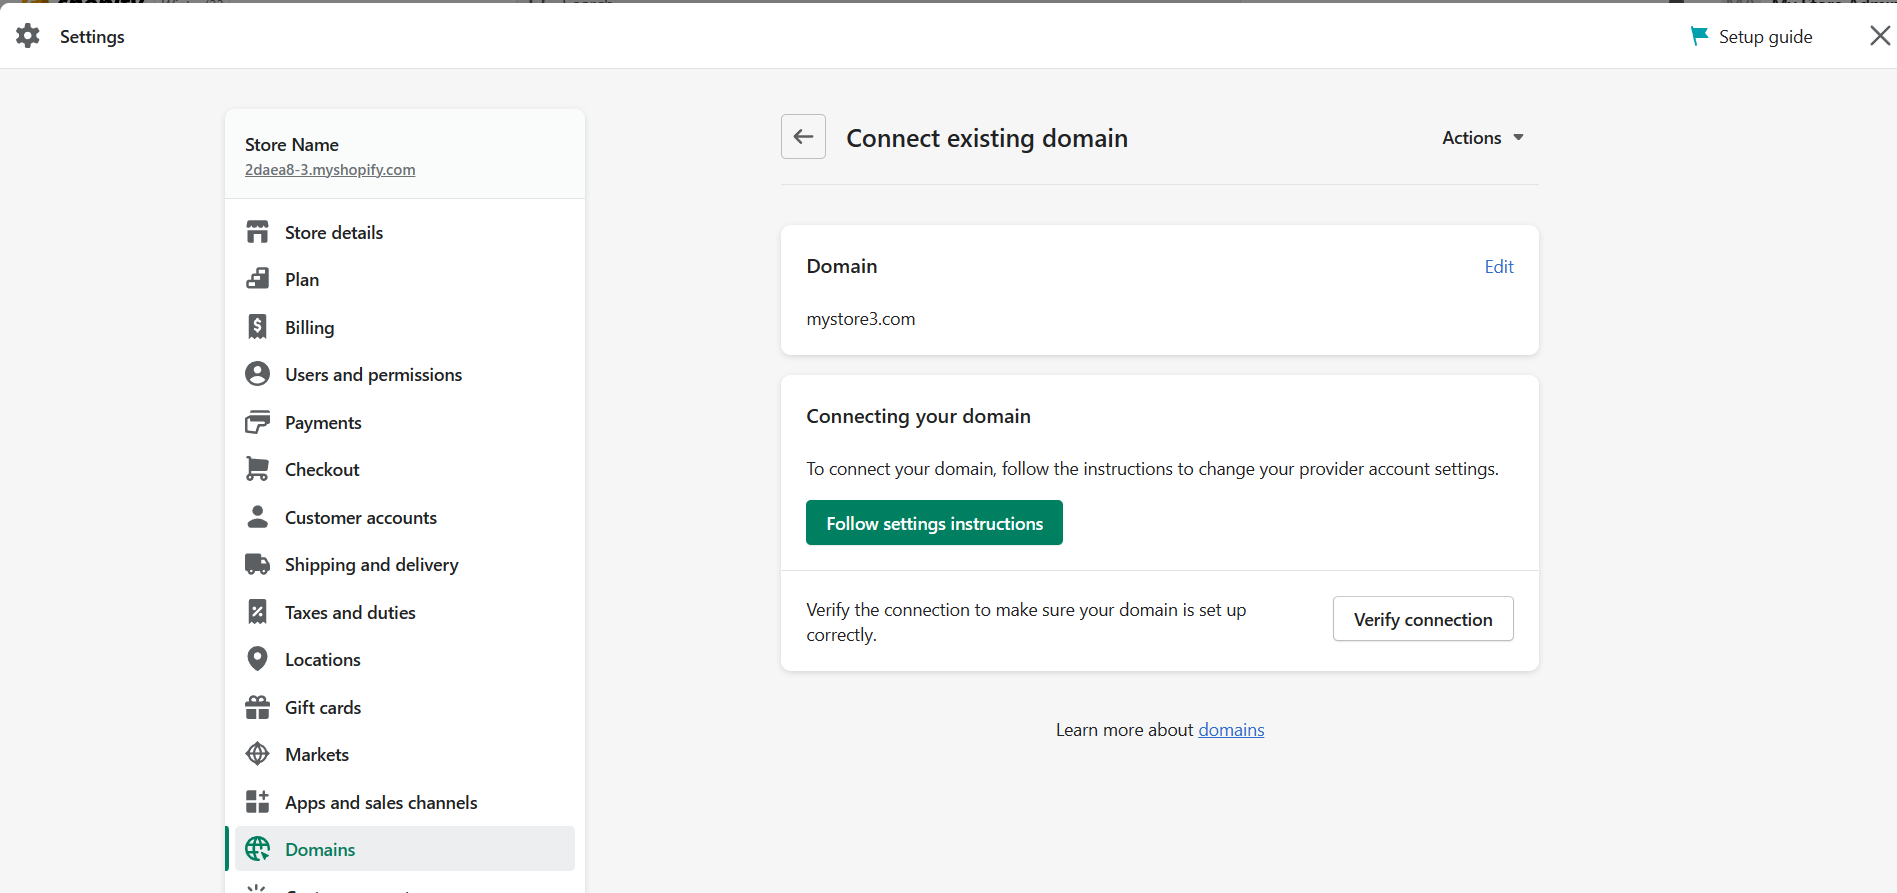
- After typing the existing domain, you can either Follow settings instructions first or verify the connection so you can make sure that you are connecting to the correct domain in your Shopify store. Disconnecting the domains is as hard as connecting them, so you must do the verification accordingly. Click the button of your preferred action.
Conclusion
You’re done! Always remember that setting up your Shopify store is the first step in creating a successful business because it allows you to create a platform where you can reach people and sell your products and/or services that could be beneficial to the website visitors.
-
To set up a Shopify store, you must first create a Shopify store account using your existing business email address. To see if you want to use it, Shopify provides users with a 3-day free trial which is beneficial for exploring the platform.
-
Creating an account enables you to create a Shopify ID, which you can use to install and bind different websites and apps that are beneficial to your store.
-
In setting up your Shopify store, there are four steps which include the addition of your first product, naming of the store, customization of online store, and addition of the custom domain.
-
Adding your products may be time-consuming especially if you have a variety of them. It is advisable to prepare the media beforehand so there will be no delay in adding it to your Shopify store.
-
Customization of your website’s theme plays a vital role in setting up your Shopify store because it is where the visitors see your products or services for the first time and it must leave a good impression on them so they would be encouraged to buy.