How to Generate Rich Google Snippets in Shopify for SEO
The main purpose of this procedure is to generate rich snippets which contain additional information that appears next to your website's URL in the search engine results page…
Prefer a shortcut? 16 free tools do parts of this for you.

Aim: The main purpose of this procedure is to generate rich snippets which contain additional information that appears next to your website's URL in the search engine results page (SERP).
Optimal Outcome: Having rich snippets on your website can also help establish your brand as a credible and trustworthy source of information, which can lead to increased traffic, leads, and conversions.
What do you need to start: You must have a Shopify account, and a Google Merchant account to start this procedure.
Why is this SOP Important: Rich snippets can contain various types of content, such as star ratings, product prices, event dates, and more. They can also help improve a website's visibility in search results, as they make the page stand out and attract more clicks.
When and Where to execute: The frequency of Rich Snippets appearing in your Shopify store's Google search results can vary based on the quality and trustworthiness of your site. You must proceed with this procedure upon publishing your Shopify account.
Who Should Be Doing This: The person in charge of managing your store must be responsible for this process.
What are Rich Google Snippets?
Rich snippets are additional information that appears in search engine results pages (SERPs) alongside a website's URL and meta description. They provide a summary of the web page's content and help users quickly determine whether the page is relevant to their search query.
Rich snippets can include various types of content, such as star ratings, product prices, event dates, and more. They are displayed in a visually appealing way and attract more attention from users, which can lead to increased click-through rates and website traffic.
To have rich snippets displayed in search results, websites must include structured data markup in their HTML code. This markup helps search engines understand the content of the webpage and display relevant information in the rich snippet.
Thus, if you search on Google, a typical result may look like this:

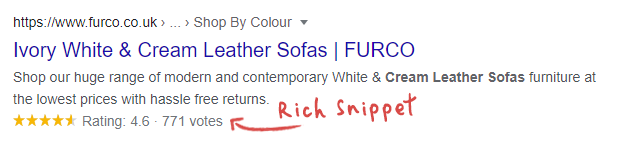
Nevertheless, using a Rich Snippet, it may look like this:
Types of Rich Snippets for eCommerce
Rich snippets come in a variety of forms, but many of them are only applicable to kinds of websites. Below are a few typical kinds you should utilize for your store:
Reviews: A review snippet is a short excerpt of a review or a rating from a website, generally an average of the combined rating rankings from numerous reviewers. Millions of websites utilize this form of structured data for a variety of content categories, including books, movies, events, products, and more.
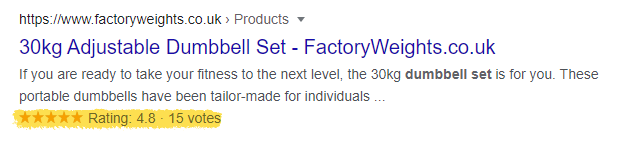
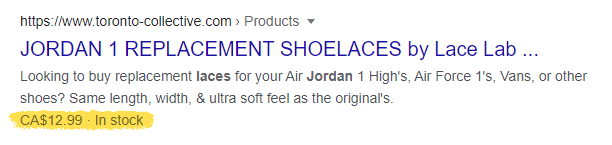
Product Offer: Product snippets enrich the presentation of review results. These can include additional information such as ratings, review details, price, and availability and are used for goods and product reviews.
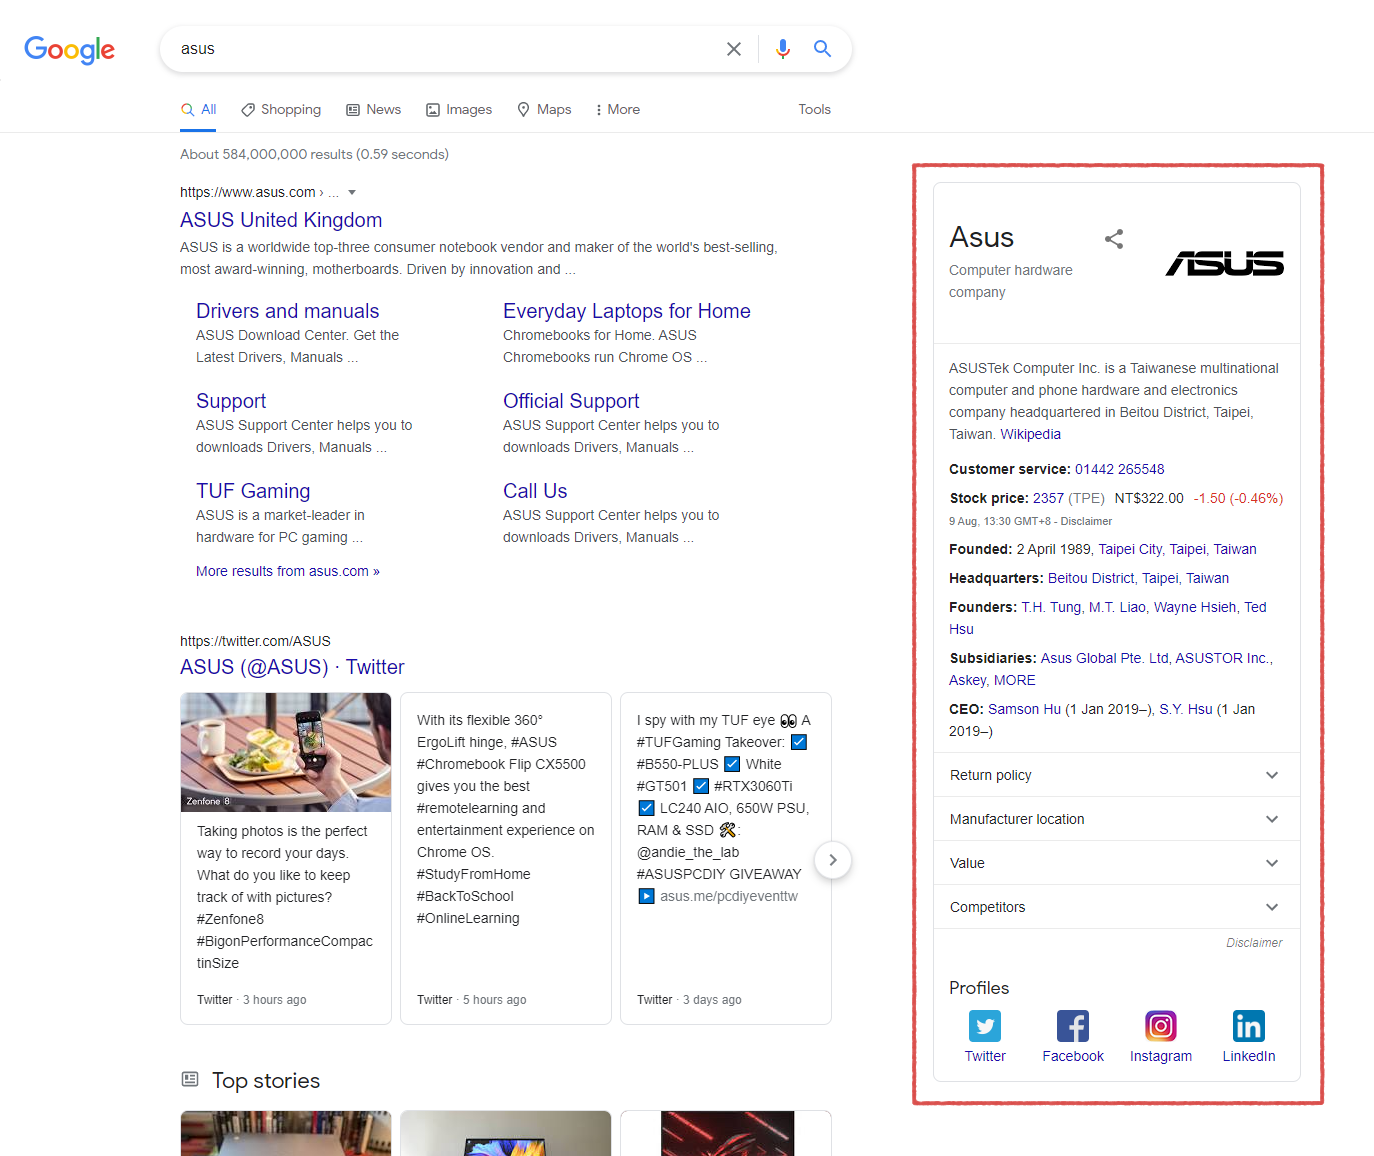
Organization: An organization snippet is a type of rich snippet that provides information about an organization or business, such as its name, logo, contact information, and social media profiles. Organization snippets can be displayed on search engine results pages (SERPs) when users search for a specific company or organization. They provide a quick and easy way for users to find basic information about the organization, without having to visit its website.
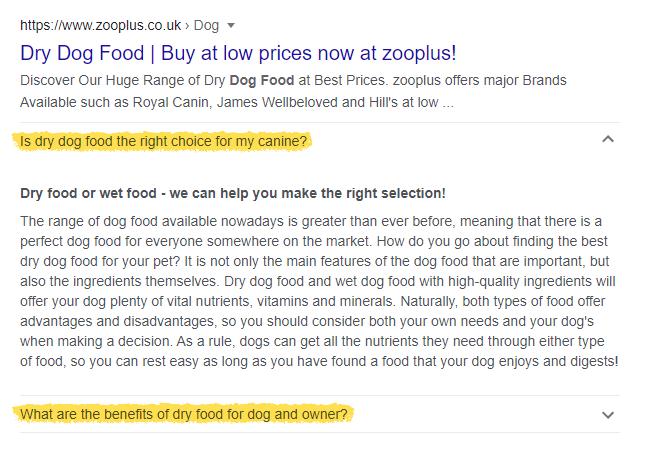
FAQ: A FAQ (Frequently Asked Questions) snippet is a type of rich snippet that displays a list of questions and answers related to a particular topic or subject. FAQ snippets are displayed in search engine results pages (SERPs) when users search for a specific query that matches one of the questions in the FAQ list. They provide a quick and easy way for users to find answers to commonly asked questions, without having to visit different websites or pages.
Execution
How to add a review to your Shopify Store
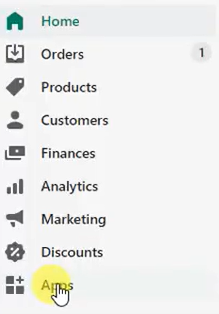
- Log in to your Shopify Account. Click Apps.
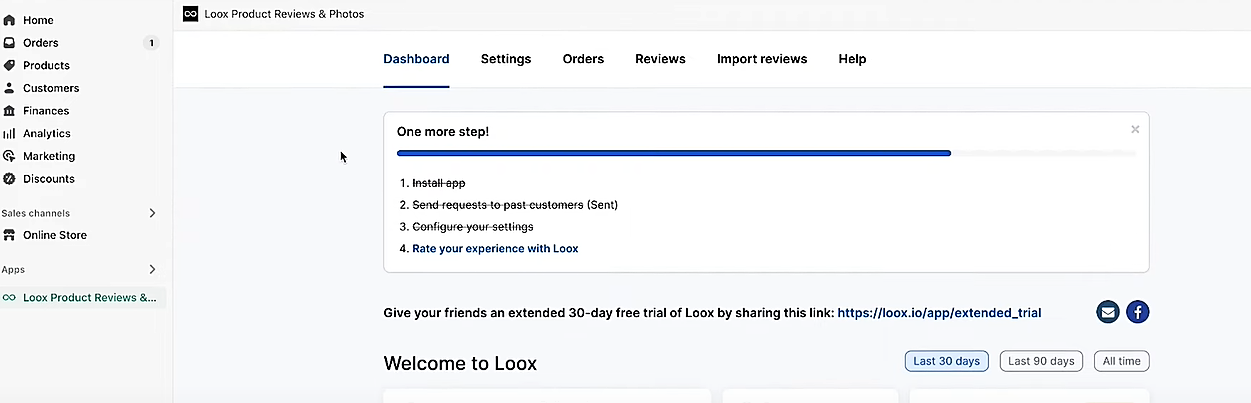
- Install and Add Loox Product Reviews & Photos.

- The Loox Dashboard appears as seen below.
- Click Settings.

- Set the following – Collect reviews, display reviews, referrals, upsell, Integration, Branding, and General – according to your needs.
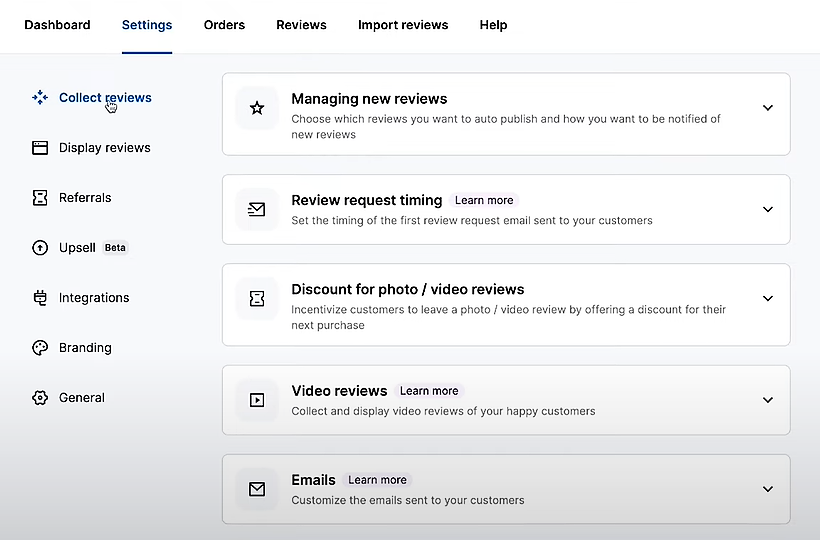
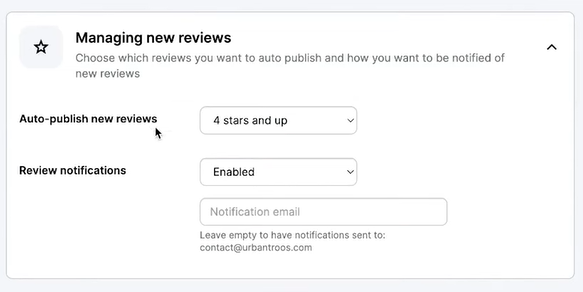
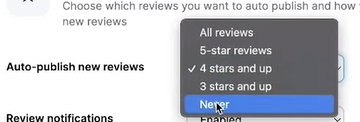
- After set up, proceed by clicking the managing new reviews. Select the appropriate review that you want to publish by clicking the drop-down arrow button.
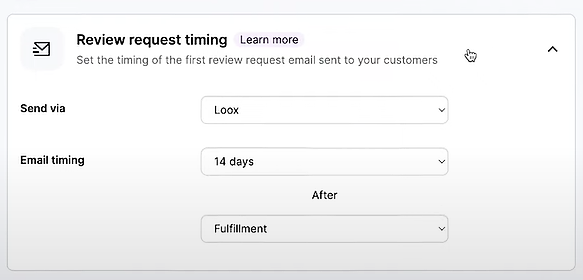
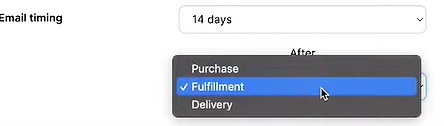
- Click the review request timing to set the timing of the first review request email sent to your customers. Click the drop-down arrow buttons to select the appropriate needs for your business.
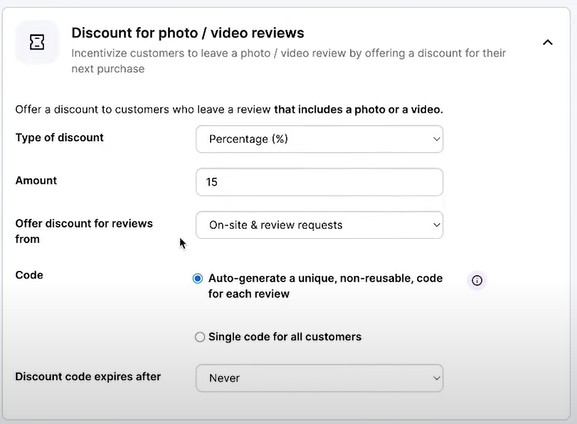
- Click the Discount for photo/video reviews if you want to offer a discount to customers who leave a review that includes a photo or video. Select the appropriate options as the owner of the store.
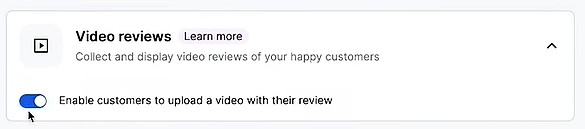
- Click the Video reviews and enable the button if you want your customers to upload a video with their reviews.
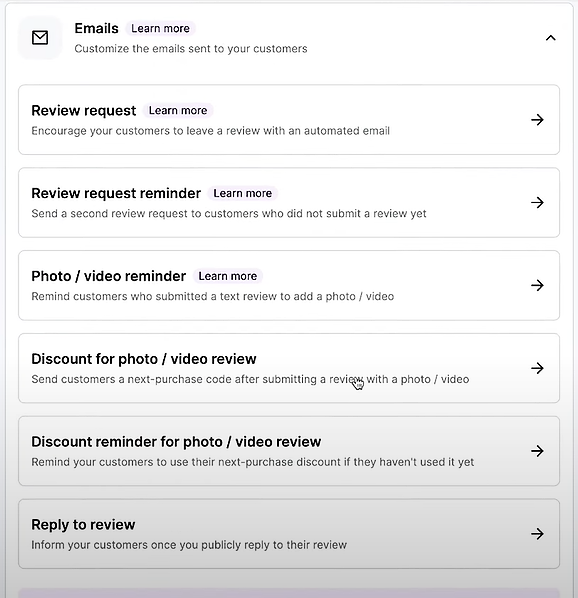
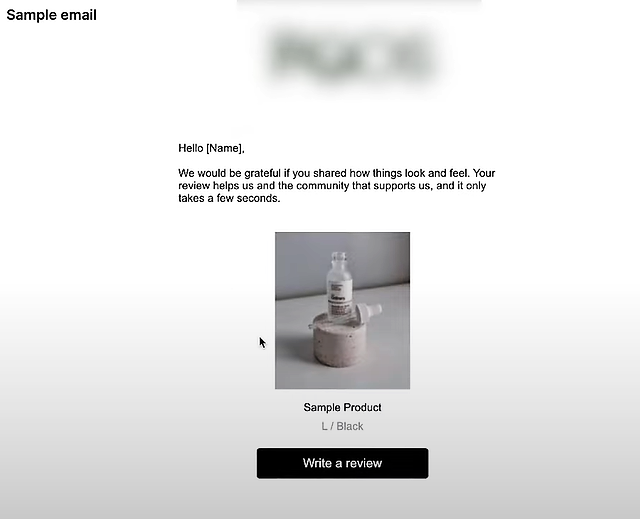
- Click the Emails. Customize the emails sent to your customers based on how you want your customers to receive your email. Click the arrow button to customize the email.
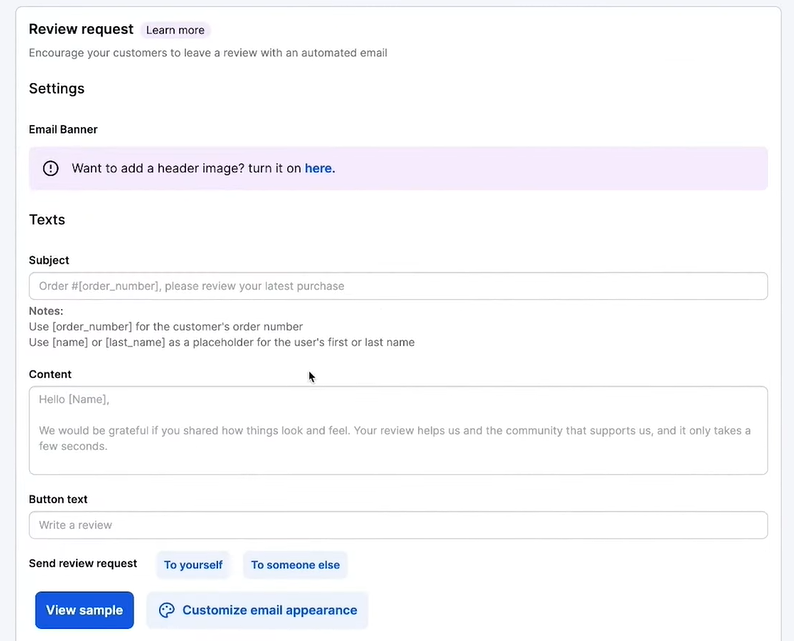
Review Request. This is the review request form upon clicking. Fill in the necessary details and customize your email appearance according to your needs.
Sample Review Request by Loox.
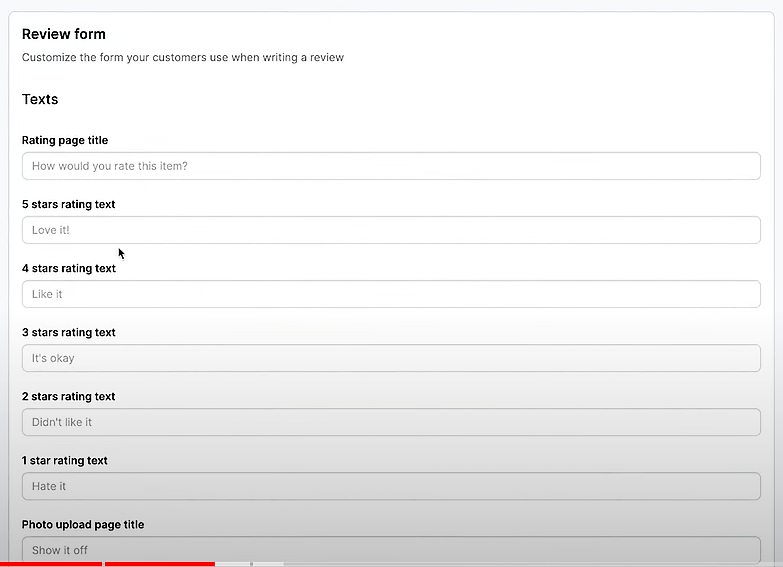
- Click the Review Form and customize the texts that correspond to the star rating or simply leave it out as per the Loox template.
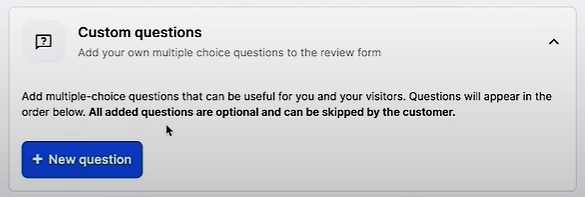
- Click the Custom questions > + New question if you want to add your multiple-choice questions to the review form.
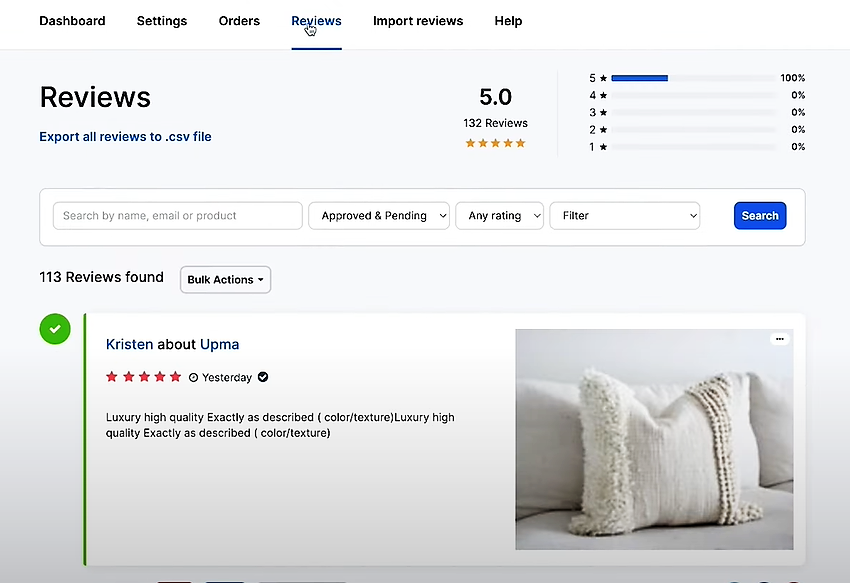
- Congratulations! You have successfully managed to add product reviews to your Store.
Generate Product Review stars rating in Google
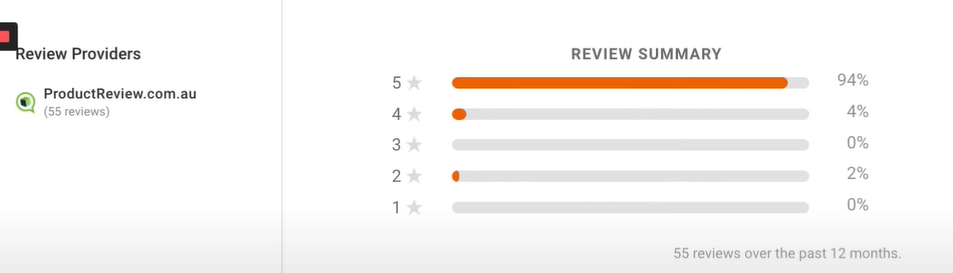
Remember that you must have at least 50 reviews across your whole store to generate a product review stars rating in Google.
-
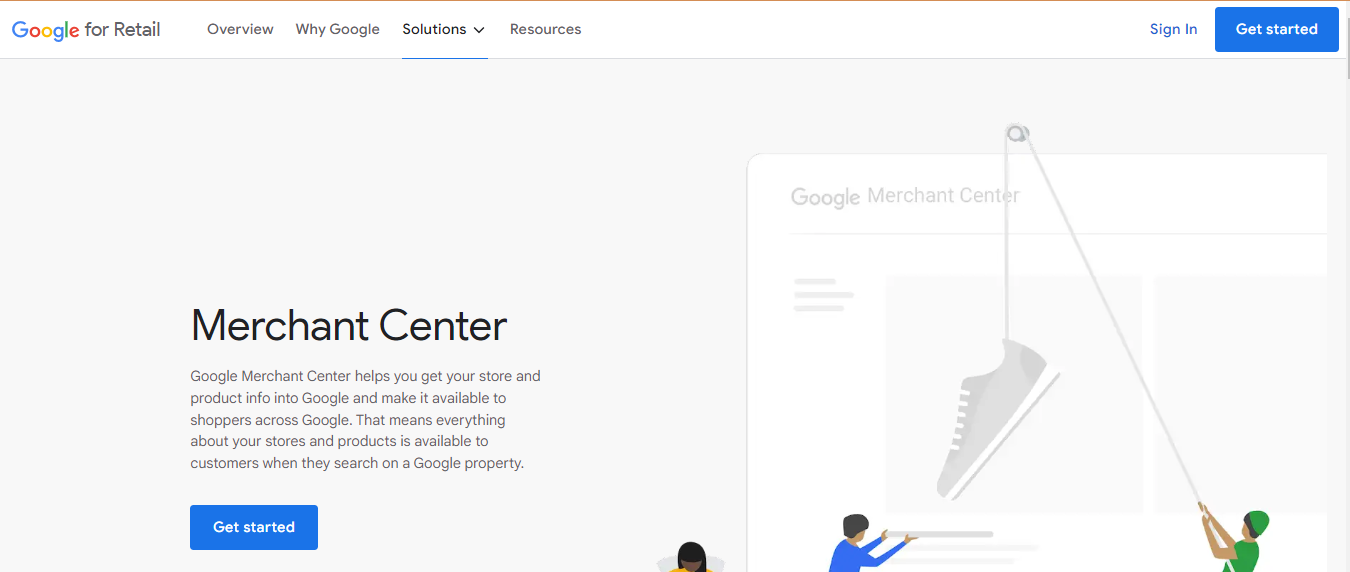
Visit Google for Retail and Sign up for an account or log in to your existing account.
-
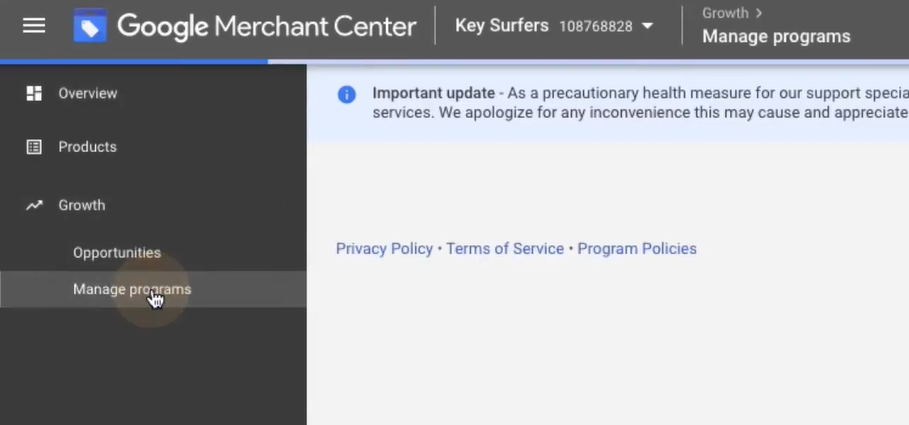
Once logged in, navigate to Google Merchant Center Dashboard. Click Growth, then Manage programs.
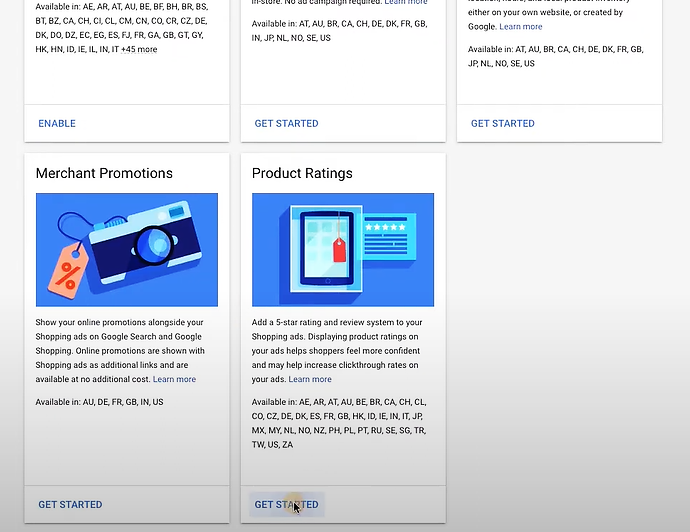
- Search for Product ratings then click the Get Started button.
- Fill out the required details in the Product Ratings Interest Form.
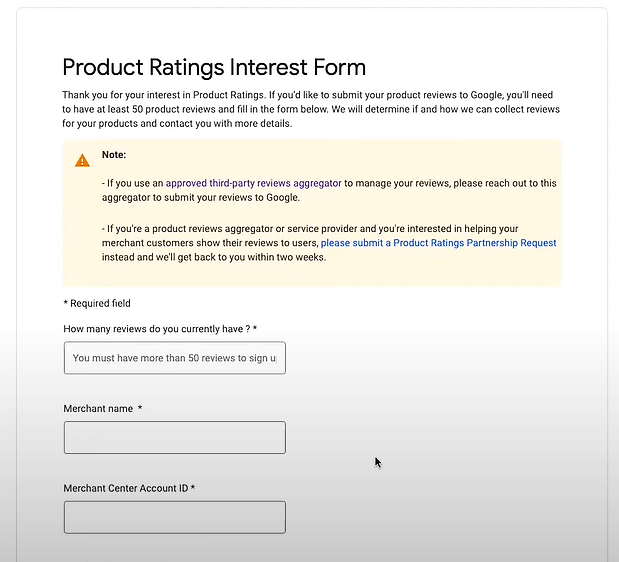
- Click the Submit button.
Note: It takes time to be approved by Google Merchants. Wait patiently.
Once approved, you need to get them imported into the Merchant Center.
Importing into Google Merchant Center
- Navigate to Google Merchant Center Dashboard. Click Growth, then Manage programs.
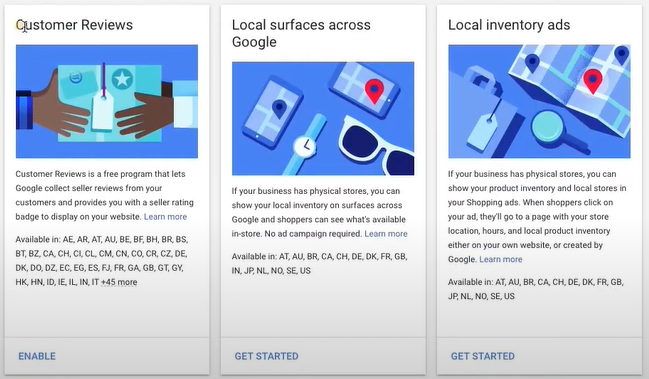
- Search for Customer reviews. Click the Enable button.
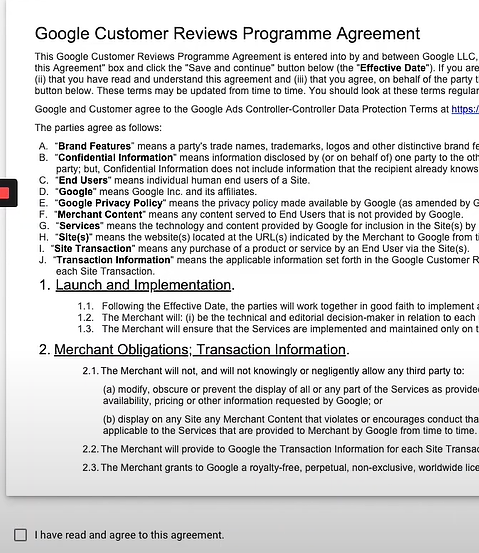
- Read the Customer Reviews Programme Agreement and tick the box upon agreeing with its terms and conditions.
- Click Save & Continue.
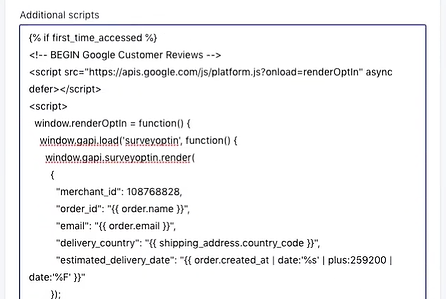
- You will be redirected to a page with a code that you need to edit and put on your Shopify website.
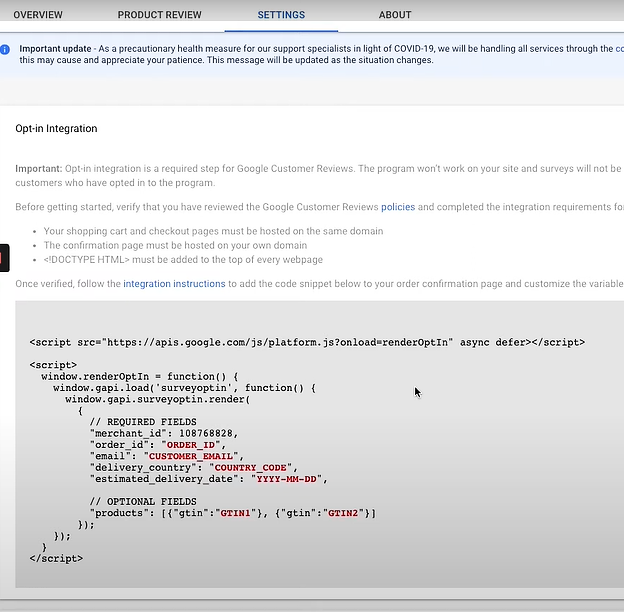
- Edit all red fonts in required and optional fields according to your Shopify account.
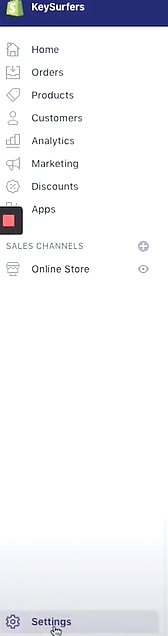
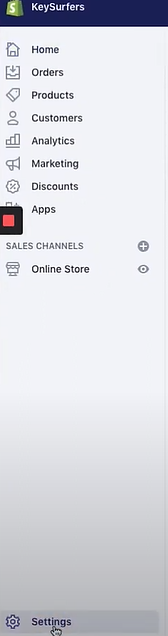
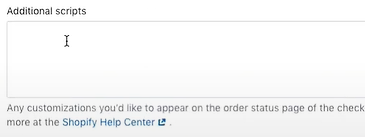
- Navigate to your Shopify account dashboard and proceed with Settings.
- Click on Checkout.
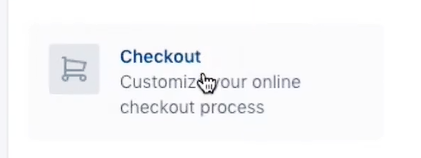
- Scroll down and search for Additional Scripts. Copy the code from the Google Merchant Center and paste it.

- Congratulations! You have now successfully generated rich google snippets of your Shopify Store.
Conclusion
You’re done! Keep in mind that Rich snippets are additional information that appears in search engine results pages (SERPs) alongside a website's URL and meta description. They provide a summary of the web page's content and help users quickly determine whether the page is relevant to their search query.
Rich snippets can include various types of content, such as star ratings, product prices, event dates, and more. They are displayed in a visually appealing way and attract more attention from users, which can lead to increased click-through rates and website traffic.