Setting Up the Apple Business Chat Sales Channel in Shopify
Add the Apple Business Chat channel to your Shopify store so customers can message you straight from their Apple devices.
Prefer a shortcut? 16 free tools do parts of this for you.
Aim: To add Apple Business Chat (now known as Apple Messages for Business) as a channel in your Shopify store so customers can start a conversation with you from their Apple devices.
Optimal Outcome: The Apple Business Chat channel is connected to your store, giving iPhone, iPad, and Mac customers a fast, native way to ask questions and get support without leaving Messages.
What do you need to start:
-
A Shopify store with admin access
-
Apple Messages for Business enabled for your business — if you haven't done this yet, complete Enabling Apple Business Chat in Your Shopify Store first
-
A messaging app or provider from the Shopify App Store that supports Apple Messages for Business
Why is this SOP Important: Adding the channel inside Shopify is what turns your Apple registration into a working customer touchpoint. With it in place, support and pre-sale questions get answered in the app your customers already live in — reducing friction, building trust, and recovering sales that would otherwise be lost to unanswered questions.
Important — Apple's status: Apple Business Chat was rebranded to Apple Messages for Business, and Apple has announced it is being wound down. Confirm the current availability on Apple's official pages, and check the Shopify App Store for the messaging app that best fits your store before you begin.
When and Where to execute: Inside your Shopify admin, after you've registered with Apple Messages for Business.
Who Should Be Doing This: The store owner, or the person responsible for customer support and messaging.
What is the Apple Business Chat channel?
In Shopify, a sales/messaging channel is an additional place — beyond your online store — where you connect with customers. The Apple Business Chat channel links your Apple Messages for Business account to your store through a messaging app, so conversations started on Apple devices flow into a single inbox your team can manage.
Execution
Resources/Tools & Set up
-
A Shopify store with admin access
-
Apple Messages for Business already enabled (see the companion SOP)
-
A messaging app from the Shopify App Store
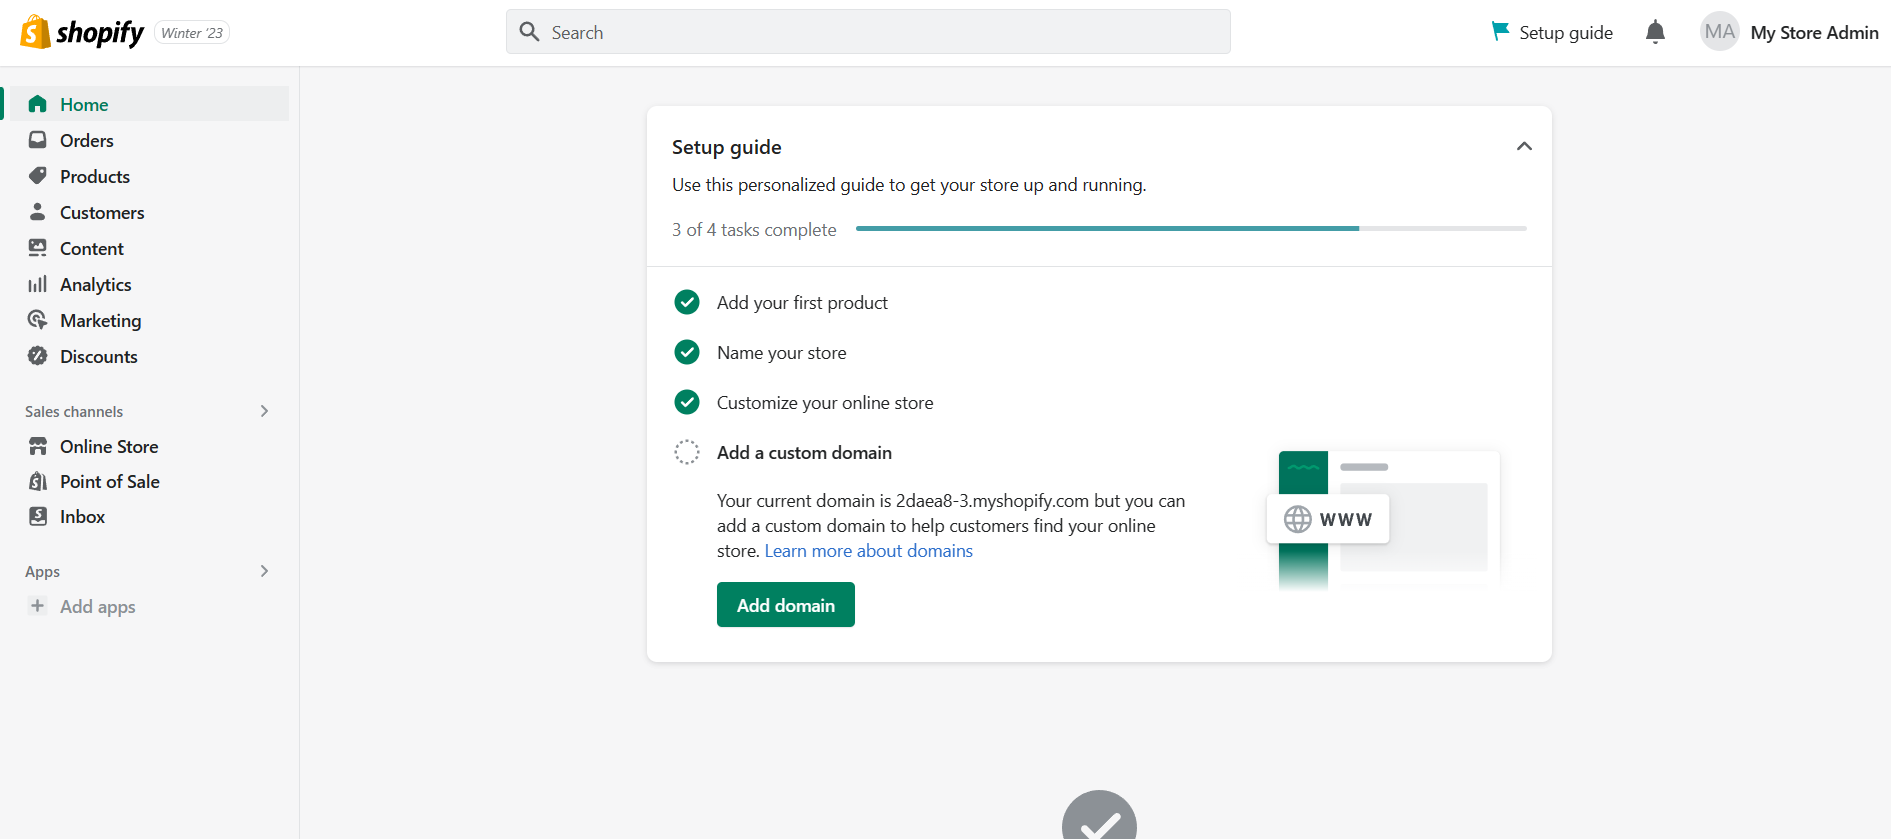
Open your Shopify admin
- Log in to your Shopify admin. From the home dashboard you'll see your setup guide and, in the left sidebar, your current Sales channels and Apps.
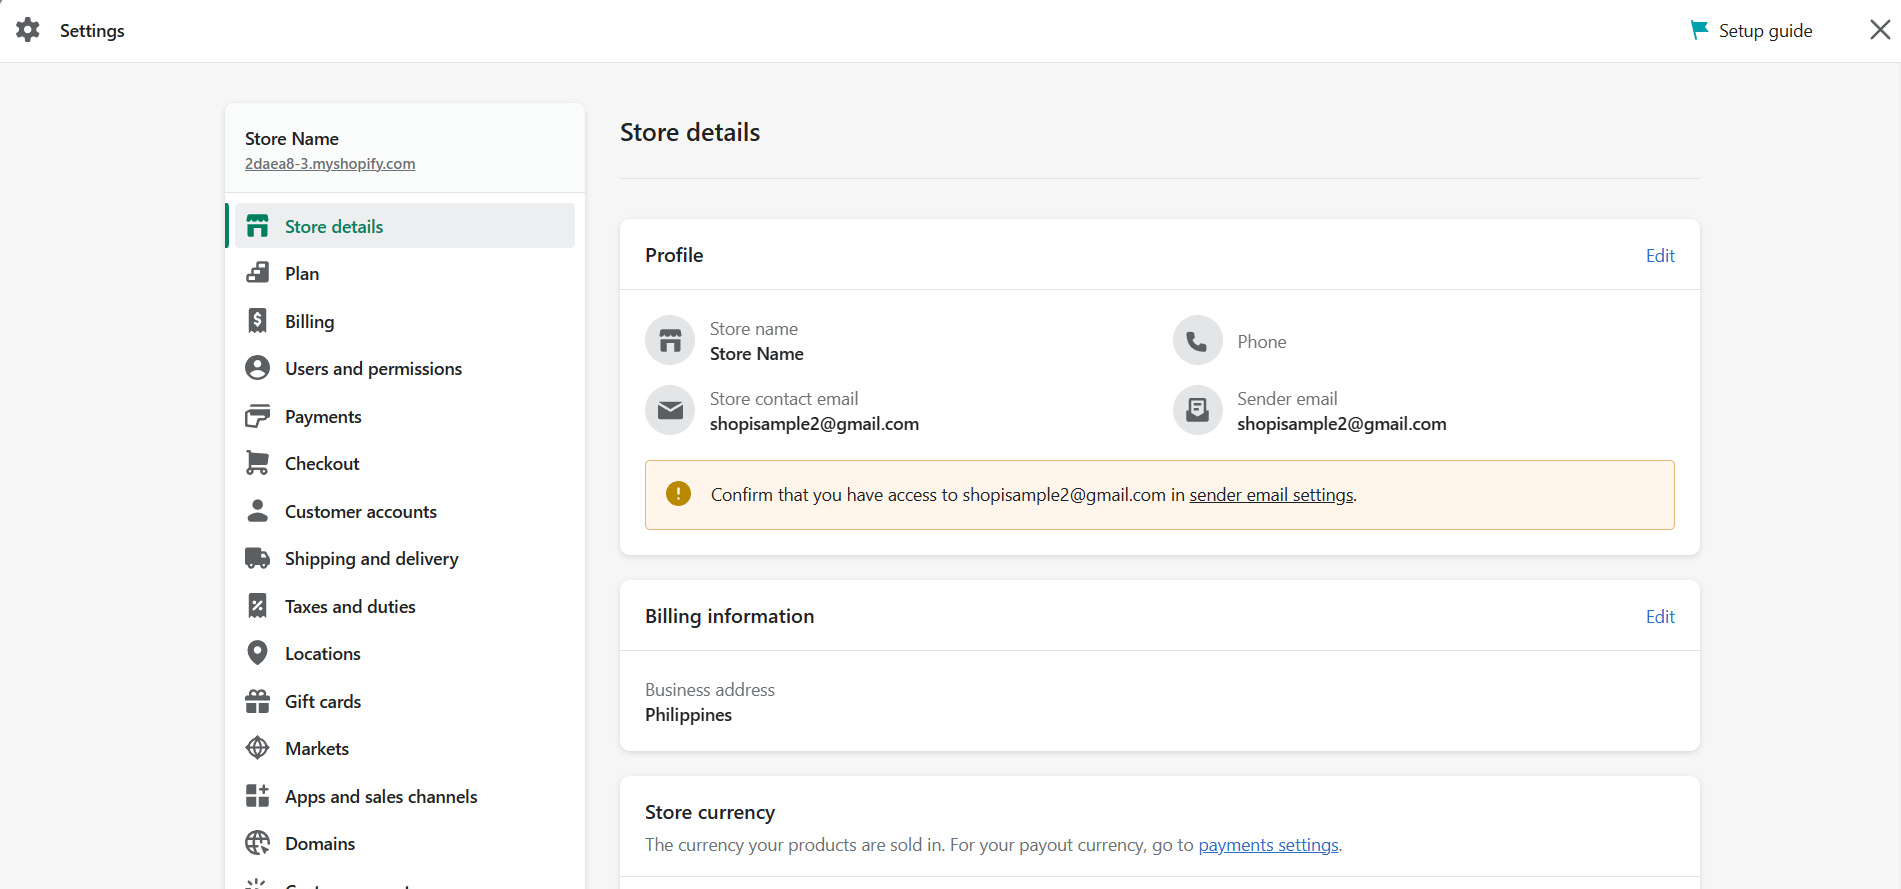
Go to Apps and sales channels
- Click Settings (bottom-left), then open Apps and sales channels from the settings menu.
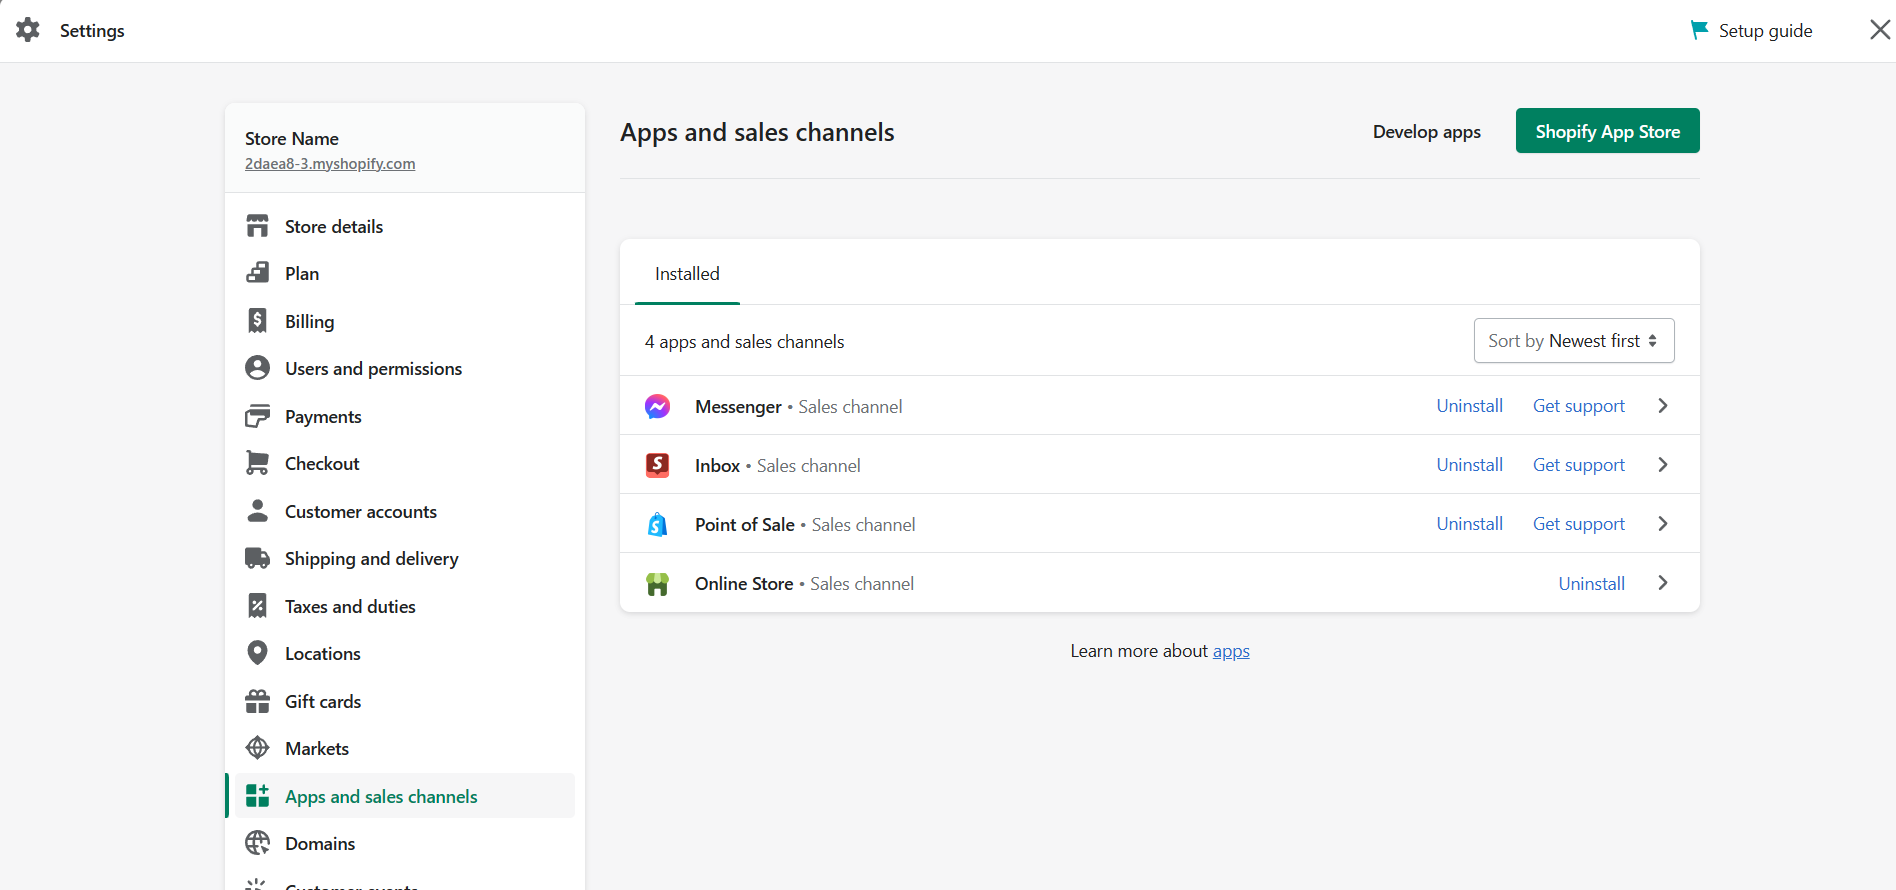
- On the Apps and sales channels page you'll see everything currently installed on your store. To add a new one, click Shopify App Store in the top-right corner.
Find a messaging app on the Shopify App Store
- The Shopify App Store opens in a new tab.
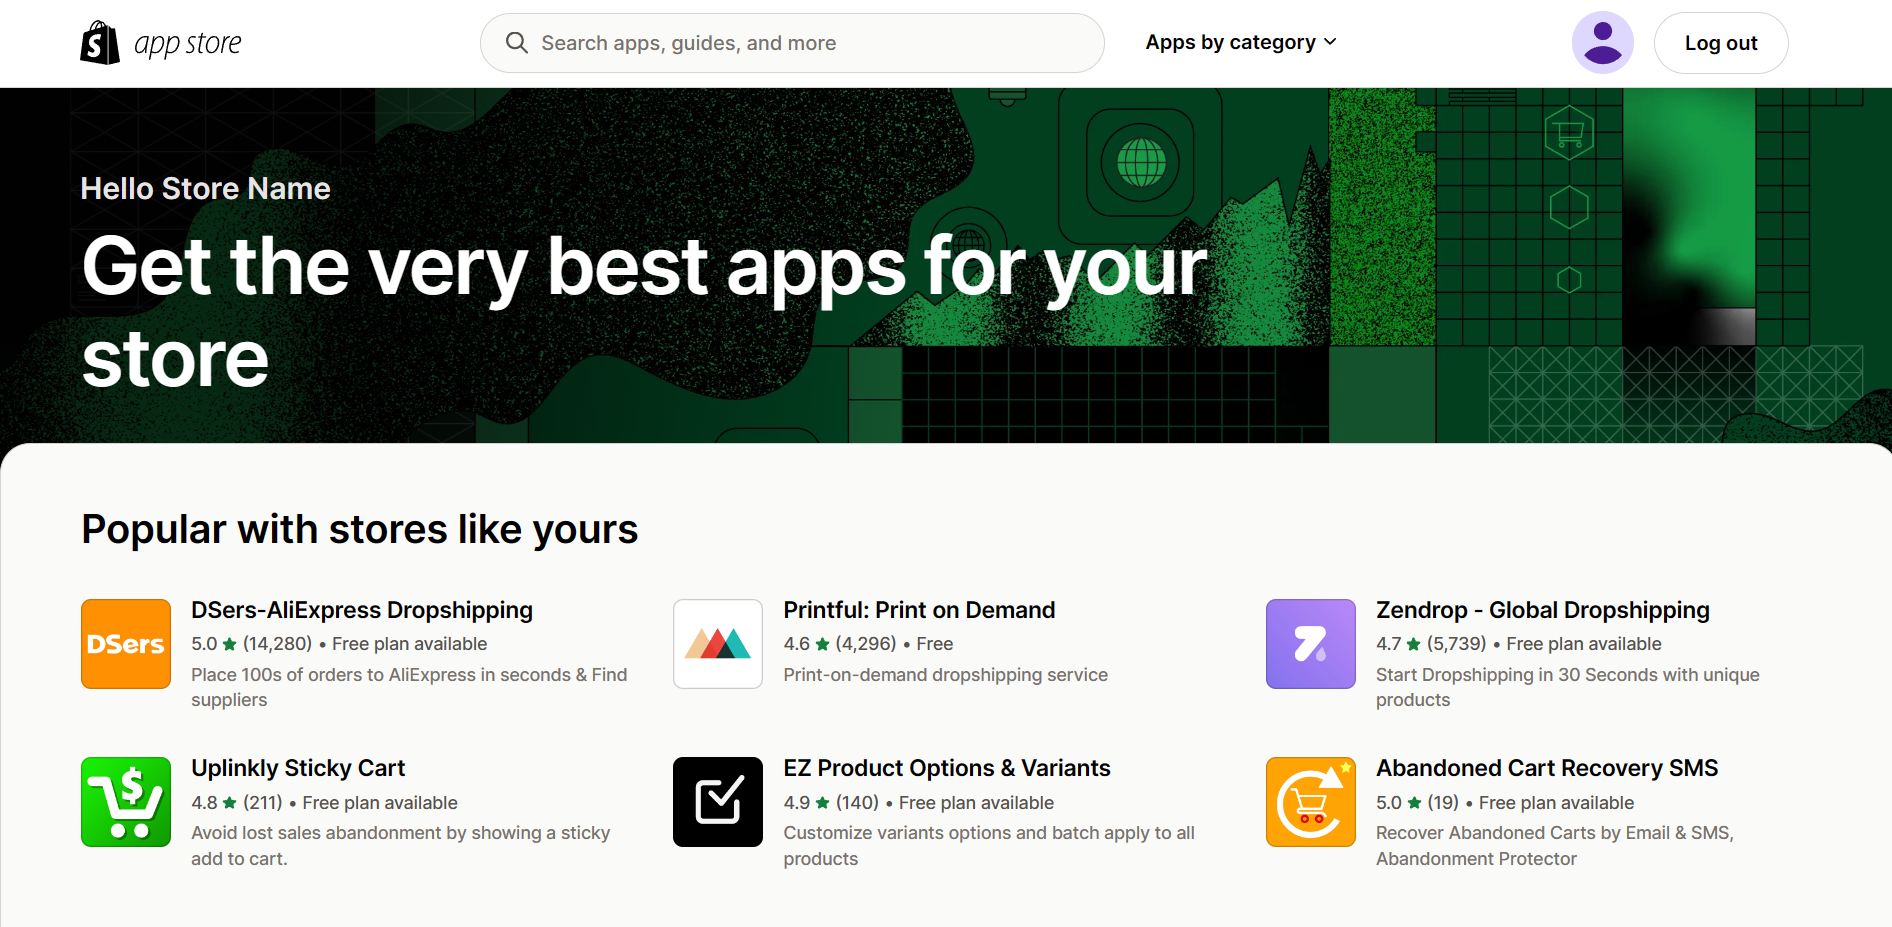
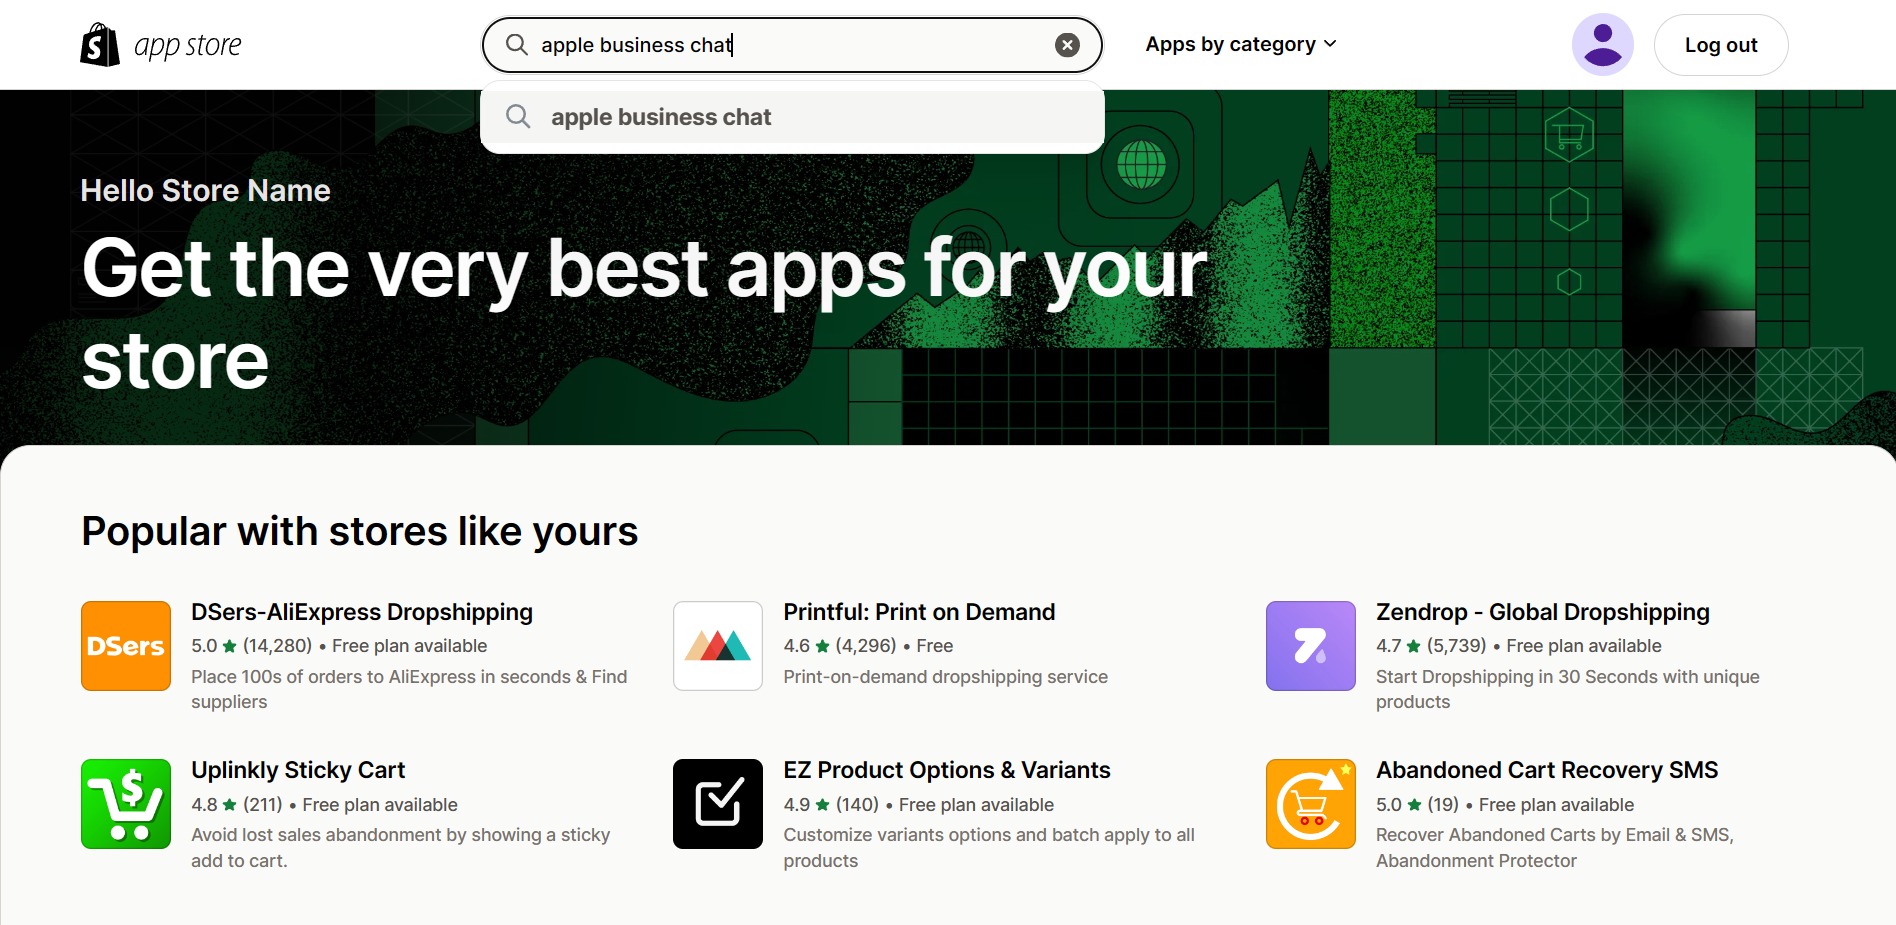
- In the search bar, type apple business chat (or Apple Messages for Business) and review the available apps that support it. Check each app's description, pricing, and reviews to find the one that fits your store and your messaging provider.
Install and connect the app
-
Open the app you've chosen and click Add app (or Install), then follow the prompts to grant it access to your store.
-
Inside the app, connect it to your Apple Messages for Business account and finish any configuration it requires — such as setting business hours, an auto-reply, and which team members handle chats.
-
Send a test message from an Apple device to confirm conversations arrive in the app's inbox and that you can reply successfully.
Conclusion
You're done! The Apple Business Chat channel is connected to your Shopify store, and customers on Apple devices can now message you directly.
Execution Checklist:
-
Confirm Apple Messages for Business is already enabled
-
Open Settings → Apps and sales channels in your Shopify admin
-
Go to the Shopify App Store and search for an Apple Business Chat app
-
Install the app that fits your store
-
Connect it to your Apple Messages for Business account and configure it
-
Send a test message to confirm everything works