How to Build a Branded Knowledge Base Using Helpscout
To create a branded knowledge base using Help Scout that provides your customers with self-service support and improves their overall experience with your brand.
Prefer a shortcut? 16 free tools do parts of this for you.

Aim: To create a branded knowledge base using Help Scout that provides your customers with self-service support and improves their overall experience with your brand.
Optimal Outcome: A fully functional branded knowledge base that allows your customers to easily find answers to their questions and get help with their problems without the need for human intervention. This helps to improve customer satisfaction and reduce the load on your support team.
What do you need to start:
-
A Help Scout account
-
A list of frequently asked questions and their corresponding answers
-
A design style guide or branding guidelines
-
A dedicated team member or members to create and maintain the knowledge base
Why is this SOP Important: A branded knowledge base can significantly improve the customer experience and reduce support tickets. By providing a comprehensive self-service platform, customers can quickly find solutions to their problems and continue with their journey without any hiccups. A well-designed knowledge base also reinforces your brand's image and builds customer trust.
When and Where to execute: This SOP can be executed at any time and can be repeated as needed to keep the knowledge base updated with the latest information.
Who Should Be Doing This: This task should be assigned to a team member or members responsible for customer support or content creation.
Set up a Help Scout account
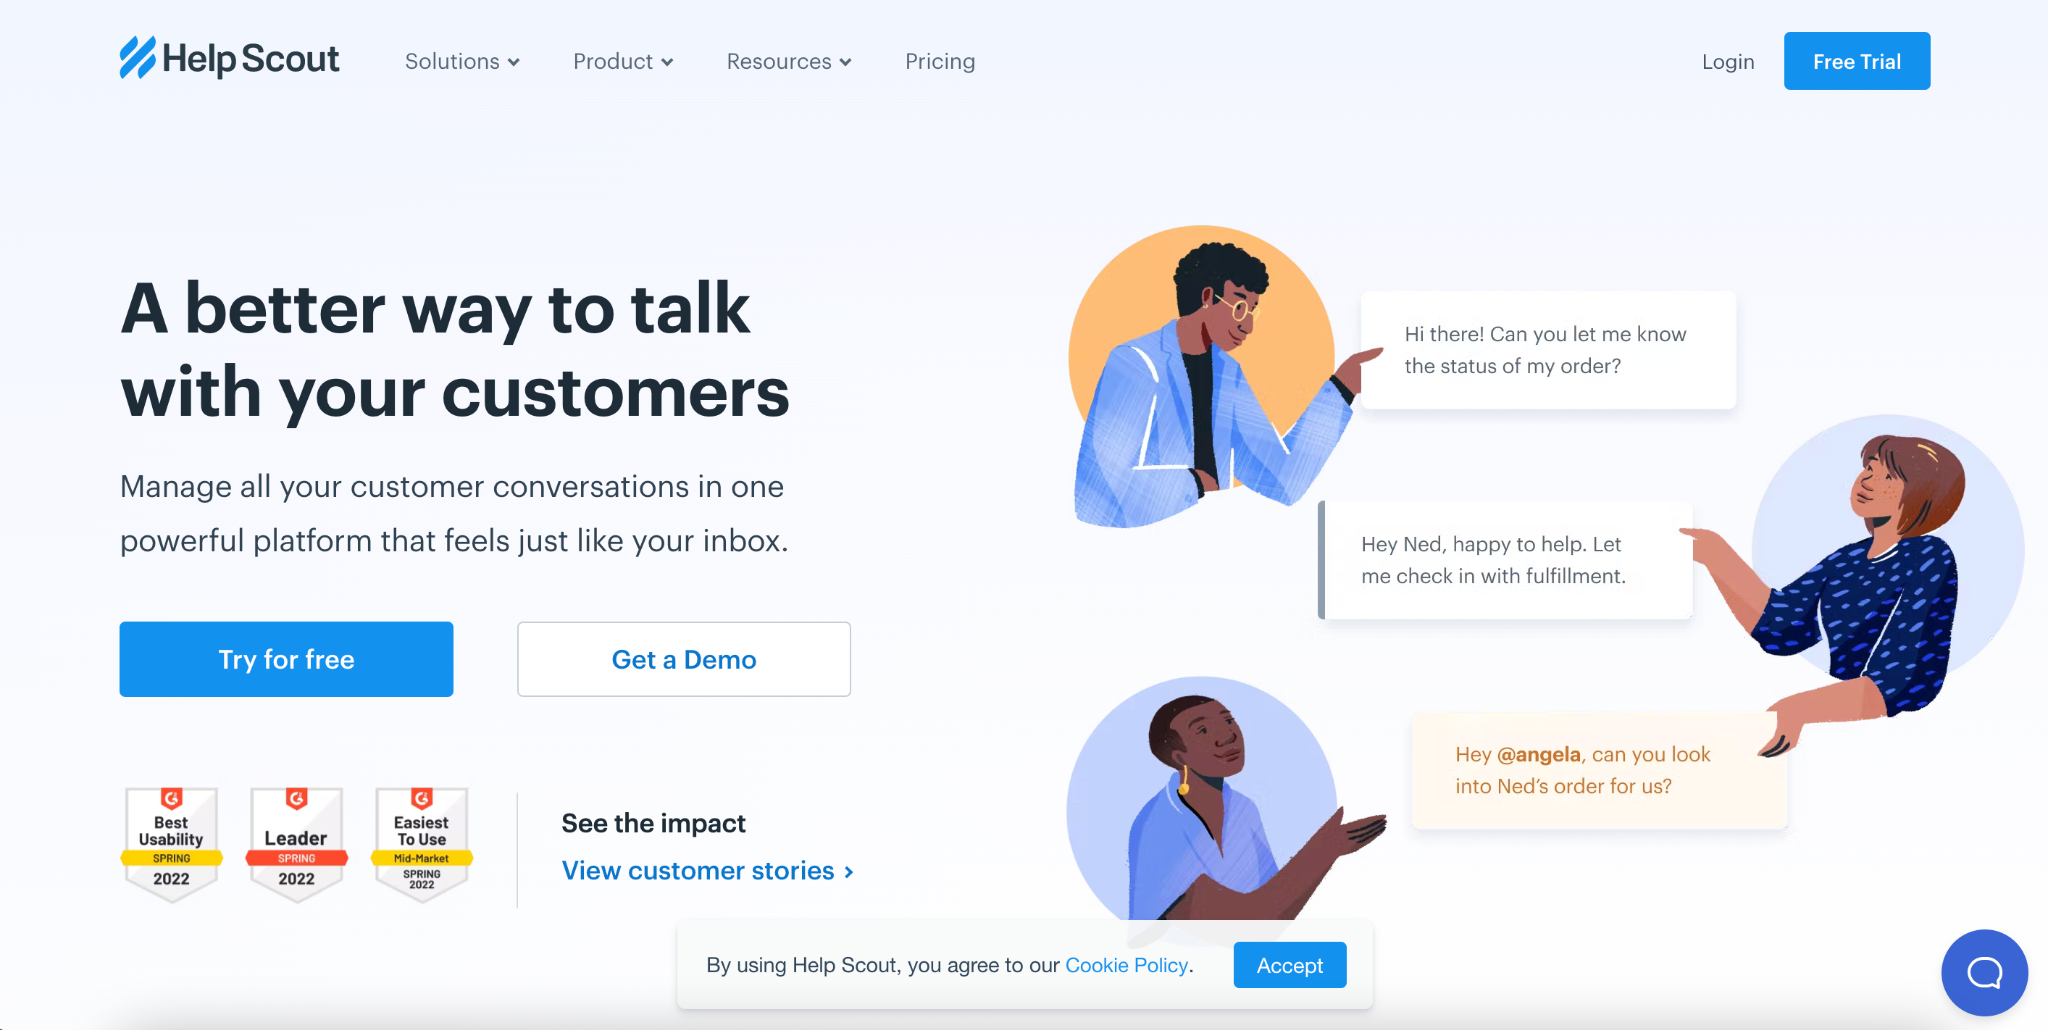
- Go to the www.helpscout.com and click the Free Trial button in the upper right corner.
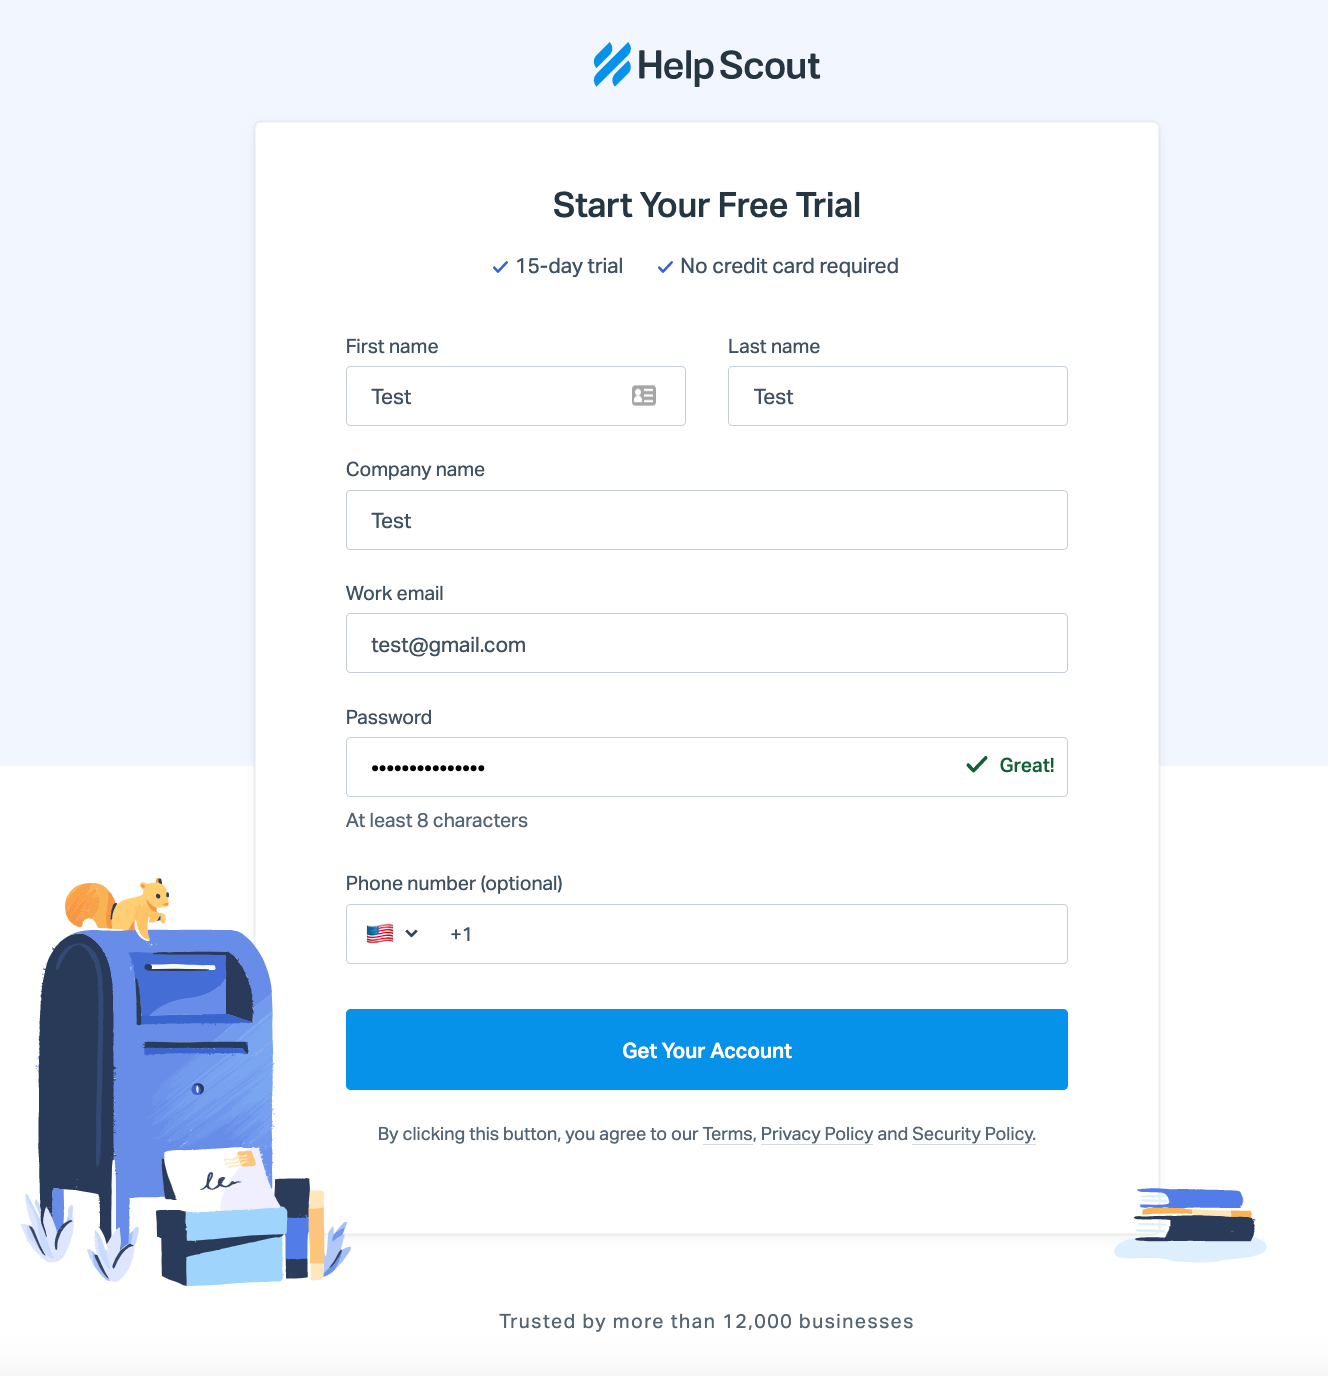
- Fill out the required fields and click Get Your Account.
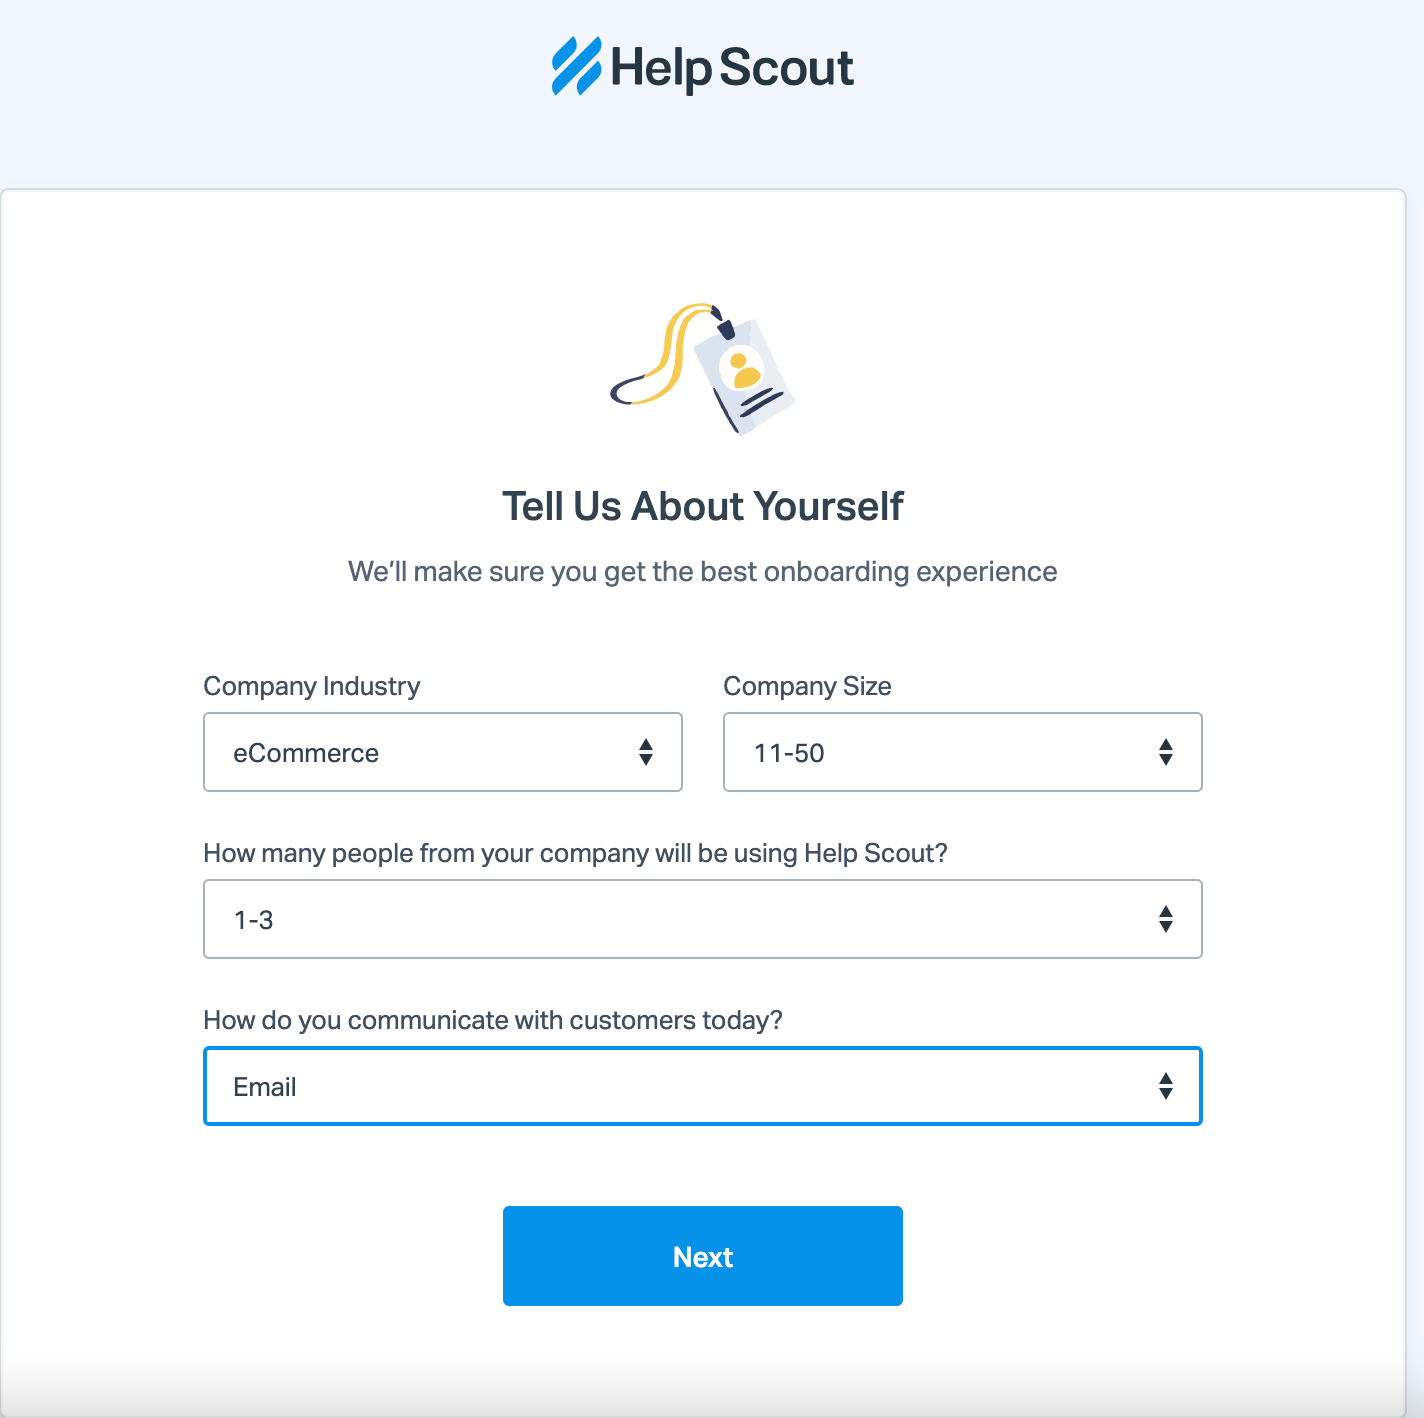
- Fill-out the Tell Us About Yourself section, then click Next.
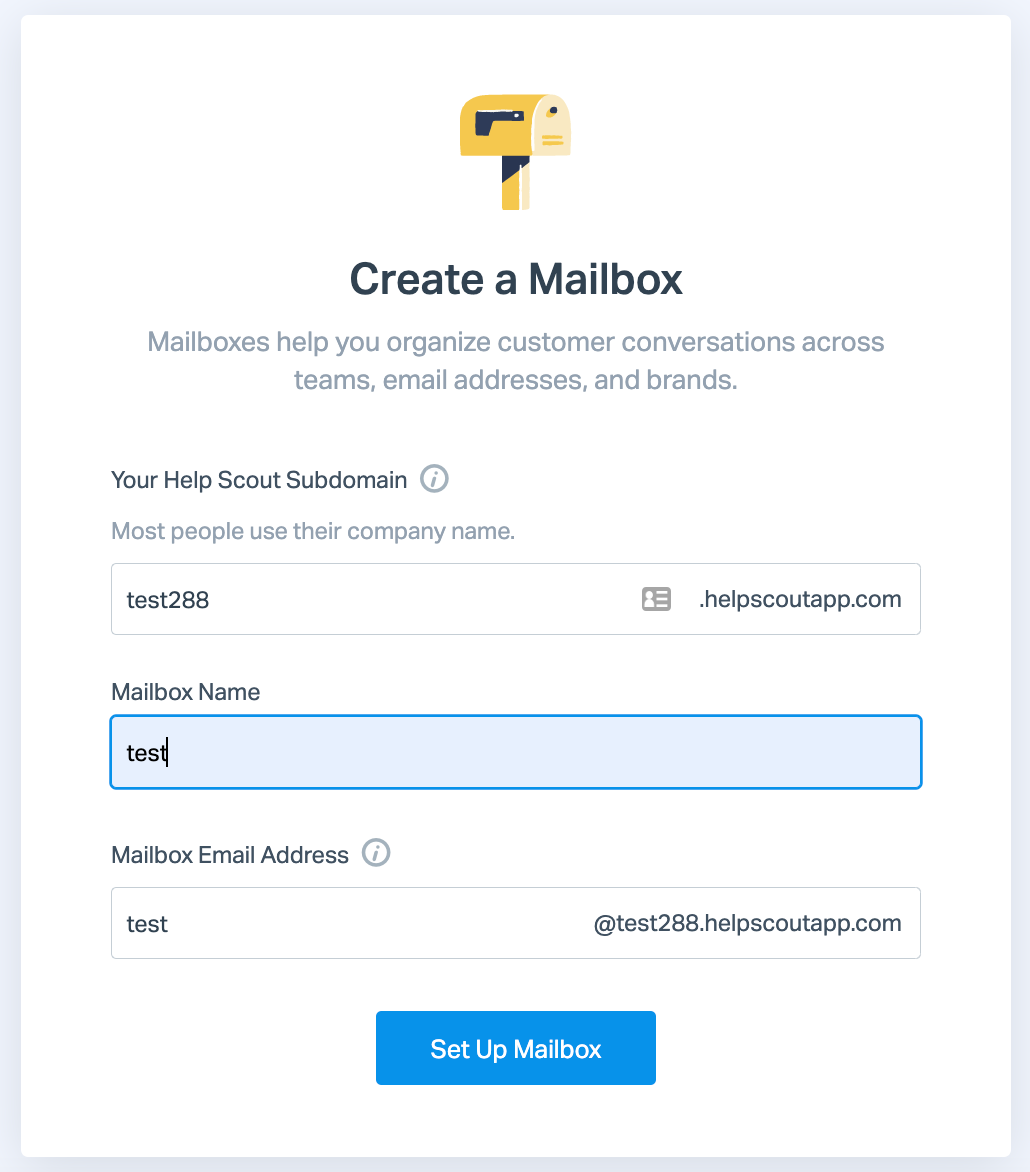
- Fill-out the Create a Mailbox secion then click Set Up Mailbox.
- You will be redirected to your dashboard and wil be asked to complete the setup guide.
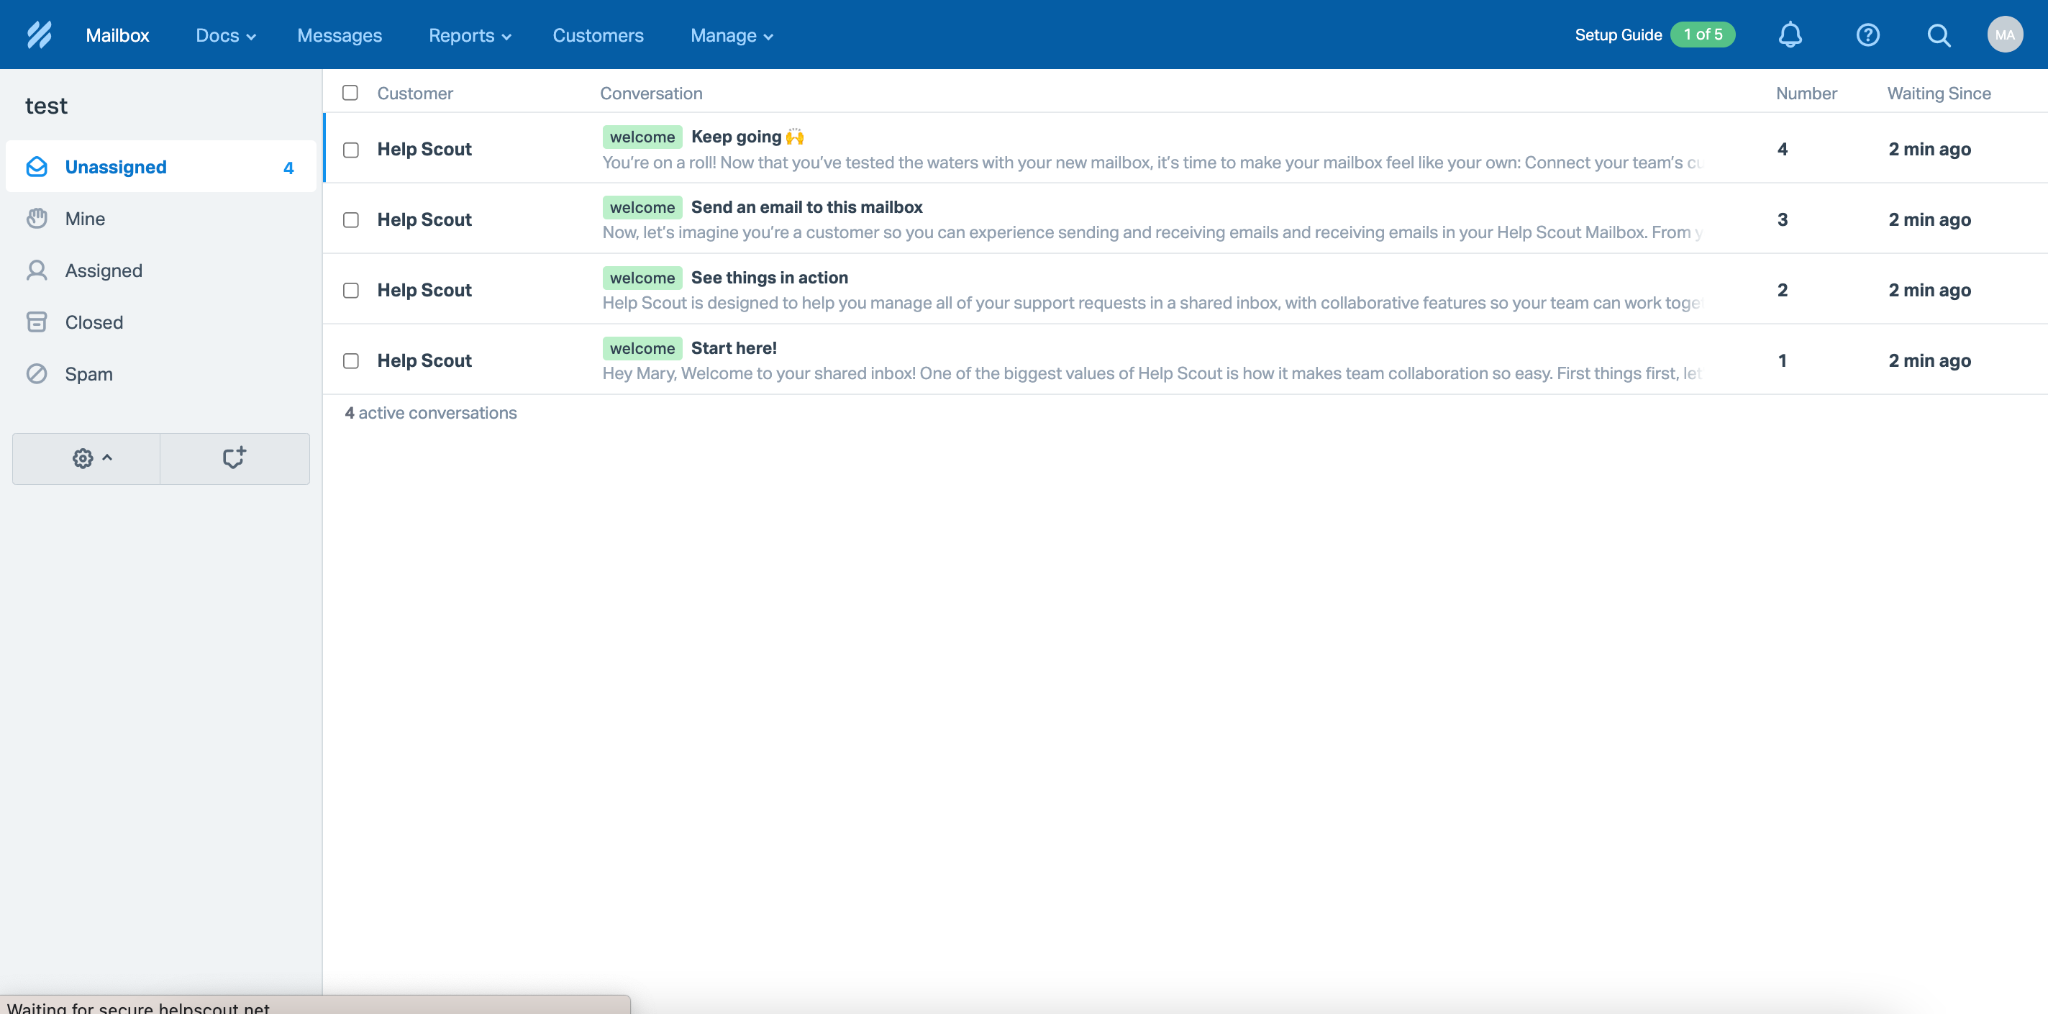
Set up a knowledge base
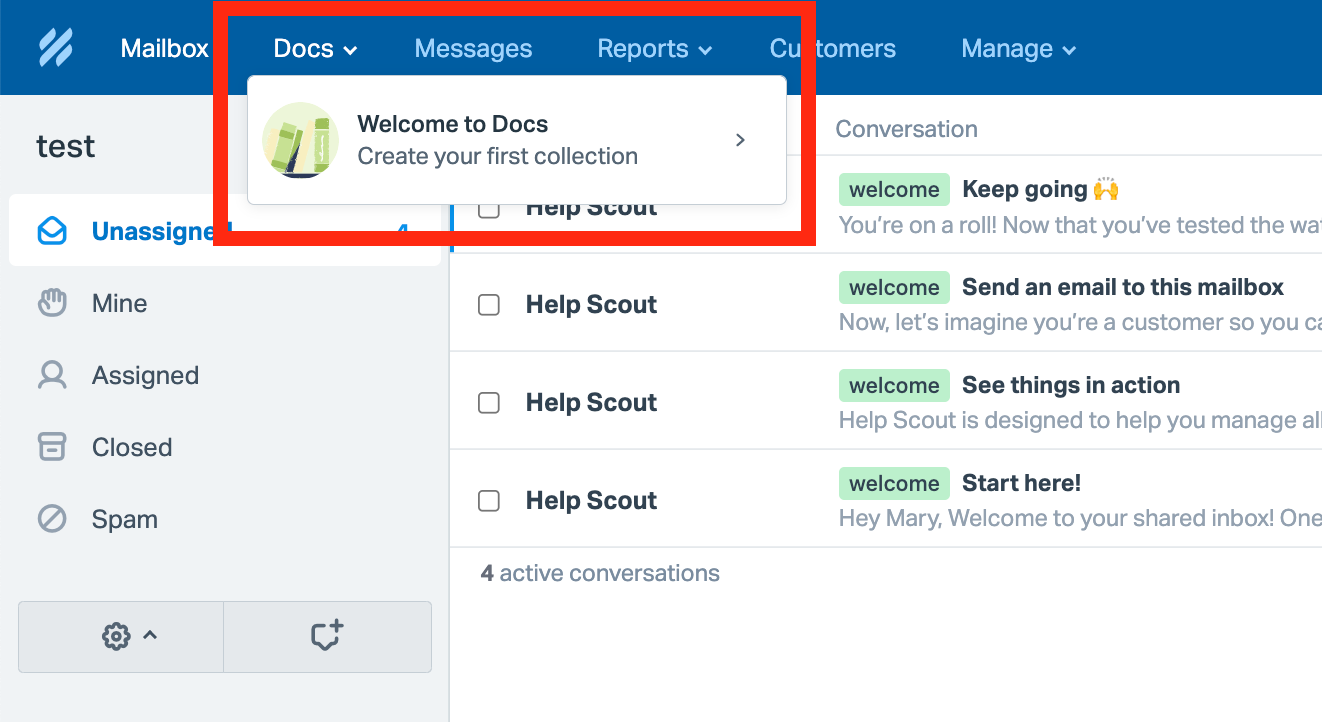
- In the Help Scout dashboard, click on the "Docs" tab at the top. Then click "Create your first collection" button.
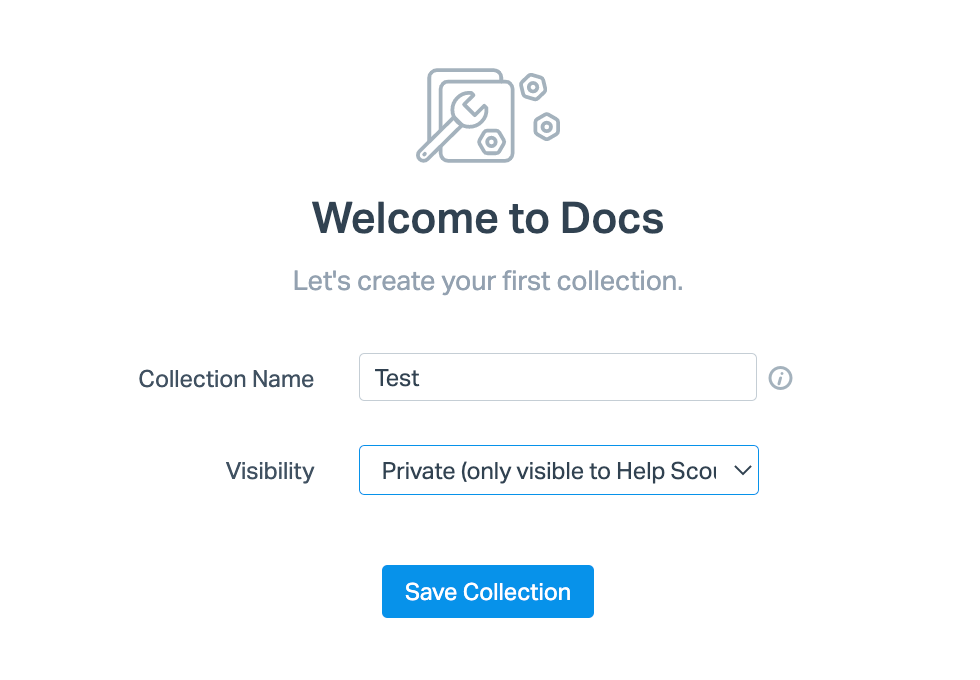
- Choose a name for your knowledge base and select a visibility option. Click Save Collection once done.
Add your branding assets
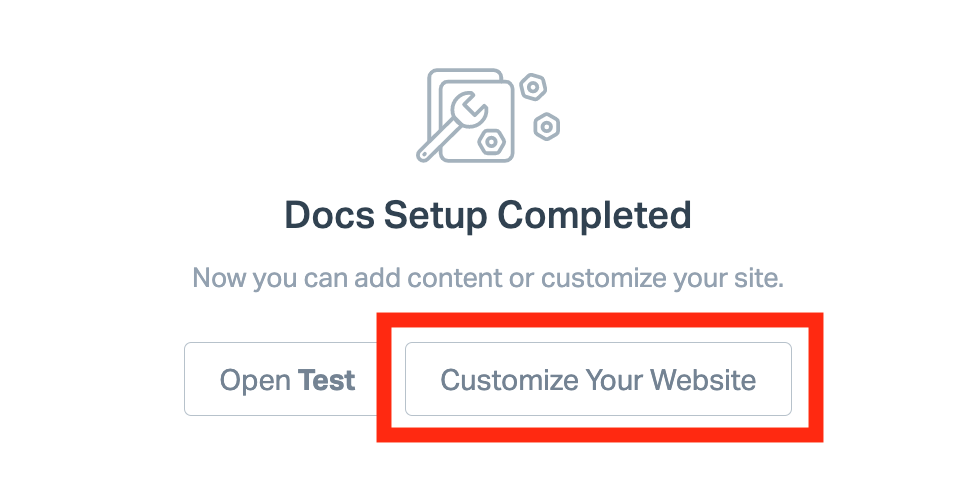
- After clicking Save Collection, you will get this prompt. Select Customize Your Website.
- Add your company’s logo, icons, and brand colors. Once done, don’t forget to scroll to the bottom of the page and click Save.
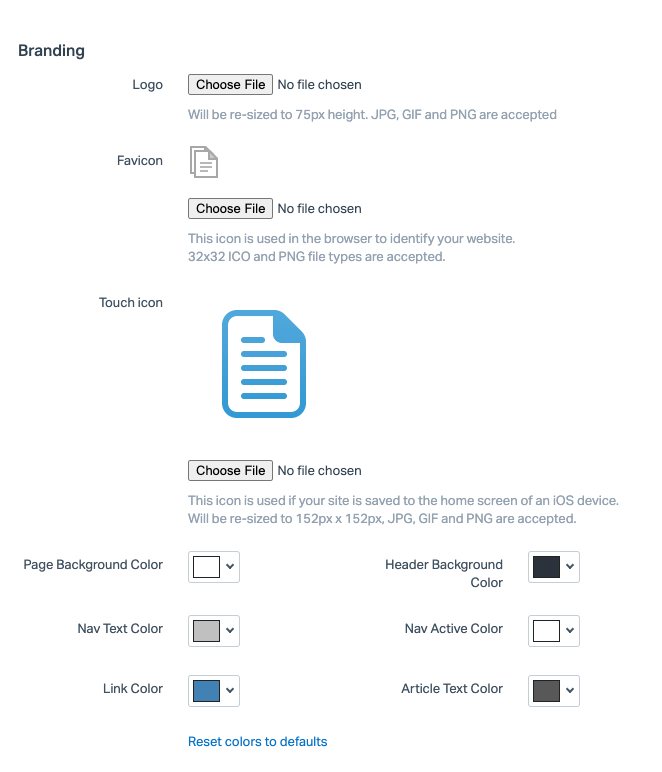
Create your first collection
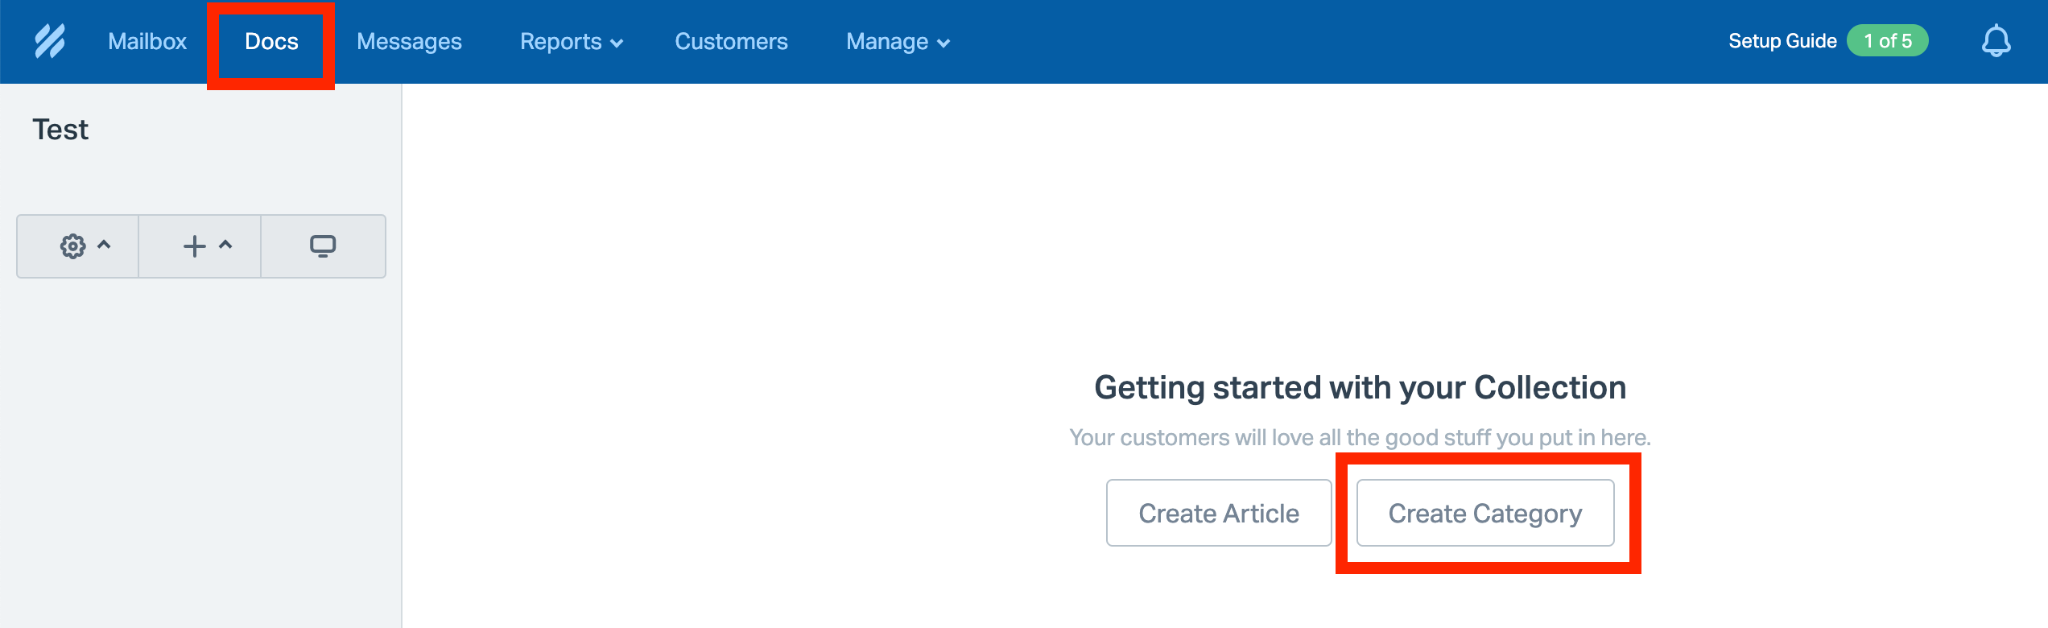
- Click Docs then click Create Category.
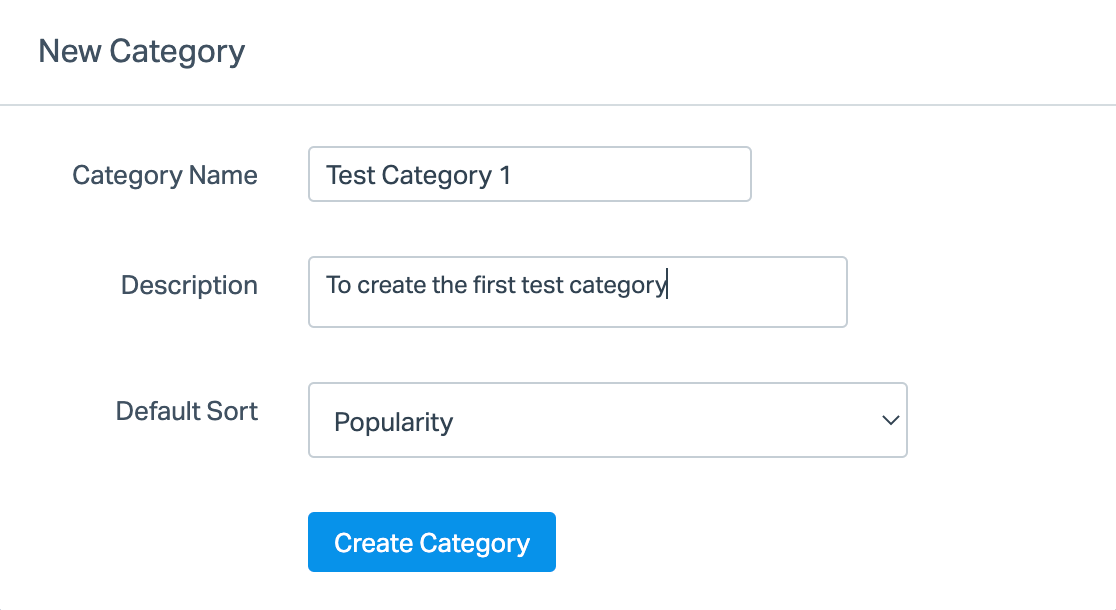
- Add a name and description for your category, then click Create Category.
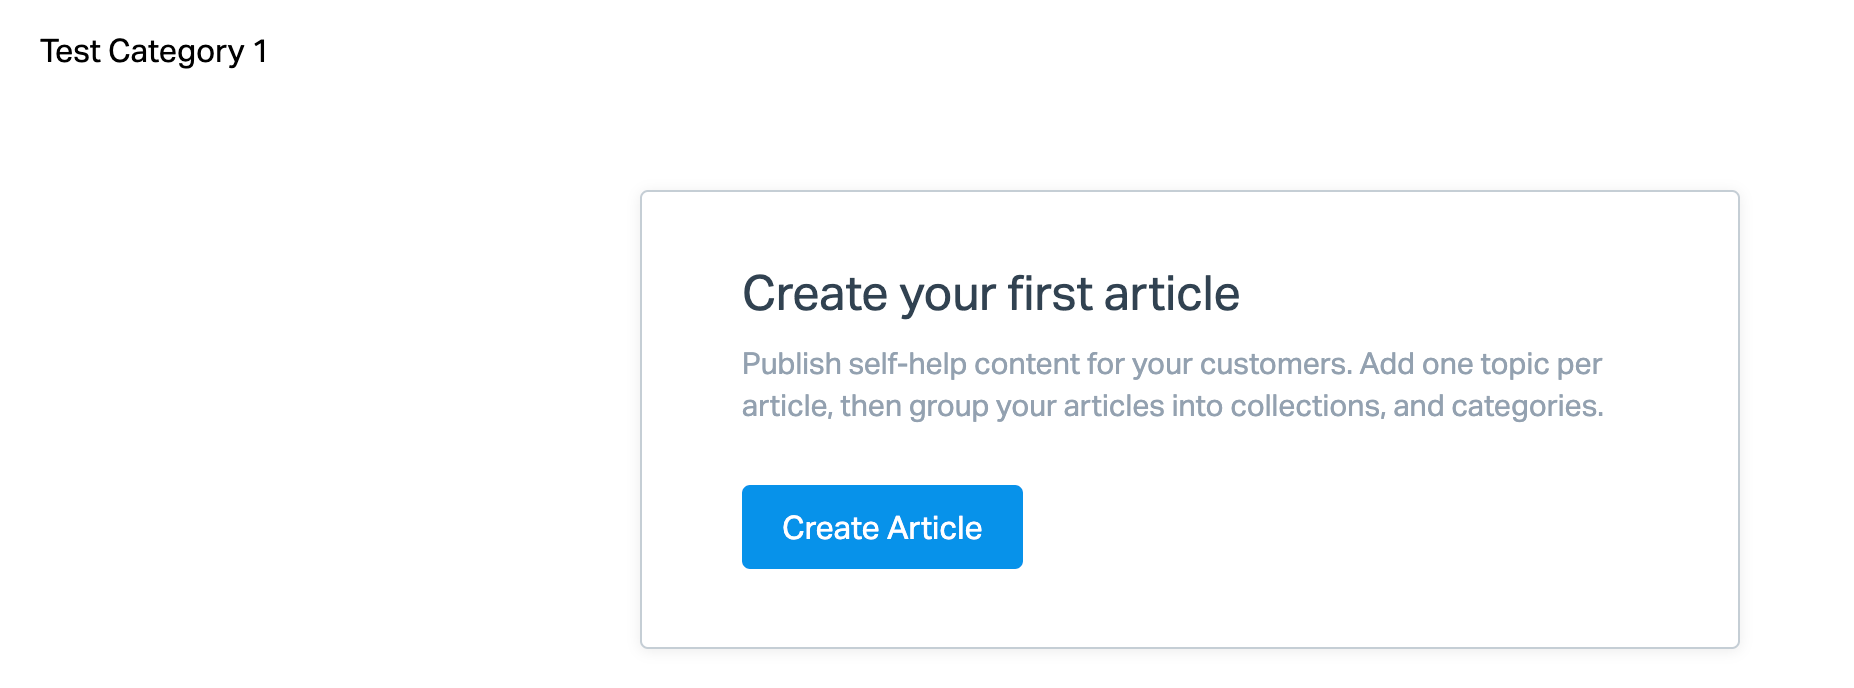
Create your first article
- Click the "Create Article" button.
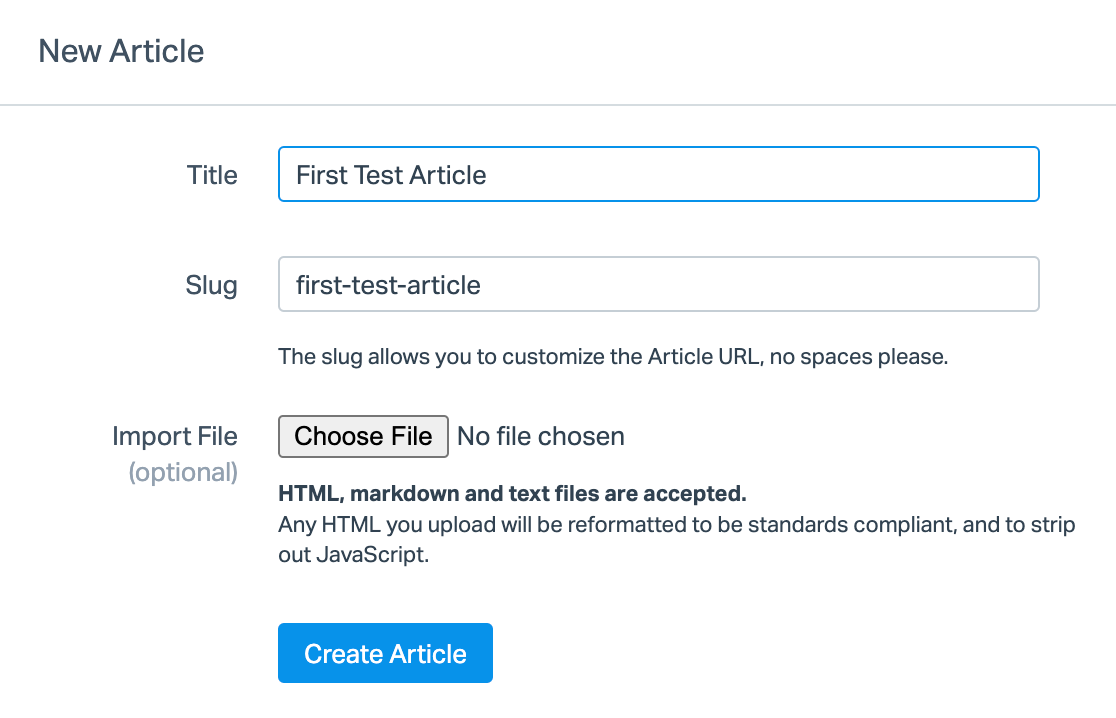
- Write a title for your article, the slug is auto-populated. Then click "Create Article"
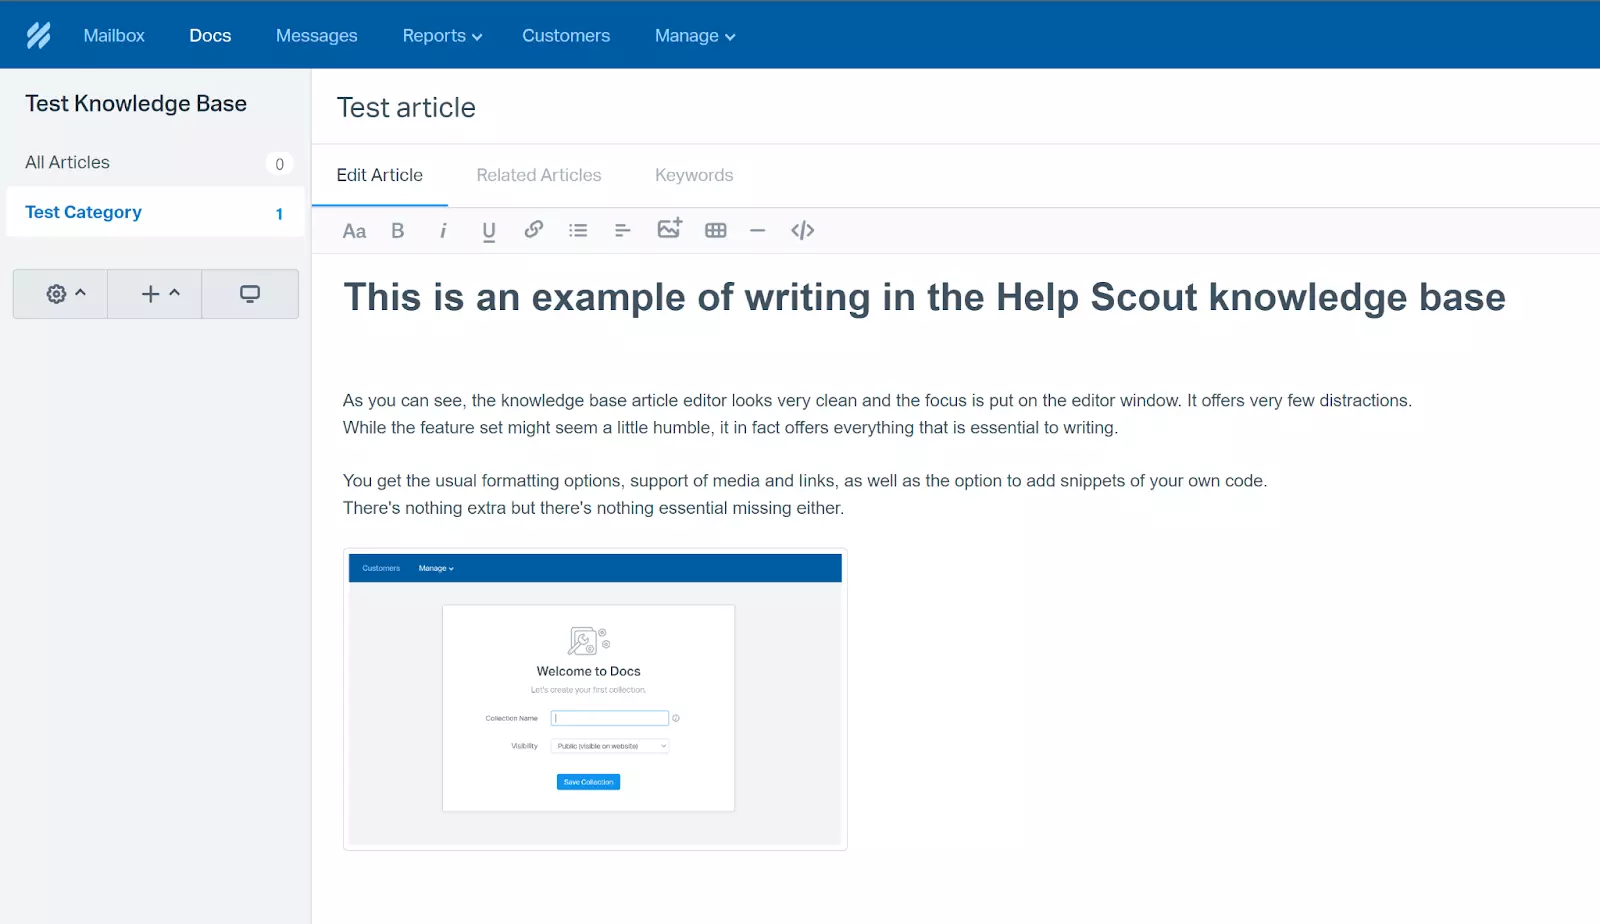
- Add content to your article.
Publish your knowledge base
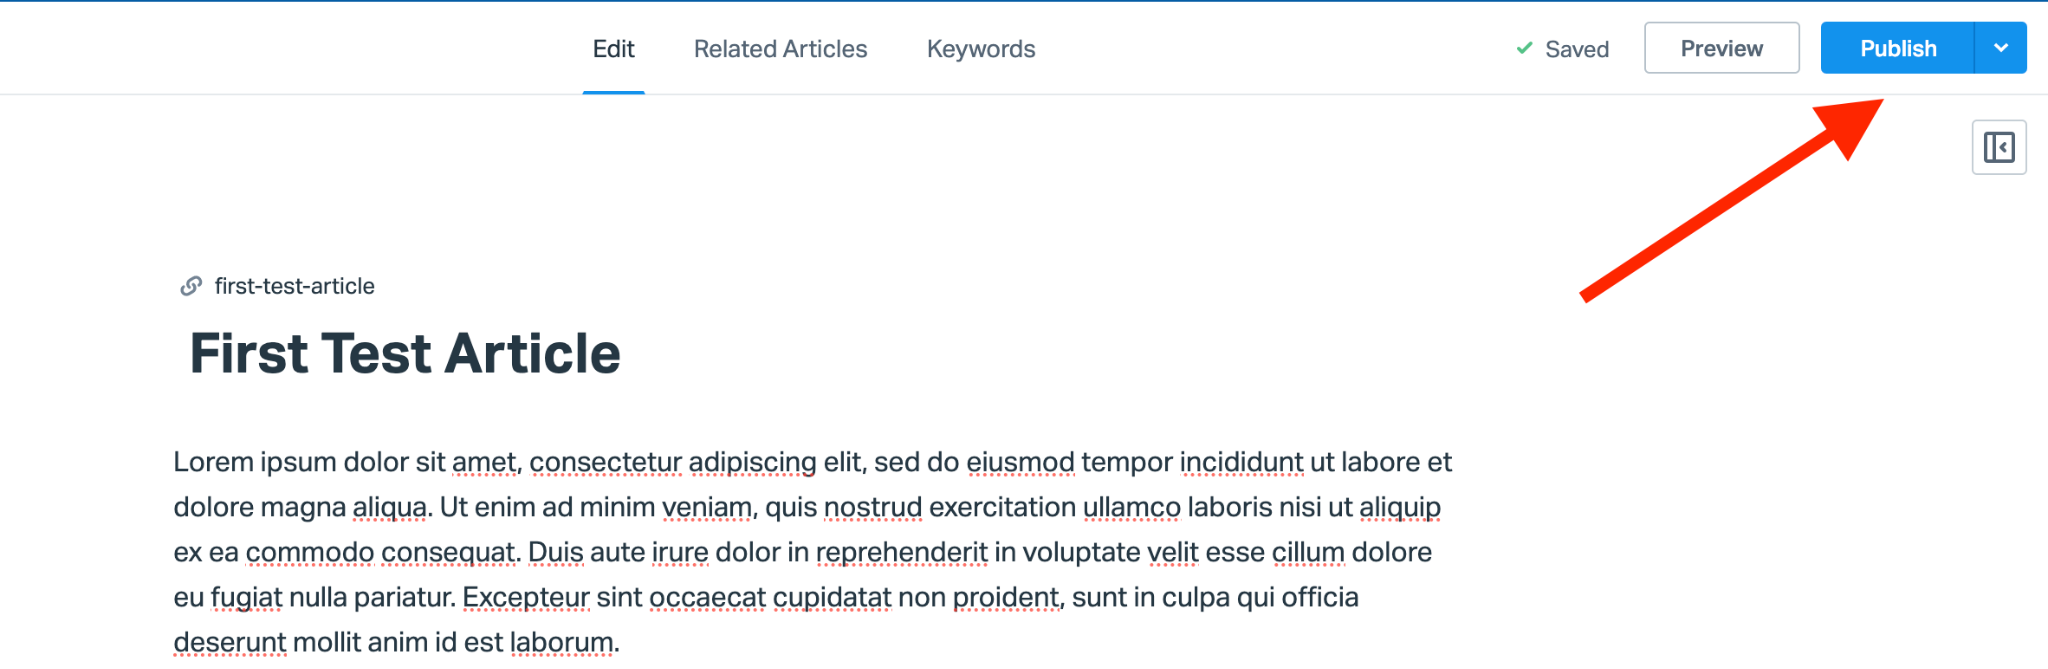
Click the "Publish" button at the upper right corner.
Add more articles to your knowledge base
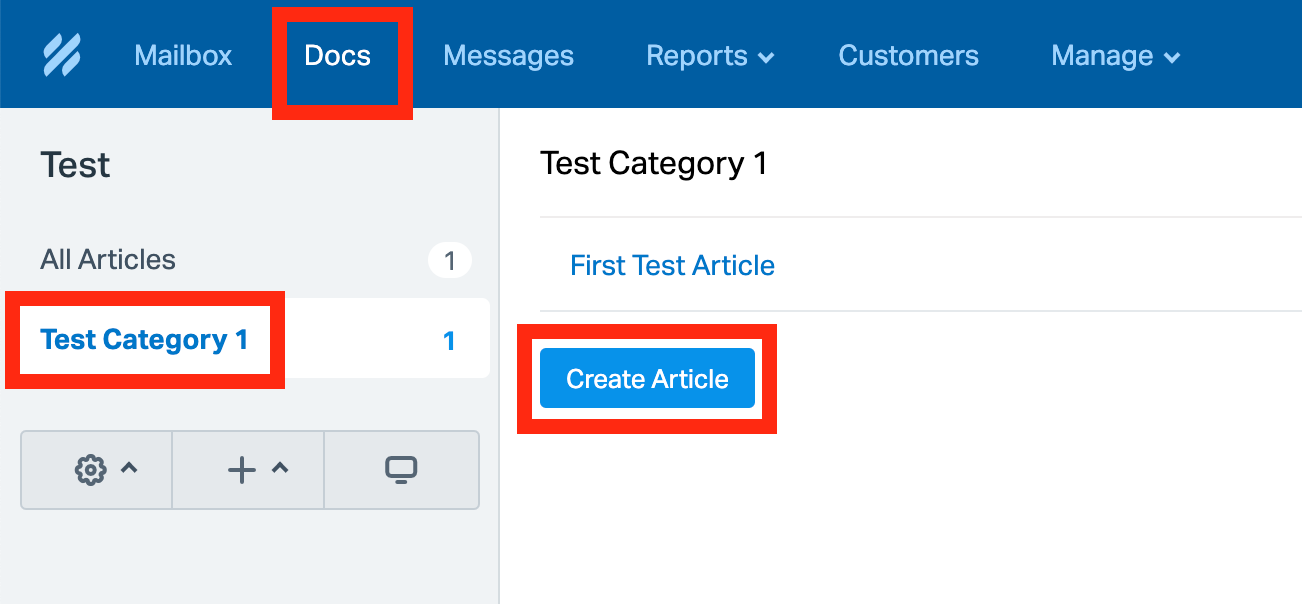
- Click Docs, click the Category where you want to add new articles, then click Create Article.
- Repeat the entire process under “Create your first article” above as needed.
Conclusion
You’re done!
Congratulations! You have successfully built a branded knowledge base using Help Scout.
Execution Checklist:
-
Set up a Help Scout account
-
Set up a knowledge base
-
Add your branding assets
-
Create your first collection
-
Create your first article
-
Publish your knowledge bage
-
Add more articles to your knowledge base
-
Repeat the process as needed