Add/Remove Dynamic Checkout Buttons in Shopify
To guide you in adding and removing the dynamic checkout buttons in your Shopify website.
Prefer a shortcut? 16 free tools do parts of this for you.

Aim: To guide you in adding and removing the dynamic checkout buttons in your Shopify website.
Optimal Outcome: To customize your Shopify store’s theme and give your customers an immediate checkout button in your website so they can skip a few steps when checking out your products or services, saving their time in the process.
What do you need to start: To follow this SOP, you need to have a Shopify store account and a customizable theme of your store website.
Why is this SOP Important: Learning how to add or remove the dynamic checkout buttons in your Shopify store gives you control on the activities that your Shopify store will have. This function in your store also helps customers who are rushing to buy products from your store, in some cases, when these products are limited and they have little amount of stock shown in the store website. This button can easily induce sales for the business.
When and Where to execute: To execute this SOP, you must be able to have a user role in your Shopify account that allows you to customize your Shopify store’s theme. Additionally, you must have a set up for your products already in your store for easy editing.
Who Should Be Doing This: This should be done by the website administrator or manager.
Dynamic Checkout Buttons
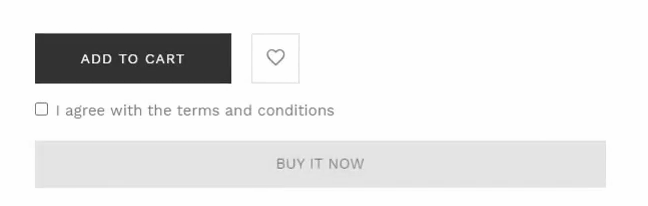
Dynamic checkout buttons are one-click buttons that allow individuals to buy the product directly without going to the Cart section of the store website. This is usually positioned under the Add to cart button in Shopify which can be utilized in purchasing single variant items in your customers’ preferred quantity. This cannot be used in multiple variant checkouts. By skipping the Cart section, customers can immediately buy the item that they viewed and proceed to the payment tab.
Execution
Resources/Tools & Set up
- Shopify store account
Add/Remove Unbranded Checkout Buttons
- Sign in to your Shopify store account by clicking “Log in” and entering your account details.
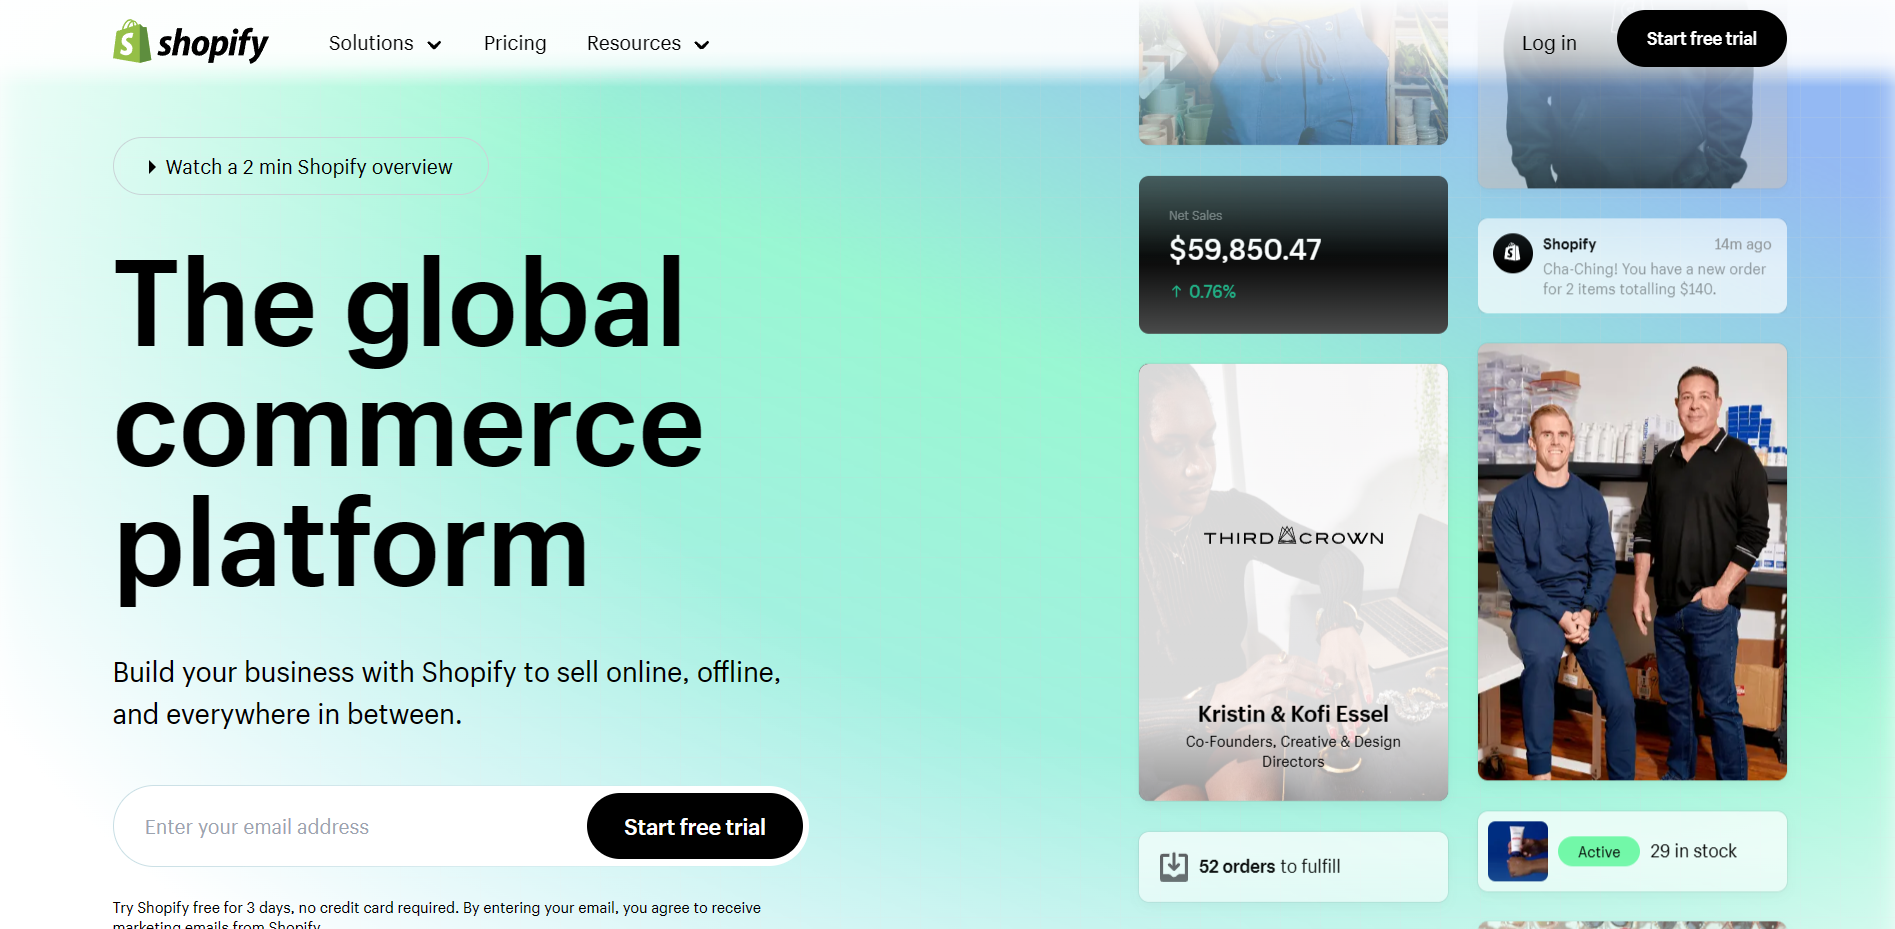
- Once you are redirected to the Shopify homepage, you will see a dashboard on the left. Click “Online Store”.
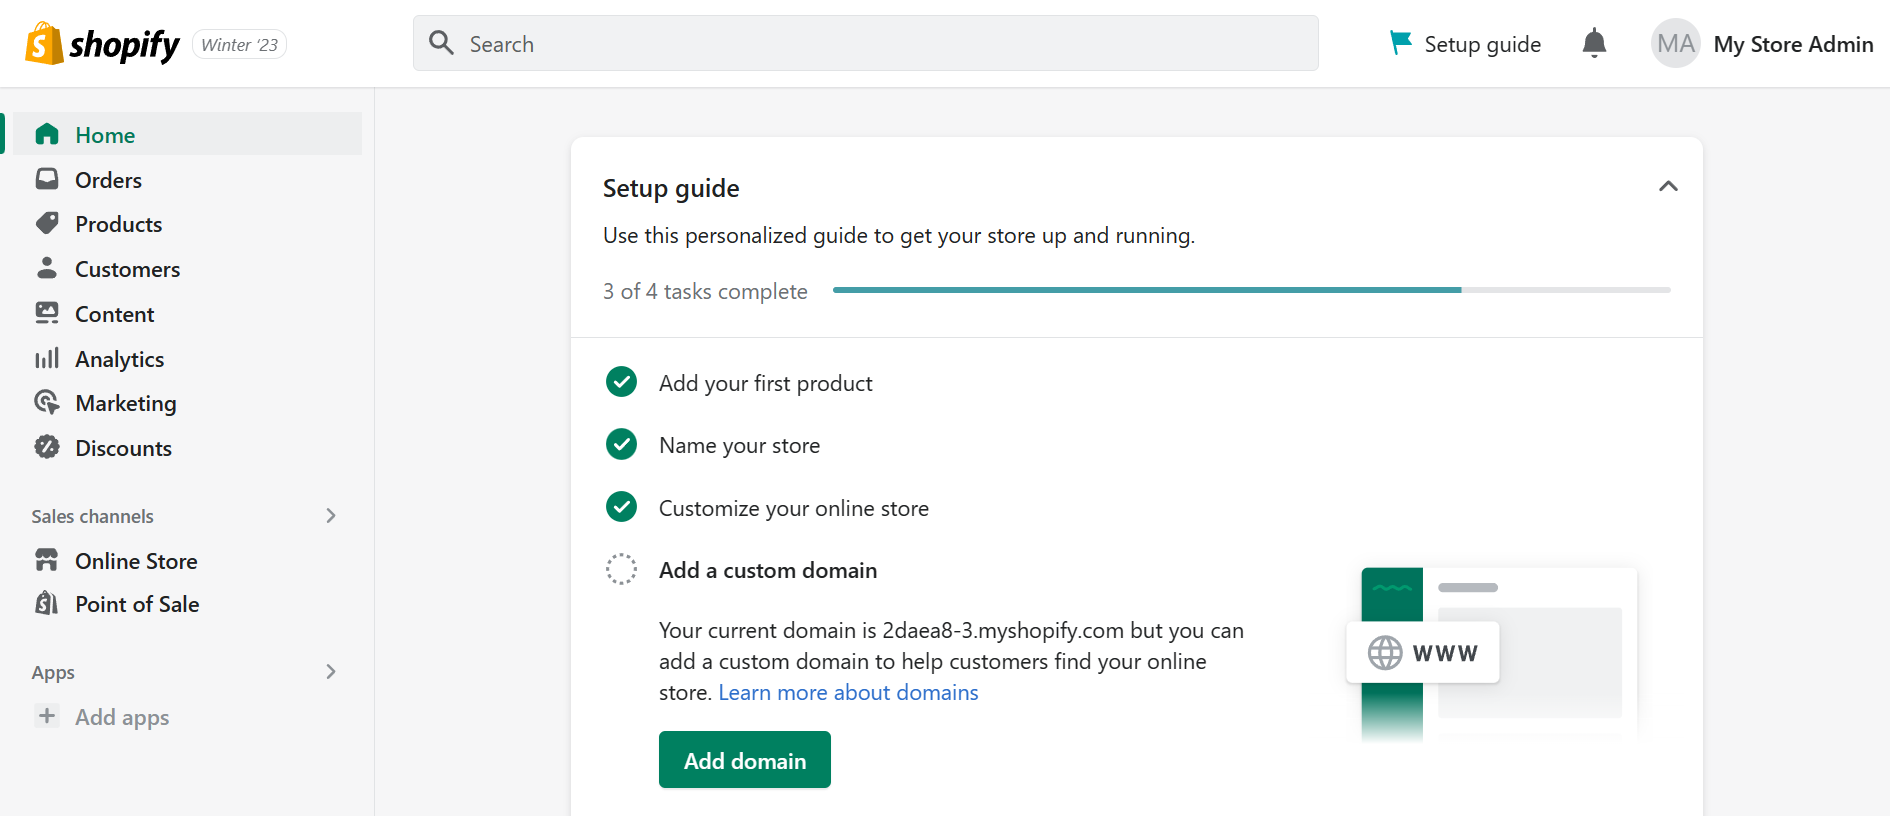
- After clicking Online Store, five subcategories will appear: Themes, Blog posts, Pages, Navigation, and Preferences. Among these subcategories, click “Themes”.
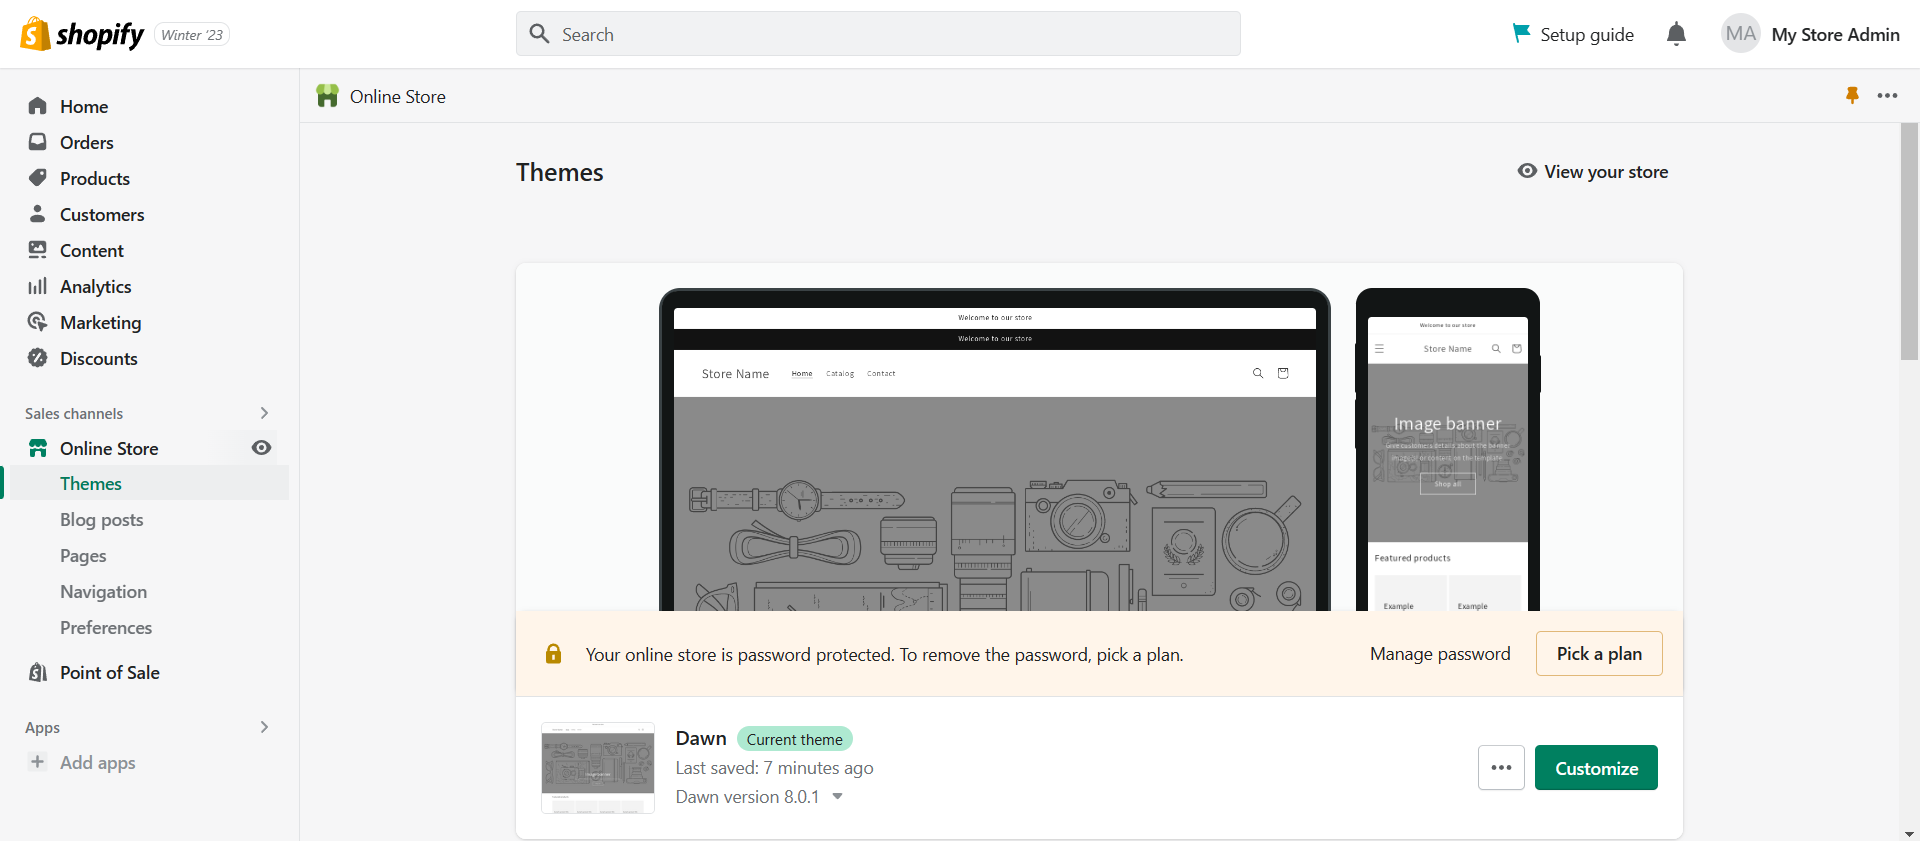
- After navigating to Themes, you will see the customizable store theme. To add or remove dynamic checkout buttons, click the “Customize” button.
- After clicking Customize, you will be redirected to your Shopify store’s theme, where you can edit the Home page and other pages of your website that are indicated in your Header. To add or remove the checkout button, go to your Featured product/s or Product/s page.
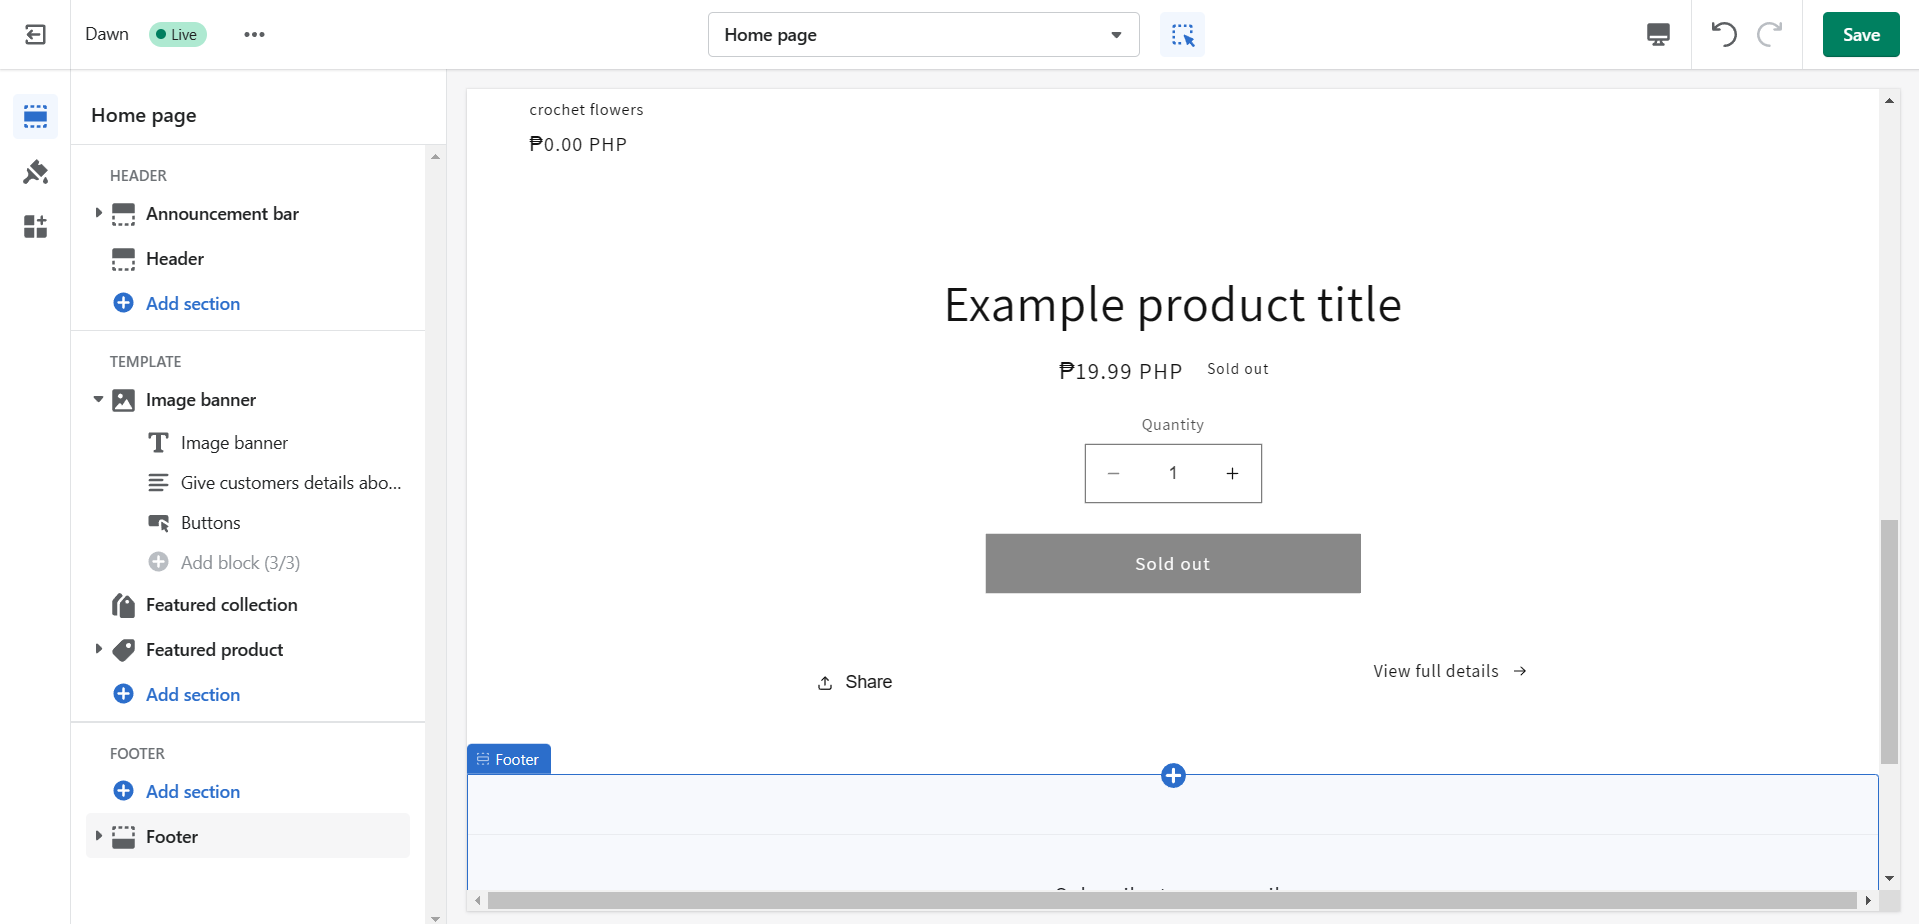
- Since the Featured product page has a dropdown menu, look for the “Buy buttons” and click it.
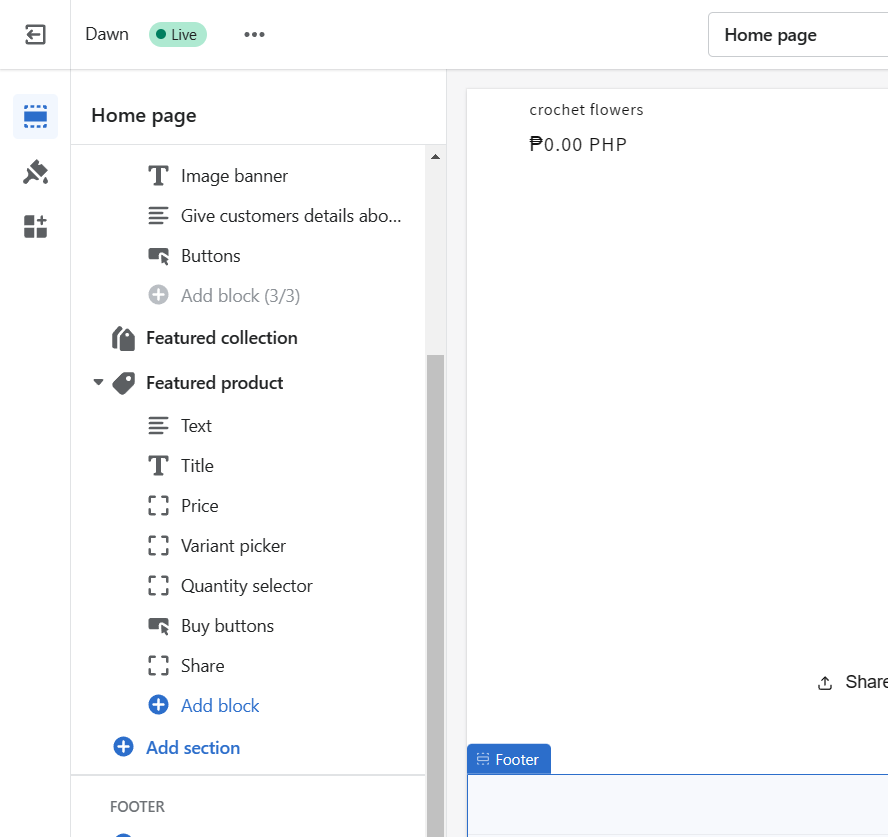
- After clicking the Buy buttons, you can add dynamic checkout buttons such as “Buy now” by checking the checkbox on “Show dynamic checkout buttons”.
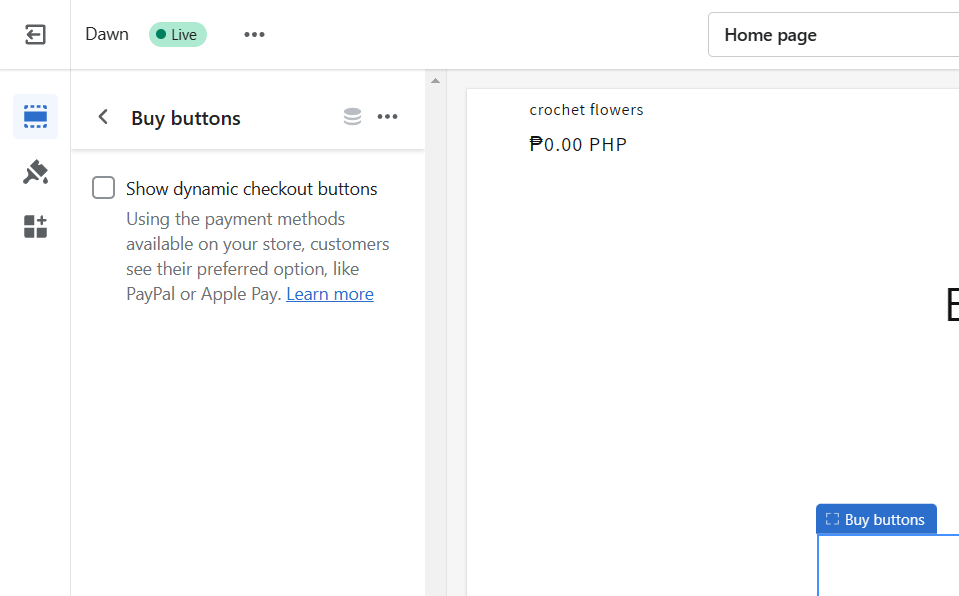
- On the other hand, you can remove dynamic checkout buttons by unchecking the checkbox on “Show dynamic checkout buttons”.
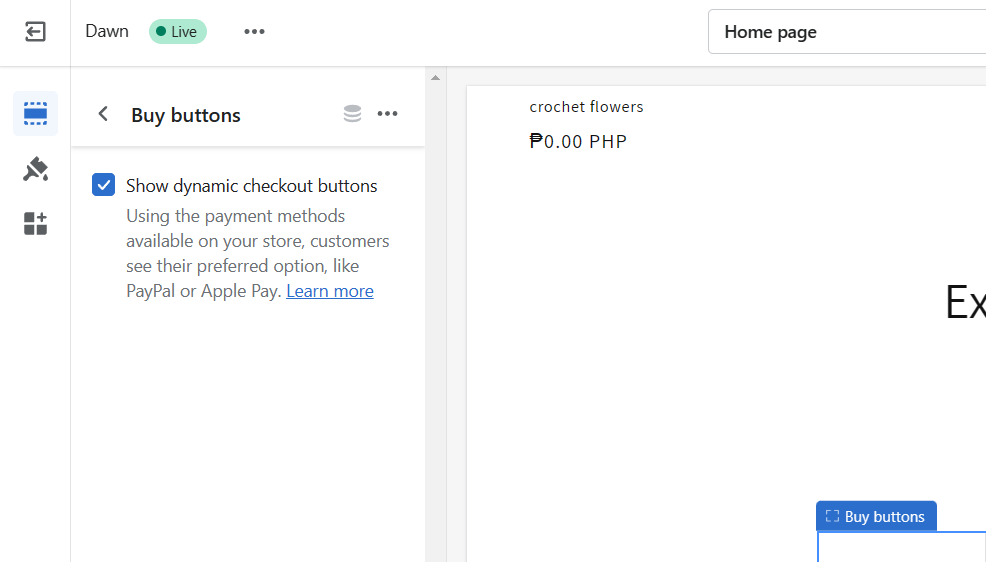
- After checking the box, the dynamic checkout button should appear in your Featured product page like the picture below.
Add/Remove Branded Checkout Buttons
- Sign in to your Shopify store account by clicking “Log in” and entering your account details.
- From the Shopify homepage, click “Settings”.
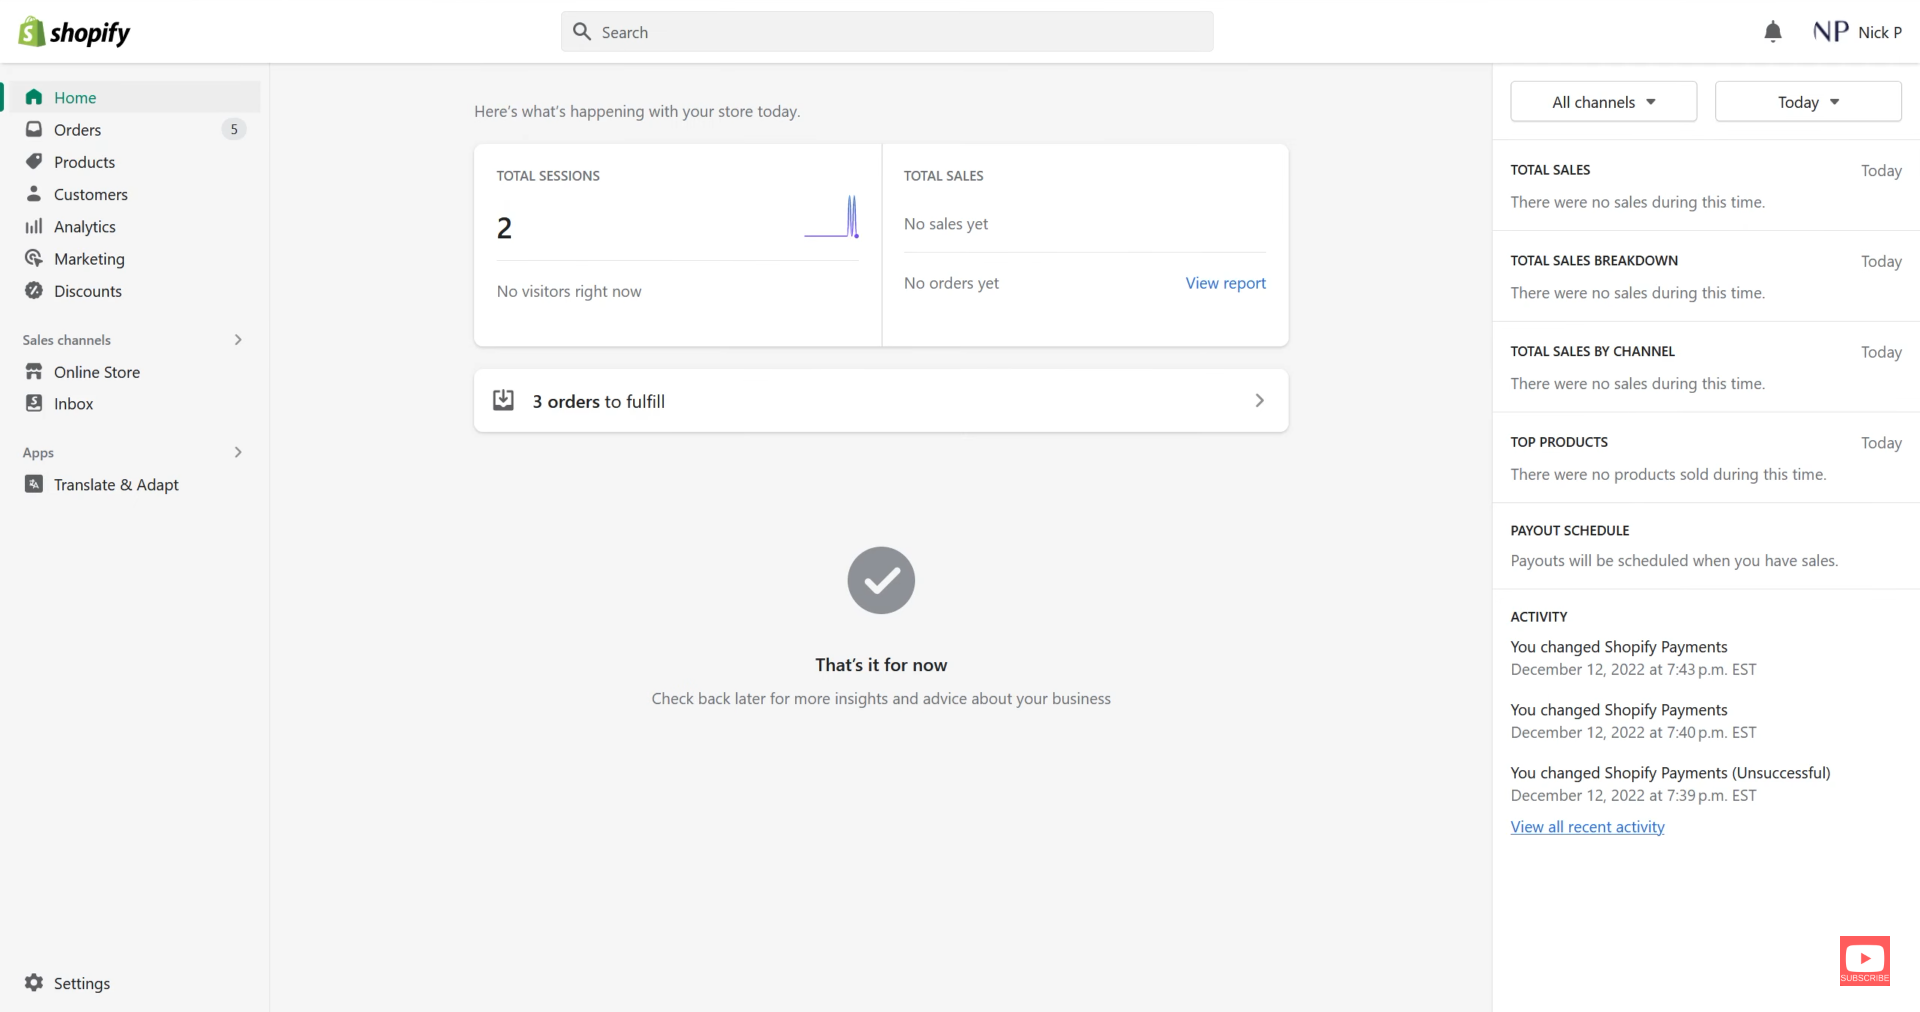
- After navigating to the Settings, you will see a dashboard on the left. Click “Payments” to choose from several payment options.
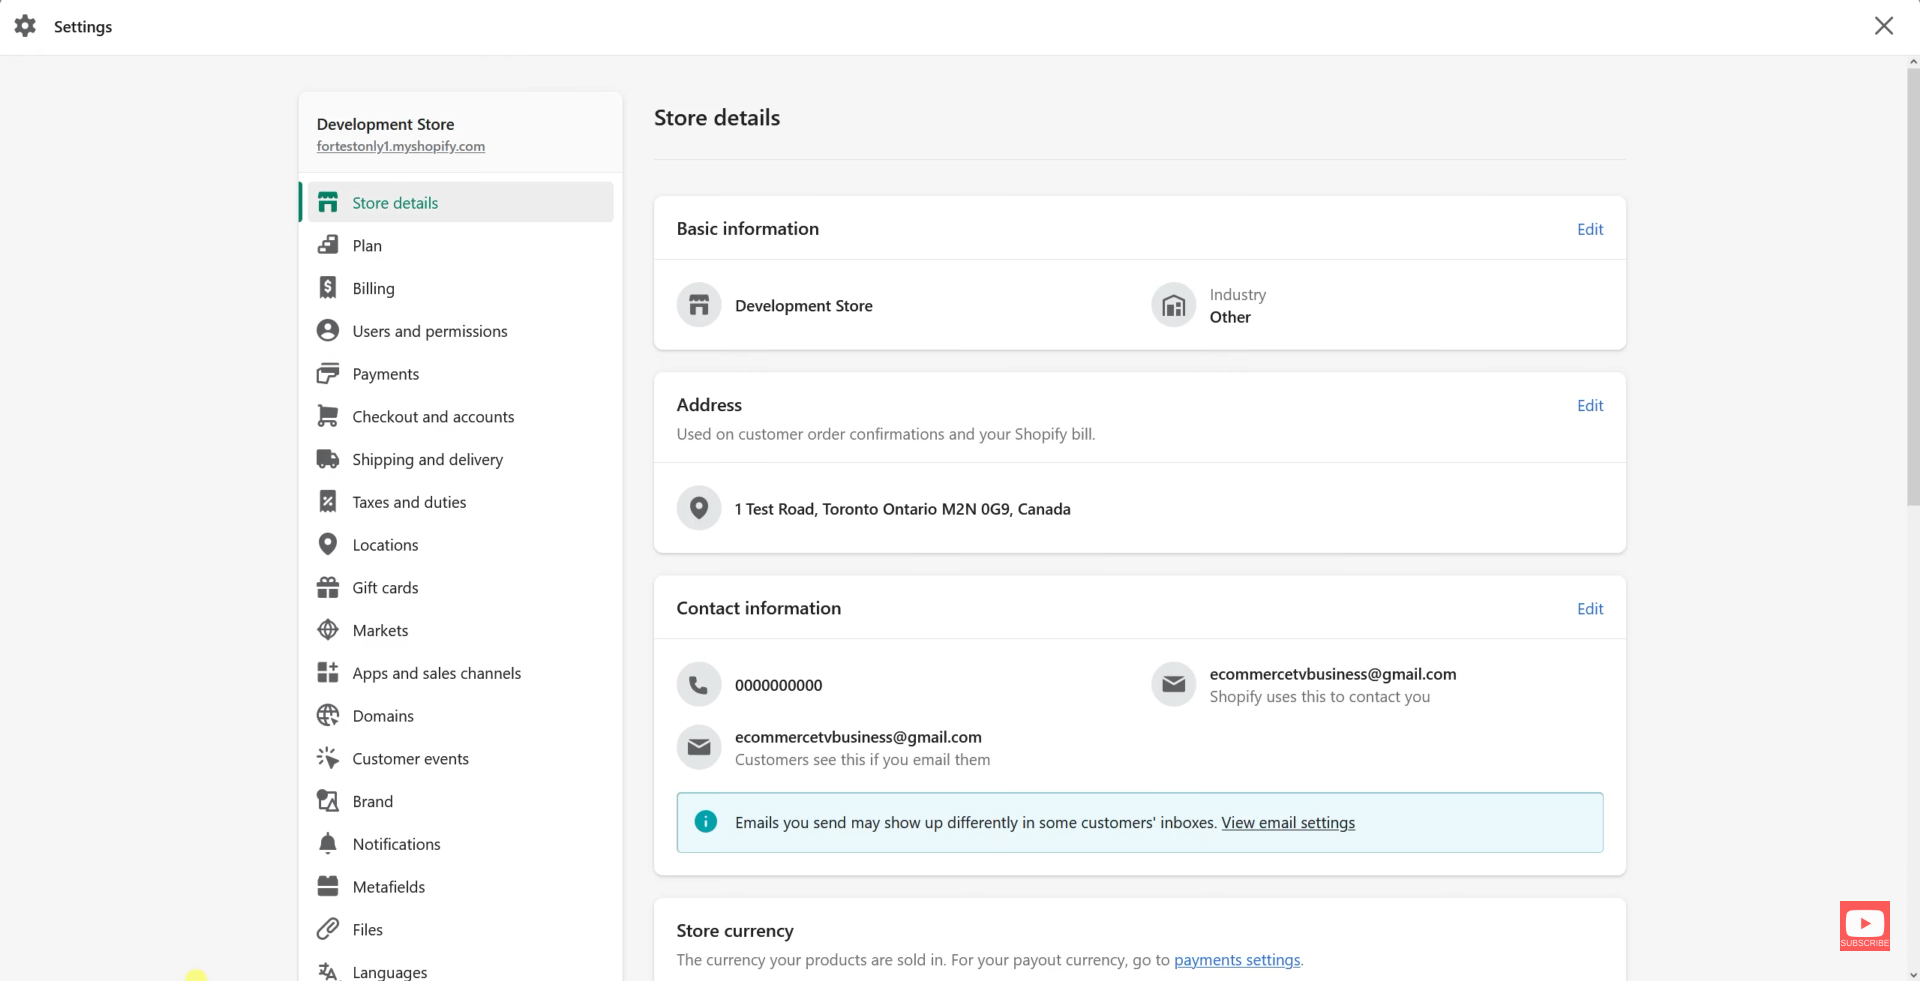
- When you go to Payments, you will see the Shopify Payments and to get to its settings, click the “Manage” button.
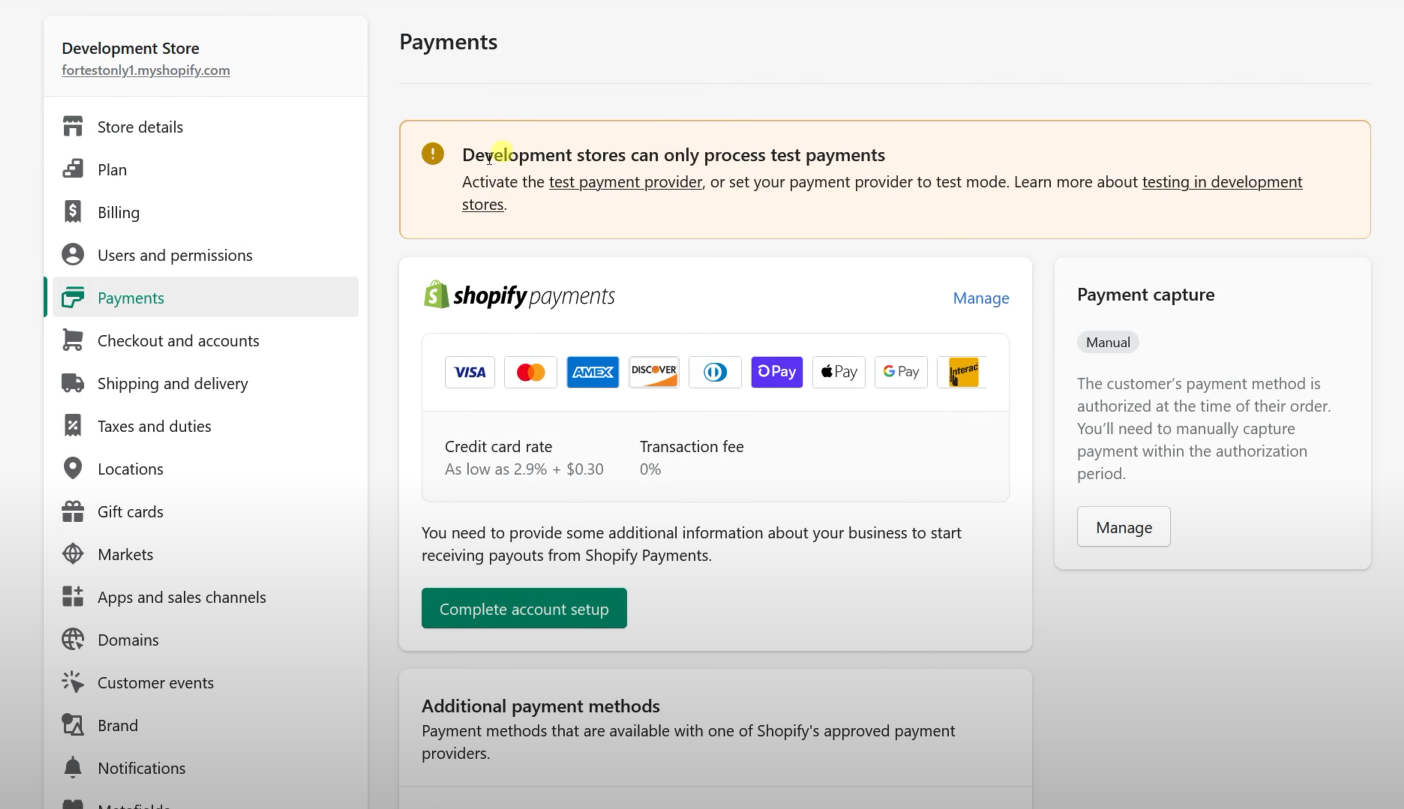
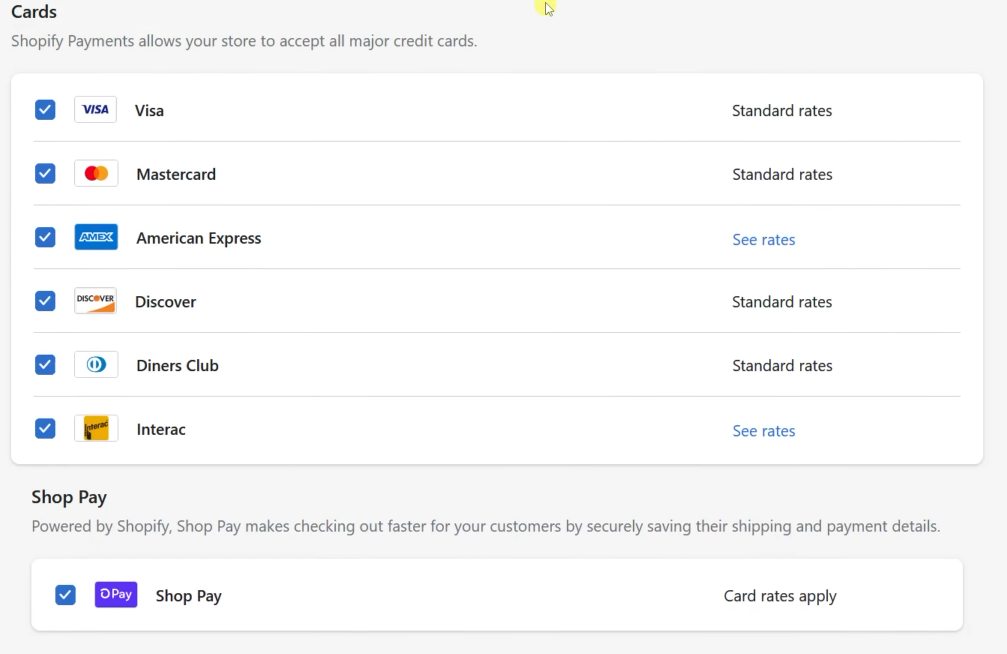
- You can see the Standard rates and Cards option of payment in Shopify. You can click the checkbox beside the card you prefer for receiving your customers’ payments. In checking these options, you must set up each card information about your account to activate it for payment.
- Scrolling down, you can see that there is also an option for Shop Pay in the payments. Check the box on the left side of “Shop Pay” to activate it.
- Go back to the Shopify homepage. You will see a dashboard on the left. Click “Online Store”.
- After clicking Online Store, five subcategories will appear: Themes, Blog posts, Pages, Navigation, and Preferences. Among these subcategories, click “Themes”.
- After navigating to Themes, you will see the customizable store theme. To add or remove dynamic checkout buttons, click the “Customize” button.
- After clicking Customize, you will be redirected to your Shopify store’s theme, where you can edit the Home page and other pages of your website that are indicated in your Header. To add or remove the checkout button, go to your Featured product/s or Product/s page.
- Since the Featured product page has a dropdown menu, look for the “Buy buttons” and click it.
- After clicking the Buy buttons, you can add dynamic checkout buttons such as “Buy now” by checking the checkbox on “Show dynamic checkout buttons”.
- On the other hand, you can remove dynamic checkout buttons by unchecking the checkbox on “Show dynamic checkout buttons”.
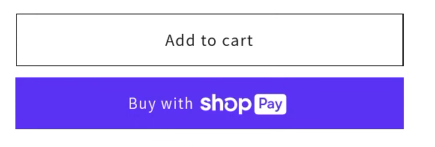
- After checking the box, the dynamic checkout button should appear in your Featured product page like the picture below. Since you activated Shop Pay earlier, it allows you to allow your customers to buy the item using Shop Pay.
Conclusion
You’re done! Always remember that dynamic checkout buttons are essential for people who are rushing to purchase limited stock products and items on discount. This only takes a short period of time in setting up, so it is advisable to add in your Shopify store. This also helps in minimizing abandoned cart emails.
-
There are two types of dynamic checkout buttons according to Shopify, the branded and unbranded. Branded type is when the Buy button is accompanied by a payment method, while unbranded type only has a “Buy now” button where you can process the payment before placing the order.
-
Customizable themes for your store plays an important role in this SOP because it is where you can activate or deactivate the dynamic checkout buttons.
-
In branded type of checkout buttons, you must activate your preferred mode of payment in the Settings > Payments.
-
You must also prepare the product page or feature product page before adding the dynamic checkout buttons so it will not interrupt the step by step process provided.